How to Set up a Spin Bike
How to Set Up a Spin Bike
Learning how to set up a spin bike properly is the difference between a workout you love and one you dread. Knee pain, numb feet, and a sore lower back don't happen because the workout is hard. They happen because the bike doesn't fit your body.
The fix takes about ten minutes.
One useful reference is ISO 20957-5, the safety standard for stationary training equipment. It sets expectations for stability and durability. A properly adjusted bike is also a more secure bike.
The alignment piece is where most setups go wrong, so let's start there.
Quick Answer
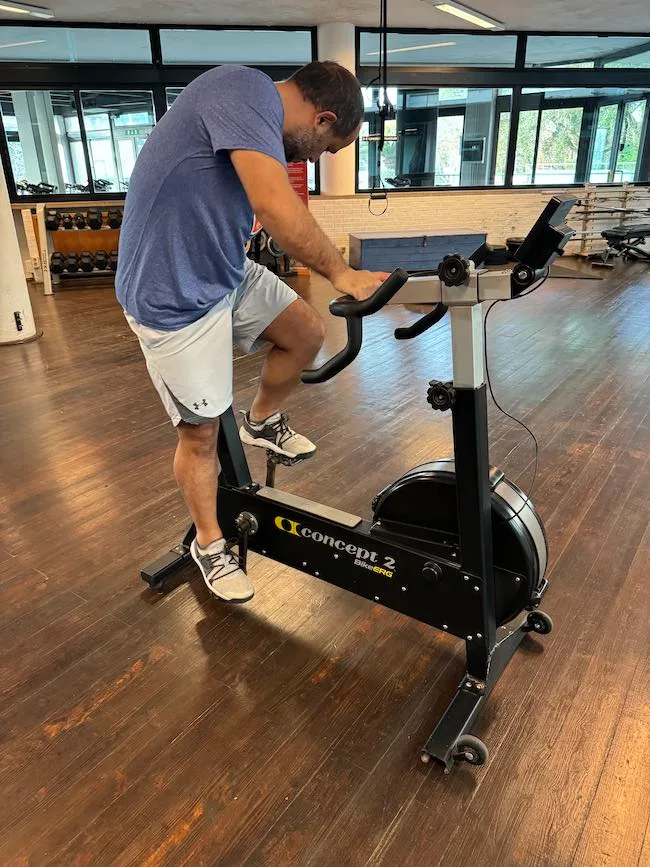
Set the seat height so your knee has a slight bend at the pedal's lowest point. Place the handlebars roughly at seat height. Check that your knee stays aligned over the pedal as you spin.
Tighten every lever and bolt. Ride for a minute, then re-check.
Why Most Spin Bike Setups Miss the Mark (and Cause Pain)
The Real Reason Knee and Back Pain Happen on Indoor Bikes
Most riders set the saddle to what feels like hip height and then start pedaling. That single step skips several adjustments that determine whether your knees, hips, and lower back are aligned.
Your joints work best when the bike's geometry matches your proportions. Seat height, fore-aft position, saddle tilt, handlebar height, handlebar reach, and cleat placement all matter. Change one, and you change the effective position of the others.
As of 2026, most spin bike manuals still rely on vague words like "comfort." Comfort is an okay starting point, but it's not a measurement. A knee angle in the 25 to 35 degree range at the bottom of the pedal stroke is a measurement. A knee stacked over the pedal spindle at the 3 o'clock position is another.
The Key Insight: It's Not About Comfort, It's About Alignment
Comfort is the result, not the input. When your joints are stacked properly, the bike feels stable and you can hold your pace without pain. When they're not, your body compensates.
That shows up as rocking hips, uneven pedal strokes, or a nagging ache on one side of your knee.
The goal is to recreate what a professional bike fitter would achieve. You can do it with a few simple visual checks and a tape measure.
What You Need Before You Start
Gather your tools before touching any adjustment. You don't want to balance on a wobbly seat while searching for an Allen key.
Tools That Actually Matter
For almost every spin bike, you'll need a hex key set (usually 4mm, 5mm, and 6mm), a tape measure, and possibly a Phillips screwdriver for pedal work. If your bike uses quick-release levers, you won't need wrenches at all.
| Tool | What it's for |
|---|---|
| Hex key set | Loosening seat and handlebar bolts |
| Tape measure | Measuring inseam and post heights |
| Quick-release lever | Tool-free adjustments on studio-style bikes |
| Floor mat | Reducing noise and preventing bike slippage |
How to Read the Adjustment Markings on Your Bike
Most spin bikes have laser-cut markings or embossed numbers along the seat post and handlebar stem. Those numbers let you record your exact settings. If your bike doesn't have markings, use tape or a marker to note the position after you dial it in.
The Quick-Release vs. Bolted Adjustment Difference
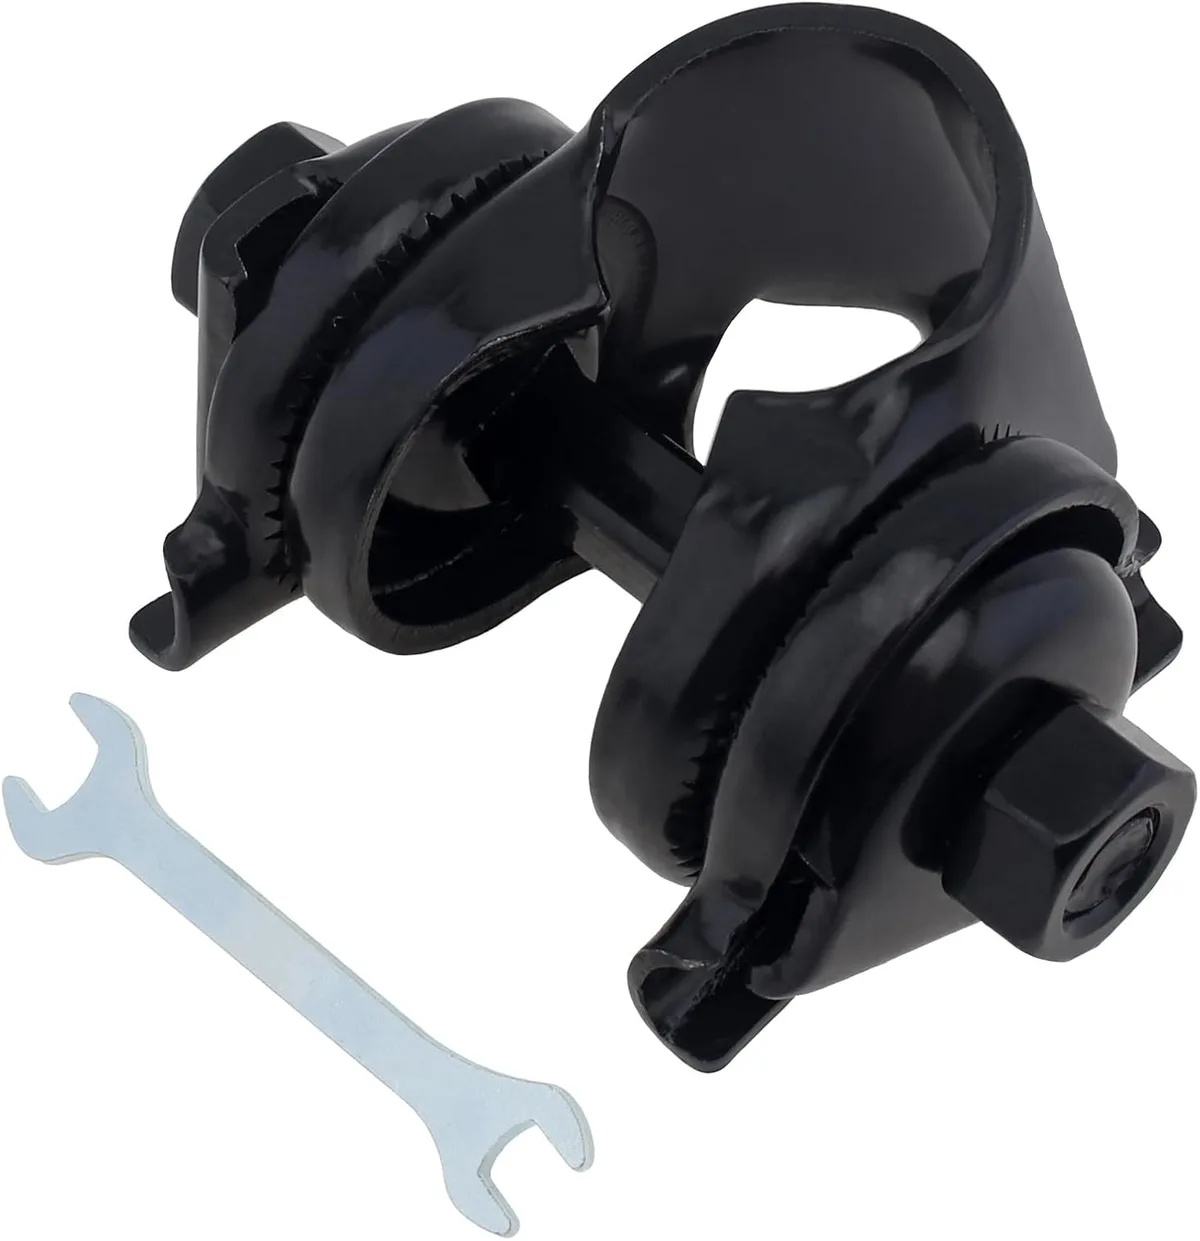
Studio bikes like Peloton and Keiser use quick-release levers, so adjustments take seconds. Budget home bikes often use hex bolts. They hold their position well, but they take longer to change.
Both work, but tool-free levers make life easier in a multi-rider home.
Before you start, make sure the bike is stable. ISO 20957-5 sets endurance and stability expectations for stationary training equipment. You want the frame solid on all four feet.
A floor mat reduces noise and keeps sweat off the floor, much like the space planning you'd do for any cardio machine in a tight room.
How to Set Up a Spin Bike, Step by Step
Work in this order. The seat comes first, then the handlebars. Adjusting the bars before the saddle throws off your reference points.
Step 1: Measure Your Inseam the Right Way
Stand against a wall in bare feet. Place a book between your legs, pull it up to your pubic bone, and measure from the top of the book to the floor. That's your inseam.
Multiply it by 0.883 to get an approximate seat height, measured from the center of the bottom bracket to the top of the saddle. Use that as a starting point, not a rule.
Step 2: Set Seat Height with the Heel Test
Sit on the bike and put your heel on the pedal at the 6 o'clock position. Your leg should be nearly straight, with only a slight bend. If your hip rocks, the seat is too high.
If your foot can't reach without shifting, lower it. Then tighten the seat post lever or bolt.
Step 3: Position the Saddle Fore-Aft
Put the pedals at 3 o'clock and 9 o'clock. Drop a vertical line from the front of your knee. The front of your patella should line up with the pedal spindle.
This helps your quads and glutes share the load evenly.
Step 4: Level the Saddle
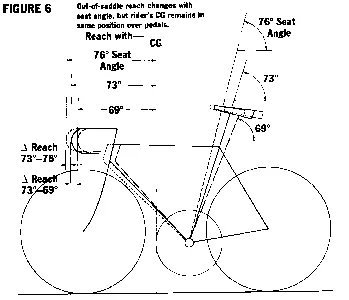
Check that the saddle is flat, using a bubble level or a phone's protractor. A nose angled down shifts weight into your hands. A nose angled up creates pressure points.
Either way, you'll compensate, and that's where the aches start.
Step 5: Set Handlebar Height and Reach
Start with handlebars at or slightly above seat height. Bars much lower than that force your lower back to round. Your arms should have a comfortable bend of about 15 to 20 degrees.
If you're stretching, raise the bars or move them closer.
Step 6: Check Your Knee Angle
Pedal a few strokes, then stop with the pedals at 6 and 12 o'clock. Your extended leg should show about 25 to 35 degrees of knee bend. Use a goniometer app or an angle ruler.
Anything beyond that range puts extra pressure on the kneecap.
The 60-Second Visual Check Before You Start Riding
Take a few revolutions and stop. Are your hips level, or is one side lifting? If it lifts, drop the seat slightly.
Can you rest your hands on the bars without hunching your shoulders? If not, raise the bars. Just like matching the machine to your proportions on a rower, the bike should feel like it disappears under you.
Common Spin Bike Setup Mistakes You Can See in the Mirror
The fastest way to check your setup is to look at it. Film a short clip from the side. Your body will show you exactly what's wrong.
Rocking Hips: The Classic Sign Your Seat Is Too High
If your hips bounce from side to side with each pedal stroke, the saddle is too high. Drop it by a centimeter, then repeat the heel test.
Knees Flaring Out or Caving In: What That Tells You
Watch your knees during a few revolutions. If they drift outward, the seat is usually too high. If they cave inward, your feet may be misaligned, or the saddle is too low.
Adjust seat height first, then check that the ball of your foot sits firmly over the pedal axle.
Rounded Lower Back: When Handlebars Are Too Far
If you feel a stretch along your spine as you reach, the bars are too far forward or too low. Raise them or bring them closer until your spine keeps its natural curve.
Numb Hands or Toes: The Setup Issues You Don't Feel Until Later
Numb hands almost always come from gripping the bars to hold yourself upright. That usually means the saddle is too high or tilted forward. Numb toes point to cleats that push your foot too far forward, or a saddle that's too narrow.
| Symptom | Likely cause | Fix |
|---|---|---|
| Rocking hips | Seat too high | Lower seat by 1-2 cm |
| Knees flare outward | Seat too high | Lower seat |
| Knees cave inward | Feet misaligned | Adjust cleats or foot position |
| Rounded lower back | Bars too far or low | Raise bars or bring closer |
| Numb hands | Saddle tilt or height | Level or lower saddle |
| Numb toes | Cleat position | Slide cleats back |
The same learning curve applies to starting out on a beginner-friendly rower. Your body needs time to settle into a new position, so give it a few sessions before making big changes.
Making Your Setup Stick: Multi-Rider Homes and Repeatability
If you're the only person using the bike, you can tune it once and leave it. In a household with multiple riders, every session can start with a fight over seat height. Here's how to make the swap painless.
How to Write Down or Mark Your Settings
Use the numbers stamped on the seat post and handlebar stem. Write each rider's settings on a small card. Tape the card to the bike's frame.
Include seat height, fore-aft position, and handlebar height.
The Simplest Measurement Log for Household Use
| Rider | Seat post marking | Saddle fore-aft | Handlebar height |
|---|---|---|---|
| You | 12 | 4 | 10 |
| Partner | 9 | 3 | 8 |
| Guest | 10 | 5 | 9 |
Post-Ride Checks: What to Look For After Your First 20 Minutes
After your first ride, check that the seat post hasn't slipped. Also check that the handlebars haven't rotated. A loose post is a safety issue.
A spinning handlebar is just annoying. Re-tighten levers if needed. Cleaning and maintaining the adjustment posts keeps them working smoothly, the same way routine upkeep keeps any home rower reliable.
Fine-Tuning for Longer Rides: Saddle Tilt, Cleats, and Small Tweaks
Once the basic setup feels right for a short ride, longer sessions reveal the final details. These tweaks turn a tolerable fit into one you can hold for 45 minutes or more.
Adjusting Saddle Tilt to Relieve Pressure
Most saddles should be level. If you feel pressure on soft tissue, tilt the nose down by two or three degrees. That small change shifts weight onto your sit bones.
If you feel like you're sliding forward, bring the tilt back toward level and check that your handlebars aren't too low.
Cleat Alignment for Clipless Pedals: Ball-of-Foot and Float
The cleat should position the ball of your foot directly over the pedal spindle. Unclip and place your shoe on the pedal to check. The spindle should line up with the bump where your big toe meets your foot.
For cleat float, most riders do best with 4.5 to 6 degrees of rotation. This lets your foot find its natural path without locking your knee in place.
Handlebar Reach Adjustments for a Neutral Spine
If you finish every ride with a tight lower back, your reach is probably too long. Raise the handlebars until your spine stays neutral with a slight bend in your elbows. Some bikes accept a riser block or padded grips, which can shorten the reach without changing your other settings.
When to Consider a Professional Bike Fit
Home adjustments solve most fit issues. If you still have knee, back, or neck pain after two weeks of riding, a professional bike fit is worth the investment. A fitter uses dynamic tools to measure your angles in motion.
They can spot asymmetries that are hard to see in a mirror. This is especially useful if you're logging high mileage or recovering from an injury. The same alignment principles apply when you're setting up any home cardio machine, including a rower.
Spin Bike Setup FAQs
How High Should the Seat Be on a Spin Bike?
Set the seat so your knee is slightly bent, about 25 to 35 degrees, when the pedal is at its lowest point. A good starting formula is multiplying your inseam in centimeters by 0.883. Use the heel test with your leg nearly straight, then adjust for the ball-of-foot position.
Should Handlebars Be Higher or Lower Than the Seat?
For most riders, handlebars should sit at seat height or slightly above. Beginners often prefer bars one to three inches higher than the saddle. As your core strength improves, you can gradually drop the bars for a more aggressive position.
Prioritize a neutral spine over a low tuck.
Why Do My Knees Hurt After Indoor Cycling?
Knee pain usually points to seat height. If the seat is too low, your knee bends too much. If it's too high, your leg hyperextends.
The next check is fore-aft position. Your knee should stay over the pedal spindle at the 3 o'clock position. Cleat misalignment is another common cause.
How Long Does It Take to Set Up a Spin Bike Properly?
A first-time setup takes about 10 to 15 minutes. That includes measuring, adjusting the seat and handlebars, and doing a test ride. For multi-rider homes, swapping between preset positions takes less than a minute once everyone's settings are logged.
Can I Use the Same Setup for a Peloton and a Studio-Style Spin Bike?
The principles are the same, but the bikes have different geometries. Peloton's post markings won't match another brand's. Use the same process on each bike, but expect to re-dial the exact numbers.
The visual checks will guide you.