How to Use Treadmill Incline
Understanding how to use treadmill incline is one of the simplest ways to upgrade your cardio. But most people just press a button and hope for the best. That's a missed opportunity, because the incline setting is arguably the most powerful tool on the whole machine.
According to the American College of Sports Medicine, walking on a 12% incline at 3 mph burns roughly twice the calories of flat walking at the same speed. It transforms a boring stroll into a legit workout. The trick is knowing exactly when to raise it, how high to go, and how to avoid mistakes.
A good session can turn into a sore-back disaster fast.
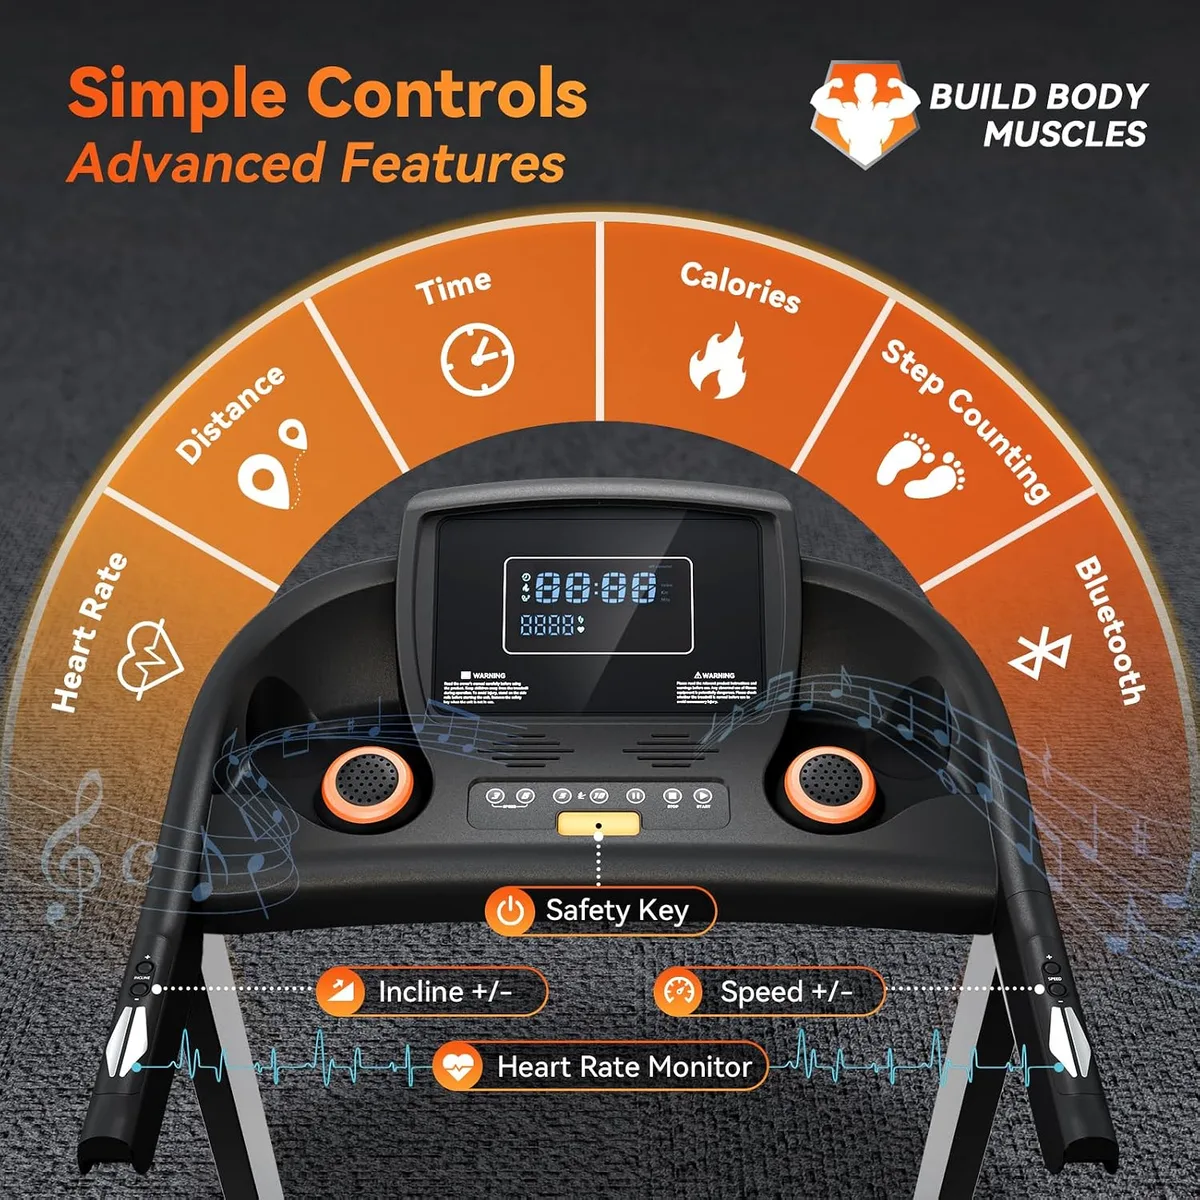
Image source: Bing (Web (fair-use with source credit))
Quick Answer: What Treadmill Incline Really Does to Your Workout
Set your treadmill incline to 1% to simulate outdoor running. Start at 0% for your warmup. Increase by 0.5% to 1% every few minutes.
Use 5% to 9% for walking intervals. Use 3% to 5% for running hills. Never grip the handrails.
Keep your posture upright and your core engaged.
Before You Start: Safety Basics and Your Treadmill's Controls
Every treadmill is a little different, but the safety fundamentals never change. The first thing you should do is attach the safety key or lanyard to your clothing. This is a small clip that kills the motor if you stumble or step off unexpectedly.
Skipping it is a gamble that is not worth taking, especially at higher speeds or steeper grades.
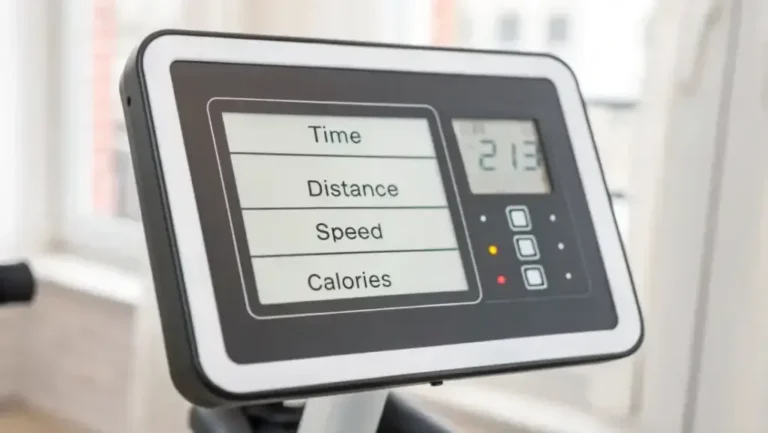
Next, get familiar with your console. Most home and gym treadmills come with either quick-select incline keys (like shortcuts for 3%, 6%, and 10%) or a pair of up and down arrows. Some budget models still use a manual lever tucked under the handrail.
If you are using a manual lever, make sure you only adjust it when the belt is moving slowly. Abrupt changes on a manual machine can throw off your stride.
As of 2026, most modern treadmills display the grade as a percentage, not degrees. A 10% grade means you are climbing 10 feet for every 100 feet of forward distance. That is noticeably steep, around the grade of a challenging outdoor hill.
For reference, standard road running hills rarely exceed 8% to 10%. You do not need to chase the maximum setting to get a real benefit.
Make sure the deck is level and the treadmill is on a stable, flat surface. Check that the belt is clean and properly tracked before your run. If something feels off, refer to the manufacturer's owner's manual rather than guessing.
A quick 30-second inspection can prevent a lot of problems.
Which Incline Should You Use? A Simple Decision Guide
There is no universal incline number that works for everyone. Your ideal setting depends on your goal, your fitness level, and how your body responds to the effort. Use the if, then logic below to find your starting point.
Incline for Fat Loss and Walking Workouts
If your goal is fat loss, you want a steady burn without huge impact on your joints. A 5% to 9% incline at a brisk walking pace of 2.5 to 3.5 mph is a solid range. Start at 5% for your first session, then add 1% each week as it starts to feel easier.
The popular 12-3-30 protocol (12% incline, 3 mph, 30 minutes) works, but it is intense for beginners. Work up to it over several weeks.
Incline for Endurance and Cardio Fitness
If you are training for general cardiovascular fitness or trying to raise your stamina, keep the incline lower and the speed higher. A range of 1% to 4% at a running or power-walking pace is ideal. This mimics the effort of outdoor movement without the constant downhill pounding on your knees.
You get a solid cardio pump without turning every session into a leg-burner. Cross-training with other machines can help with recovery, so consider mixing in other low-impact workouts on rest days.
Incline for Glute, Hamstring, and Calf Strength
If your goal is building strength in your posterior chain, go steeper and slower. Set the incline to 8% to 12% and keep your speed around 2.5 to 3.0 mph. Focus on driving through your heels and squeezing your glutes at the top of each step.
You will feel the difference in your hamstrings and glutes almost immediately. This is a fantastic way to train legs without adding heavy weights.
Incline for Outdoor Hill Training and Race Prep
If you are preparing for a hilly race or trail run, mimic the specific terrain you expect on race day. Use a 3% to 6% incline at your goal race pace, but keep the intervals short and recover at flat grade between them. You do not need to spend the entire run climbing.
A hill repeat workout means two to five minutes on an incline, followed by two to three minutes at 0% to simulate the recovery.
Step-by-Step: How to Use Treadmill Incline Correctly
Now let's put it all together into a simple, repeatable process. It takes about 60 seconds to set up properly, and it makes the whole workout feel intentional.
Start at 0%. Always warm up on a flat surface for at least three to five minutes. This gets your blood flowing and your legs ready before you ask them to climb.
Set your speed first. Get comfortable with your walking or running speed before you touch the incline. You need a stable baseline to judge how the hill feels.
Raise the incline gradually. Use the quick-select keys or arrows to move up in 0.5% to 1% increments. Give yourself at least 30 seconds to settle into the new grade before changing it again.
Check your effort. You want a level where you can talk in short sentences. If you are gasping, lower the incline or slow down. If you are bored, push it up a bit.
Keep your posture tall. Imagine a string pulling the top of your head toward the ceiling. Let your arms swing naturally. Take shorter, quicker steps rather than long strides.
Finish with a cooldown. Drop the incline back to 0% and keep moving for two to three minutes. This lets your heart rate return to normal and prevents blood from pooling in your legs.
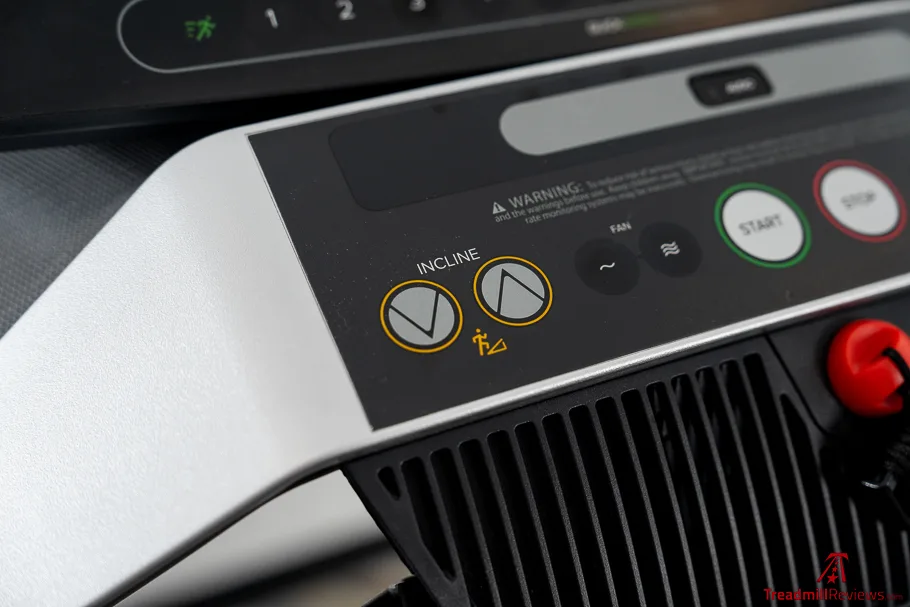
Image source: Bing (Web (fair-use with source credit))
Common Incline Mistakes (and What to Do Instead)
Even experienced treadmill users mess up incline training. These are the most common mistakes we see in our research, along with simple fixes.
Gripping the handrails. This is the biggest one. Holding the rails transfers weight from your legs to your arms, cutting the workload by as much as 30%. It also hunches your shoulders and throws off your posture. Hold the rails only when stepping on or off the machine.
Starting too steep. Jumping straight to 10% without a warmup is a recipe for calf strains and lower-back tightness. Build up over 10 to 15 minutes. Your muscles need time to adapt to the load.
Leaning forward. Many people bend at the waist when the grade gets steep, which compresses your lower back. Instead, keep your shoulders over your hips and your torso tall. Slight forward lean from the ankles is fine, but not from the waist.
Running too fast on high hills. A hill is supposed to slow you down. If you are running at the same speed on a 6% incline as you do on the flat, you are either gripping the rails or leaning forward to compensate. Drop the speed and maintain proper form.
Forgetting to reset the incline. Spend your cooldown at 0%. If you finish your workout at a 9% incline and stop abruptly, you might feel dizzy. Reset to zero before you slow down.
Ignoring your gait. Steep inclines naturally shorten your stride and increase your cadence. Let that happen naturally and focus on quick, light steps. It is a completely different movement pattern than flat running.
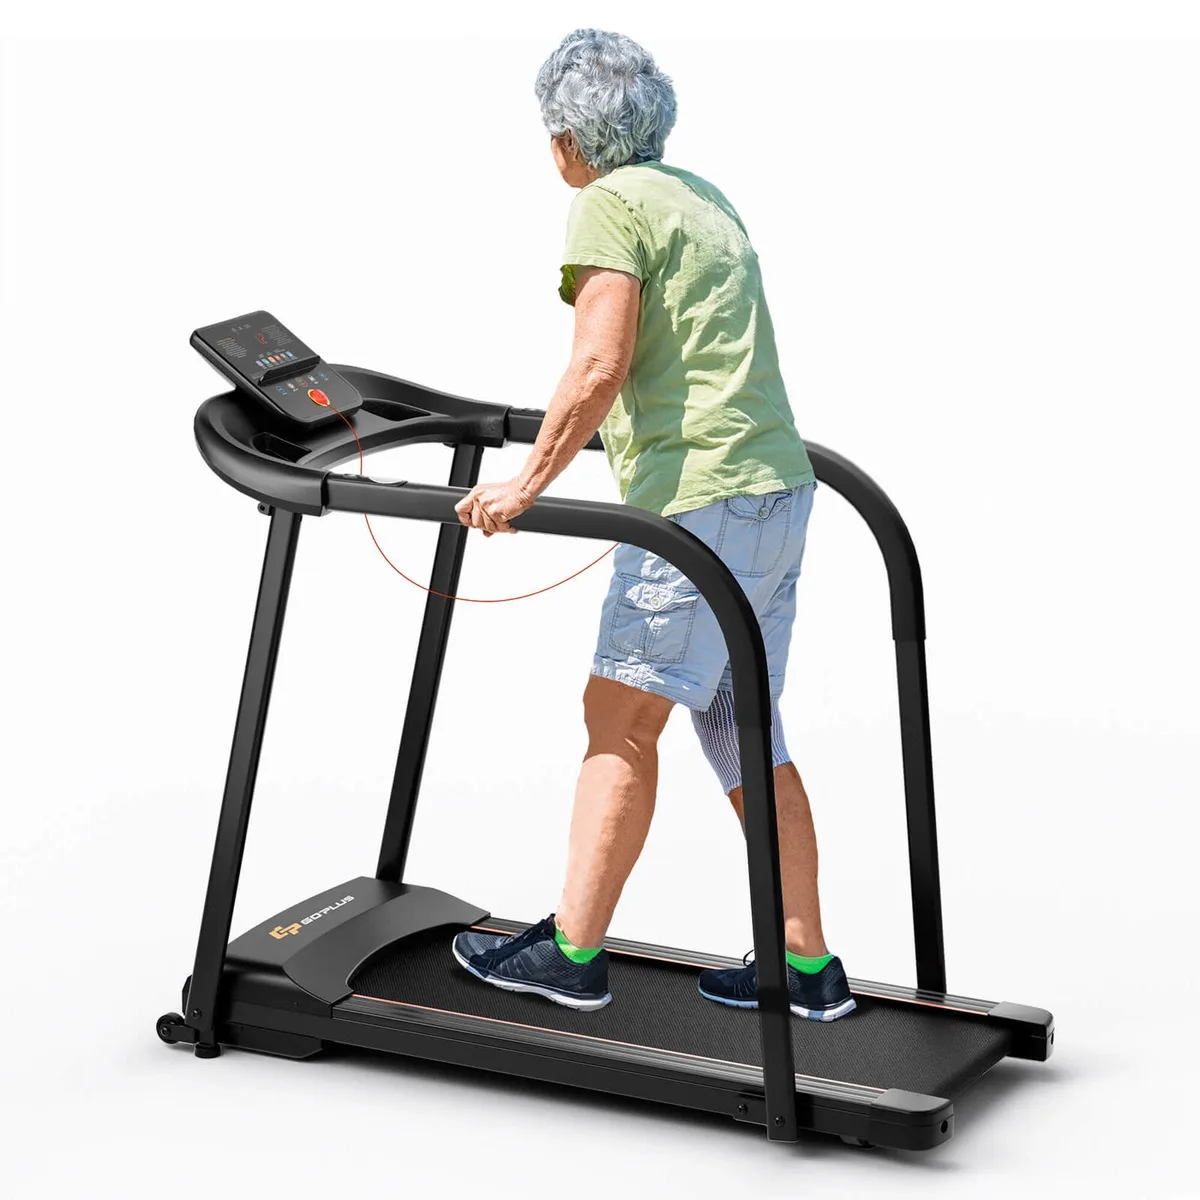
Image source: Bing (Web (fair-use with source credit))
Alternatives to Incline Training and When to Skip It
Incline training is powerful, but it's not the only way to challenge your legs and lungs. Sometimes it's not even the right choice. If you have knee issues, Achilles strain, or balance challenges, steep grades can do more harm than good.
If your joints feel fine, stick with the incline. If they don't, swap to a lower-impact machine that still raises your heart rate. An elliptical provides a smooth, joint-friendly motion while letting you adjust resistance and ramp height.
That makes it a smart backup for recovery days, especially if you're comparing other cardio machines for your routine.
| Machine | Impact | Best For | Incline Equivalent |
|---|---|---|---|
| Treadmill incline | High | Leg power, race prep | 5 to 12% grade |
| Stair climber | Low | Glute endurance | Continuous climbing |
| Elliptical | Low | Low-impact cardio | Resistance and ramp |
| Exercise bike | Low | Knee-friendly cardio | No incline, seated load |
The treadmill incline wins when you want specificity for outdoor hills. It loses when recovery or joint health is the priority. If muscle engagement differences matter to you, an elliptical hits similar posterior chain work with far less impact.
The biggest reason to skip incline entirely is poor balance. Gripping the rails to stay upright defeats the purpose, and a fall is worse than any workout. If you can't walk for three minutes at a 3% incline without holding on, build your base at 0% first.
Frequently Asked Questions
What incline should I use on a treadmill for beginners?
Start at 1% to mimic outdoor walking. Once that feels easy, move to 3% for 10 minutes and gradually increase. A 12% incline is advanced, so don't compare your progress to that.
Build your base first, then raise the grade.
Is incline walking better than running?
For fat loss, yes. Incline walking at a steep grade burns more calories per minute than flat running with less joint impact. For cardiovascular speed, running still wins.
Use both in your training to get the benefits of each.
How long should I walk on an incline?
Aim for 20 to 30 minutes at a moderate incline. If you're new, split it into three 10-minute blocks. Rest 2 minutes at 0% between blocks.
You can apply similar workout duration advice to other cardio machines.
Can I hold the handrails on a treadmill incline?
Only when stepping on or off. Gripping the rails reduces the calorie burn by up to 30% and ruins your posture. If you need support during the workout, lower the incline instead.
Your legs should do all the work.
What is the 12-3-30 workout?
Set the treadmill to 12% incline, 3 mph, for 30 minutes. It's a popular fat-burning protocol, but it's tough on calves and knees. Work up to it with 5% or 8% incline first.
Don't attempt it on your first session.
Final Verdict: How to Make Incline Work for Your Goals
The incline button is not a show-off feature. It's a precise training dial. Match it to your goal, respect your body, and don't rush the progression.
If you want a simple starting point, begin with this weekly plan. Week one, walk at 3% for 20 minutes. Week two, alternate 2 minutes at 5% with 2 minutes at 1%.
Week three, try 10 minutes at 7%.
Adjust the speed so you maintain a conversational pace. If you can't finish the workout, lower the incline until you can. Success on the treadmill is consistency, not heroics.
For variety and recovery, switching in some low-impact cardio options can help your joints. Check your stride and adjust regularly to avoid plateaus. And if you're ever unsure about your fitness level, talk to a doctor before starting steep incline work.
The American College of Sports Medicine recommends 150 minutes of moderate cardio per week for most adults. Incline walking counts toward that total quickly. Track your progress weekly, and you'll notice your breathing getting easier and your sessions feeling stronger.
That's the real win.