How to Prevent Rice From Sticking in Rice Cooker
Nothing ruins a good meal like rice that cements itself to the pot. If you've ever asked how to prevent rice from sticking in rice cooker, the fix usually isn't the machine. It's how you prepare the rice and water before the lid closes.
Most stuck-on rice comes from surface starch, not a broken appliance.
Standard rice cooker cups hold 180 ml, about 3/4 of a US cup. That measurement sets the baseline for every ratio in this guide. In our research, matching the water to the grain's starch level solves most sticky batches.
The right ratio, rinse, and rest period are all you need.
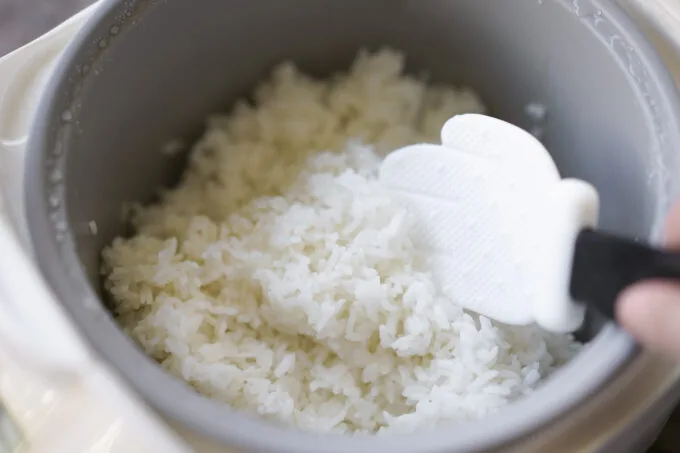
Image source: Bing (Web (fair-use with source credit))
Quick Answer
To prevent rice from sticking in a rice cooker, match the water ratio to the rice type. Rinse until the water runs mostly clear. Let the rice rest for 10 to 15 minutes after cooking.
Use the keep-warm cycle for under 30 minutes. Fluff with a wide rice paddle.
Why Rice Sticks in a Rice Cooker (It's Usually Not the Machine)
Rice sticks because of excess surface starch. As the starches heat up, they gelatinize and turn glue-like. That glue grabs onto the pot's surface and hardens into a crust.
All rice has some starch, but storage, polishing, and rinsing change how much remains.
The inner pot plays a role too, but not the way most people think. A nonstick surface is designed to release cooked grains. Once that coating gets scratched from metal scoops or abrasive scrubbing, the rice has nowhere to go.
Add a low water ratio, and the bottom scorches into the pot.
Common culprits that make rice stick:
- Skipping the rinse, which leaves starchy powder on the grains
- Adding too little water, so the bottom layer dries out
- Using a scratched or worn inner pot
- Stirring the rice during the cooking cycle
- Leaving the keep-warm on for over an hour
Fix one or two of these and you'll see a difference immediately. The next sections walk you through exactly where to start.
Branch 1: Match Your Rice Variety to the Right Water Ratio
Every rice grain has a different starch structure. Long-grain basmati stays fluffy because it has lower amylopectin. Short-grain sushi rice has more amylopectin, which makes it clump.
The water-to-rice ratio needs to follow the grain.
Use the rice cooker's 180 ml cup for a fair measure. The manufacturer's water lines inside the pot are drawn for white rice, not for brown or sticky varieties. Trust the ratio first, then adjust with the marking.
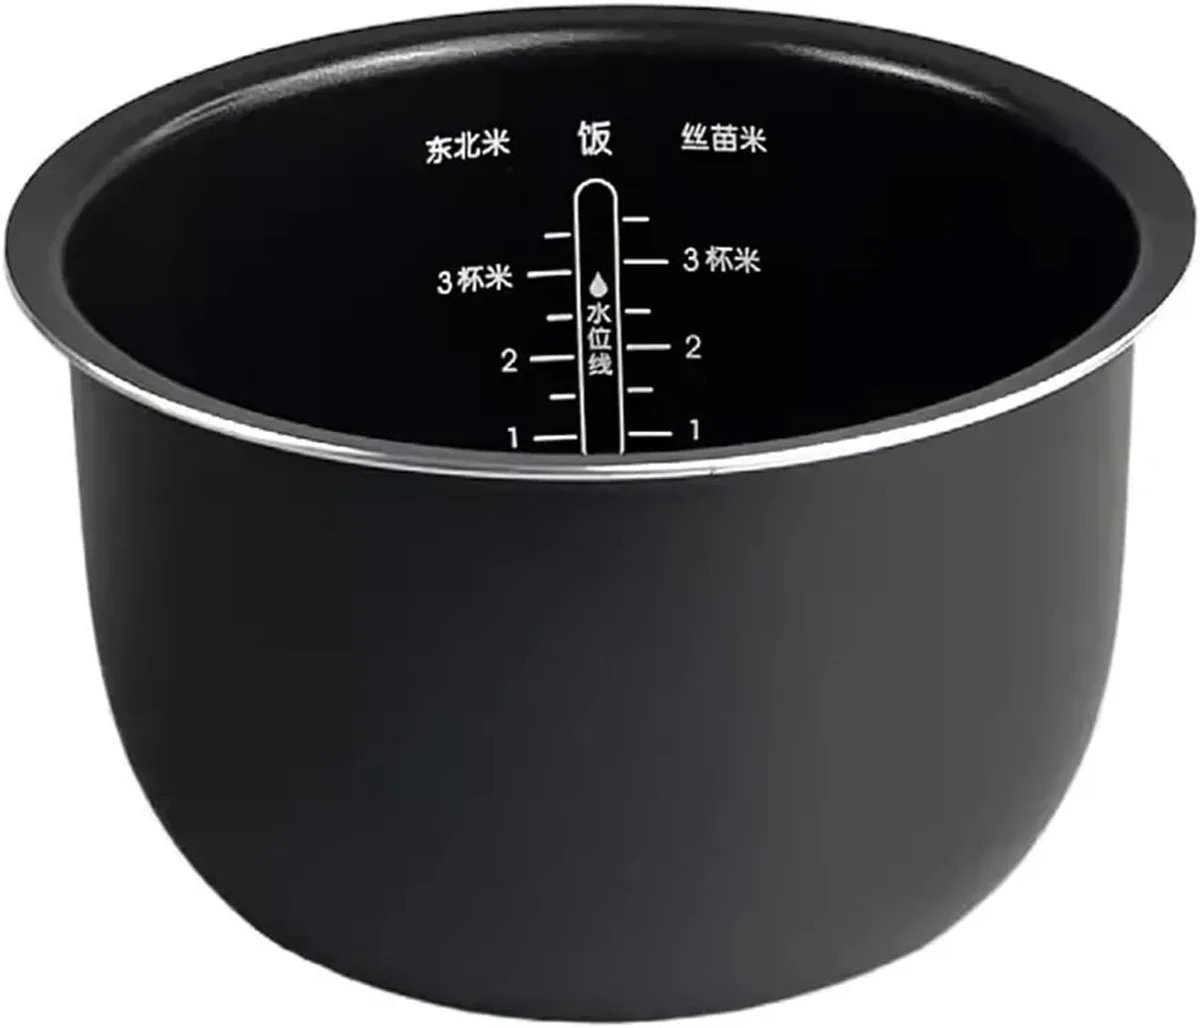
Image source: Bing (Web (fair-use with source credit))
| Rice Type | Water-to-Rice Ratio (by cup) |
|---|---|
| Long-grain white (basmati, jasmine) | 1 : 1.25 |
| Medium-grain (Calrose, sushi) | 1 : 1.1 to 1.2 |
| Short-grain (sushi, arborio) | 1 : 1 |
| Brown rice | 1 : 1.5 to 2 |
For a basic white rice, 1 cup of rice to 1 cup of water works. Add a little extra for long-grain. Too much water makes the bottom mushy and sticky.
Too little water makes the rice scorch and bond with the pot.
If you're serious about consistency, weigh your rice instead of scooping. A kitchen scale with gram accuracy removes the guesswork. The USDA's rice classifications also note how each grain behaves when cooked.
As of 2026, the simplest route is still the same: check the bag and use the right ratio.
Branch 2: Rinse, Soak, and Rest Like the Cooker Depends on It
Rinse the rice until the water runs mostly clear. That's about three or four rinses with cold water. Each rinse strips away the loose starch that creates sticky residue.
Skip the rinse only for enriched or fortified rice. The added vitamins sit on the outer layer, and washing washes them down the drain. Read the bag to confirm.
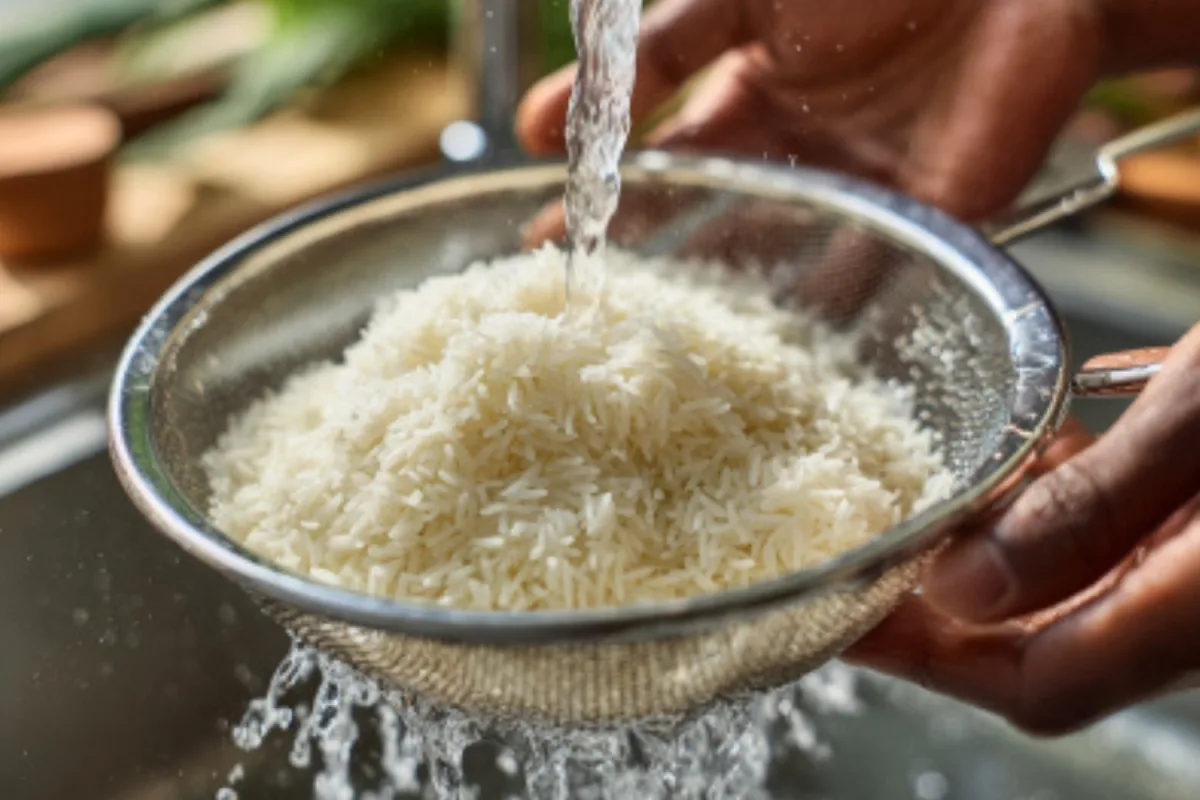
Image source: Bing (Web (fair-use with source credit))
Soaking is optional for white rice but helpful for short-grain and brown rice. Soak short-grain for 15 to 30 minutes. Soak brown rice for 1 hour or overnight.
The grains absorb water evenly, so the surface doesn't gelatinize too fast.
Resting matters just as much. When the cooker switches to warm, leave the lid closed for 10 to 15 minutes. The leftover steam finishes the cooking and firms up the grains.
Then fluff with a wide paddle, lifting the rice instead of stirring.
For weight-based cooks, zero out the scale before placing the rice bowl on it. If any water splashes onto the scale during rinsing, wipe it down so you don't trap moisture. A clean scale lasts longer and stays accurate.
Branch 3: Use the Right Cooker Settings and Keep-Warm Moves
Your cooker's settings are there for a reason. The white rice cycle runs about 25 minutes, and the quick cycle runs shorter. Shorter cycles often leave more sticky residue because the temperature can't stabilize.
Use the standard cycle whenever possible.
Cookers with a fuzzy logic or microcomputer chip adjust heat automatically. As of 2026, this feature appears in most mid-range models. It prevents the bottom layer from overheating while the top still cooks.
If your cooker has a sushi or brown setting, use it for those grains.
Keep-warm is convenient, but it dries rice out. The bowl holds around 140 to 160°F, which keeps food safe, yet it also releases moisture from the rice. After about 30 minutes, the bottom layer starts to harden.
Turn the cooker off once the resting period is over if you're not serving immediately.
If your rice still grabs the pot, add a teaspoon of neutral oil around the edges before cooking. It acts as a release layer without affecting the flavor. That small trick works great for older cookers with worn nonstick coatings.
A digital kitchen scale helps you track exact portions if you're cooking for meal prep. When you measure rice and water by weight, you repeat the same batch every time. That consistency alone prevents the sticky mistakes ahead.
Common Mistakes That Make Rice Stick (and How to Fix Each One)
Everyone has a rice day gone wrong. The good news is that most sticky batches trace back to the same few habits. Here are the ones we see most often, based on manufacturer guides and aggregate user feedback.
Skipping the rinse. This is the number one cause. Surface starch turns into a paste as the rice cooks. That paste bonds with the pot.
A 3 to 4 rinse cycle under cold water clears it away. If the water runs even slightly milky after the first rinse, keep going.
Using stale rice. Older grains lose moisture and cook unevenly. They flake, split, and leave residues on the pot. Check the harvest date on the bag if you can.
Rice older than a year will give you more trouble. For rice that's past its prime, soak it an extra 10 minutes.
Lifting the lid too early. Every open lid releases steam and drops the temperature. That interrupts the cooking cycle. The rice on the bottom stays wetter and the starches re-concentrate.
Trust the timer. Let the cooker finish its job.
Stirring mid-cycle. Stirring for a "more even cook" actually breaks the rice kernels. The cracked pieces expel excess starch and cling to the pot. Keep the spoon out until the cooker switches to warm.
Leaving keep-warm on for hours. The warm cycle slowly draws moisture out of the rice. The bottom grains dry, stick, and eventually char. If you're not eating within 30 minutes, unplug the cooker and let the rice rest with the lid closed.
Want a more precise fix? Calibrate your kitchen scale once a month to keep your water ratios accurate. A scale that drifts by a few grams can throw off a small batch.
Quick Troubleshooting Table: If It Still Sticks, Check This
Sometimes the rice still sticks even after you've done everything right. Use this table to isolate the cause.
| Symptom | Likely Cause | Fast Fix |
|---|---|---|
| Sticky bottom, fluffy top | Water ratio too low | Add 2 tablespoons extra water per cup |
| Rice clumps together | Too much starch left | Rinse one more time, drain well |
| Spotty burnt spots | Worn or scratched nonstick | Add 1 teaspoon oil around edges |
| Rice glues to lid | Too much water, boils over | Reduce water slightly, leave 2% steam gap |
| Cooker beeps early | Rice variety mismatch | Use the correct setting for the grain |
One overlooked cause is the inner pot itself. If you see fine scratches, the nonstick layer has worn thin. Some manufacturers recommend replacing the pot after 3 to 5 years of daily use.
Check your model's manual for the exact lifespan.
FAQs on Preventing Sticky Rice in a Rice Cooker
How long should I rinse rice before cooking?
Rinse for about 30 to 60 seconds per batch, swirling the grains with your hand. Change the water 3 to 4 times until it runs clear. That's enough to remove the surface starch without washing away nutrients.
Can I cook rice without rinsing?
Yes, but expect more sticking. Unrinsed rice leaves a starchy film that turns gluey near the bottom. The only exception is fortified or enriched rice, where rinsing removes the added vitamins.
Check the bag before you wash.
Should I add oil to the rice cooker?
A teaspoon of neutral oil around the inner pot's edge is a reliable release layer. It won't flavor the rice. It simply stops the outer grains from grabbing onto the coating.
This is especially helpful for older machines.
Why does my rice stick to the bottom even with a nonstick pot?
A nonstick coating loses effectiveness as it wears. Also, most nonstick cookers still need the rice to produce enough steam to lift the grains. If the water ratio is too low, the bottom dries before the top cooks.
Adjust the water upward slightly.
How long should I let rice rest before serving?
Rest for 10 to 15 minutes after the cooker switches to warm. Leave the lid closed. This lets the steam redistribute and the grains finish firming up.
Fluff with a wide paddle afterward to separate the grains without crushing them.




One Comment