How to Calibrate a Kitchen Scale
A perfectly measured ingredient is key to a successful recipe, but a slightly off kitchen scale can sabotage your efforts. If your baking results are inconsistent or your savory dishes just don't taste right, your scale might be the culprit. Learning how to calibrate a kitchen scale is a straightforward process that ensures accuracy.
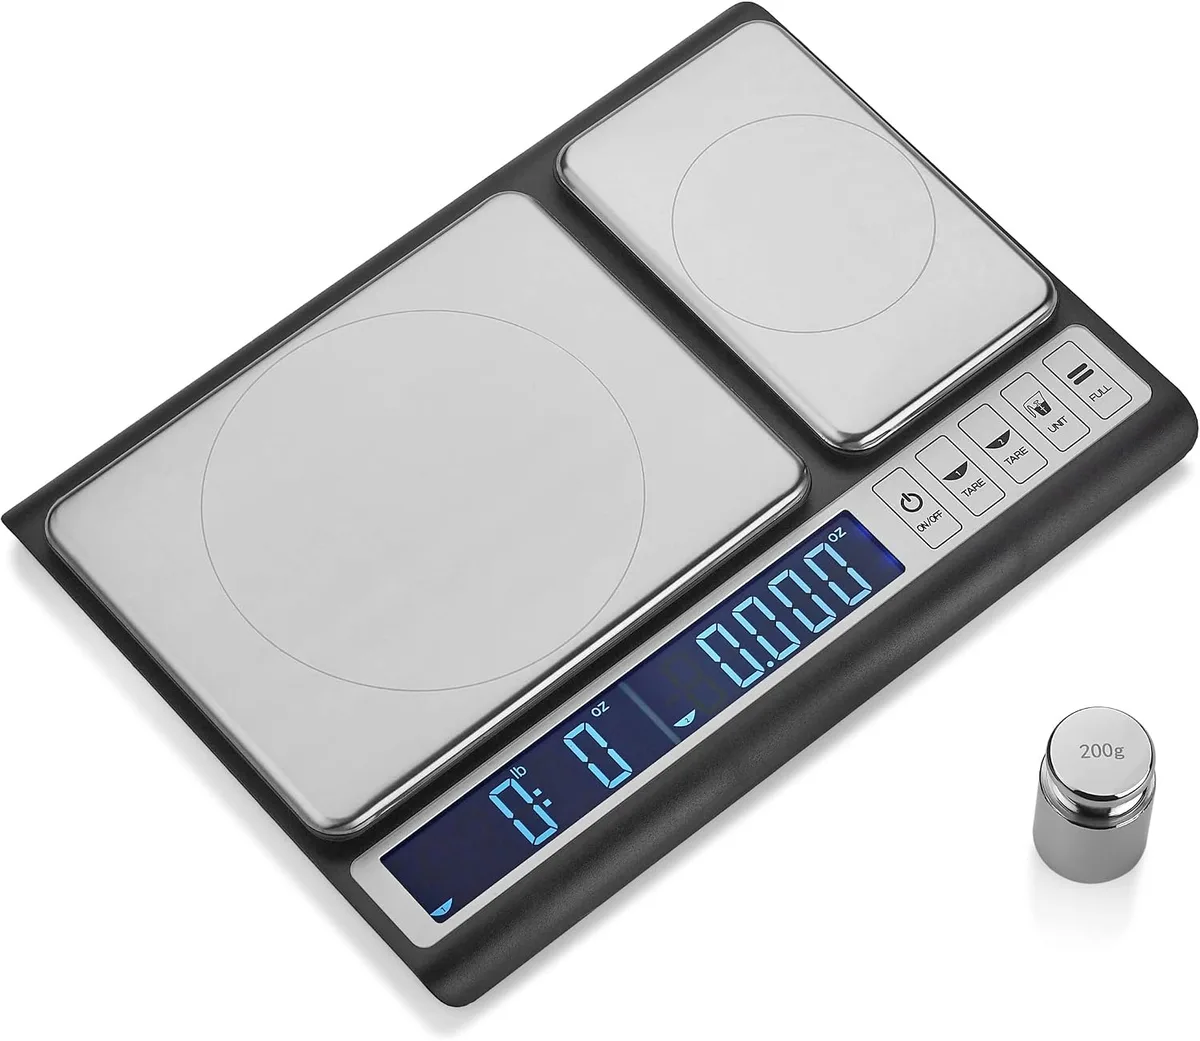
Our research indicates that a common range for kitchen scale accuracy can be as fine as ±0.1 grams, but this varies significantly by model and price point. Many manufacturers provide specifications for their devices, often on the product packaging or within the user manual. For instance, some professional-grade scales adhere to specific standards, like those outlined by the International Organization of Legal Metrology (OIML) or the National Institute of Standards and Technology (NIST) in the US, ensuring reliable performance when properly maintained.
Quick Answer
To calibrate a kitchen scale, ensure it's on a flat surface and press and hold a specific calibration button until prompted. Place the required calibration weight on the scale, confirm the reading, and then remove the weight. Your scale should then display a success message and be ready for accurate use.
Why Accurate Kitchen Scale Readings Matter
Precision in the kitchen isn't just about following instructions; it's about understanding how ingredients interact. When you're working with recipes, especially for baking, the ratio of ingredients is crucial. A slight overage of flour can lead to dry cookies, while too much leavening agent can cause a cake to collapse.
Manufacturer specifications often detail the expected accuracy for a given scale, sometimes down to a tenth of a gram. For example, many digital scales aim for an accuracy of ±0.1 grams or better for small amounts.
The Impact of an Uncalibrated Scale on Recipes
An uncalibrated scale introduces variability that can lead to unpredictable results. If your scale consistently reads slightly high, you might be using less of an ingredient than the recipe calls for, altering the texture and flavor. Conversely, a scale reading low means you're adding too much.
This is particularly problematic for delicate recipes where precise ratios are critical, such as meringues, macarons, or certain bread doughs. As of 2026, continued advancements in sensor technology are making home scales more accurate, but they still require periodic recalibration.
When to Suspect Your Scale Needs Calibration
You might suspect your scale needs calibration if you notice a few key signs. If weighing the same object multiple times yields different results, that's a red flag. Another indicator is if the scale doesn't consistently return to zero when you remove items, or if it shows a weight when nothing is on it.
If you've moved your scale from one room to another, or if it's been dropped or subjected to a significant impact, it's wise to calibrate it. For those who rely on their scale for precise measurements, such as in developing recipes or adhering to dietary plans, regular calibration is a good practice.
Understanding Your Kitchen Scale's Calibration Modes
Most digital kitchen scales, especially those designed for precision, offer at least two modes of calibration: zero calibration and standard calibration. Understanding the difference helps you troubleshoot effectively. Some advanced scales might have more intricate settings, but these two cover the majority of user needs.
Manufacturer documentation is your best guide here, as the specific terminology and button sequences can vary.
Zero Calibration Explained
Zero calibration, often referred to as "tare" or "zeroing out," is the most common function and should be performed before almost every weighing. This process ensures that the scale reads exactly zero grams when there are no items on its weighing platform. If your scale doesn't return to zero automatically, or if you're adding ingredients sequentially into a bowl on the scale, you'll need to use the tare function.
This resets the scale's reading to zero, allowing you to measure only the weight of the next ingredient added.
Standard Calibration Explained
Standard calibration is a more in-depth process that corrects the scale's internal measurement system. This involves using a specific, known weight to tell the scale precisely what that weight is. For example, a scale might prompt you to place a 500-gram calibration weight on its platform.
The scale then measures that weight and adjusts its internal settings to ensure it accurately reads 500 grams in the future. This is the kind of calibration you perform when you suspect the scale's overall accuracy has drifted, not just when you need to zero it out for sequential weighing.
Step-by-Step: Calibrating Your Digital Kitchen Scale
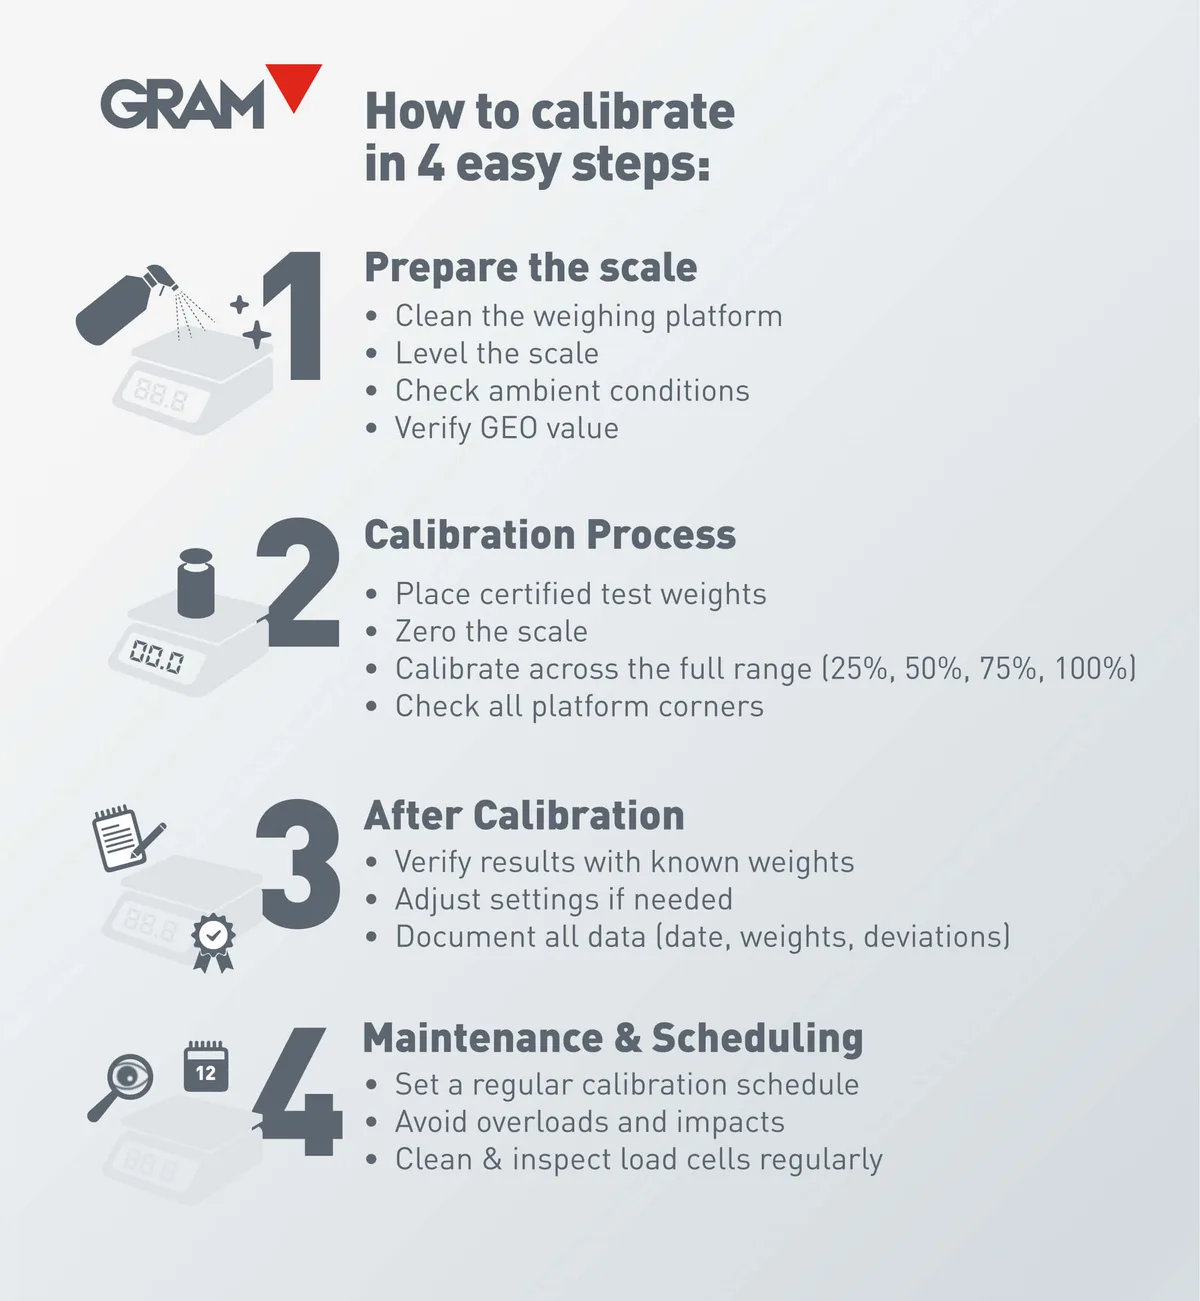
Calibrating your digital kitchen scale is a process that, while varying slightly by model, follows a general workflow. You'll need a stable, flat surface, the scale itself, and, crucially, a calibration weight. If you don't have a dedicated calibration weight, consult your scale's manual, as some manufacturers suggest using common household items like a specific bag of flour or a precise amount of water, though these are less reliable than calibrated weights.
The goal is to ensure the scale accurately reports a known mass.
Step 1: Preparation and Pre-Checks
Before you begin, ensure your scale is placed on a perfectly flat and stable surface. Avoid areas with drafts, vibrations, or extreme temperature fluctuations. This stability is critical for accurate calibration.
Also, make sure the weighing platform is clean and free of any debris. If your scale uses batteries, check that they are fresh, as low power can sometimes affect performance.
Step 2: Entering Calibration Mode
Consult your scale's user manual to find the specific button or button combination for entering calibration mode. This is often a button labeled "CAL," "MODE," or "UNIT," which you typically press and hold for several seconds. The scale's display will change, often showing "CAL," "0," or a flashing number, indicating it's ready for the next step.
Step 3: Confirming the Zero Point
Once in calibration mode, the scale will usually prompt you to confirm the zero point. It might display "0" or "0.0." If it doesn't, press the designated button again to establish the zero reference point. This ensures the scale knows what "nothing" weighs before you introduce a known mass.
Step 4: Using Calibration Weights (or Recommended Items)
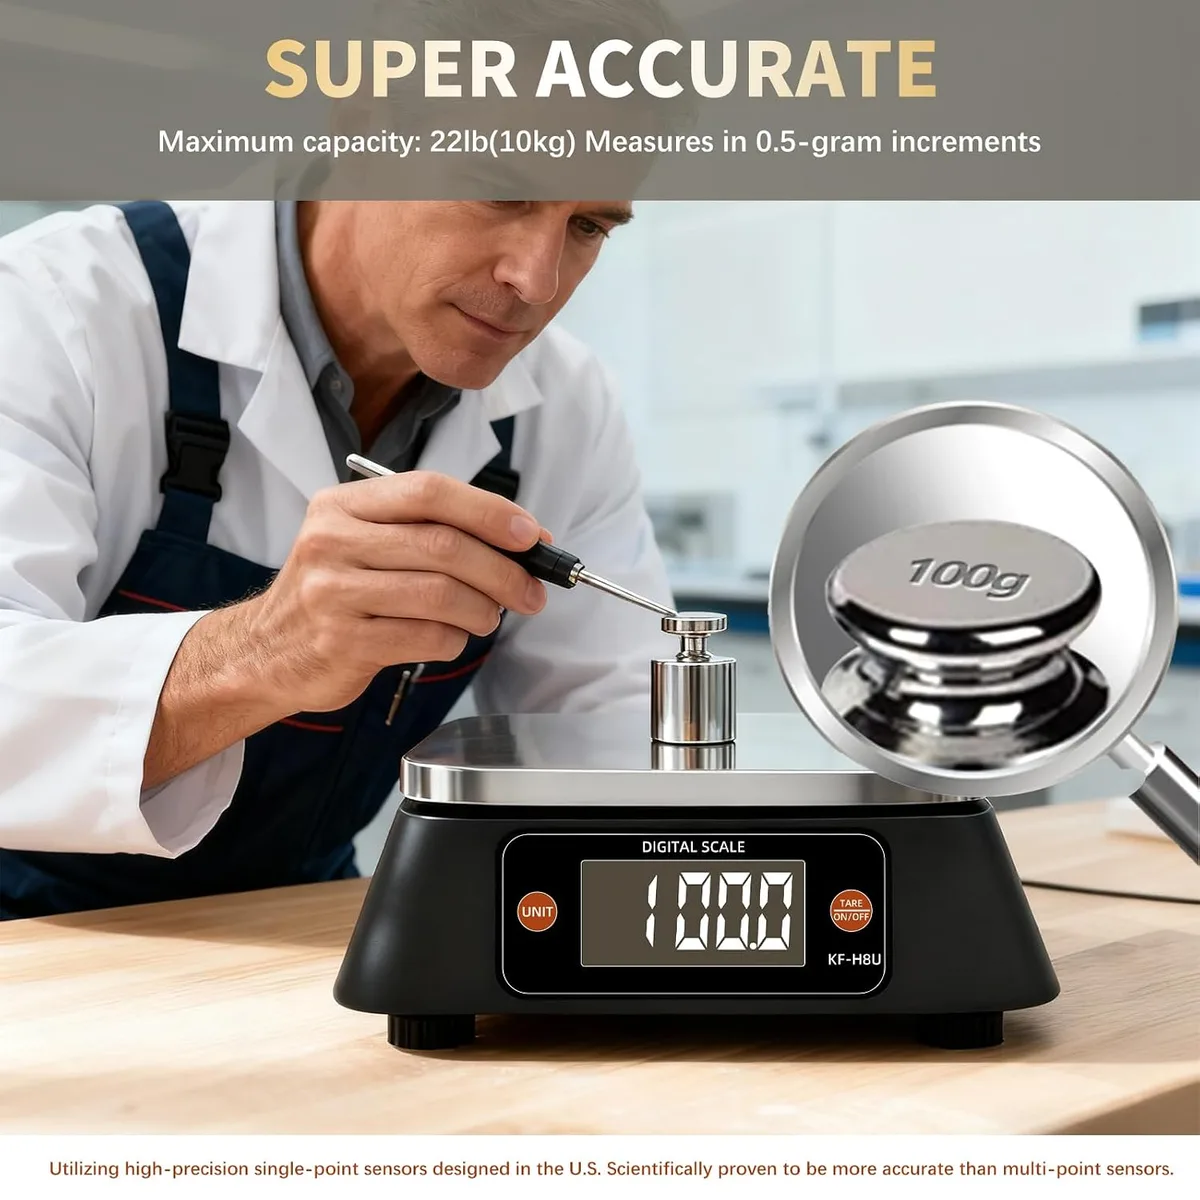
This is where you introduce a known weight. Your manual will specify the exact weight required for calibration, often in grams (e.g., 100g, 500g, or 1kg). Carefully place this calibration weight directly in the center of the scale's platform.
If you don't have a calibration weight, check your manual for recommended alternatives, but be aware that common items can be less precise.
Step 5: Confirming the Weight and Exiting Mode
After placing the calibration weight, the scale's display will typically show the weight it detects. It might flash or display a confirmation message like "PASS," "CAL," or the recognized weight. Press the calibration button again, or wait for the scale to automatically exit calibration mode after a few seconds.
This action finalizes the calibration process.
Step 6: Testing Your Calibrated Scale
To confirm successful calibration, remove the weight and power cycle the scale (turn it off and then on again). Weigh your calibration weight once more to ensure it reads accurately. Then, test with a few other items whose weights you know.
If the readings are now correct, your scale is properly calibrated. If you encounter issues, refer to the troubleshooting section or your manual.
Common Kitchen Scale Calibration Problems and How to Fix Them
Even with precise instructions, calibration doesn't always go smoothly. Our research indicates that the most frequent issues arise from environmental factors or user error during the process. Fortunately, most problems are solvable with a bit of troubleshooting.
Understanding these common pitfalls can save you frustration and ensure your scale is always ready for action.
Troubleshooting Inaccurate Readings
If your scale still provides inaccurate readings after calibration, the first suspect is the surface it's on. Ensure the scale is on a perfectly flat, level, and stable surface. Even a slight wobble can throw off sensitive digital scales.
Avoid placing it near vibrating appliances like blenders or washing machines. Also, check for drafts from open windows or vents that could be subtly affecting the weighing mechanism. Sometimes, simply removing the scale from an uneven surface and placing it on a solid countertop can resolve the issue.
Dealing with Calibration Errors
Calibration errors, often shown as "Err" or other codes on the display, typically mean something went wrong during the calibration sequence. The most common cause is using the incorrect calibration weight or placing the weight incorrectly. Double-check your scale's manual for the exact weight required, which is often specified by a standard like OIML Class F2 or ASTM Class III for more precise scales.
Ensure the weight is placed centrally and that the scale was undisturbed during the process. If the error persists, try repeating the calibration process from step one, ensuring each prompt is followed precisely.
Ensuring a Stable Weighing Surface
The importance of a stable surface cannot be overstated for accurate weighing and calibration. Imagine trying to measure a tiny amount of spice on a table that's constantly rattling; the measurement will inevitably be unstable. Official standards, such as those from NIST, emphasize that weighing instruments should be used on stable, vibration-free platforms to achieve their specified accuracy.
If your countertop is slightly uneven, consider using a thick, flat cutting board underneath the scale as a makeshift stable base. This small adjustment can make a significant difference in the reliability of your measurements.
Expert Tips for Maintaining Scale Accuracy
Keeping your kitchen scale accurate over time involves more than just occasional calibration. Proactive care can extend its lifespan and ensure consistent performance for years. Think of it like maintaining any precision instrument; a little attention goes a long way.
Manufacturer specifications often mention recommended maintenance, such as avoiding overloading the scale beyond its stated capacity, which can damage the internal sensors.
For example, many home scales have a maximum capacity ranging from 5 to 15 kilograms. Exceeding this limit can cause permanent inaccuracies or even complete failure, similar to how exceeding the load limit on a piece of equipment can cause structural damage. Always check the maximum weight your scale can handle before placing items on it.
Best Practices for Scale Longevity
Regular cleaning is fundamental. Wipe down the weighing platform and any buttons with a soft, damp cloth. Avoid using harsh chemicals or abrasive cleaners, as these can damage the surface or electronic components.
If you spill something on your scale, clean it up immediately to prevent sticky residue or corrosion. Store your scale in a dry place, away from extreme temperatures or direct sunlight, which can affect the delicate electronics.
When to Consider a New Scale
While calibration and care can help, no scale lasts forever. If your scale consistently fails to calibrate, shows erratic readings even after troubleshooting, or has suffered significant physical damage, it might be time for a replacement. Scales that have been used heavily in commercial kitchens, for instance, might reach the end of their reliable lifespan sooner than those used only occasionally at home.
As of 2026, advancements in scale technology continue to offer improved accuracy and durability, making upgrades a worthwhile consideration if your current scale is showing its age.
Frequently Asked Questions About Kitchen Scale Calibration
How often should I calibrate my kitchen scale?
For most home cooks, calibrating your kitchen scale every 2, 3 months is sufficient. However, if you use your scale daily for precision baking or notice any signs of inaccuracy, it's best to calibrate it more frequently.
Can I use a coin to calibrate my scale?
While some older or very basic scales might have been designed for coin calibration, most modern digital scales require specific calibration weights. Using a coin may not be precise enough and could lead to inaccurate readings. Always check your scale's manual for its specific calibration requirements.
What's the difference between taring and calibrating?
Taring (or zeroing) resets the scale to zero with an item already on the platform, allowing you to measure the net weight of added ingredients. Calibration, on the other hand, is a more thorough process that adjusts the scale's internal accuracy using a known weight, ensuring it measures all weights correctly. You'd tare multiple times during a single recipe, but calibrate only periodically.
My scale says "Err" during calibration, what does that mean?
An "Err" message usually indicates a problem during the calibration process. This could be due to an incorrect calibration weight, an unstable surface, interference from air currents, or the scale being bumped during the procedure. Try repeating the calibration steps carefully, ensuring all conditions are met.
If the error persists, consult your scale's manual or contact the manufacturer.