How to Clean Blender Blades
Figuring out how to clean blender blades properly is key to keeping your kitchen appliance running smoothly and hygienically. Leaving residue behind can lead to dull blades and, worse, potential bacteria buildup. Our research shows that proper cleaning can extend the life of your blender significantly.
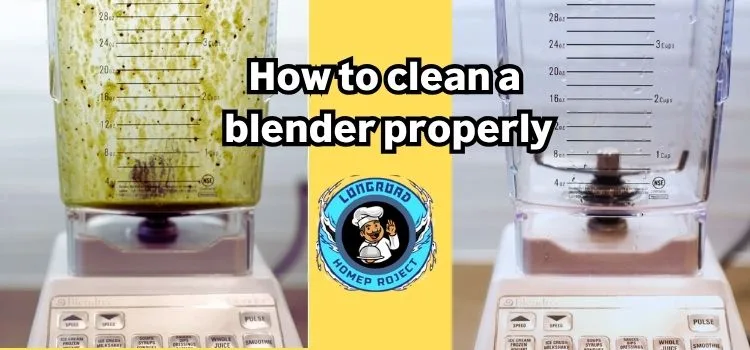
Manufacturer specifications for most blenders recommend immediate cleaning after use to prevent food particles from hardening. This simple step can make a huge difference in maintenance and performance. Let's break down the best ways to get those blades spotless.
Quick Answer
To clean blender blades, immediately after use, fill the jar halfway with warm water and a drop of dish soap, then run the blender for 20-30 seconds. Rinse thoroughly. For tougher residue, unplug the blender, carefully disassemble the blade assembly if possible, and scrub with a bottle brush or toothbrush in warm, soapy water.
Always dry completely.
The Stubborn Residue Challenge
We've all faced it: that stubborn smoothie sludge or dried-on soup that seems welded to the blender blades. It’s not just unsightly; it can be a real pain to get off. If left too long, these bits can harden, making subsequent cleaning efforts much more difficult.
This residue can attract bacteria if not removed properly, which is something no one wants in their food. While many blender jars are dishwasher-safe, the intricate design of the blade assembly itself often requires a more hands-on approach. Getting into those tight spots without damaging the blades or injuring yourself is the main challenge.
Why Seeing Is Believing for Blender Blade Cleaning
While we can describe the process, understanding how to clean blender blades is often best grasped visually. Different blenders have slightly varied blade designs, some have multiple small blades, others a larger single unit, and some have a distinct cutting angle. Seeing how to maneuver a cleaning tool, like a bottle brush, around these specific shapes makes all the difference.
Visual guides can show you exactly how to reach the crevices where food particles tend to hide. They highlight the safest angles to approach the sharp edges of the blades. For instance, a diagram might demonstrate the optimal way to tilt a bottle brush to scrub beneath the blade tips without slipping.
This spatial understanding is hard to convey through words alone, making visual aids invaluable for effective, safe cleaning.
Essential Tools for the Job
To tackle those blender blades effectively, you don't need a whole arsenal of gadgets. A few simple items will make the job much easier and safer. Having the right tools means you can reach all the nooks and crannies without excessive force or risk.
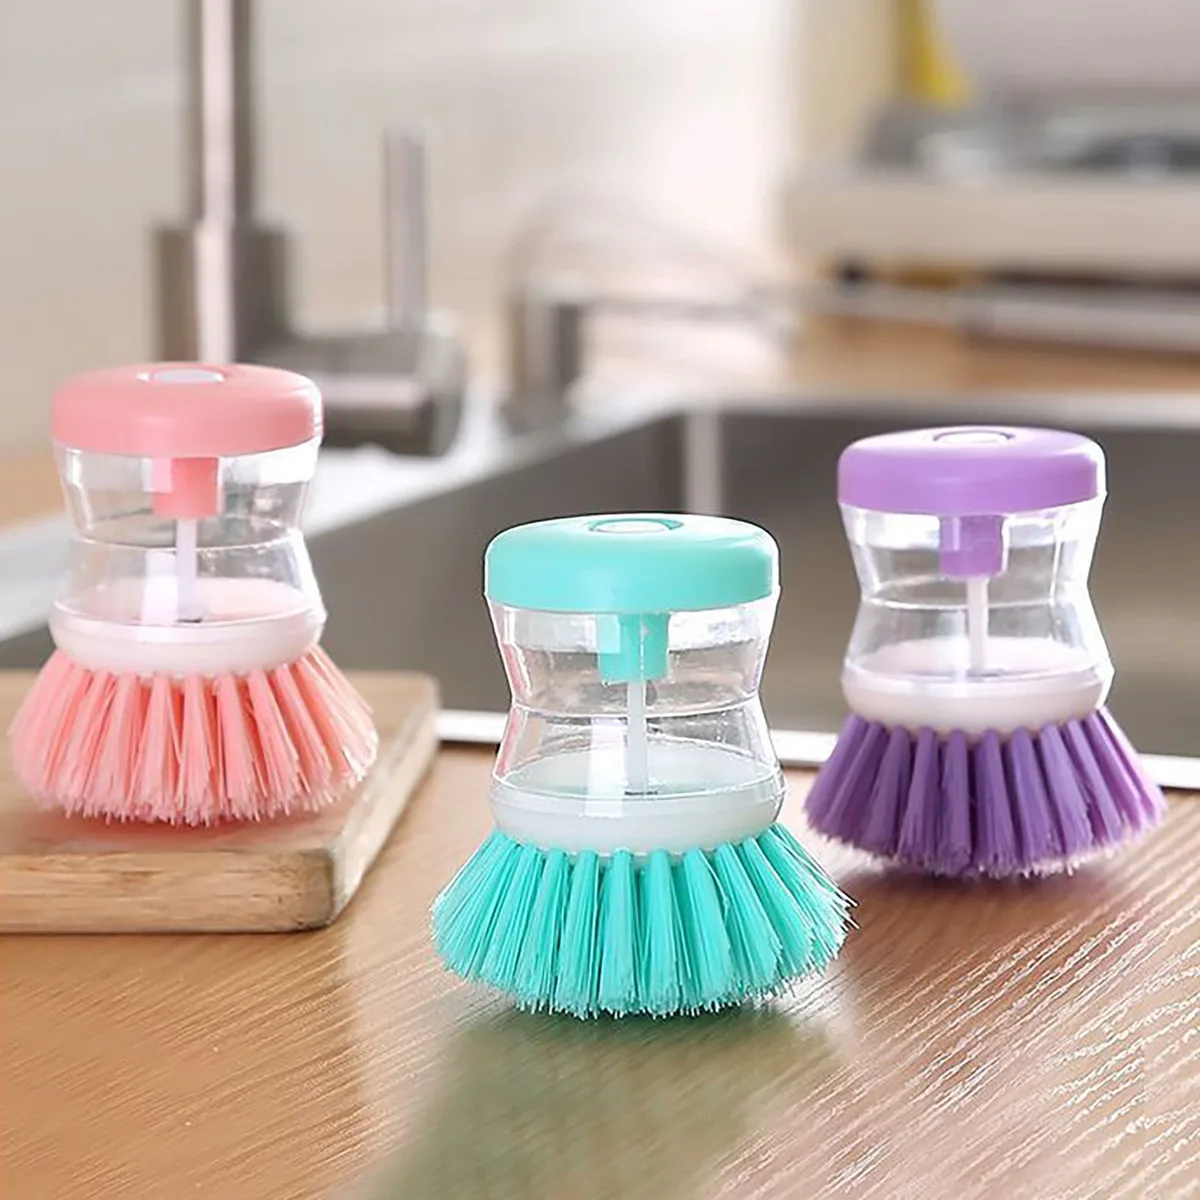
Here’s what we found most helpful based on common blender designs and cleaning needs:
- Bottle Brush: With its long handle and flexible bristles, a good bottle brush is perfect for reaching around the blades and inside the blender jar.
- Old Toothbrush: An old toothbrush is excellent for scrubbing those super tight spots, like the base of the blade assembly where residue loves to cling.
- Dish Soap: Your regular dish soap is highly effective at breaking down food grease and grime.
- Warm Water: Warm water helps to loosen dried-on food particles more effectively than cold.
- Clean Towel or Drying Rack: Essential for ensuring blades are completely dry, preventing water spots and rust.
For those who often struggle with dried-on ingredients, having these simple tools readily available can turn a frustrating chore into a quick task.
Quick Rinse: Your First Line of Defense
This is your best friend for daily maintenance and preventing tougher cleaning jobs later. If you can do this right after you’ve finished using your blender, you're golden. It's a method designed to keep things simple and fast, especially for fresh residue.
- Immediate Action: As soon as you've poured out your smoothie, soup, or sauce, grab your blender jar.
- Fill It Up: Add about halfway-full of warm water to the jar.
- A Drop of Soap: Squeeze in just one or two drops of your standard liquid dish soap. Don't go overboard; a little goes a long way here.
- Blend It Away: Secure the lid tightly onto the jar. Then, run the blender on a low speed for about 20 to 30 seconds. This action effectively creates a mini-dishwasher cycle inside the jar, using the water and soap to dislodge most fresh food particles.
- Rinse and Check: Pour out the soapy water and rinse the jar thoroughly under running tap water. Most of the time, this is all you’ll need to do to get it clean.
If you notice any lingering film or spots after the rinse, a quick swipe with a soft sponge or that handy bottle brush will usually finish the job. This quick rinse is a simple habit, but it’s incredibly effective at preventing tougher cleaning challenges down the line.