How to Clean Stand Mixer
You've got that trusty stand mixer, humming away and making your baking dreams come true. But let's be real, after a few batches of cookies or that epic bread dough, it's probably seen better days, right? Cleaning these things can feel a bit daunting, especially with all those nooks and crannies.
Don't worry, though! It’s not as tricky as it seems, and we're here to walk you through it, step-by-step. Think of your stand mixer as a kitchen workhorse.
It deserves a good scrub-down now and then to keep it running smoothly and looking its best.
Image source: Bing (Web (fair-use with source credit))
Quick Answer
To clean your stand mixer, unplug it, wash the bowl and attachments separately, and wipe down the main unit with a damp cloth. Always use mild dish soap and avoid submerging the motor. Dry all parts thoroughly before reassembling or storing.
Why Visuals Are Your Best Friend for Cleaning Stand Mixers
When it comes to cleaning a stand mixer, sometimes words just aren't enough. Imagine trying to explain the exact angle to hold a cloth to get into a tight spot, or the subtle difference between a clean and a still-dirty hinge. That’s where visuals come in.
They show you precisely where to focus your attention and how to manoeuvre your cleaning tools.
For instance, a diagram can highlight areas where flour dust commonly accumulates, or a quick video clip can demonstrate how to safely detach a specific attachment. This visual guidance makes the whole process much clearer and helps prevent common mistakes that could damage your appliance. Think of it as having a little helper right there showing you the ropes.
Getting Started: Safety First and What You'll Need
Before you even think about grabbing a sponge, the most critical step is unplugging your stand mixer. This is non-negotiable. Seriously, we don't want any accidental motor activations while you're reaching into parts or wiping down surfaces.
Essential Cleaning Supplies
You likely already have most of what you need right in your kitchen. Having these items ready makes the whole cleaning process much smoother.
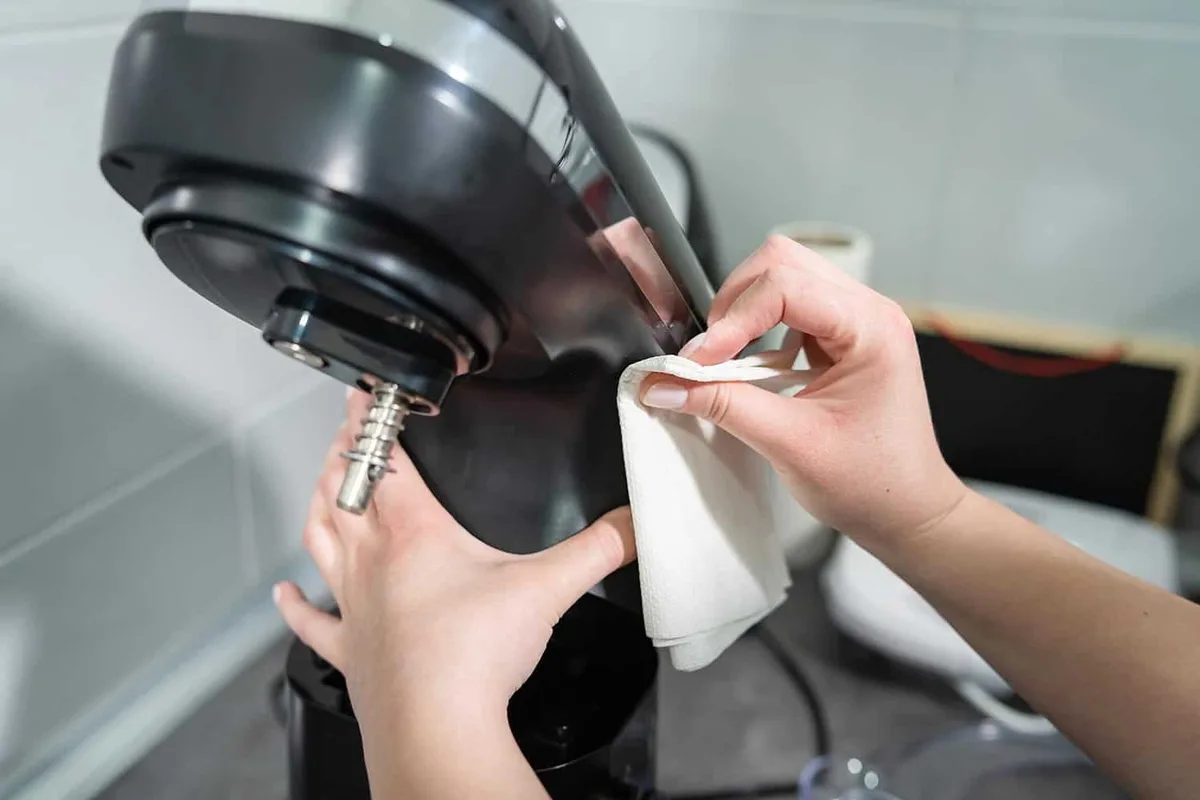
Image source: Bing (Web (fair-use with source credit))
- Warm Water: The foundation for most gentle cleaning tasks.
- Mild Dish Soap: Effective for cutting through grease and food residue without harshness.
- Soft Cloths or Sponges: Crucial for wiping surfaces without scratching the finish. Microfiber cloths work exceptionally well.
- Soft Brush: An old toothbrush or a dedicated pastry brush is perfect for getting into tight crevices and around mechanical parts.
- Clean, Dry Towel: For thoroughly drying components and giving the exterior a final polish.
Your Stand Mixer's Parts: What to Look For
Stand mixers, while varied, generally have a few key areas that need attention. Understanding these parts helps you target your cleaning efforts effectively.
- The Bowl: This is where most of the action happens. Bowl materials can range from stainless steel to glass.
- Attachments: These include the dough hook, whisk (or balloon whisk), and flat beater (or paddle attachment). They're typically made of stainless steel or coated metal.
- Mixer Head & Body: This is the main unit containing the motor. It has a finish that can be plastic or painted metal.
- Attachment Points: The area where the beater or whisk connects to the mixer head.
- Hinges/Tilt-Head Mechanism: Where the mixer head pivots.
- Control Dials/Buttons: The interface for operating the mixer.
- Power Cord: The essential connection to power.
Step-by-Step: Cleaning the Bowl and Attachments
This is usually the most straightforward part of cleaning your stand mixer. These components come into direct contact with food and are often designed for easier cleaning.
Dishwasher Safe? Checking Your Manual
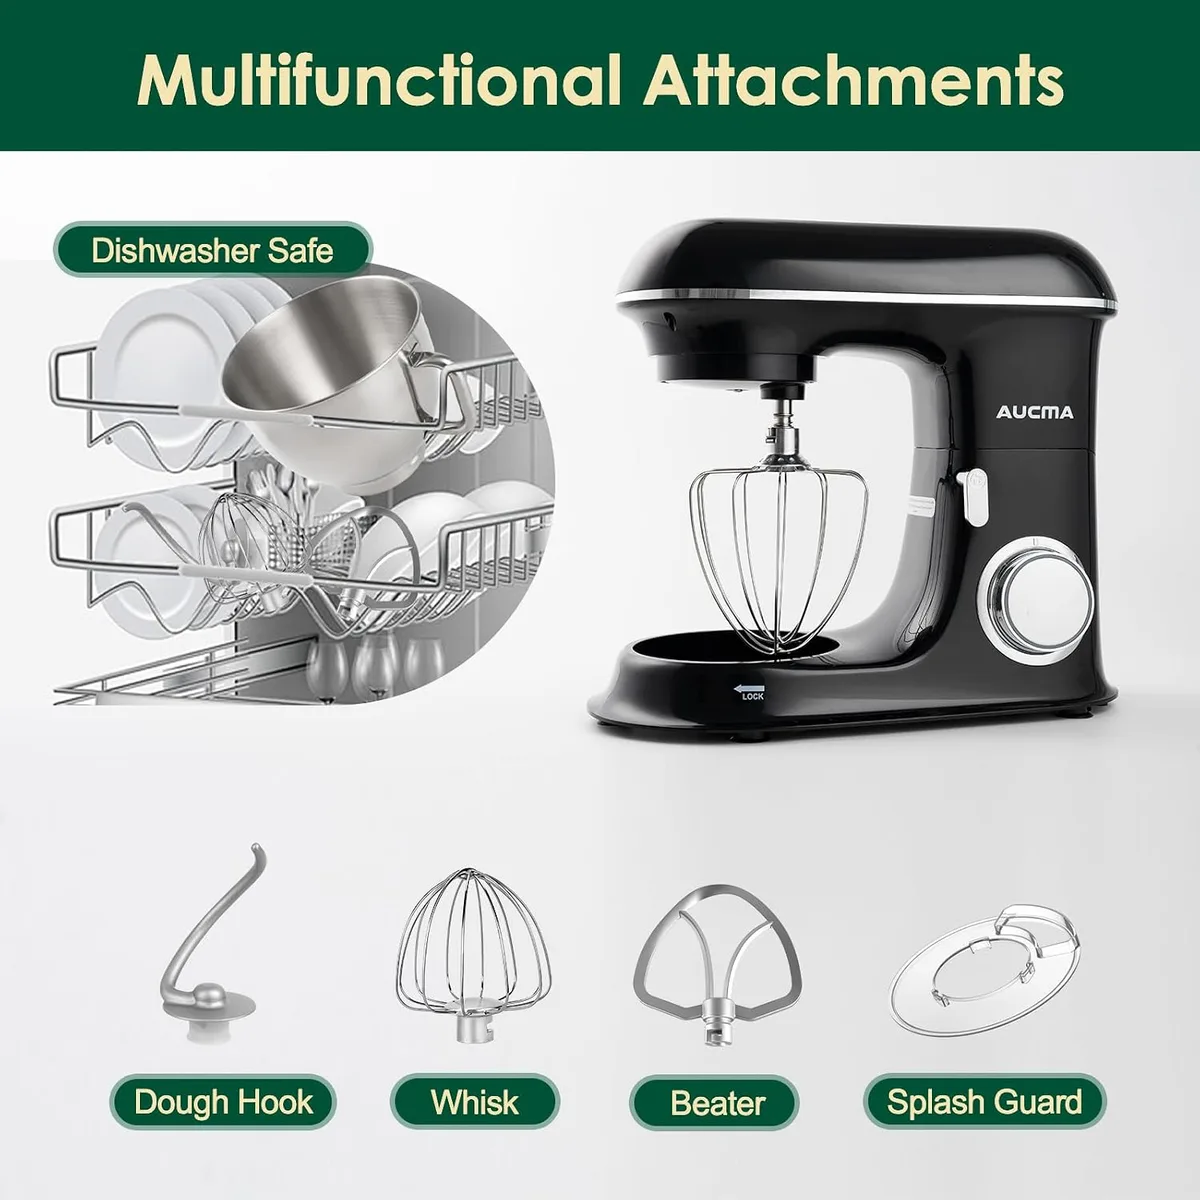
Image source: Bing (Web (fair-use with source credit))
The first thing to do for your bowl and attachments is consult your stand mixer's manual. Manufacturer specifications are key here. Many bowls, especially stainless steel ones, and common attachments like dough hooks and beaters are perfectly safe to go into the dishwasher.
Checking your manual saves you from potential damage or corrosion.
- Dishwasher Safe Components: Typically include stainless steel bowls, coated metal beaters, and dough hooks.
- Hand Wash Recommended: Glass bowls or attachments with specific finishes might require hand washing to prevent chipping, cracking, or damage to coatings.
If your components are dishwasher safe, simply place them on the appropriate rack, usually the bottom, and run your dishwasher as usual.
Hand Washing the Bowl and Attachments
For components not safe for the dishwasher, or if you prefer a quicker clean, hand washing is effective. Fill your sink or a basin with warm water and add a squirt of mild dish soap. Submerge the bowl and attachments, allowing them to soak for a few minutes if there’s dried-on food.
Use a soft sponge or cloth to scrub away any residue. Pay close attention to any nooks or crevices on the attachments where ingredients might get lodged. After washing, rinse them thoroughly under running water to remove all soap.
- Rinse Thoroughly: Ensure no soap residue remains, as this can affect the taste of your next culinary creation.
- Dry Completely: Use a clean, dry towel to thoroughly dry all washed parts. Moisture left on metal attachments can lead to rust.
Step-by-Step: Cleaning the Mixer Head and Body
This is where you’ll need to be a bit more careful. The main mixer unit houses the motor and electrical components, so you absolutely must avoid getting excess water inside it.
Wiping Down the Exterior
After unplugging your mixer, grab a soft cloth dampened with warm, soapy water. Gently wipe down the entire exterior of the mixer head and the base. This will remove any stray flour dust, batter splatters, or general kitchen grime that has accumulated.
For painted or plastic finishes, mild soap and a damp cloth are usually all that's needed to restore its shine. Don't saturate the cloth; a good dampness is all you need.
Manufacturer specifications for many popular models, such as those from KitchenAid or Cuisinart, recommend using only a damp cloth for exterior cleaning to protect the motor and internal workings. For tougher spots, you might need to apply a bit more gentle pressure.
Tackling Nooks, Crannies, and Attachments Points
The area where the beater or whisk attaches to the mixer head, and around any control dials or buttons, can trap fine particles. This is where your soft brush or a cotton swab becomes invaluable. Dip the tip of your brush or swab in your soapy water, then carefully clean around these small areas.
Be sure to wring out any excess liquid from the brush or swab before cleaning to prevent moisture from seeping into the mixer's internal components.
Aggregate user reviews often point out that these small areas are the most challenging to keep clean. A gentle, focused approach with the right tool makes a big difference in preventing build-up.
Cleaning the Hinges and Tilt-Head Area
If your stand mixer has a tilting head, pay attention to the hinge area. Dough or ingredients can sometimes get lodged in these joints. Use your damp cloth and, if needed, the soft brush to gently clean around the pivot points.
Again, the key is to use minimal moisture. You're simply trying to remove surface residue, not deep clean the mechanical parts.
Ensure that any moisture in this area is wiped away with a dry cloth afterward. This helps prevent rust and keeps the mechanism moving smoothly.
Mistakes to Avoid When Cleaning Your Stand Mixer
Making a mistake when cleaning your stand mixer isn't the end of the world, but some errors can definitely shorten its lifespan or cause minor damage. Being aware of these pitfalls helps you keep your appliance in top shape for years to come.
Don't Submerge the Motor!
The absolute biggest mistake is getting the main body of the stand mixer wet, especially the motor housing. Manufacturer specifications consistently warn against this. Submerging the mixer or even letting water pool around its base can lead to electrical shorts, corrosion, or motor failure.
Always use a damp cloth, never a soaking wet one, for the main unit.
The Danger of Harsh Cleaners and Abrasives
Using abrasive cleaners, steel wool, or even stiff scrubbing brushes on the exterior finish can cause permanent scratches. These can dull the finish and make it harder to clean in the future. Similarly, harsh chemical cleaners might damage plastic components or strip paint.
Stick to mild dish soap and soft materials for both the attachments and the main body.
Expert Tips for a Sparkling Stand Mixer
Beyond the basic cleaning steps, a few pro tips can help you maintain your stand mixer beautifully and prevent common issues before they start. These small efforts go a long way.
Dealing with Tough Stains and Dried-On Messes
Sometimes, batter or dough can dry on stubbornly. For these tougher spots, try making a paste of baking soda and water. Apply it to the dried-on residue and let it sit for about 15-20 minutes.
Then, gently scrub with your soft brush or sponge. For metal attachments, a gentle soak in warm, soapy water for an hour can also loosen hardened ingredients.
If you find particularly caked-on flour dust around the motor vents, a dry pastry brush or a soft bristled brush can help dislodge it before wiping. This prevents the dust from becoming a grimy build-up.
Keeping Attachments Rust-Free
Rust on metal attachments is usually caused by moisture being left on them for too long. Ensure every attachment is completely dry after washing, using a clean towel. If you notice any small spots of rust starting to form, you can often remove them by gently scrubbing with a paste of baking soda and water, or by using a very fine-grit sandpaper (like 600-grit or higher) specifically on the rusty spot, being careful not to damage the rest of the attachment.
A quick wipe-down with a food-grade mineral oil on dry metal attachments after cleaning can also create a protective barrier against rust, especially if you don't use them daily.
Cleaning the Power Cord
Don't forget the power cord! Unplug it first, then wipe it down with a damp cloth and mild soap. Make sure it's completely dry before plugging it back into the wall or the mixer.
If the cord is frayed or damaged, it’s best to contact the manufacturer for a replacement.
Caring for Your Stand Mixer Between Uses
Regular maintenance between cleaning sessions is just as important as the deep clean itself. These small habits ensure your stand mixer stays in good condition and is always ready for your next baking project.
Wipe down the mixer immediately after use. If you’ve made a batch of cookies or whipped cream, take a moment to wipe away any stray batter or flour with a dry cloth or a slightly damp one. This prevents ingredients from drying on and becoming difficult to remove later.
Store your mixer properly. If possible, use a dust cover. This keeps flour dust and other kitchen airborne particles from settling on the appliance.
If you don't have a cover, find a clean, dry spot away from direct heat or moisture. Ensure attachments are also stored dry, either in their designated compartments or a clean drawer.
Keeping the bowl and attachments dry before storing is crucial. Moisture can lead to water spots on stainless steel bowls or even rust on metal attachments if left for extended periods. For a clean, dry storage environment, consider using drawer liners or dedicated storage containers for your attachments.
Frequently Asked Questions About Stand Mixer Cleaning
### Can I put all my stand mixer attachments in the dishwasher?
Generally, yes, many common stand mixer attachments are dishwasher safe. This typically includes stainless steel bowls, dough hooks, and flat beaters. However, always check your specific stand mixer's user manual for confirmation, as some specialized attachments or those with certain coatings may require hand washing to prevent damage or corrosion.
### How do I get rust off my dough hook?
To remove rust from a dough hook, try making a paste of baking soda and water. Apply it to the rusty areas and let it sit for about 20 minutes, then gently scrub with a soft brush or sponge. For more stubborn rust, a very fine-grit sandpaper (600-grit or higher) can be used cautiously on the affected spot only.
After treating the rust, wash, rinse, and thoroughly dry the hook.
### My mixer has a strange smell. What should I do?
A strange smell, often described as burning or plasticky, can indicate overheating of the motor or residue buildup. First, ensure the mixer is unplugged and allow it to cool completely. Then, perform a thorough cleaning of the bowl, attachments, and mixer body, paying special attention to any dried-on food.
If the smell persists after cleaning and the mixer has been allowed to cool, it might be a sign of motor issues, and you should consult the manufacturer.
### How often should I deep clean my stand mixer?
A deep clean for your stand mixer, beyond washing the bowl and attachments after each use, is recommended about once a month or whenever you notice significant build-up. This involves carefully wiping down the mixer head and body, cleaning around the attachment points, and checking hinges. More frequent use might necessitate more frequent deep cleans to maintain optimal performance and hygiene.