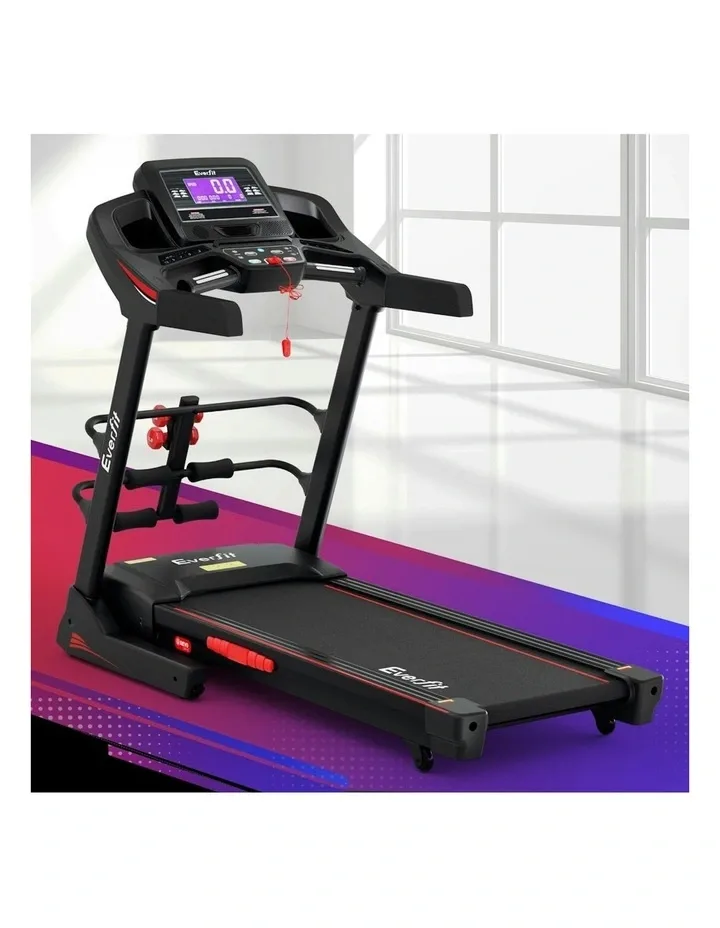
How to Level a Treadmill
A treadmill that rocks is a treadmill you'll eventually stop using. It's annoying, it feels unstable, and after ten minutes, every run feels longer than it should. Knowing how to level a treadmill is one of those small fixes that completely changes the experience.
Manufacturer specs from brands like NordicTrack, Sole, and Horizon indicate the deck should sit within about 1/8 inch of level across its width. As of 2026, most home treadmills have adjustable rear feet, but the front feet are usually fixed. That distinction shapes the entire repair, so let's walk through what actually matters.
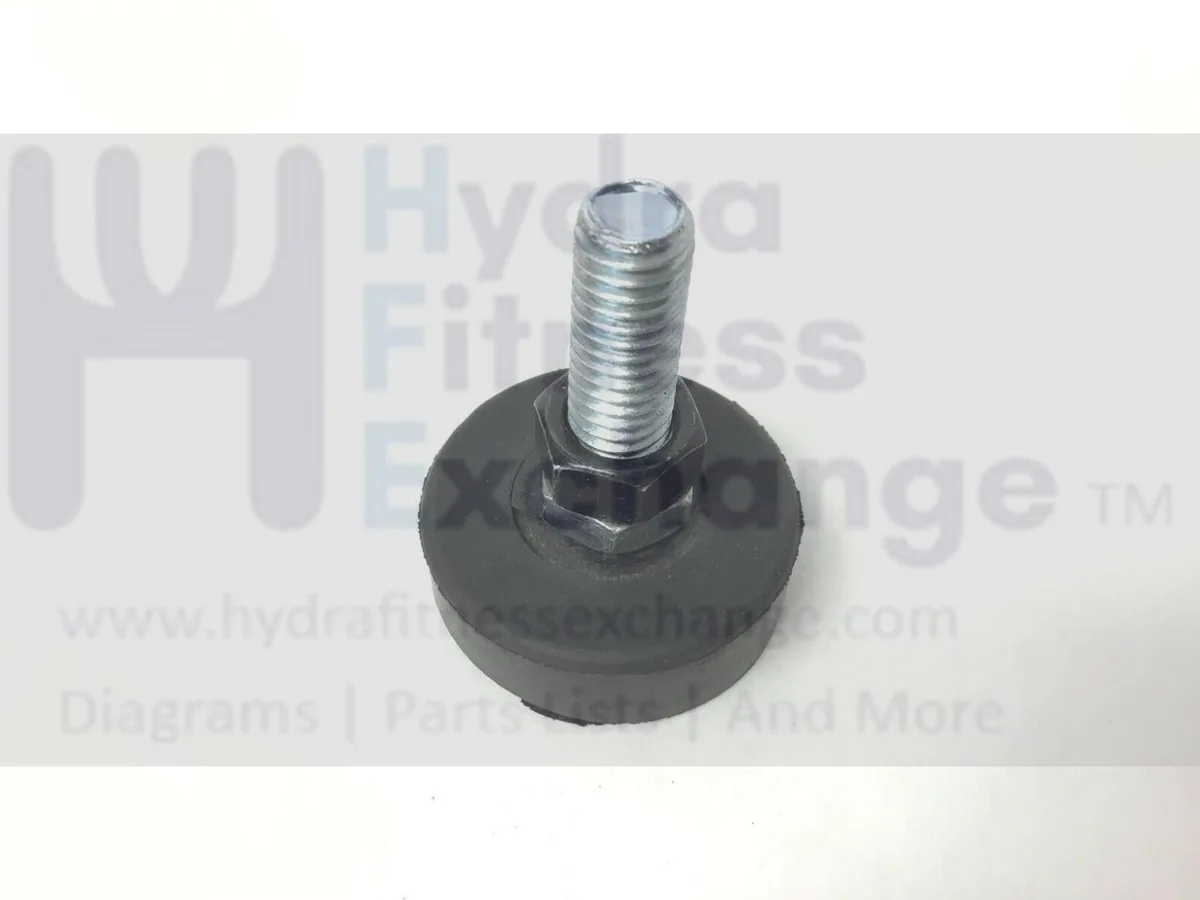
Image source: Bing (Web (fair-use with source credit))
Why Your Treadmill Rocks (And Why You Shouldn't Ignore It)
Your treadmill is probably not broken. In our research, the most common cause of a rocking treadmill isn't a cracked frame or a bent deck. It's the floor beneath it.
Hardwood, concrete, and tile all have subtle slopes. Carpet compresses unevenly under heavy weight. Even a brand-new treadmill will wobble if its feet don't all touch the ground at the same time.
That rocking usually happens side to side. You feel it in the first few strides, a distinct wobble that gets worse as you pick up speed. Sometimes it's front to back, where the front of the machine thuds with every foot strike.
Both are fixable, but they require different approaches.
Ignoring it causes real trouble. A treadmill that isn't level puts uneven stress on the belt deck, roller bearings, and drive motor. The belt starts to drift.
The motor works harder. The frame flexes and creates squeaks, much like why your elliptical starts squeaking over time. If you run on an unlevel deck, you're also putting extra strain on your hips, knees, and ankles.
The ASTM F2115 standard for treadmill safety includes stability checks for exactly this reason. This is a safety issue, not just a comfort one.
The One Diagnostic Most People Skip
Here's the mistake we see everywhere. People throw a bubble level on the treadmill's side rails, watch it settle off-center, and immediately start twisting the rear feet. That's backwards.
The level needs to sit on the running deck itself, not the frame rails. The deck is the surface you run on, separated from the frame by shock-absorbing bushings. The frame rails can be perfectly level while the deck tilts, and vice versa.
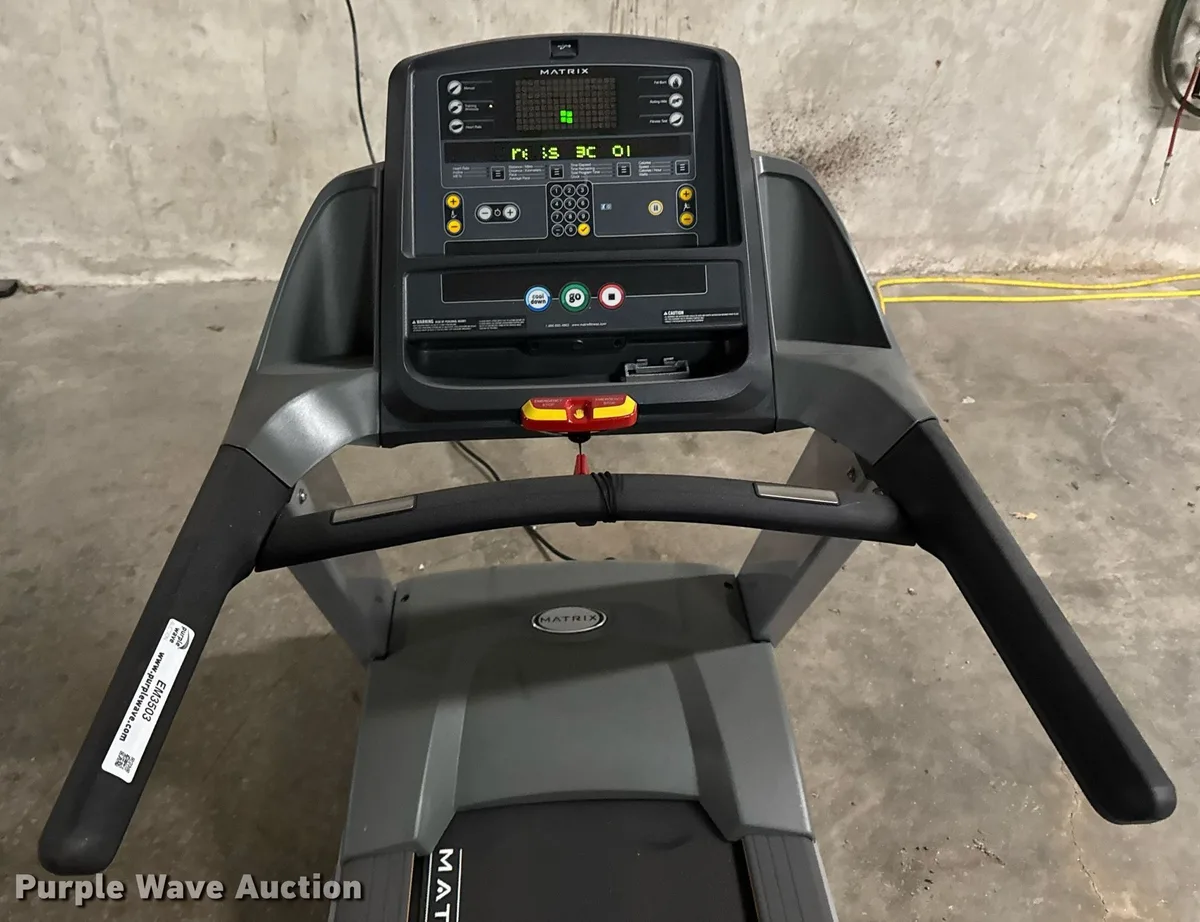
Image source: Bing (Web (fair-use with source credit))
Take a carpenter's level, 24 inches or longer, and lay it lengthwise on the belt. Check the center of the deck, not the edges. Then turn it perpendicular across the deck width.
Those two readings are what matter. If you don't have a physical level, a smartphone level app works fine as long as you set the phone on a flat scrap of wood to bridge the belt texture.
The bubble should sit between the lines on both orientations. Write down which direction is off before you touch anything. A quarter-inch gap under the left rear foot tells you exactly where to start.
Skipping this step means you're guessing, and guessing wastes time.
Step-by-Step: The Leveling Decision Workflow
Grab your level, a wrench, and a good shim material. Start by identifying the condition, then choose the branch that matches. This simple table covers the three scenarios you're most likely to encounter.
| Direction of Rock | Likely Cause | Right Fix |
|---|---|---|
| Side to side | Rear feet uneven | Adjust rear leveling feet |
| Front to back | Front foot off the floor | Shim under fixed front foot |
| Both directions | Bad floor plus fixed front | Shim front, adjust rear |
Side-to-Side Rocking vs. Front-to-Back Teetering
If the treadmill rocks left and right when you step on it, that's a side-to-side issue. The rear leveling feet are your primary adjustment. Most machines have two threaded feet under the back of the frame, near the motor cover.
If it rocks front to back, the problem is usually the front. Most treadmills have fixed front feet that can't be adjusted. The whole machine pivots on those points, and if one sits a fraction of an inch higher than the floor, the deck teeters.
What to Check Under the Front Feet
Crouch down and look under the front of the treadmill. You'll see two non-threaded feet, usually plastic or rubber, attached directly to the frame. There's no adjustment mechanism, nothing to turn.
Some brands like ProForm and Bowflex allow you to loosen the front foot bolt and rotate it, but most are fixed.
Slide a piece of paper under each front foot. If the paper slides under one and not the other, that's your gap. The fix is to add thickness under that specific foot until the gap closes.
How to Adjust the Rear Leveling Feet
Turn the rear feet first. Each foot screws into the frame, and rotating it changes the height. Turn clockwise to lower, counterclockwise to raise.
A quarter turn changes the height by roughly 1/16 inch, so make small adjustments.
Loosen the locknut with a wrench before rotating. Some models use a second jam nut that holds the foot securely. With the locknut loose, turn the foot by hand until the bubble centers.
Then snug the locknut against the frame while holding the foot steady. Skip this step and the foot will vibrate loose during your next run.
When Shims Are the Right Fix (and What to Use)
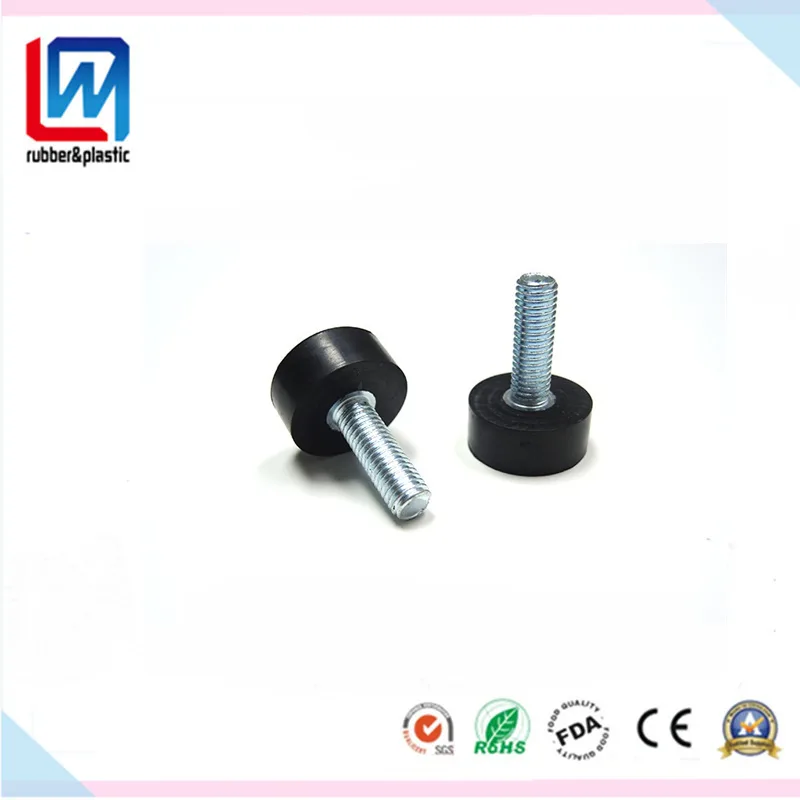
Image source: Bing (Web (fair-use with source credit))
Shims handle the gaps that threading can't fix. Under a fixed front foot, a shim is the correct solution. Under a rear foot, shims are a workaround, not a permanent fix, because rear feet are designed to adjust.
Use a hardwood shim, rubber-fiber composite, or a plastic one. Do not use cardboard, folded paper, or fabric. Those compress, shift, and fall apart within days.
A proper shim handles the weight and holds its shape for years.
Slip the shim under the raised foot until the gap closes, then re-check the level. Add layers if you need more height, but keep the total stack under half an inch. Anything taller means you should consider a floor repair or moving the treadmill to a flatter spot.
Leveling Feet vs. Shims vs. Treadmill Mat
The treadmill mat conversation trips people up. Everyone thinks a mat will cure rocking. It won't.
A mat handles noise, floor protection, and sweat. It doesn't level anything. It's flat on both sides, so an uneven floor stays uneven underneath it.
Here's how the three real options compare.
| Option | What It Fixes | What It Doesn't | Best For |
|---|---|---|---|
| Adjustable rear feet | Side-to-side rocking | Front-to-back teetering | Machines with threaded feet |
| Shims under fixed feet | Front-to-back teetering | Rear height differences | Fixed, non-adjustable front feet |
| Treadmill mat | Noise, floor stains | Unlevel floors entirely | Apartments, hardwood, carpet |
If your treadmill rocks side to side, the rear feet are the answer. Turn each one incrementally until the bubble centers. If the rock is front to back, shim the fixed front foot.
If both problems exist, combine both solutions.
A mat does help in one secondary way. It creates a stable, slightly cushioned base that reduces vibration transfer to lower floors. That makes the machine feel steadier even though it isn't actually level.
Don't mistake that feeling for a real fix. For context, the same principle applies when you're adjusting an elliptical machine to eliminate wobble. Stability comes from proper contact with the floor, not from padding.
Five Mistakes That Make the Problem Worse
Even solid attempts at leveling go sideways fast. In aggregate user reviews and manufacturer troubleshooting guides, these five errors come up constantly.
Over-tightening the rear feet. You want the foot barely touching the floor, not bearing the treadmill's full weight. Crank it down too hard and you'll crack the plastic mounting bracket. Turn until you feel contact, then stop.
Using cardboard or paper as shims. Cardboard looks like a free solution. It compresses during your first run. Within a week, the gap is back and you're starting over.
Purpose-built shims cost a few dollars and last for years.
Leveling with the treadmill folded. If your treadmill folds, you can't level it accurately in the folded position. The frame locks differently and weight distribution changes completely. Always level with the deck down and the machine in its running configuration.
Forgetting the locknuts. You adjusted the feet, tested it, and it felt solid. But the locknuts weren't tightened, so the feet vibrated loose mid-run. Always snug the locknuts against the frame after every adjustment.
Skipping the re-check after a few days. Floors shift, carpet compresses over time, and shims can settle. Come back in three to five days and re-check the bubble. A tiny correction now prevents a bigger problem later.
This kind of simple, scheduled follow-up is a habit worth building, just like routine equipment maintenance keeps other machines running longer.
Expert Tips for a Fix That Actually Lasts
These are the details that separate a quick fix from a permanent one.
Start from the front, finish at the back. Shim the front feet first, then adjust the rear. Shimming changes the overall angle of the deck, which affects how the rear feet sit. Doing it in the other order means you'll likely have to re-adjust.
Run the treadmill empty before you call it done. After every adjustment, turn the machine on and let the belt run at a low speed with nobody on it. Watch and listen. You'll hear if something is still off before you even step on.
Then walk on it slowly, then jog, then run. Each speed level reveals different instability.
Mark your final foot positions. Once the bubble is centered, take a paint pen or piece of tape and mark where each foot meets the frame. If the machine gets bumped or moved, you can return to your baseline quickly without starting the diagnostic over.
Check belt alignment after leveling. An unlevel deck can cause the belt to drift to one side. After you level the machine, watch the belt run for two minutes. If it tracks left or right consistently, you'll need to adjust the rear roller bolts.
This is a separate procedure from leveling, but the two are closely linked. The same principle shows up when you're cleaning and maintaining any cardio equipment. Small adjustments compound into big performance gains.
Keep a shim kit in your gym bag. Not literally in your gym bag, but close to the treadmill. A small zip bag with a few rubber-fiber shims and a wrench means you can make a quick correction any time, without hunting through a junk drawer. That's the difference between a machine you use five days a week and one you avoid.
Frequently Asked Questions
Can I use a rubber mat instead of leveling my treadmill?
A rubber mat reduces noise and protects floors. It does not correct an uneven base. If the treadmill rocks side to side or front to back, the mat won't solve it.
You still need to adjust the feet or add shims beneath the machine.
Do all treadmills have adjustable leveling feet?
Most home treadmills have adjustable rear feet, but the front feet are typically fixed. Commercial gym treadmills often have four adjustable feet. Check your owner's manual to confirm which feet on your specific model can be turned.
How often should I re-check my treadmill's level?
Re-check after three to five days, then once a month for the first few months. Carpet compresses over time, and floors can shift seasonally. After the first few months, a quarterly check is plenty for most home setups.
Will an unlevel treadmill void my warranty?
Most manufacturers won't void a warranty solely for an unlevel treadmill. However, damage caused by prolonged use on an uneven surface, like a warped deck or burned-out motor, may not be covered. Always check the specific warranty terms from your treadmill manufacturer.
What is the quickest way to tell if my treadmill is unlevel?
Place a carpenter's level on the center of the running deck, first lengthwise, then across the width. If the bubble doesn't sit between the guide lines in either direction, the deck is off. No level handy?
Stand at the front and push down gently on each corner. If one corner drops and the opposite one lifts, you've found the problem.
Can I level a treadmill on carpet?
Yes, but carpet adds complexity. Place a plywood platform under the treadmill first to create a firm, flat base. Then level the machine on top of that platform.
Carpet compresses unevenly under weight, which makes direct-to-carpet leveling unreliable.