How to Make Soup in a Slow Cooker
Figuring out how to make soup in a slow cooker usually starts with a simple question: why does the pot come out watery, mushy, or flat? The slow cooker doesn't work like a stockpot. It barely reduces liquid, and it holds a steady low temperature for hours, so layering and timing matter more than the recipe title suggests.
Manufacturer specifications indicate that most ceramic inserts run around 200°F (93°C) on low and 300°F (149°C) on high, depending on the brand. That narrow window is why tough meat turns tender and why dairy can curdle if you add it too early. As of 2026, the same two heat settings dominate nearly every model on the market, which means the decision tree below works no matter which slow cooker you own.
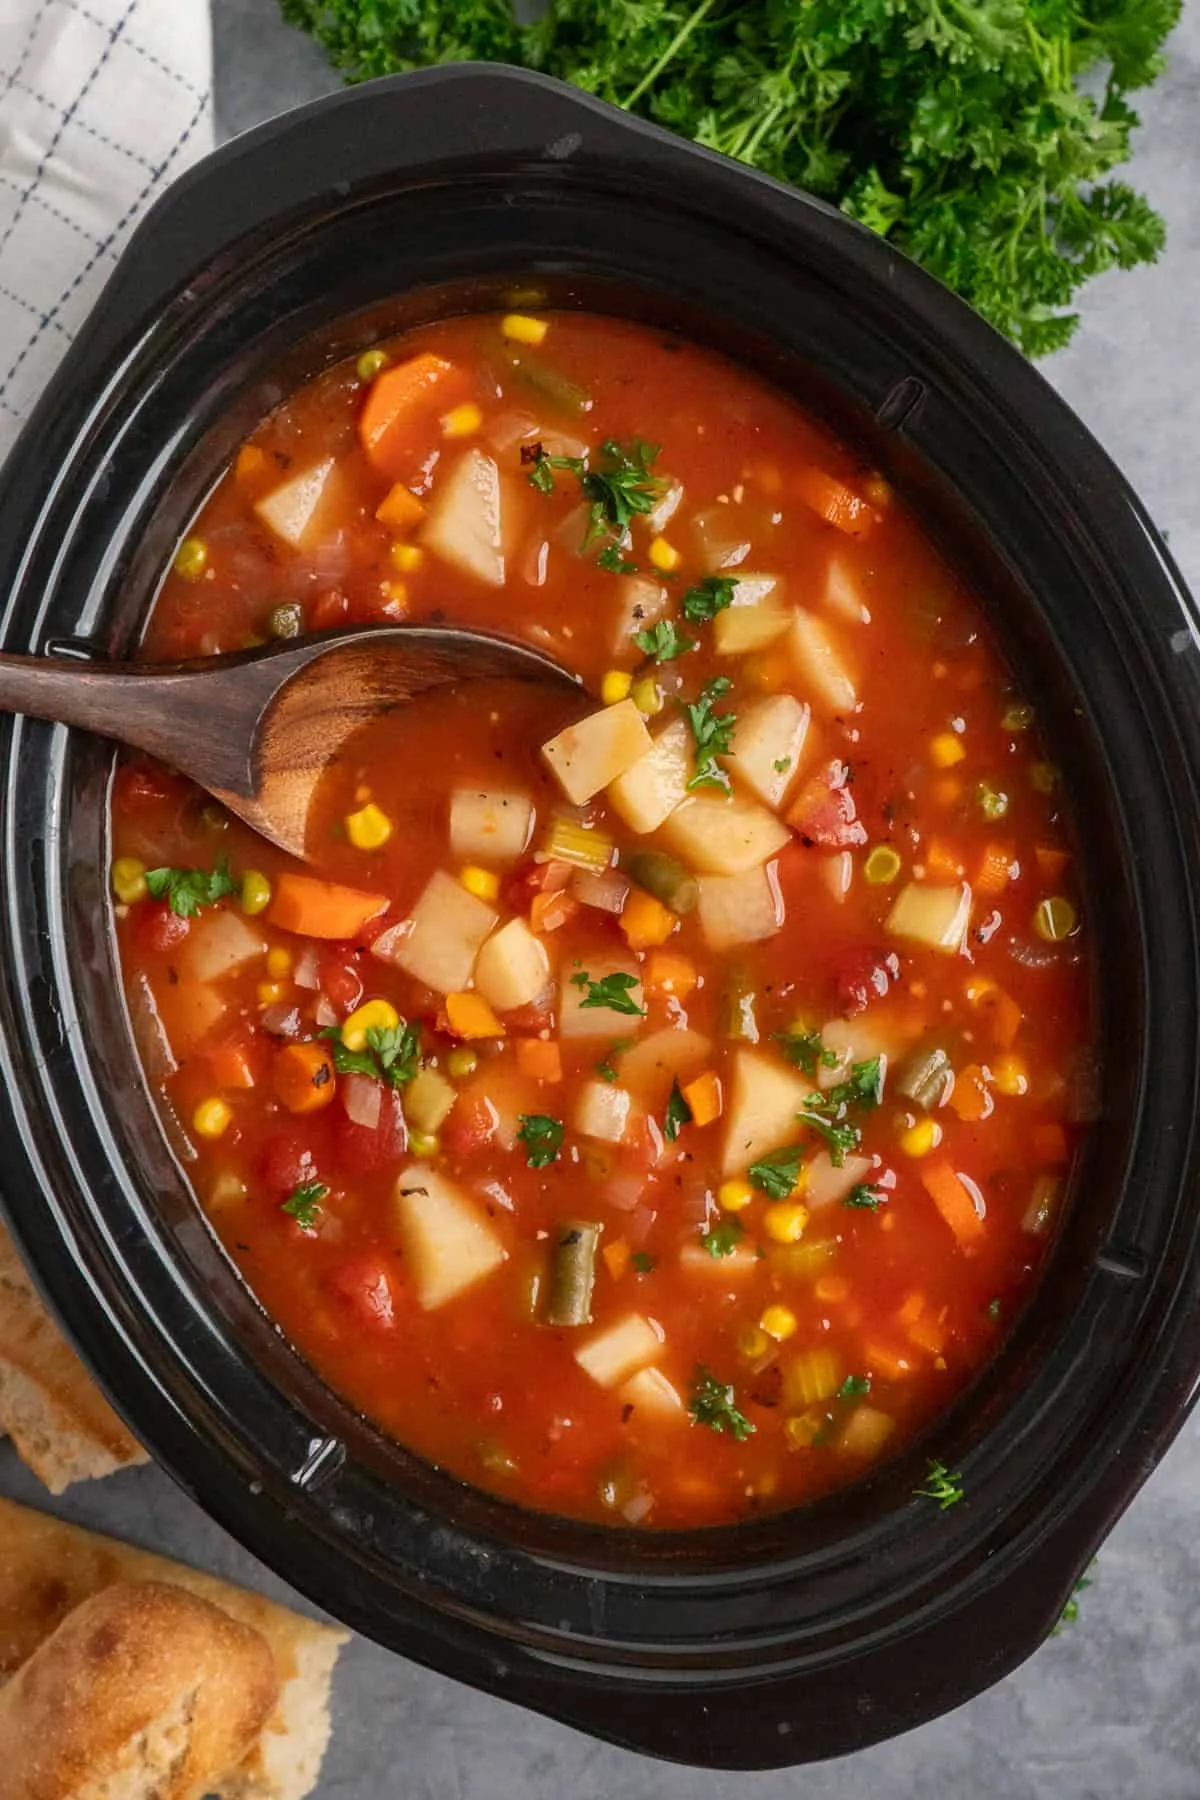
Image source: Bing (Web (fair-use with source credit))
Start Here: Why Your Slow Cooker Soup Goes Wrong
Quick answer: choose the right heat, layer dense vegetables under your protein, and add anything fragile near the end. That's the whole secret. Low heat for tough things, high heat for quick things, delicate ingredients last.
Almost every failed slow cooker soup traces back to the same two problems: too much liquid and the wrong ingredient order. Recipes that say "dump everything in and walk away" work for stews, but they don't work for soup. Vegetables release moisture as they cook, so a pot that looks full of broth at the start can turn watery by the end.
The second problem is time. Low heat over several hours does wonderful things for carrots and tough meat. It does terrible things to pasta, cream, and fresh herbs.
Add those at the beginning and you end up with mushy noodles and grainy soup.
The fix is a simple decision tree, not a single universal recipe. Choose your heat based on your protein. Layer dense vegetables under the meat.
Hold back anything fragile until the last 30 minutes. That workflow covers every style, from a light broth to a blended squash soup.
Seasoning also needs its own plan. Salt added at the start gets diluted as vegetables release liquid. Your soup tastes flat even though you seasoned it.
Wait until the end, then add salt and a splash of lemon or vinegar to brighten the whole pot.
The Two Levers That Control Everything: Time and Heat
Slow cookers are simple machines, and your controls are just time and heat. Get those two right, and the rest of the workflow becomes much easier.
Most models have three settings: low, high, and warm. The gap between low and high is wider than you'd think. Per manufacturer specs, low holds around 200°F (93°C) inside the insert, while high reaches roughly 300°F (149°C).
Warm stays near 165°F (74°C), so use it for holding finished soup, not cooking it.
Here's the decision logic. If you're using a tough cut like beef chuck, lamb, or dried beans, cook on low for 8 to 10 hours. The long, gentle heat breaks down connective tissue and hydrates beans evenly.
If you're using chicken breast, ground meat, shrimp, or quick-cooking vegetables, high for 3 to 4 hours is safer.
A programmable model adds one more layer. Set it to run on high for the first hour, then switch to low for the rest. That early burst heats the ceramic insert faster and shortens the danger window where food sits in the bacterial growth zone.
The USDA's slow cooker guidance backs this up.
| Setting | Insert temp | Best cooked on it | Cook time | | Low | ~200°F (93°C) | Beef chuck, dried beans, pork shoulder | 6-10 hrs | | High | ~300°F (149°C) | Chicken, ground meat, tender vegetables | 3-4 hrs | | Warm | ~165°F (74°C) | Holding soup after cooking | Short-term only |
Step-by-Step: Layering Ingredients in the Right Order
Order is the secret. This is where slow cooker soup either sings or turns into mush.
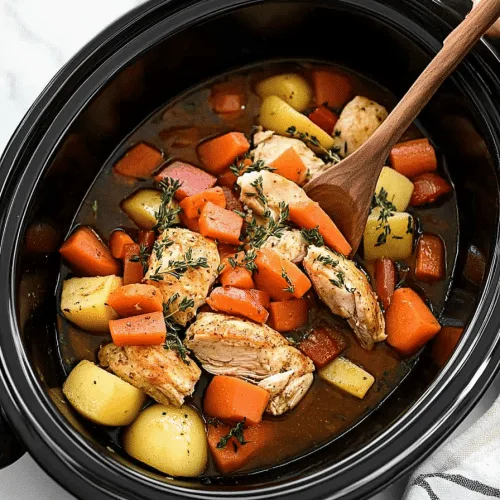
Image source: Bing (Web (fair-use with source credit))
Start with aromatics and root vegetables. Onions, carrots, celery, potatoes, and parsnips take the longest to soften. Cut them into roughly 1-inch pieces and layer them at the bottom.
If you're portioning out a recipe, weigh your ingredients first and keep it calibrated so the soup stays balanced from batch to batch.
Next comes the protein. Chicken thighs, beef chuck, and sausage sit right on top of the vegetables. The meat's natural juices drip down as it cooks, while the vegetables stay in direct contact with the bottom of the insert.
Then pour in the liquid. Use broth, stock, or water and leave at least 1 to 2 inches of headroom below the rim. Less liquid gives a concentrated broth, while more liquid makes a thinner soup.
Don't fill the insert past the two-thirds mark or you're begging for a boil-over.
Hold back anything fragile. Pasta, rice, cream, coconut milk, frozen peas, spinach, and fresh herbs all stay aside until the last 30 or 60 minutes. Add them too early and they turn to paste.
Add them late and they keep their texture.
Put the lid on and leave it alone. Every peek releases heat and adds 20 to 30 minutes to the cook time, according to manufacturer guidance. If you need to stir, do it quickly and close the lid right away.
Decision Branch: Broth-Based, Creamy, or Pureed Soup?
This is the fork in the road. The base layering stays the same, but how you finish the soup changes with the style you want.
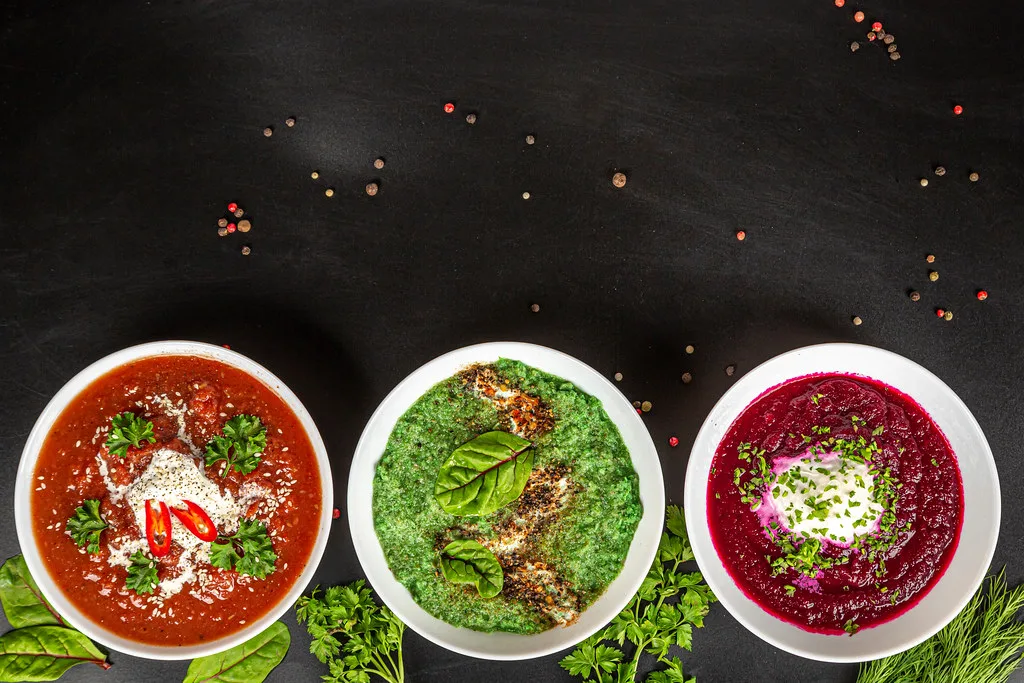
Image source: Bing (Web (fair-use with source credit))
Broth-based soups are the lightest. These include chicken noodle, minestrone, and vegetable soups. You want enough liquid to cover everything, but not so much that it tastes like hot water.
Salt and acid go in last. A squeeze of lemon or a teaspoon of vinegar lifts a dull broth instantly.
Creamy soups follow a different rule. Dairy never goes in at the start. Whisk in heavy cream, half-and-half, or cream cheese during the final 30 minutes on high.
The same goes for coconut milk. Hours of gentle simmering cause the fat to separate, which leaves you with a curdled mess.
Pureed soups are the most forgiving on texture. Butternut squash, potato, and broccoli cheddar all come out silky if you blend them well. Use an immersion blender directly in the insert, or move batches to a regular blender and whir until smooth.
Blend in intervals, then add butter or cream for a glossy finish.
| Soup style | Liquid base | Dairy timing | Finish | | Broth-based | Broth or stock | n/a | Season plus acid | | Creamy | Broth plus cream | Last 30 minutes | Whisk until smooth | | Pureed | Broth or water | Optional after blending | Blend until silky |
If you want a light weekday meal, choose broth-based. If you want comfort food, go creamy. If you need the soup to feel indulgent without much meat, puree it.
The 7 Mistakes That Ruin the Pot (and How to Avoid Them)
These are the seven mistakes that come up most often in our research and in aggregate user reviews. Each one is easy to fix once you know it's coming.
Adding dairy at the start. Cream, milk, and soft cheese curdle after hours of low heat. Stir them in during the final 30 minutes.
Using too much liquid. Vegetables release water as they cook. Start with less broth than you think you need.
Cooking pasta or rice in the pot all day. They absorb liquid and turn into glue. Add them near the end or cook them separately.
Peeking at the lid. Every lift costs heat and time. Trust the timer and keep the lid closed.
Seasoning too early. Salt tastes flat after hours in a watery pot. Wait until the end and adjust with acid.
Ignoring the layering rule. Dense vegetables need the bottom spot. Delicate ingredients need the last 30 minutes.
Cooking frozen meat directly in the slow cooker. It spends too long in the danger zone. Thaw it overnight in the refrigerator first.
If you use a digital scale to portion chicken or beans, clean it afterward and troubleshoot any issues before relying on the readings. Accurate measurements matter most when you're building a large batch of soup, since one bad number can throw off the whole pot.
Saving a Broken Soup: Quick Fixes That Actually Work
Broken soup happens to everyone. The good news is that most failures are fixable in the final hour of cooking.
If the soup tastes watery, you didn't add too much liquid. You just need more body. Mix 2 tablespoons cornstarch with 1/4 cup cold water, stir the slurry in, and let it simmer on high for 10 to 15 minutes.
Even better, blend a cup of the soup and stir that puree back into the pot.
Curdled cream looks like a wasted batch. It isn't. Run an immersion blender through the whole pot for 30 seconds, and the soup usually turns smooth again.
The same trick works for coconut milk that has split under hours of low heat.
Too much salt? Drop in a peeled raw potato and cook it for 30 minutes to soak up some sodium. If the soup is still salty, ladle out a cup of broth and replace it with unsalted stock.
Bland soup almost never needs more salt. It needs acid. A tablespoon of lemon juice or a splash of white wine vinegar, stirred in just before serving, lifts the whole pot.
Too thick is the easiest fix. Splash in warm broth or water, 1/4 cup at a time, until the consistency looks right. Stir and check after every addition.
When you adjust a big batch, verify the scale before weighing out thickeners or seasonings.
Slow Cooker Soup FAQs
A few common questions keep coming up.
Can I put frozen meat directly in the slow cooker?
No. The USDA recommends thawing meat overnight in the refrigerator first. A frozen roast sits in the bacterial danger zone for too long before the insert comes up to temperature.
How much broth should I add?
Use just enough to cover the vegetables and protein. Vegetables release moisture as they cook, and soup that looks dry at the start often ends up perfectly soupy at the end.
Why does my soup taste bland?
You seasoned too early or skipped the acid. Season at the end, and add lemon juice or a splash of vinegar to brighten the flavors.
Do I need to brown the meat first?
Not for tenderness. But browning in a skillet for a few minutes adds a deep flavor that hours of gentle simmering can't match. If you have time, do it.
The Final Verdict: When to Skip the Slow Cooker (and Use a Pot)
Slow cookers earn their place in the kitchen, just not for every soup.
Use your slow cooker when you have a tough cut of meat, dried beans, or an 8-hour workday ahead. It's also the best tool for batch cooking, since one insert makes six to eight generous portions. That hands-off window is its superpower, not its weakness.
Skip it when the soup is light and quick. A spring vegetable soup or a delicate seafood chowder cooks in 20 minutes on the stove. Broth-based soups that rely on crisp vegetables taste fresher when they haven't simmered for hours.
Pasta and dairy are the other red flags. If your recipe calls for noodles, cream, or a crispy garnish, stovetop or a late addition is safer. The slow cooker simply can't handle those ingredients without turning them soft or grainy.
When you do use it, remember the three-part rule: low heat for tough things, high heat for quick things, and delicate ingredients at the end. That decision framework turns a one-trick appliance into a soup machine.