How to Stop a Toaster From Burning Bread
Nobody likes the smell of burnt toast drifting from the kitchen, especially when you were just trying to grab a quick bite. If your toaster seems to have a mind of its own, turning perfectly good bread into charcoal, you're not alone. There are straightforward ways to fix this common kitchen annoyance.
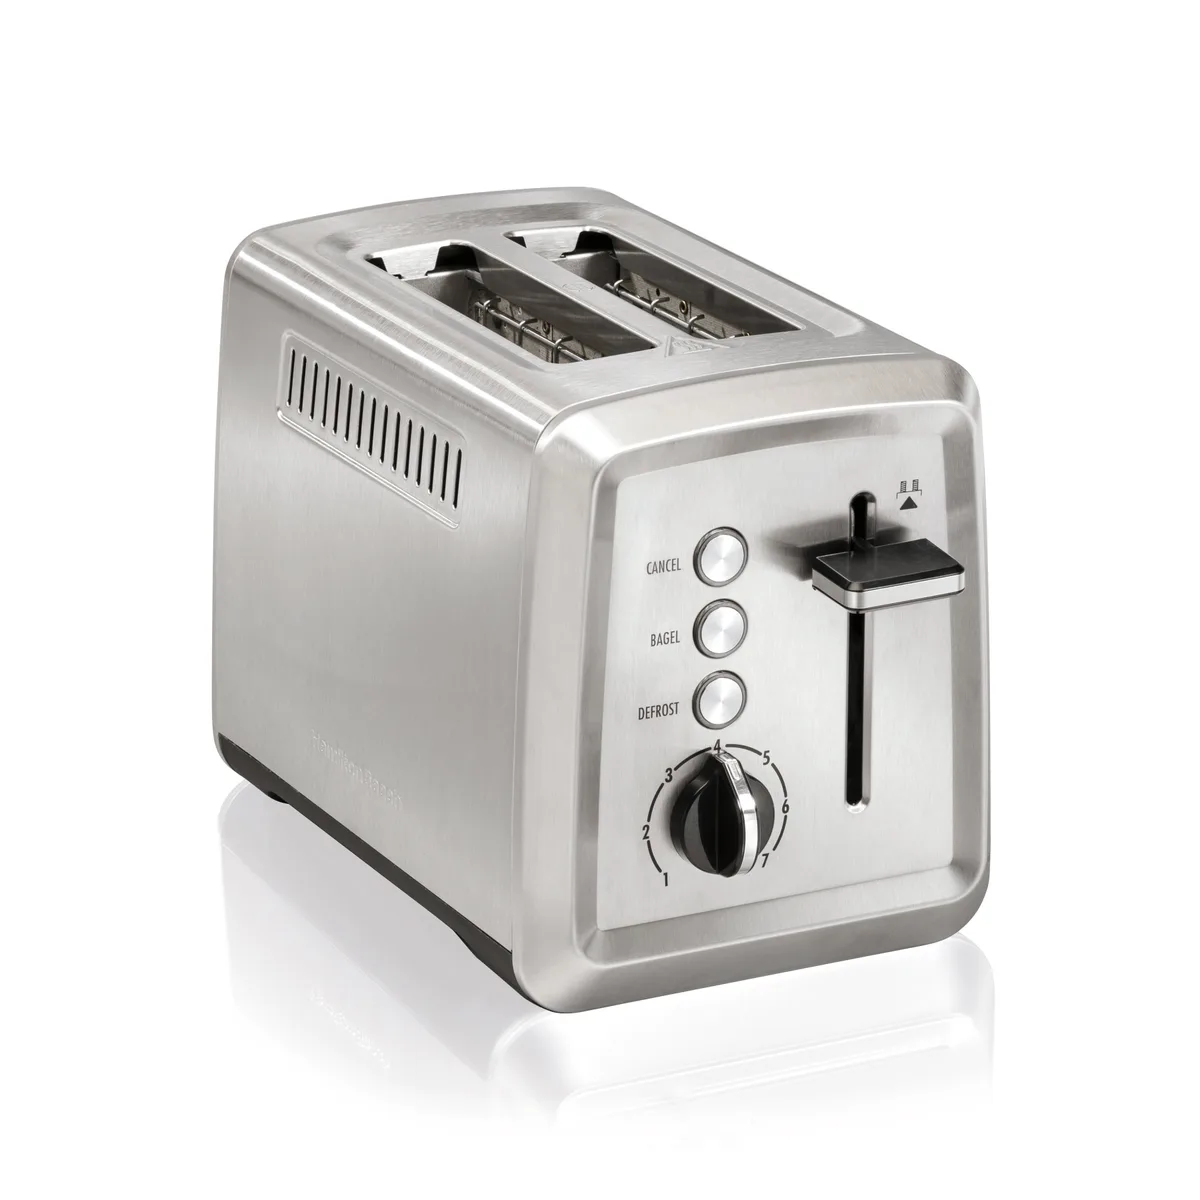
Image source: Bing (Web (fair-use with source credit))
Fortunately, figuring out how to stop a toaster from burning bread usually involves a few simple checks and adjustments. Manufacturer specifications for toaster heating elements often cite power ratings around 800-1500 watts, but inconsistent results can stem from factors beyond raw power. Let's dive into what might be going wrong.
Quick Answer
To stop a toaster from burning bread, first lower the browning setting. Next, thoroughly clean out any accumulated crumbs from the crumb tray and inside the toaster. Ensure the heating elements glow evenly.
Try different bread types and thicknesses, and if problems persist, consider the toaster's age.
Why Is My Toaster Burning Bread?
There are a few main reasons your toaster might be overcooking your bread, and often, it's not a sign of a broken appliance. It's more about understanding how these machines work and what can affect their performance.
Think of your toaster's internal settings as a thermostat for heat. When you set the dial, you're telling it how long to apply that heat. If that time is too long, or the heat is too intense for the type of bread, you get burnt toast.
We’ll go through the most common culprits to help you dial in that perfect golden brown.
Taming the Heat: Your Toaster Troubleshooting Workflow
This process is like a little decision tree. We'll start with the simplest solutions and move towards more involved ones if the problem isn't immediately solved.
- If your toast is consistently burnt on one side, this often points to uneven heating elements or a problem with the bread placement.
- If your toast is burnt all over, no matter the setting, this suggests the dial is too high, or the toaster is just generally too hot for the bread.
- If you see smoke or smell burning, this is usually a sign of serious crumb buildup or a component failure.
Let's get started with the most common issue.
Step 1: Dial Back the Heat (The Easiest Fix)
The browning control on your toaster is your primary tool for managing how dark your toast gets. Most toasters have a dial or slider that ranges from a light setting (1 or "low") to a dark setting (5, 6, or "high"). If your toast is consistently coming out too dark or burnt, the simplest solution is to reduce this setting.
For example, if you typically toast your bread on a "4," try moving it down to a "2" or "3." It might take a couple of tries to find the sweet spot for different types of bread. Fresher, softer bread might require a lower setting than day-old, denser bread.
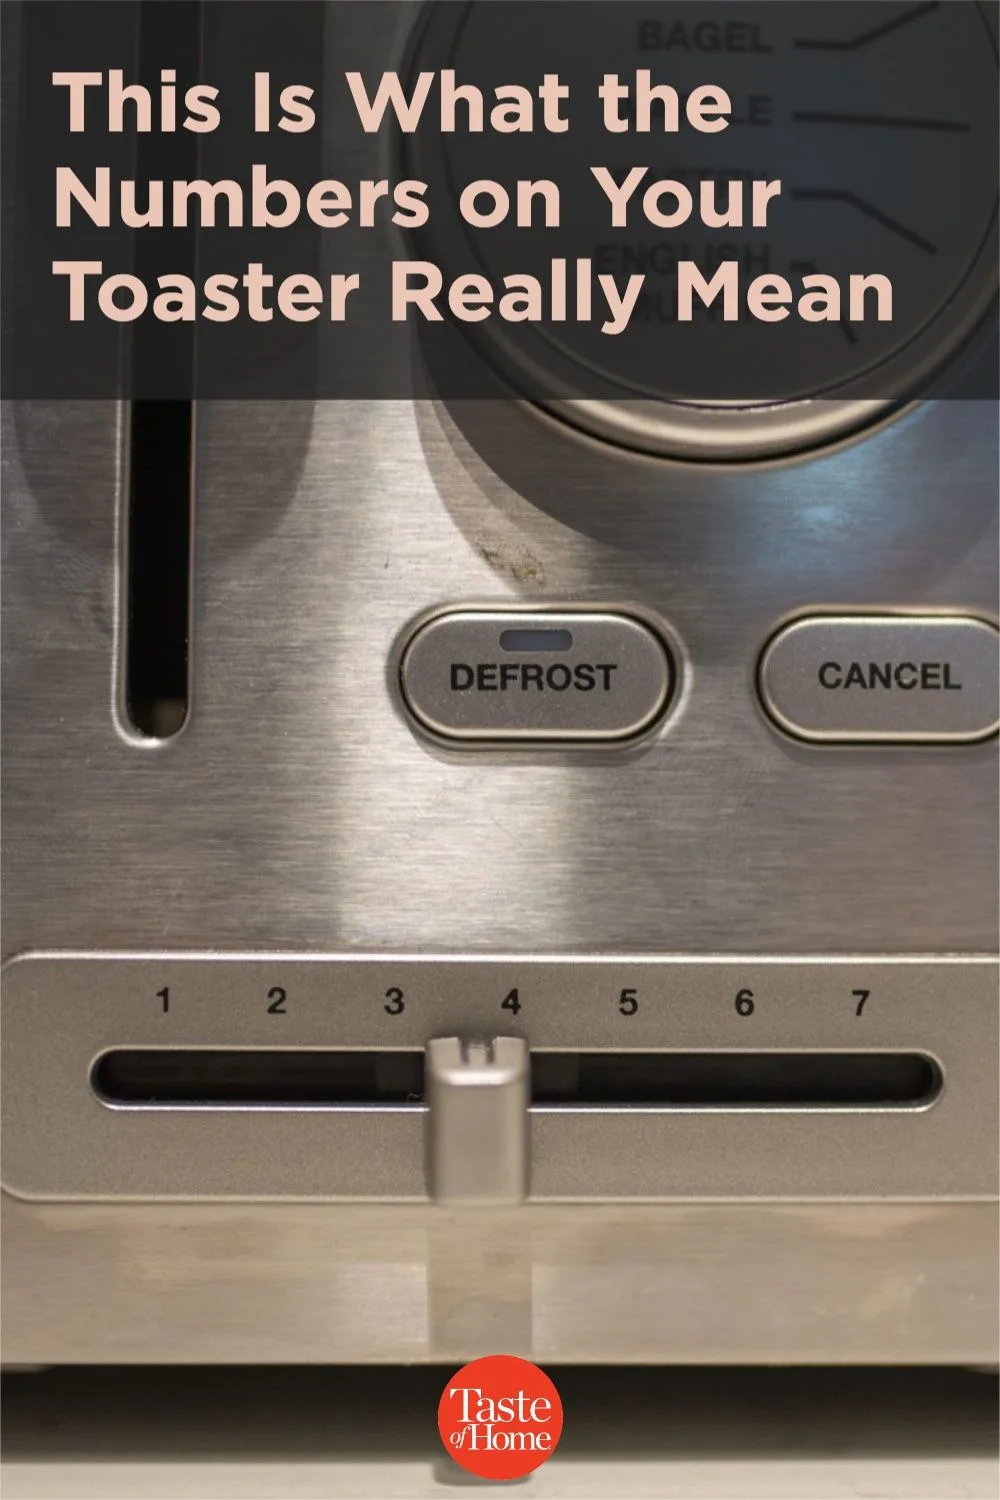
Image source: Bing (Web (fair-use with source credit))
- New Bread Type: Always start low. You can always toast it again for a few more seconds if needed.
- Consistent Burn: If you've tried the lowest setting and it's still burning, there might be another issue at play, but this is the first thing to rule out.
Finding the right setting can also depend on the thickness of the bread. Thicker slices need more time to heat through evenly, and if the setting is too high, the outside will burn before the inside is warm.
Step 2: The Crucial Crumb Clean-Up
All those little bits of bread that fall off during toasting don't just disappear. They collect in the bottom of your toaster, primarily in a slide-out crumb tray. This buildup can do two things: create uneven heating by blocking airflow, and, more seriously, catch fire.
To prevent burning and potential hazards, regular cleaning of your toaster is essential.
How to Clean Your Toaster:
- Unplug the toaster! This is the most critical safety step. Never attempt to clean a toaster while it's plugged in.
- Locate the crumb tray. Most toasters have a small tray at the base that slides out. Some models might have a hinged door instead.
- Empty the tray. Take the tray outside or over a trash can and dump out all the accumulated crumbs.
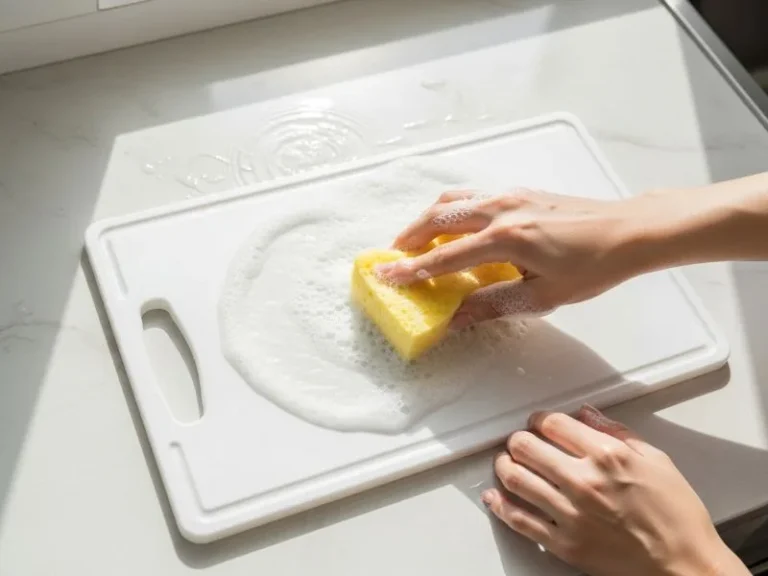
- Wipe the tray. Use a damp cloth to wipe down the crumb tray. You can use a mild soap if it’s very greasy, but ensure it’s completely dry before reinserting.
- Shake out loose crumbs. With the toaster unplugged and upside down over a sink or trash can, give it a gentle shake. This helps dislodge any stubborn crumbs stuck to the interior walls or heating elements.
- Wipe the exterior. Use a damp cloth to clean the outside of the toaster.
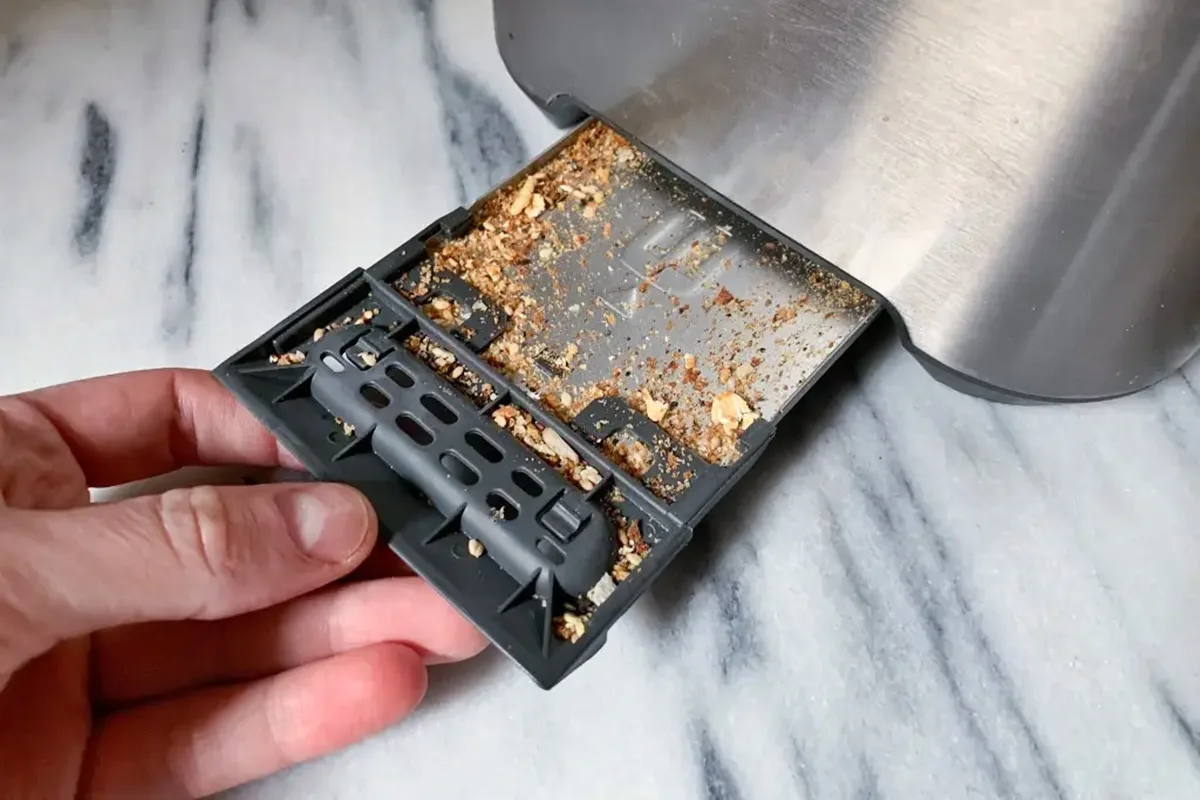
Image source: Bing (Web (fair-use with source credit))
Frequency: Aim to clean the crumb tray at least once a week, or more often if you use your toaster daily. A deep shake-out should happen monthly. Neglecting this can lead to smoke and that dreaded burnt smell.
Step 3: Inspecting Your Toaster's Glow
Once you’ve cleaned out the crumbs, it's time to look inside at the heating elements. These are the wires that get hot and toast your bread. Their condition and how they glow can tell you a lot about your toaster's health.
With the toaster unplugged and cool, peer inside the slots. You should see thin wires running vertically. When you push the lever down (again, on an unplugged appliance for a cool inspection, or carefully observe during a brief test toast with a very low setting), these wires should glow a consistent, warm orange-red.
- Even Glow: If all the wires glow brightly and uniformly across both sides of the slot, your heating elements are likely functioning as they should.
- Uneven Glow: If one side glows much brighter than the other, or if some sections of wire glow while others don't, it indicates an issue with the heating element itself. This can cause uneven toasting, with one side of the bread being perfect and the other burnt.
- Visible Damage: Look for any wires that appear broken, warped, or have significant dark spots or melted areas. This is a clear sign of failure.
If you notice a significantly uneven glow or visible damage, and you've already cleaned out all the crumbs, it might mean the toaster's heating elements are failing. This is common in older toasters and can be difficult or impossible to repair yourself, often necessitating a replacement.
Step 4: Bread Variables: It's Not Always the Toaster!
Sometimes, the culprit behind burnt toast isn't the toaster at all, but the bread itself. Different types, thicknesses, and even the freshness of bread can significantly impact how it toasts.
- Thickness: Thicker slices of bread require longer to toast evenly. If you're using a thicker artisanal loaf on a setting that works for regular sandwich bread, the outside will likely burn before the inside is properly heated. Try a lower setting for thicker cuts.
- Density and Type: Denser breads like whole wheat, rye, or seeded loaves can toast differently than white bread. They might absorb heat more quickly or require a slightly different browning level. Experiment with settings for each bread type you use regularly.
- Moisture Content: Fresher bread has more moisture. This means it will take longer to toast because some of the toaster's energy is used to evaporate that moisture. Day-old bread, which is drier, will toast much faster. If you're used to toasting drier bread and switch to fresh, you'll likely need a lower setting.
To get the best results, it's wise to experiment with your toaster's settings for each new type of bread you buy. It’s a small adjustment that can make a big difference.
Step 5: When Your Toaster Might Be the Problem
If you've meticulously cleaned your toaster, checked the dial settings, and considered the bread type, but you're still battling burnt toast, it might be time to consider the age and condition of the toaster itself. Like any appliance, toasters have a lifespan, and their components can degrade over time.
- Age: Older toasters, especially those that have seen years of daily use, can develop issues with their internal thermostat or heating elements. The thermostat might no longer accurately regulate the temperature, leading to it running too hot. Manufacturer specifications for toaster lifespans can vary, but many common models are expected to last between 5 to 10 years with proper care.
- Faulty Thermostat: The thermostat is responsible for telling the heating elements when to turn off. If it’s malfunctioning, it might keep the elements on for too long, regardless of the dial setting, leading to consistent burning.
- Worn Heating Elements: Even if they glow, the elements might not be performing optimally. Over time, they can lose efficiency, or the protective coating can degrade, leading to hotter spots and uneven toasting that results in burning.
If your toaster is showing signs of wear, such as a cracked casing, a lever that feels loose, or if it makes unusual noises beyond a normal click, it could be an indication that replacement is due. Safety should always be your priority, and a failing appliance can pose risks.