How to Clean an Electric Hand Mixer
When you're whipping up a cake batter or creaming butter and sugar, the last thing you want is a dusty, food-particle-laden hand mixer. Learning how to clean an electric hand mixer properly not only keeps your kitchen hygienic but also extends the life of your appliance. It's a straightforward process, but one that many people get wrong, leading to damaged motors or ineffective cleaning.
In our research, manufacturer specifications for most electric hand mixers indicate that attachments are typically dishwasher-safe, but the motor housing requires a gentle, manual approach. Getting this balance right is key to ensuring your mixer remains a reliable kitchen companion for years to come. Let's break down the best way to handle it.
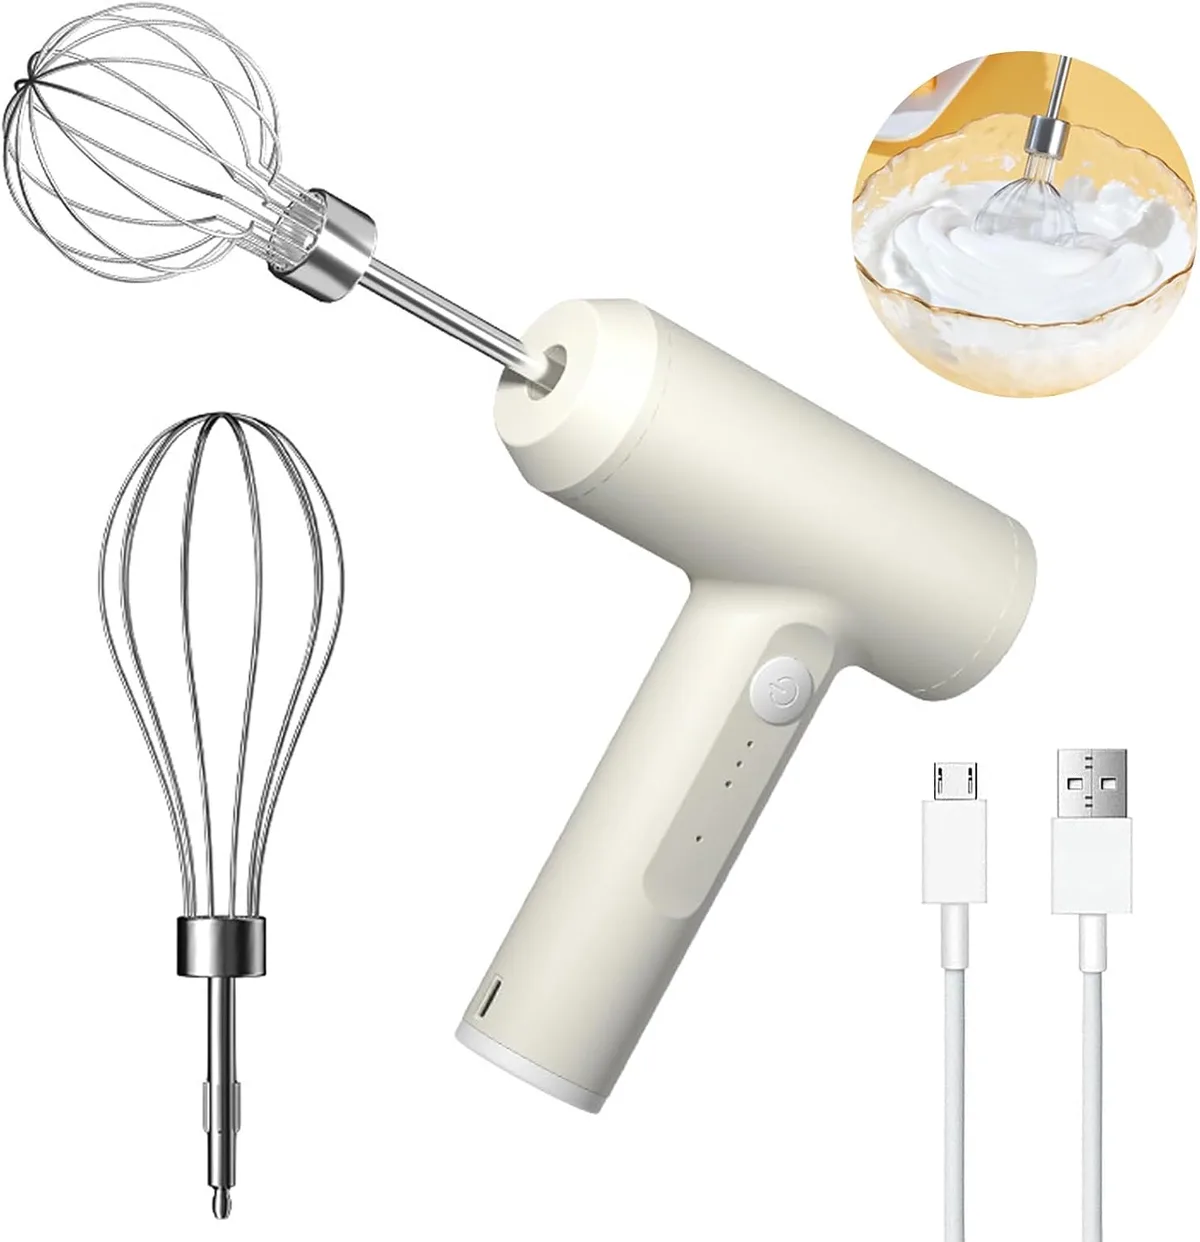
Image source: Bing (Web (fair-use with source credit))
Quick Answer
Always unplug your mixer first. Wash detachable beaters by hand or in the dishwasher. Wipe the motor housing with a damp cloth only.
Never submerge the motor housing in water. Dry all parts completely before reassembling.
When to Deep Clean vs. Quick Wipe Your Electric Mixer
Your electric hand mixer doesn't need a full deep clean after every single use, but knowing when to do more than just a quick wipe is important. Think of it like your dishes: a quick rinse might be enough for a glass of water, but after making a sauce, you'll want to wash it thoroughly.
Here’s a simple guide to help you decide:
- Quick Wipe-Down: This is for when you've used the mixer for something simple like whipping cream or beating eggs, and there's minimal residue. You’ve just finished mixing and there’s nothing caked on.
- Deep Clean: You'll need this if you’ve mixed something sticky, like a thick batter, dough, or frosting. It's also necessary if the mixer has been stored for a while and you want to ensure it’s sanitary. Any visible build-up or dried-on food particles means it's time for a proper clean.
Safety First: Always Unplug Your Mixer
This might sound obvious, but it's the most crucial step and often overlooked when people are in a hurry. Before you even think about touching a beater or wiping down the motor housing, make sure your electric hand mixer is completely unplugged from the wall socket.
Why is this non-negotiable?
- Prevent Accidental Start-Up: An accidental bump or a curious pet could inadvertently switch the mixer on if it's plugged in, potentially causing injury or damage.
- Protect the Motor: Water or cleaning solutions coming into contact with the internal motor components while it's powered can cause electrical shorts and permanent damage.
Manufacturer guidelines consistently emphasize unplugging the appliance. You can't effectively clean anything that’s potentially live. So, before any other step, find the plug and disconnect your mixer.
Detachable Parts: Beaters, Dough Hooks, and More
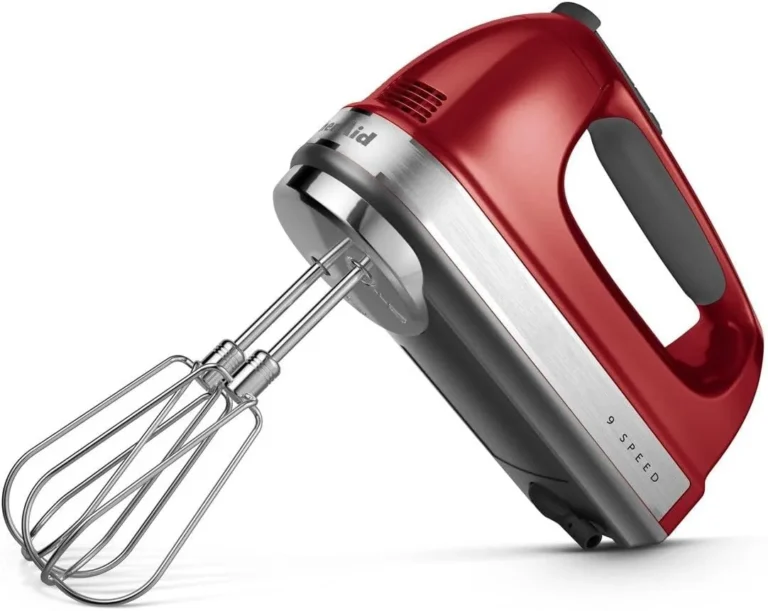
Most electric hand mixers come with detachable attachments, such as beaters, whisks, or dough hooks. These are usually the parts that get the messiest and are designed to be removed for cleaning. How you clean them depends on their material and your mixer's model.
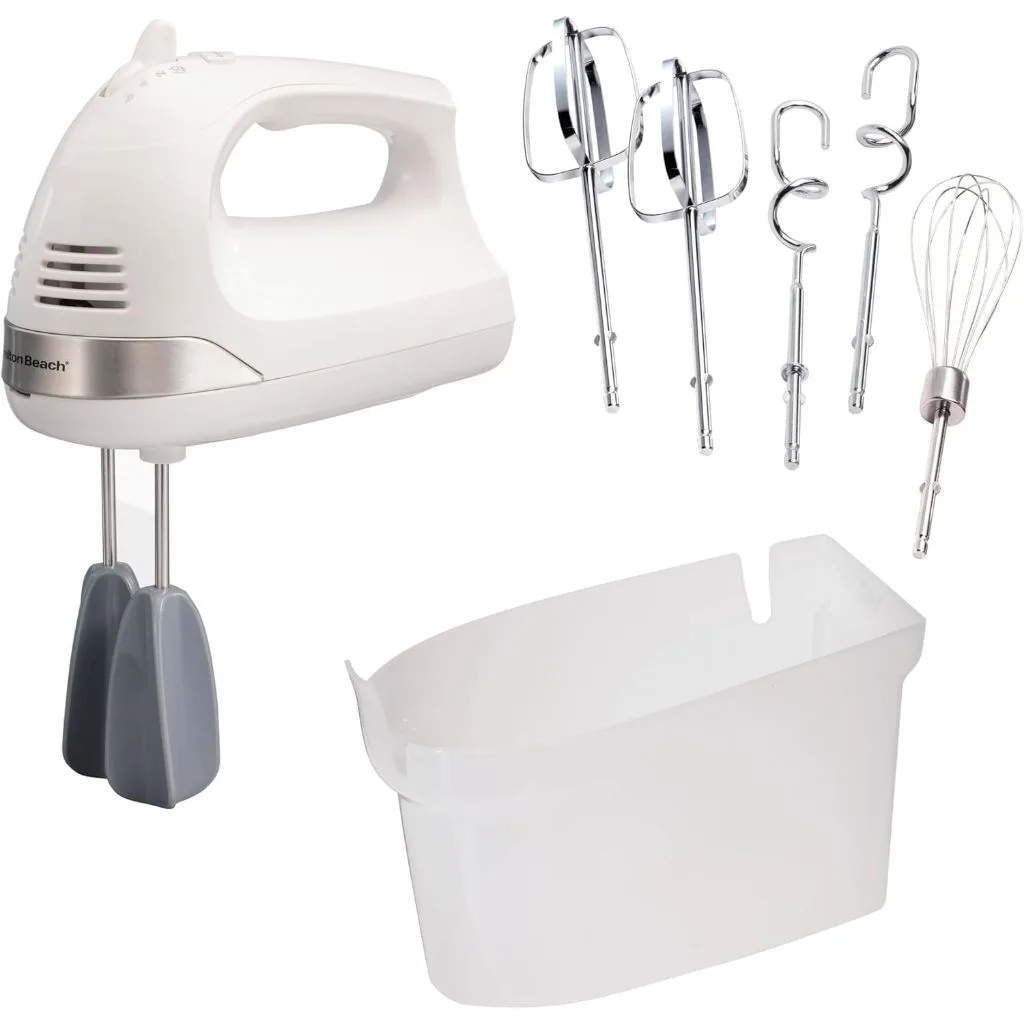
Image source: Bing (Web (fair-use with source credit))
How to Wash Attachments by Hand
For a quick clean or if your attachments aren't dishwasher-safe, hand washing is your go-to.
- Remove Attachments: Gently pull the beaters or dough hooks from the mixer base. They usually release with a button or a slight twist.
- Rinse Immediately: If possible, rinse them under warm running water right after use to prevent food from drying on.
- Wash with Soap and Water: Use warm, soapy water and a soft sponge or brush. For tough spots, a non-abrasive scrubbing pad can help.
- Rinse Thoroughly: Make sure all soap residue is gone.
- Dry Completely: This is vital. Use a clean towel or let them air dry on a rack before reattaching or storing them. Moisture can lead to rust or corrosion, especially on metal parts.
Washing Attachments in the Dishwasher
Many modern hand mixer attachments are designed to be dishwasher-safe, which is a huge time-saver. Always check your mixer's manual to confirm this.
- Check Your Manual: If it says "dishwasher safe," you're good to go.
- Placement Matters: If washing in a dishwasher, place attachments in the top rack to avoid damage from the heating elements or aggressive water jets.
- Detergent Use: Use your regular dishwasher detergent.
- Post-Wash Check: Even if dishwasher-safe, it’s a good idea to inspect them after a cycle. Sometimes, tough residue might need a quick touch-up. Ensure they are completely dry before storing or reattaching.
Cleaning the Motor Housing: The Tricky Part
The motor housing is the main body of your electric hand mixer and contains the motor, electronics, and controls. This part is never to be submerged in water. Water can seep into the vents and damage the motor and internal components, leading to failure.
As per general appliance care guidelines from organizations like the National Sanitation Foundation (NSF), maintaining a clean exterior is crucial for food safety.
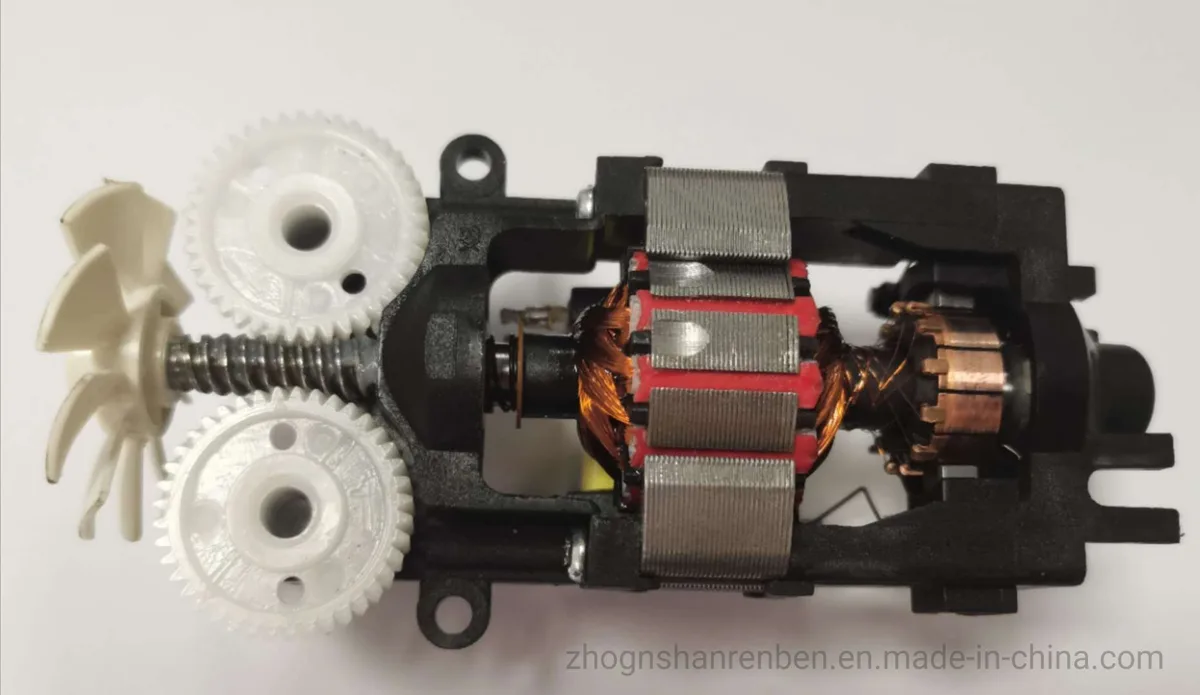
Image source: Bing (Web (fair-use with source credit))
Tackling Dried-On Food Residue
If you’ve got some stubborn splatters on the housing, don't despair. You just need the right approach.
- Use a Damp Cloth: Start with a soft cloth slightly dampened with warm water.
- Gentle Cleaning Solution: For tougher spots, use a tiny amount of mild dish soap on your damp cloth. Avoid harsh chemicals or abrasive cleaners, as they can scratch the plastic or damage the finish.
- Wipe, Don't Scrub: Gently wipe the affected areas. You may need to go over it a few times.
- Rinse the Cloth: Wring out the cloth thoroughly so it's just damp, not wet, and wipe away any soap residue.
Keeping Vents Clear for Motor Health
The vents on your mixer are essential for cooling the motor during operation. If they get clogged with flour, batter, or dust, the motor can overheat, reducing its lifespan or causing it to fail. This is a common issue for mixers used frequently in dusty environments or for heavy tasks.
- Visual Inspection: Regularly look at the vents. You'll usually find them on the sides or bottom of the motor housing.
- Use a Soft Brush: A small, dry, soft-bristled brush (like a clean paintbrush or an old toothbrush) is perfect for gently dislodging debris from the vents.
- Vacuum with Care: You can also use a vacuum cleaner with a brush attachment on a low setting to suck out dust and crumbs. Be gentle so you don't scratch the housing.
- Never Block Vents: Ensure nothing is blocking the vents when the mixer is in use.
Common Mistakes That Can Damage Your Mixer
It's easy to make a few slip-ups when cleaning, especially if you're rushing. Avoiding these common errors can save your mixer from premature failure.
- Submerging the Motor Housing: This is the number one mistake. Remember, the motor and electronics are inside. Water ingress is a quick way to ruin it.
- Using Abrasive Cleaners or Tools: Steel wool, scouring pads, or harsh chemical cleaners can scratch plastic, dull finishes, and even damage seals or labels. Stick to mild soap and soft cloths.
- Not Unplugging: As mentioned, this is a major safety hazard and can lead to electrical damage. Always disconnect the power first.
- Forgetting to Dry: Leaving attachments or the housing damp can lead to rust, mold, or electrical issues. Always ensure everything is completely dry before reassembling or storing.
- Ignoring the Manual: Each mixer model can have slight differences. Your owner's manual is the best resource for specific cleaning instructions for your particular appliance. If you've lost it, a quick search for "[your mixer brand and model] manual PDF" often yields results.
Quick Fixes for Sticky Situations
Sometimes, after a particularly ambitious baking project, your mixer might look like it’s been through a food fight. Don't panic; these quick fixes can handle most common sticky messes.
For Dried Batter on Attachments: Soak them in warm, soapy water for 10-15 minutes. This usually loosens dried-on batter enough for it to be wiped or scrubbed off easily with a sponge.
For Greasy Residue on Housing: A slightly damp cloth with a tiny drop of dish soap works wonders. Wipe in the direction of the appliance's grain if it has one. For really stubborn grease, a solution of equal parts white vinegar and water can be effective when applied to the cloth. Remember to rinse the cloth and wipe again with plain water afterwards.
For Gunk in Beater Clicks: Sometimes, small bits can get lodged where the beaters attach. Use a toothpick or a dry, soft brush to gently dislodge any debris.
How to Properly Dry and Reassemble
After washing and wiping, proper drying is essential for longevity. Moisture is the enemy of electronics and metal.
Drying Attachments: Shake off excess water and dry metal attachments thoroughly with a clean, soft towel. If you have a drying rack, placing them there for a while can ensure they are completely dry, especially in the nooks and crannies. For stainless steel parts, this helps prevent water spots.
Drying Housing: Wipe the motor housing with a dry, soft cloth until all visible moisture is gone. Pay attention to seams and around buttons.
Reassembly: Once everything is bone dry, reattach the beaters or other accessories. They should click or slide firmly into place. Give them a gentle tug to ensure they are secure before you next plug in and use the mixer. Proper reassembly ensures the mixer is ready for its next task.
When to Get Help for Mixer Issues
Most of the time, cleaning your electric hand mixer is a DIY task. However, there are situations where professional help or replacing the unit is the best course of action. Don't try to force a repair if you're not comfortable or if the issue seems serious.
Persistent Electrical Problems: If you notice sparks, smoke, a persistent burning smell, or if the mixer trips your circuit breaker, unplug it immediately. These indicate a potentially dangerous electrical fault.
Motor Failure: If the motor stops working entirely, makes grinding noises, or overheats rapidly even after cleaning, the motor may have failed. Repairing a motor can be costly, and sometimes buying a new mixer is more economical. You can check out general appliance troubleshooting guides like how to troubleshoot a coffee maker for general principles.
Visible Damage: Cracks in the housing, bent or broken attachment sockets, or severely damaged cords also signal that it’s time to consider repair or replacement.
What to Do If Your Mixer Isn't Working Right
If your electric hand mixer isn't performing as it should, a few common issues might be at play, often related to cleaning and maintenance. A well-maintained mixer is a happy mixer.
Beaters Won't Turn: First, check if the beaters are properly inserted and locked into place. If they are, inspect the sockets for debris. A small cleaning brush or even a rolled-up piece of paper towel can help dislodge stubborn bits.
Reduced Power or Speed: This often points to a motor that's overheating due to clogged vents or a struggling motor from dried-on residue on the beaters. A thorough cleaning, as described earlier, usually resolves this. If the problem persists after cleaning, the motor might be wearing out.
Unusual Noises: Grinding or clicking sounds can indicate a problem with the motor's gears or bearings, or something stuck in the mechanism. Again, ensuring the vents are clear and the attachments are clean is the first step. If the noise continues, it might be time for a professional look.
How to Maintain Your Mixer for Longevity
Regular maintenance goes beyond just cleaning. A few simple habits can ensure your electric hand mixer serves you well for a long time. It's about treating your kitchen tools with care so they can handle the work you ask of them.
Store Properly: After cleaning and drying, store your mixer and its attachments in a dry place. Keep attachments in their designated slots or a separate container to prevent damage and keep them clean.
Avoid Overloading: Don't try to mix dough that's too heavy for your hand mixer's capacity. Use it for what it's designed for, and if you need to knead heavy dough, consider a stand mixer or doing it by hand. Overloading strains the motor.
Inspect the Cord: Periodically check the power cord for any fraying or damage. A damaged cord is a fire hazard. If you find damage, do not use the mixer. For cord issues on small appliances, often it's safer and more economical to replace the unit rather than attempt a repair. This is similar to how you'd approach a damaged cord on other kitchen appliances, like a coffee maker.
Listen to Your Mixer: Pay attention to how your mixer sounds and feels during operation. Any changes or unusual behaviors are often early signs of a problem that a quick clean or simple check might resolve. This proactive approach can prevent bigger issues down the line.
Frequently Asked Questions About Mixer Cleaning
How often should I clean my electric hand mixer?
Clean the detachable parts immediately after each use. A quick wipe-down of the motor housing can be done after every few uses, with a more thorough cleaning of the housing and vents recommended every 2-3 months, or whenever you notice significant buildup.
Can I use oven cleaner to remove tough residue from the motor housing?
No, you should absolutely avoid oven cleaner and other harsh chemicals. They can damage the plastic, discolor the finish, and leave behind fumes that are unsafe for food preparation areas. Mild dish soap and water are sufficient.
My mixer attachments are stained, what can I do?
For metal attachments, try soaking them in a paste of baking soda and water for about 30 minutes, then gently scrub. For plastic parts, stubborn stains might be permanent, but ensuring they are clean from food residue is the priority.
Is it safe to clean the motor housing with rubbing alcohol?
Rubbing alcohol can be used in moderation for disinfecting, but always test it on an inconspicuous area first, as it can sometimes damage certain plastics or finishes. A damp cloth with mild soap is generally safer and more effective for everyday cleaning.
What if my mixer manual gives different cleaning instructions?
Always defer to your specific mixer's user manual. Manufacturer instructions are tailored to your model and are the most reliable guide for safe and effective cleaning. If the manual is lost, search online for the model number and "user manual PDF".
Should I clean the cord and plug?
Yes, you can wipe the cord and plug with a dry or slightly damp cloth. Ensure they are completely dry before plugging the mixer back in. Do not use abrasive cleaners or try to clean internal parts of the plug.