How to Maintain a Spin Bike
You don't need a mechanic to learn how to maintain a spin bike. You need a simple routine, a few basic tools, and the ability to listen to your bike. Most spin bikes fail from neglect, not heavy use.
The good news is that a little care goes a long way.
Manufacturer specifications suggest a weekly wipe-down and a monthly deep clean for home bikes. As of 2026, most spin bikes use either a chain or a belt drive, and each needs slightly different attention. Understanding which one you own makes every maintenance step easier.
Let's walk through the whole process, starting with what you're working with.
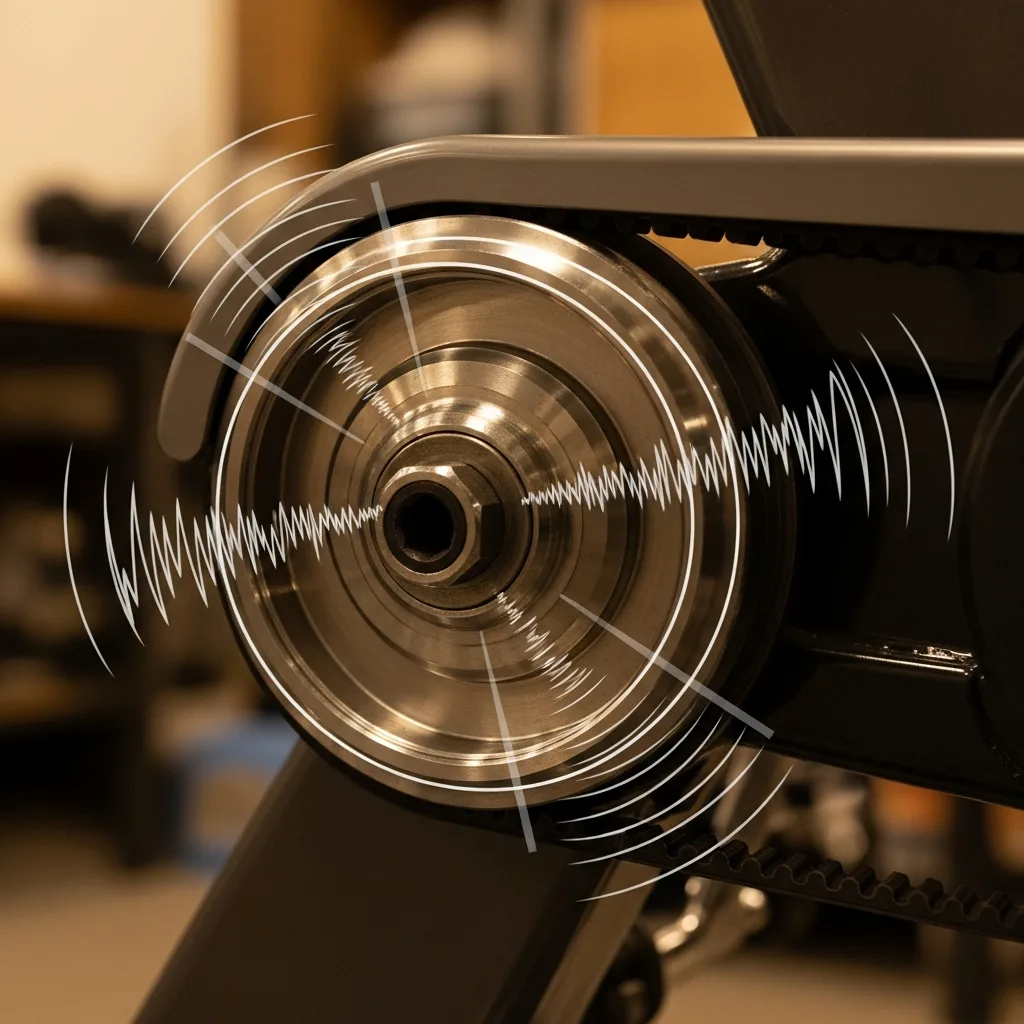
Image source: Bing (Web (fair-use with source credit))
Quick Answer
Wipe the bike down after every ride and check the bolts weekly. Clean and lube the chain every 30 to 50 ride hours on chain-driven models. Replace the felt brake pad when resistance feels weak.
Tighten bolts to manufacturer torque specs. Listen for squeaks and fix them before they become bigger problems.
First, Know What You're Working With: Chain vs. Belt and Friction vs. Magnetic
The first step is identifying the drivetrain. A chain-driven bike uses a metal chain, just like a road bike. A belt-driven bike uses a reinforced rubber belt.
That one difference changes your entire cleaning and lubrication routine.
Why Drivetrain Type Changes Everything
Chains need grease. Belts don't. If you put chain lube on a belt, it attracts dust and causes premature wear.
Resistance type matters too. Friction resistance presses a felt pad against the flywheel. That pad wears down and needs replacing.
Magnetic resistance uses magnets, so there's no contact and no pad to replace.
Here's a quick reference:
| Drivetrain or Resistance | What it does | Maintenance needed |
|---|---|---|
| Chain drive | Metal chain connects pedals to flywheel | Clean and lube every 30-50 ride hours |
| Belt drive | Rubber belt connects pedals to flywheel | Check tension; no lube |
| Friction resistance | Felt pad presses on flywheel | Replace pad when resistance feels weak |
| Magnetic resistance | Magnets create resistance without contact | Calibrate occasionally; no pad |
Quick Check: Identifying Your Setup in Under a Minute
Look at the side of the bike. If there's a cover, pop it off. A chain has visible metal links.
A belt looks like a wide ribbed rubber band. Then check the resistance knob. If turning it presses a pad against the flywheel, you've got friction resistance.
If the flywheel spins freely and the knob only increases magnetic drag, it's magnetic.
If you already follow a care routine for a rowing machine, a spin bike uses the same common sense. Match the maintenance to the parts, and you'll be fine.
The Daily and Weekly Routine That Keeps a Spin Bike Solid
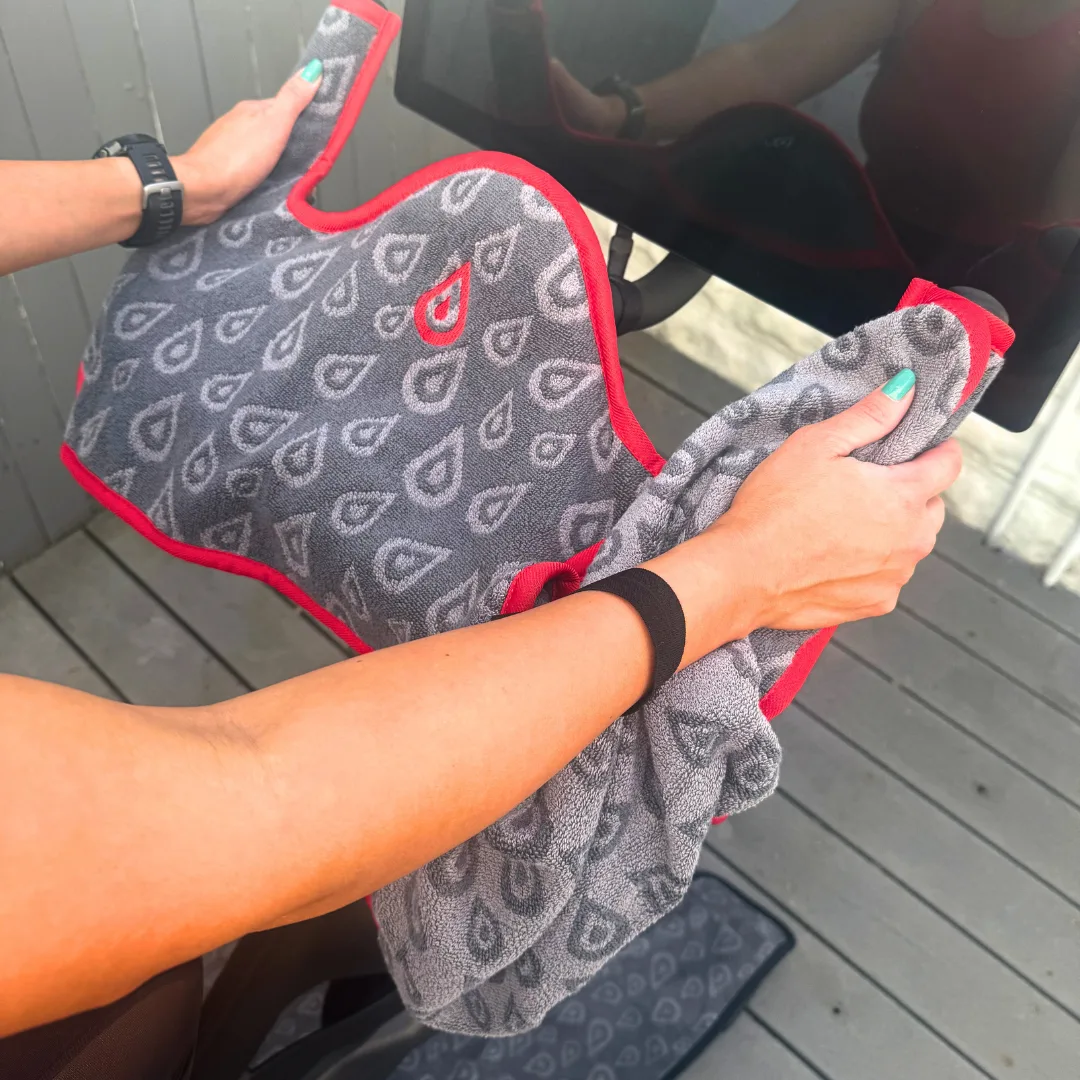
Image source: Bing (Web (fair-use with source credit))
The 60-second wipe-down after every ride is the single most valuable maintenance habit. Sweat is corrosive. Left on the frame, it attacks paint, hardware, and bearings.
A dry microfiber cloth catches most of it.
Work from top to bottom. Wipe the handlebars, stem, seat post, frame, and flywheel cover. Pay extra attention to the exposed bolts and the area around the resistance knob.
Sweat pools there.
The 60-Second Post-Ride Wipe-Down
- Keep a dedicated microfiber cloth near the bike.
- Wipe the saddle and handlebars first.
- Move down the frame and the flywheel cover.
- Dry around the pedals and crank arms.
- Let everything air out for a few minutes.
The Weekly 5-Minute Check (Bolts, Pedals, and Resistance Feel)
Weekly, spend five minutes doing a quick mechanical check. Grab a hex key set and a torque wrench if you have one.
- Check the seat post and handlebar stem for play. Tighten to the manufacturer's torque spec.
- Check the pedals. Push down on each one. A click or wobble means the pedal or crank arm needs attention.
- Turn the resistance knob. It should feel smooth and even from top to bottom.
- Lift the bike by the handlebars and see if the stabilizer feet wobble.
If something feels off, fix it before the next ride. Small issues get expensive when ignored. That same mindset applies to other home fitness equipment, where a simple wipe-down goes a long way.
Symptom-Based Troubleshooting: If It Squeaks, Wobbles, or Slips
Squeaks and creaks are the most common spin bike complaints. They usually come from one of three places: pedals, bolts, or the chain. A faint creak when you push down often means the pedal needs tightening.
A rhythmic tick with every rotation points to the crank arm or chain.
Squeaks and Creaks
If the noise comes from the pedals, tighten them. Remember, the left pedal is reverse-threaded. If that doesn't fix it, apply a small amount of grease to the pedal threads before reinstalling.
If the noise comes from the chain, clean it first, then lube it. A dry chain squeals under load.
Wobble or Instability
A wobble usually means the stabilizer feet aren't level, or the quick-release levers aren't clamped down. Place the bike on a hard, flat floor. Adjust the leveling feet until the frame doesn't rock.
The same issue can happen on the seat post. If the saddle drops or twists mid-ride, tighten the seat clamp or replace the quick-release lever.
Resistance Doesn't Feel Right
If resistance feels uneven, check the brake pad first. Worn pads create inconsistent drag. Replace the pad if it's thin or glazed.
If you have magnetic resistance, check that the calibration hasn't drifted. Some models need a simple recalibration using the tension knob.
Grinding or Clicking from the Flywheel Area
Grinding from the flywheel usually points to bearings. Worn bearings can be replaced, but you'll likely need tools specific to your model. A loose pulley or belt tension issue can cause the same kind of noise.
If the sound is constant and the bike is more than five years old, a tech visit may be the safest fix.
For other machines with moving parts, a quick adjustment often solves the problem. Walk through each moving part one at a time.
The Maintenance Decision Tree: By Symptom, Not by Calendar
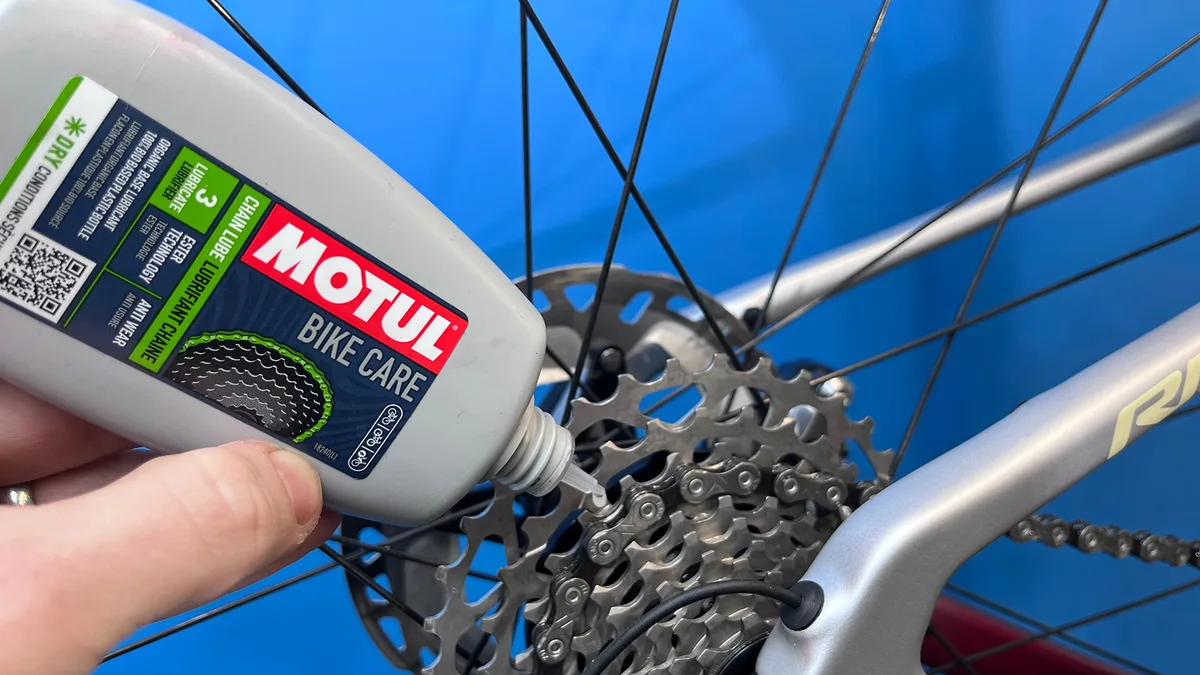
Image source: Bing (Web (fair-use with source credit))
Most spin bike maintenance is reactive. Something squeaks, so you lube it. The bike wobbles, so you tighten it.
The smartest approach combines that with a basic schedule. If you ride three times a week, use this decision tree to keep everything in order.
Step-by-Step: Cleaning, Lubing, and Adjusting the Drivetrain
Start by cleaning the drivetrain. A dirty chain wears out faster and makes the bike feel rough.
- Turn the pedals to find the cleanest section of chain.
- Spray a degreaser on a clean rag and wipe the chain while turning the crank arms.
- Let the chain dry completely.
- Apply a thin layer of bicycle chain lube to the inside of the chain.
- Wipe off any excess. Excess lube attracts dust.
For belt drives, skip the lube. Instead, check the belt for cracks, glazing, or slack. If the belt skips under load, it needs tensioning or replacing.
Step-by-Step: Brake Pad Care, Belt Tension, and Bearing Checks
Friction resistance bikes need brake pad inspection every few months.
- Look at the pad where it touches the flywheel.
- If it's smooth and thick, you're fine.
- If it's worn down to the backing, replace it.
- Check the spring tension on the brake arm. It should pull back smoothly.
Calibrating the Resistance Knob After Replacing the Brake Pad
After replacing the pad, recalibrate the resistance knob. Turn it so the pad just touches the flywheel. Then back it off a quarter turn.
Ride and test. Adjust until the easiest setting feels free and the hardest setting feels solid.
Check the manual first. Most home bikes are built to meet safety standards for stationary exercise equipment, and the exact calibration steps are usually listed there. This is the same rhythm as keeping any cardio machine on track.
Common Mistakes That Quietly Destroy a Spin Bike
Most spin bike damage comes from good intentions gone wrong. The wrong lubricant, the wrong cloth, or too much torque can cause more problems than a year of bare neglect.
The Wrong Lubricant, the Wrong Cloth, the Wrong Torque
WD-40 is not a chain lube. It's a solvent and rust remover. It breaks down existing grease and leaves metal dry.
Use a proper bicycle chain lubricant. For belts, use nothing. For felt brake pads, never lube them.
Lubricated pads lose grip and slide instead of applying resistance.
The wrong cloth matters too. Rough shop towels can scratch painted frames. Use a microfiber cloth for surfaces.
Torque is another trap. Over-tightening bolts on seat posts and handlebars strips threads. Most manufacturers recommend 10 to 15 Nm for seat clamps.
Use a torque wrench, not feel.
| Mistake | Why it hurts | What to do instead |
|---|---|---|
| Spraying WD-40 on the chain | Removes needed grease | Use bike chain lube |
| Lubricating the brake pad | Reduces resistance grip | Leave the pad dry |
| Using household cleaner on the frame | Strips protective coatings | Use mild soap and water |
| Cranking the seat clamp | Strips threads | Use a torque wrench |
How Sweat Does More Damage Than Any Ride
Sweat contains salt. Salt attracts moisture. Moisture rusts bolts, bearings, and frames.
The fix isn't complicated. Wipe down every ride. Once a month, wipe the frame with a damp cloth and mild dish soap.
Dry it completely. If you ride in a humid space, consider a small fan to keep air moving around the bike.
If something breaks unexpectedly, stop riding. The CPSC tracks fitness equipment recalls and safety alerts for issues like this. A rusty frame or cracked weld is never worth a fall.
Keep up with regular equipment care instead. It beats expensive repairs later.
DIY vs. Professional Service: When to Keep Turning Wrenches and When to Stop
A lot of spin bike maintenance falls into the DIY zone. Cleaning, lubing, leveling, and adjusting bolts are all safe weekend tasks. Replacing a felt brake pad is also straightforward with a basic hex set and the right part.
Call a technician when the issue sits deeper. Grinding from the flywheel bearings, a dead resistance motor, or a cracked frame all need professional eyes. Electronic consoles are especially sensitive.
Opening one without training often does more harm than good.
Service pricing stays reasonable in our research. A standard tune-up runs between $50 and $150. That typically covers tightening, cleaning, and installing new wear parts.
Compare that to the cost of replacing the whole bike.
Warranty rules matter here. Some manufacturers require certified techs for drivetrain repairs. Digging into the belt assembly yourself could void coverage.
When in doubt, check the manual or contact the brand's support team first.
Frequently Asked Questions
How often should I lube my spin bike chain?
For a chain-driven bike, lube every 30 to 50 ride hours. Wipe the chain clean first, then apply a thin layer of bicycle chain lube. Let it soak in for a few minutes, then wipe off the excess.
Belt drives never need lube.
Can I use WD-40 on my spin bike?
No. WD-40 is a solvent, not a lubricant. It strips away existing grease and leaves the chain dry.
Use a proper bicycle chain lubricant instead. For belts, apply nothing at all.
Why does my spin bike squeak when I stand up?
That creak usually comes from loose pedals, crank arms, or a dry chain. Tighten the pedals, remembering the left pedal is reverse-threaded. If the sound continues, clean and lube the chain.
If the noise stays, check the bottom bracket.
How long does a spin bike last with good maintenance?
A quality home spin bike typically lasts 5 to 10 years with regular care. Commercial models can go longer. Replacing worn brake pads and chains when needed extends the life considerably.
Should I replace the brake pad before it wears out fully?
Yes. Ride until resistance feels weak or the pad looks thin. Catching it early protects the flywheel surface.
Most pads cost under $30 and take 15 minutes to install.