Launch CRP123 Troubleshooting: Fix Common Scan Errors
Launch CRP123 troubleshooting usually starts with checking power, cable connection, software updates, and vehicle compatibility.
The Launch CRP123 is a useful four-system scan tool, but even a good diagnostic device can fail when the vehicle battery is weak, the OBD port has no power, or the scanner software is outdated. This guide explains Launch CRP123 troubleshooting step by step, using practical checks that help separate a scanner problem from a vehicle problem.
What the Launch CRP123 Does
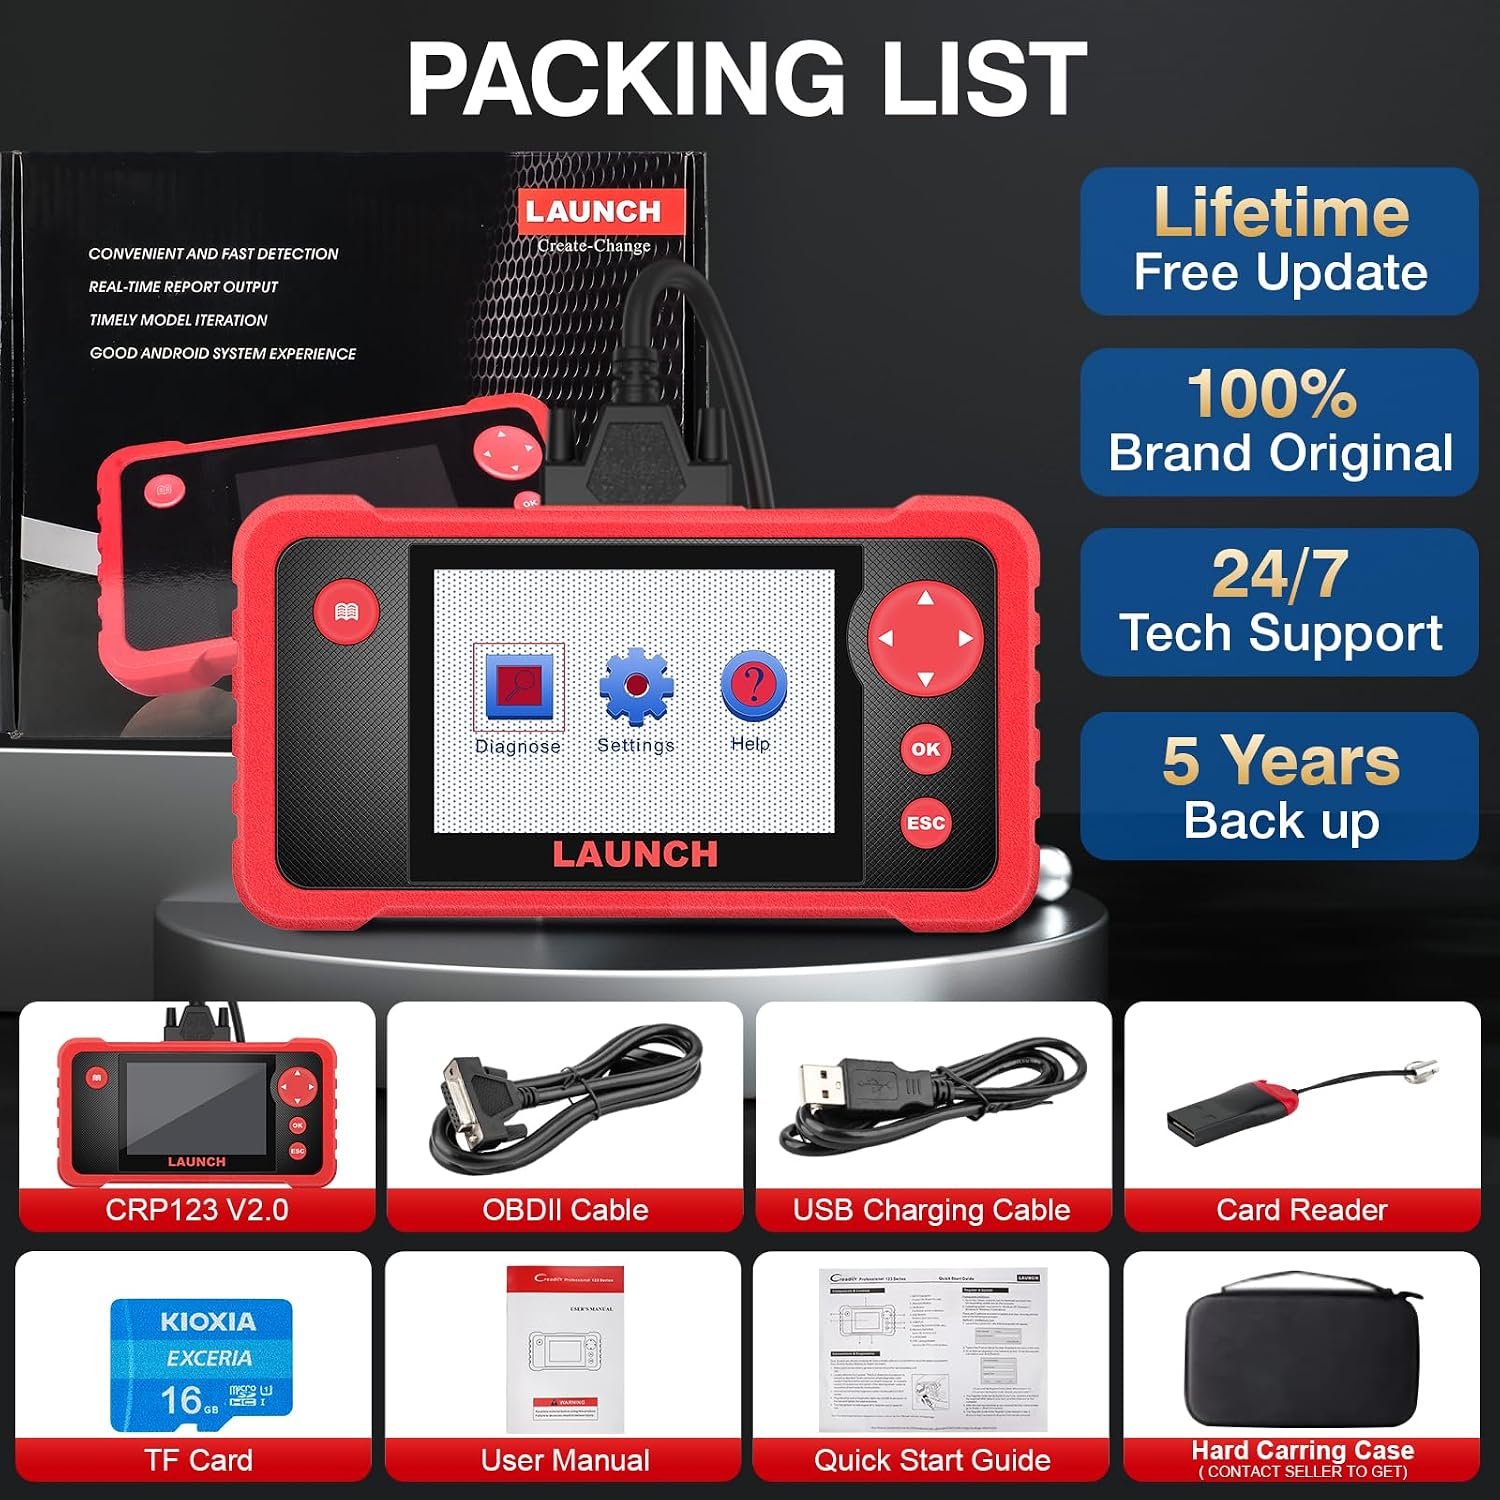
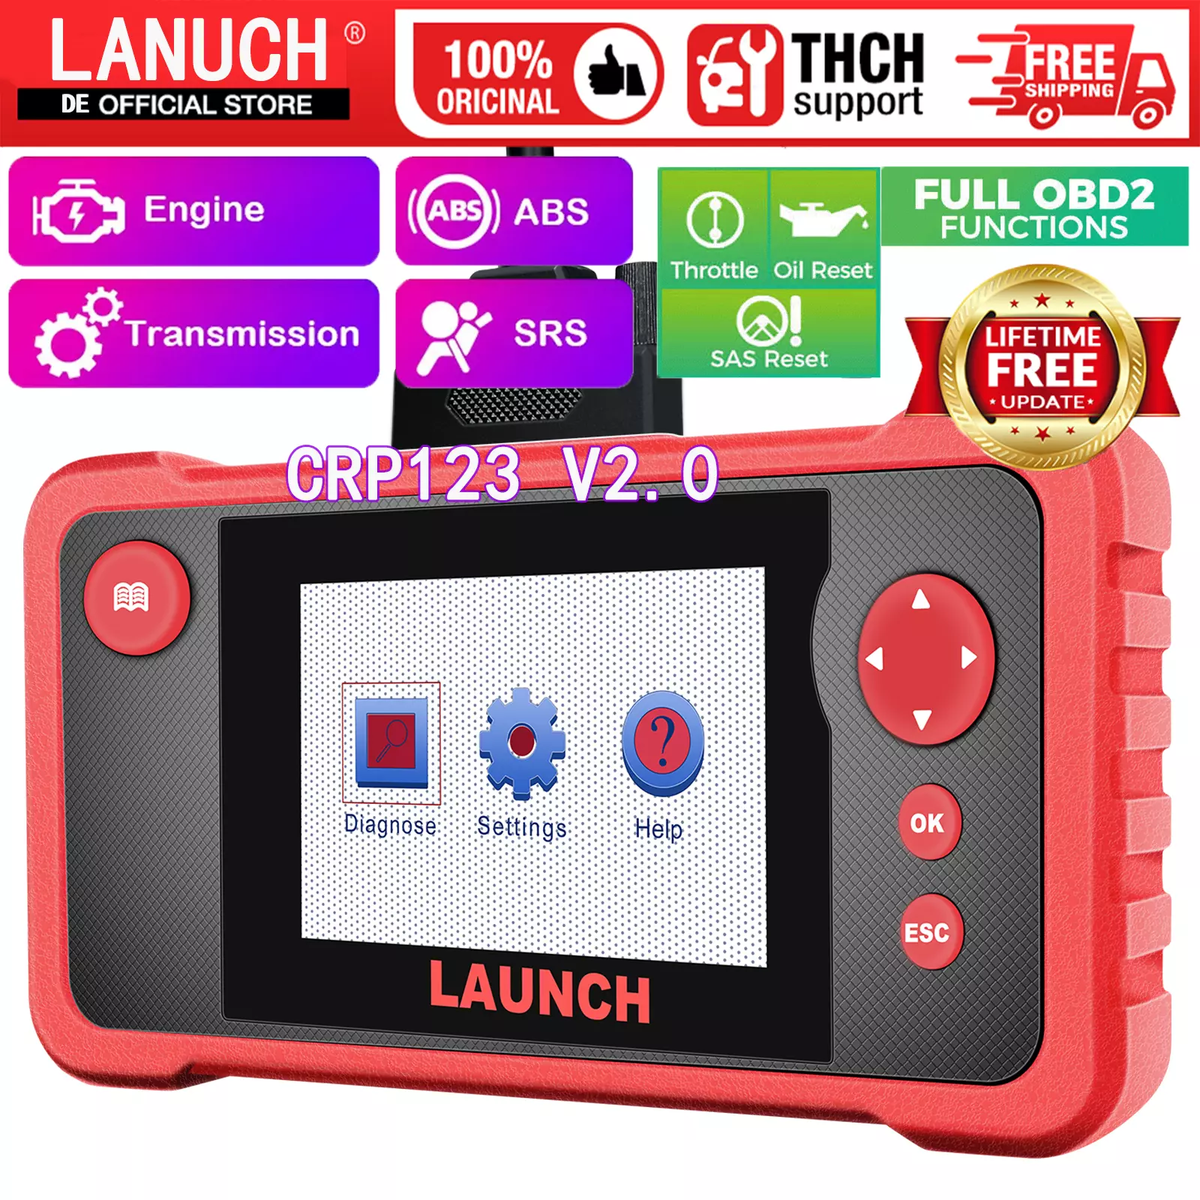
The Launch CRP123 is an automotive diagnostic scanner designed to read fault codes from several major vehicle systems. Depending on the vehicle and software version, it commonly supports:
• Engine or powertrain diagnostics
• Automatic transmission diagnostics
• Anti-lock braking system, or ABS, diagnostics
• Supplemental restraint system, or SRS, diagnostics
• Live data readings
• Code clearing
• Vehicle information checks
• Basic diagnostic reports
The tool communicates through the vehicle’s OBD-II diagnostic connector. Think of this connector as a small doorway between the vehicle’s computers and the scan tool. If that doorway has no power, poor contact, or damaged wiring, the Launch CRP123 may not connect.
Vehicle coverage is not universal. A car may have an OBD-II connector but still limit access to ABS, SRS, or transmission modules. Manufacturer systems, model year, engine type, and regional specifications can all affect compatibility.

Quick Safety Checks Before Troubleshooting
Before testing the Launch CRP123, park the vehicle safely and switch off unnecessary electrical loads. Keep the transmission in Park or Neutral, apply the parking brake, and follow the vehicle maker’s safety rules.
Take extra care when working around the SRS system. Airbags and seat belt pretensioners can deploy if wiring is disturbed. Do not probe yellow airbag wires or disconnect SRS connectors unless you have the proper service information and training.
Use these basic checks first:
- Confirm that the vehicle battery is charged.
- Turn the ignition off before plugging in the scanner.
- Insert the connector fully into the OBD-II port.
- Check that the scanner cable has no cuts or bent pins.
- Keep the scanner connected during the initial communication process.
- Avoid clearing codes before saving or recording them.
A common mistake is to blame the scan tool too quickly. In many cases, the real cause is a low vehicle battery or a blown fuse that powers the diagnostic connector.

Launch CRP123 Will Not Turn On
If the Launch CRP123 screen stays blank, start with the vehicle connection. Most versions of the tool receive power through the OBD-II port, so the scanner may not turn on if that port has no voltage.
Check the following points:
• Make sure the connector is fully seated.
• Try the scanner on another compatible vehicle.
• Inspect the OBD-II port for dirt, pushed-back pins, or physical damage.
• Check the vehicle fuse labeled OBD, DLC, cigar lighter, or accessory.
• Test the vehicle battery voltage with a multimeter.
• Look for visible damage to the scanner cable or plug.
A healthy 12-volt battery often measures close to 12.6 volts with the engine off. A much lower reading can cause communication problems, warning messages, or unexpected scanner resets. Voltage may also drop during key-on testing, so a battery that starts the car may still be weak.
If the scanner works on another vehicle, the Launch CRP123 is likely fine. Focus on the original vehicle’s fuse, DLC wiring, battery, or ignition circuit.
Launch CRP123 Cannot Connect to the Vehicle
A “linking error,” “communication error,” or “unable to connect” message usually means the scanner cannot establish communication with one or more vehicle modules. This is one of the most common Launch CRP123 troubleshooting issues.
Use this sequence:
- Turn the ignition off.
- Disconnect the scanner for about 30 seconds.
- Reconnect it firmly.
- Turn the ignition to the ON position without starting the engine.
- Select the correct vehicle make, model, year, and engine.
- Try automatic identification if manual selection fails.
- Start the engine and retry the scan if the tool requests it.
Do not choose a similar vehicle just because the year looks right. A different engine or market version may use a different communication setup. Incorrect vehicle selection can look like a hardware failure.
If the engine module connects but ABS or SRS does not, the issue may be normal coverage limits. It may also indicate a module power problem, a network fault, or a damaged control unit. Check the vehicle service manual before assuming the scanner is defective.

OBD-II Port Has No Power
The OBD-II connector normally has a power supply at pin 16 and ground connections at pins 4 and 5. A missing power supply can prevent the Launch CRP123 from turning on. Only test connector pins if you are comfortable using a multimeter and can identify them correctly.
To check the port:
• Set the multimeter to DC voltage.
• Connect the black probe to a known ground.
• Touch the red probe to the power terminal.
• Compare the reading with the vehicle battery voltage.
• Test the ground terminals for a stable ground path.
Never force the scanner plug into the connector. Also, do not bridge terminals with a metal tool. A short circuit can damage a fuse, module, or communication network.
If power is missing, inspect the related fuse first. Some vehicles share the diagnostic port fuse with the interior power outlet. A phone charger or aftermarket accessory may have caused the fuse to fail.

Launch CRP123 Shows a Communication Error
Communication errors can come from more than one source. The vehicle may have a low battery, a damaged communication wire, an aftermarket radio, or a control module that is holding the network down.
Try these steps:
- Turn off aftermarket electronics.
- Disconnect battery chargers or jump starters.
- Close all doors and wait for the vehicle modules to sleep.
- Cycle the ignition off and on.
- Retry the scan with the engine off.
- If needed, retry with the engine running.
- Test another compatible vehicle.
A diagnostic network is like a conversation between several computers. If one module speaks with damaged data or stops responding, the scanner may not complete the conversation.
If the vehicle recently had a radio, remote starter, alarm, or tracking device installed, that accessory deserves attention. Poor wiring can interfere with the communication network. A professional technician may need to test network resistance and signal quality.

Launch CRP123 Cannot Read ABS or SRS Codes
The Launch CRP123 may read engine codes but fail to access ABS or SRS. This does not always mean the tool is broken. System access depends on the vehicle’s design, software coverage, and the diagnostic functions supported by that model.
First, confirm that the selected vehicle is correct. Then check whether the scanner lists ABS or SRS as available systems. If the system is listed but will not connect, inspect related fuses and module power supplies.
For SRS problems, do not clear codes without fixing the cause. An airbag warning light may return immediately if a seat connector, clock spring, impact sensor, or battery voltage issue remains active.
My most important practical lesson with SRS diagnostics is simple: never treat an airbag code like an ordinary engine code. Save the code, read the repair information, and avoid probing the circuit with a standard test light.

Launch CRP123 Reads Codes but Will Not Clear Them
A scan tool can read a code without being able to erase it. This often happens when the fault is still active. Many modules will not allow a warning light to stay off while they continue to detect the same problem.
Before clearing codes:
• Record the exact code and description.
• Save freeze-frame data when available.
• Inspect the related wiring and components.
• Repair the cause of the fault.
• Cycle the ignition as instructed.
• Clear the code only after the repair.
Some codes are stored as history codes. Others are current, pending, permanent, or manufacturer-specific. Permanent emissions codes may remain until the vehicle completes its self-tests and confirms that the problem is gone.
Disconnecting the battery is not a reliable substitute for proper code clearing. It can erase useful learned data, reset radio settings, and create new warning lights. Use the Launch CRP123 clear function when the vehicle supports it.

Launch CRP123 Gives Incorrect or Unclear Data
Live data can look confusing when values are shown in unfamiliar units or when the engine is not operating under normal conditions. For example, coolant temperature may be close to outside temperature after a cold start but should rise as the engine warms.
Check the basics before judging a data value:
- Confirm the engine temperature.
- Note whether the engine is running.
- Check the measurement units.
- Compare related sensors.
- Look for values that change smoothly.
- Use a trusted service specification for comparison.
One sensor reading should rarely be judged alone. If the throttle position, engine speed, airflow, and oxygen sensor data all change together, the reading may be reasonable. If one value is frozen, jumps sharply, or disagrees with related data, further testing is needed.
A scan tool reports what the vehicle computer sees. It does not prove that the sensor itself is bad. The issue may be wiring, a reference voltage problem, a poor ground, or a computer interpretation error.
Launch CRP123 Freezes, Reboots, or Runs Slowly
A frozen screen can result from low power, outdated software, excessive heat, or a temporary software error. Start by disconnecting the tool and restarting the vehicle before reconnecting it.
For software-related problems:
• Charge the scanner if it has an internal battery.
• Install updates from the official Launch update process.
• Use a stable internet connection.
• Keep the scanner connected to power during updates when instructed.
• Avoid interrupting an update.
• Restart the tool after the update finishes.
Do not install unofficial files or force a firmware update meant for another model. Incorrect software can make the scanner unstable or unusable.
Keep the device away from extreme heat, moisture, and direct sunlight. A hot dashboard can be harsh on electronic equipment. Store the scanner in a dry case and protect the cable from sharp bends.
How to Update the Launch CRP123
Software updates can improve vehicle coverage, correct bugs, and add support for newer models. The exact menu names may vary by version, but the general process is similar.
- Connect the scanner to a reliable Wi-Fi network.
- Open the update or upgrade application.
- Sign in or register the device if required.
- Check for available vehicle software and system updates.
- Select the correct update package.
- Keep the device powered on until the process ends.
- Restart the scanner and test it again.
Write down the device serial number before contacting support. Keep proof of purchase if available. Support staff may also request the vehicle identification number, software version, error message, and a photo of the scanner screen.
Updates do not guarantee access to every vehicle function. They improve coverage, but some advanced coding, programming, active tests, and security functions may require a higher-level tool or manufacturer access.
Launch CRP123 Troubleshooting by Symptom
The symptom can point toward the most likely cause. Use this quick guide before deeper testing.
• No screen or power: Check the vehicle battery, DLC fuse, connector, and scanner cable.
• Scanner powers on but will not link: Check vehicle selection, ignition position, battery voltage, and network faults.
• Engine data works but ABS does not: Confirm coverage, ABS fuse power, and module communication.
• SRS scan fails: Check supported functions and follow strict airbag safety rules.
• Codes return after clearing: The fault is still active or the code is permanent.
• Scanner freezes: Restart it, update software, and test it on another vehicle.
• Data looks wrong: Check units, engine state, sensor relationships, and service specifications.
• Update fails: Check Wi-Fi, account status, storage, power, and official software support.
This approach saves time because it begins with simple causes. A technician should not remove a control module when a blown fuse explains the same symptom.
Common Mistakes to Avoid
Many diagnostic mistakes happen because the scan tool is used as a parts-purchasing guide instead of a testing aid. A code points toward a system or condition. It does not always identify the failed part.
Avoid these errors:
• Replacing a sensor before checking its wiring.
• Clearing codes before recording them.
• Scanning with a weak battery.
• Selecting the wrong vehicle profile.
• Using a generic code meaning for a manufacturer-specific code.
• Disconnecting the battery to hide a warning light.
• Testing airbag wiring with unsuitable equipment.
• Interrupting a firmware update.
• Assuming no code means no mechanical problem.
I once saw a vehicle receive a new oxygen sensor even though the real issue was a damaged harness near the exhaust. The scanner had correctly reported the circuit problem, but the code was misunderstood as proof that the sensor itself had failed.
Use the Launch CRP123 as one part of the diagnostic process. Combine codes with visual checks, voltage tests, service data, and a road test when appropriate.
When Professional Help Is Needed
Some problems are safe for a careful vehicle owner to inspect. Others need advanced equipment and training. Seek professional help when the issue involves high-voltage hybrid systems, airbag deployment circuits, immobilizer programming, or suspected control module damage.
Professional diagnosis is also wise when:
• The OBD-II port has damaged wiring.
• Several modules lose communication at once.
• The vehicle will not start after an electrical repair.
• ABS or SRS faults remain after basic checks.
• Network voltage or resistance readings are abnormal.
• The scanner works on other cars but not the problem vehicle.
• A software update has failed repeatedly.
A qualified technician can use wiring diagrams, manufacturer data, network testing tools, and bidirectional controls. The Launch CRP123 is valuable, but it has limits. Knowing those limits prevents wasted money and unsafe repairs.
Frequently Asked Questions About Launch CRP123 Troubleshooting
Why will my Launch CRP123 not turn on?
The most common causes are a blown OBD-II fuse, weak vehicle battery, poor connector contact, or damaged cable. Test the scanner on another compatible vehicle to determine whether the fault follows the tool or stays with the car.
Why does the Launch CRP123 say it cannot link?
Confirm the ignition is in the ON position and the correct vehicle information is selected. Then check battery voltage, DLC power, fuses, and possible communication network problems.
Can the Launch CRP123 read ABS and SRS codes?
It may read ABS and SRS codes on supported vehicles, but coverage varies by model, year, region, and software version. Check the available system menu and current vehicle coverage before relying on the function.
Why do codes return after I clear them?
A returning code usually means the original fault is still active. Permanent emissions codes may also remain until the vehicle completes its required self-tests and confirms that the repair worked.
How do I fix a frozen Launch CRP123 screen?
Disconnect the scanner, restart the vehicle, and reconnect the tool. If the problem continues, check for software updates, adequate power, excess heat, or a damaged cable.
Does a diagnostic code prove that a part is bad?
No. A code identifies a detected fault or condition, not always the failed component. Check wiring, power, ground, connectors, and related data before replacing parts.
Can I use the Launch CRP123 on every vehicle?
The tool works with many OBD-II vehicles, but functions differ by manufacturer and system. Some vehicles may support engine scanning but not advanced ABS, SRS, transmission, coding, or programming functions.
Conclusion
Launch CRP123 troubleshooting is easier when you follow a clear order: check power, inspect the OBD-II port, confirm the vehicle selection, update the software, and test one system at a time. Remember that a diagnostic code is a clue, not a final answer.
Use safe testing methods, record codes before clearing them, and respect the scanner’s coverage limits. If you still cannot connect or an airbag, brake, or network fault remains, ask a qualified technician for help. Keep this guide nearby, apply the steps carefully, and explore the official support resources for your exact Launch CRP123 model.