How To Use A Polishing Machine: Pro Tips For Beginners
A polishing machine smooths, shines, and restores surfaces by using the right pad, speed, and pressure.
If you want a clean, glossy finish without wasting time or damaging the surface, learning how to use a polishing machine the right way makes all the difference. I’ve seen beginners get excellent results on paint, wood, and metal once they understand the basics, and I’ve also seen rushed work leave swirl marks that took longer to fix. This guide walks you through the full process in a simple, practical way so you can polish with confidence and get professional-looking results.
What a Polishing Machine Does
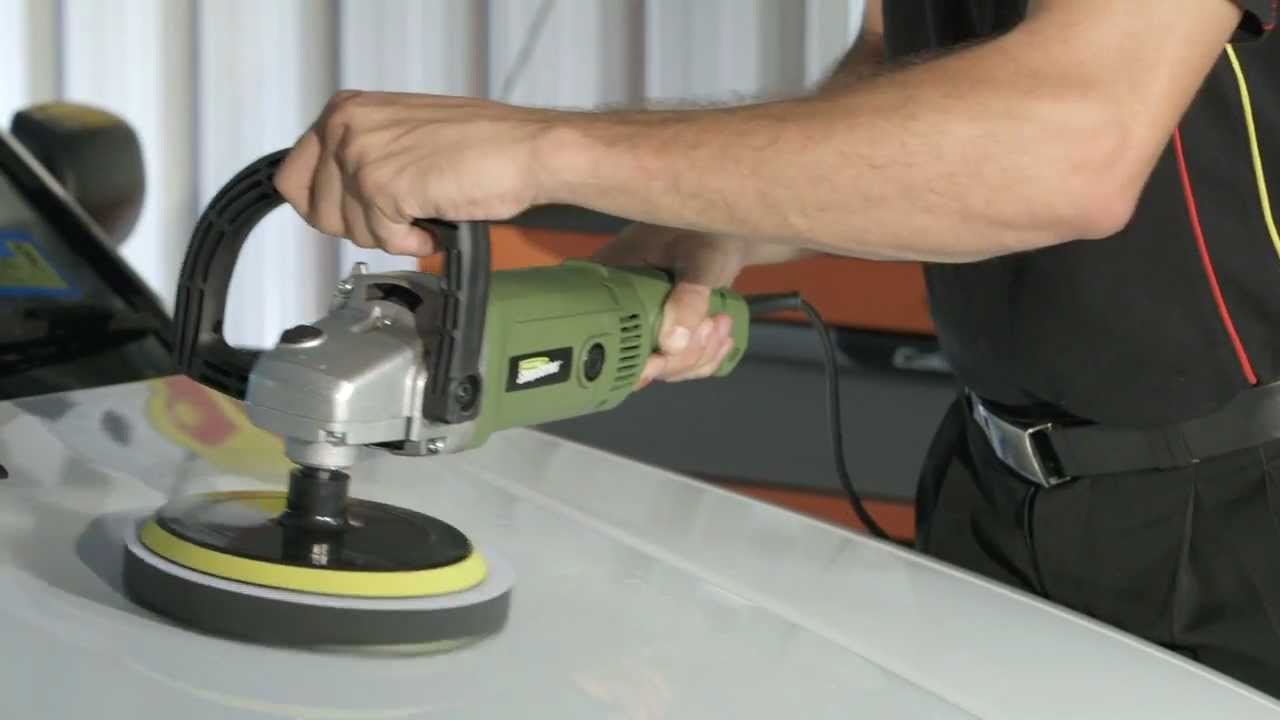
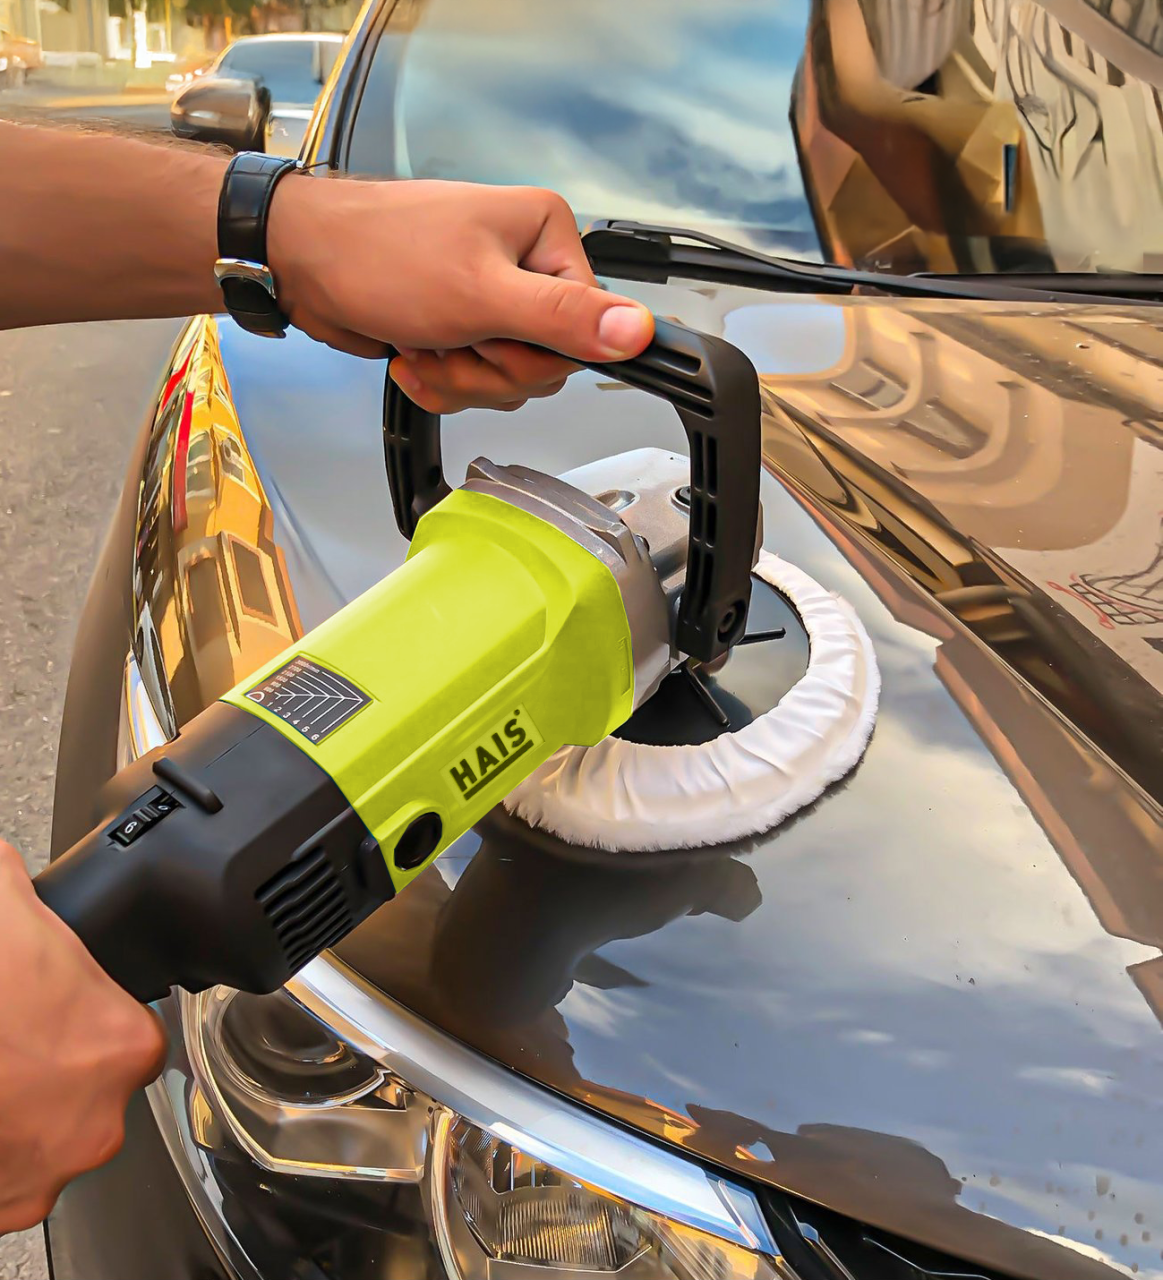
A polishing machine is a power tool that helps refine a surface by removing light defects and increasing shine. It works by moving a pad over the material with controlled speed and pressure. Depending on the pad and compound, it can clean oxidation, reduce swirl marks, and improve the final finish.
People use a polishing machine on car paint, furniture, metal, stone, and even floors. The tool does not “fix everything,” though. It works best when you match the machine, pad, and polish to the job.
A good way to think about it is like sanding with precision. You are not grinding away the surface. You are gently leveling and refining it until it reflects light better.
Types of Polishing Machines
There are a few common types, and each one has its place. Choosing the right one is a big part of learning how to use a polishing machine well.
Rotary polishing machine
A rotary polishing machine spins in one direction. It cuts fast and can handle heavy correction work. It also creates more heat, so it takes more skill and care.
Dual action polishing machine
A dual action machine moves in two ways at once. It spins and oscillates, which makes it safer for beginners. It is a popular choice for car detailing because it reduces the chance of burning or holograms.
Orbital polishing machine
An orbital polisher uses a random or soft orbiting motion. It is usually gentle and easy to control. It is a solid option for light polishing and final shine work.
From my own experience, beginners usually do best with a dual action machine. It gives you a margin for error, which matters a lot when you are learning how to use a polishing machine for the first time.

Tools and Supplies You Need
Before you start, gather everything first. A smooth setup saves time and helps you avoid mistakes.
You will usually need:
- Polishing machine
- Foam, wool, or microfiber pads
- Polishing compound or polish
- Clean microfiber towels
- Masking tape for edges and trim
- Lighting so you can inspect the surface
- Safety glasses and gloves
- Surface cleaner or degreaser
If you are working on a car, a clay bar, wash soap, and drying towel are also helpful. For wood or metal, the exact products depend on the material and finish you want.
How to Use a Polishing Machine Step by Step
Using the machine is easier when you follow a clear process. The basic rule is simple: clean first, test first, then polish slowly.
1. Clean the surface
Wash or wipe the surface before you begin. Dirt and grit can scratch the material as the pad moves across it. Even small particles can create new marks.
For car paint, wash, decontaminate, and dry the surface. For furniture, use a clean, lint-free cloth and remove dust completely. For metal, make sure grease and oxidation are reduced as much as possible before polishing.
2. Inspect the area
Look closely at the surface under bright light. Find swirl marks, haze, scratches, oxidation, or dull spots. This helps you decide what kind of pad and polish to use.
I always recommend doing a small test spot first. That one step has saved me from using a stronger compound than needed. It also tells you how the material reacts before you polish the whole area.
3. Choose the right pad and polish
Different jobs need different combinations. A cutting pad with a compound removes more defects. A finishing pad with a fine polish creates a smoother shine.
A simple rule:
- Cutting pad and compound for deeper defects
- Polishing pad and medium polish for general correction
- Finishing pad and fine polish for final gloss
If you are unsure, start mild. You can always increase cut if needed, but you cannot undo damage from using a setup that is too aggressive.
4. Apply product to the pad
Put a small amount of polish on the pad. Do not overload it. Too much product can cause splatter, clogging, and weak results.
A few pea-sized drops are often enough for a small section. Spread the product lightly on the area before turning the machine on, if the manufacturer recommends it. That helps reduce sling and gives more even coverage.
5. Set the machine to a low speed
Start at a low speed to spread the polish. Then raise the speed slowly if needed. Most mistakes happen when people start too fast.
Keep the pad flat against the surface. Let the machine do the work instead of pressing hard. Too much pressure can create heat and uneven results.
6. Work in small sections
Do not try to polish the whole surface at once. Small sections help you stay consistent and see your progress. A 2 by 2 foot section is a common starting point for car paint.
Move the machine slowly and evenly across the area. Use overlapping passes, like mowing a lawn. This helps avoid missed spots and streaks.
7. Wipe and inspect
After polishing a section, wipe away residue with a clean microfiber towel. Inspect the surface under good light. If the marks are still there, you may need another pass with the right pad or product.
This is where patience pays off. I have learned that a slower second pass often beats a fast, aggressive one. That approach protects the finish and gives a more even result.
8. Finish with a finer polish if needed
If the surface looks good but still lacks clarity, switch to a finer polish and soft pad. This final step removes light haze and boosts gloss. It is especially useful on paint and glossy wood.
Not every surface needs every step. The goal is to improve the finish, not to overwork it.
How to Use a Polishing Machine on Different Surfaces
The technique stays similar, but the details change by material. Knowing those differences helps you avoid damage and get better results.
Car paint
Car paint is one of the most common uses. Always wash the car first, then test a small spot. Use safe pressure and check panel edges, since those areas can heat up faster.
A dual action polisher is often the safest choice for beginners. It can reduce swirl marks and restore gloss without being overly aggressive. Still, you should avoid lingering in one place too long.
Wood
For wood, the finish matters. Polishing bare wood is not the same as polishing a coated surface. If the wood has a clear coat, use a gentle pad and a product suited to that finish.
Work slowly and test in a hidden spot first. Too much heat can soften coatings and leave marks. On furniture, the goal is usually a soft sheen, not a mirror shine.
Metal
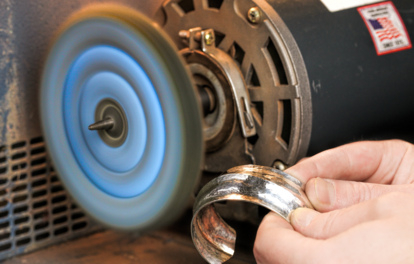
Metal polishing often deals with oxidation, tarnish, or surface dullness. Use a product made for the specific metal, such as aluminum, stainless steel, or brass. Some metals respond quickly, while others need several passes.
Keep the surface clean because metal can show scratches fast. I’ve found that short passes and frequent wiping help prevent residue from hiding progress.
Stone and countertops
Stone and engineered surfaces need caution. Some materials are sensitive to heat and chemicals. Always check what the surface can tolerate before using a machine.
Use a soft pad and a compatible polish. If the stone is sealed, do not assume every product is safe. When in doubt, use the gentlest approach and test first.
Common Mistakes to Avoid
Even a good polishing machine can create problems if you use it carelessly. These mistakes are common, especially for beginners.
- Using too much pressure, which can cause heat and uneven finish
- Starting at high speed, which may create splatter or damage
- Skipping surface cleaning, which can scratch the finish
- Using the wrong pad or polish for the material
- Staying in one spot too long
- Polishing edges and corners too aggressively
- Not cleaning or changing pads when they get clogged
One mistake I see often is chasing perfection too fast. People keep polishing the same area, thinking more passes will always improve it. In reality, once the finish looks clean and even, more work can do more harm than good.
Safety Tips for Better Results
Safety matters because polishing machines move fast and create heat. A few simple habits make the job safer and easier.
- Wear eye protection when product may splatter
- Use gloves if you are handling chemicals often
- Keep cords away from the pad
- Work in a well lit, ventilated area
- Do not polish near loose clothing, jewelry, or long hair
- Let the machine cool if it gets hot
You should also read the tool’s manual before first use. Different models have different speed ranges, pad sizes, and controls. That small step helps you avoid simple errors.
How to Get the Best Finish
If you want a great finish, focus on control, not speed. The best results usually come from clean surfaces, the right products, and patient technique.
A few practical tips:
- Use a test spot before full polishing
- Keep the pad flat and moving
- Clean pads often so they do not build up residue
- Use good lighting to inspect the finish
- Work in sections and check progress after each one
In professional detailing and finishing work, consistency matters more than force. That is one reason experienced users often get better results with moderate speed and light pressure. The machine is a tool, not a shortcut.
Benefits of Using a Polishing Machine
A polishing machine can save time and improve results when used correctly. It gives a level of uniformity that is hard to achieve by hand.
Key benefits include:
- Faster work than hand polishing
- Better correction of swirl marks and light defects
- More even shine across large surfaces
- Less physical strain
- Better results on paint, metal, and coated surfaces
There is also a confidence factor. Once you learn how to use a polishing machine properly, many finishing jobs stop feeling intimidating. You start seeing the tool as a controlled way to refine a surface instead of a risky machine.
Limitations of a Polishing Machine
A polishing machine is useful, but it is not magic. It cannot fix deep scratches that cut through the surface. It also cannot restore badly damaged finishes without more repair work.
Some limitations include:
- Deep damage may need sanding or repainting
- Soft materials can be easy to overwork
- Cheap pads or bad products can reduce results
- Excessive use can thin coatings over time
This is where honesty matters. A polishing machine can improve a lot, but it should not be used to hide serious damage. If you are unsure, stop and assess the surface before going further.
Frequently Asked Questions
How do you use a polishing machine for beginners?
Start with a clean surface, a soft pad, and a mild polish. Work in small sections at low speed and use light pressure so you can learn the machine’s feel.
What speed should I use on a polishing machine?
Begin at the lowest speed to spread the product, then move up slowly if needed. The best speed depends on the machine, pad, and surface, so always test first.
Can a polishing machine remove scratches?
It can remove light scratches and swirl marks, but not deep ones. If a scratch catches your fingernail, it may need more than polishing.
How often should I clean the polishing pad?
Clean it whenever it starts to load up with product or residue. A clogged pad reduces performance and can leave a hazy finish.
Is a dual action polisher better than a rotary machine?
For most beginners, yes. A dual action polisher is easier to control and has less risk of burning the surface, while a rotary machine is better for heavier correction in skilled hands.
Conclusion
Learning how to use a polishing machine comes down to a few simple habits: clean the surface, choose the right pad and polish, start slow, and check your results as you go. When you do that, the machine becomes a reliable tool for restoring shine, reducing marks, and improving the look of many surfaces.
The real secret is patience. Take your time, test small areas, and let the machine work at a steady pace. If you want better results on your next project, start with a small section, apply these steps, and build your skill one pass at a time.