How to Use a Blender
Ever stared at your blender, wondering if there's a secret handshake to getting those perfectly smooth smoothies or lump-free sauces? You're not alone. Many of us treat these kitchen workhorses like magic boxes, tossing ingredients in and hoping for the best.
But a little knowledge goes a long way in transforming your blending game from frustrating to fantastic.
This guide will break down exactly how to use a blender effectively, from loading it right to keeping it clean, so you get consistently great results. We'll focus on the visual cues and practical steps that make all the difference.
Quick Answer
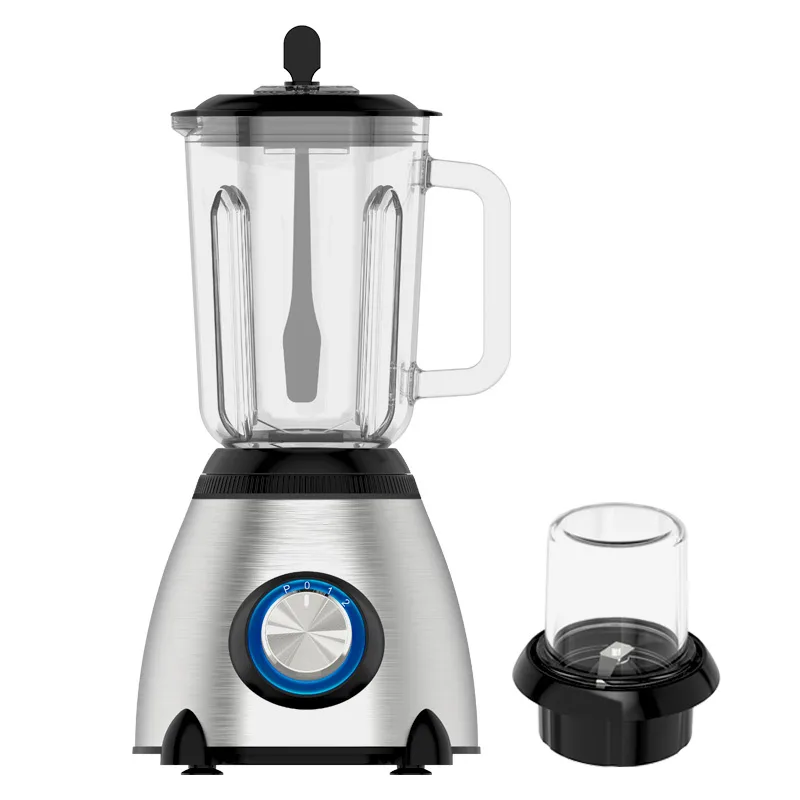
To use a blender effectively, load liquids first, then soft ingredients, then frozen items. Always secure the lid and start on a low speed. Use pulse for chunks.
Clean immediately after use.
Before You Blend: Setup and Safety First
Getting your blender ready isn't just about plugging it in. A few key steps ensure it works properly and safely.
Assembling Your Blender Correctly
This might seem obvious, but a blender won't run unless it's put together right. Most blenders have a safety interlock system. This means the motor won't start if the pitcher isn't locked securely onto the base.
You'll usually hear a distinct click when it's seated correctly. Always double-check that the pitcher is firm and stable before adding ingredients.
Manufacturer specifications confirm this safety feature is standard across most modern blenders. For example, many models require the pitcher to be rotated slightly to engage the locking mechanism.
Crucial Safety Checks
Before you even think about pushing a button, take a moment for these quick checks.
- Inspect the Cord: Make sure the power cord isn't frayed, cut, or showing any signs of damage. A damaged cord is a fire hazard and an electrical shock risk.
- Check the Pitcher and Blades: Look for any cracks or chips in the blender pitcher. Ensure the blade assembly is secure and the blades themselves aren't bent or dull. If any part looks compromised, don't use the blender until it's repaired or replaced.
- Clear the Area: Make sure the blender is on a stable, flat surface with plenty of clearance around it. Keep it away from the edge of the counter where it could fall.
The Right Way to Load Your Blender for Smooth Results
This is where many people miss out on getting the best blend. The order you add your ingredients dramatically impacts how well everything mixes and how hard your blender's motor has to work. Getting this right is key to avoiding frustrating lumps and prolonging your blender's life.
Why Ingredient Order Matters
Blenders create a vortex, a swirling action that pulls ingredients down into the blades. If you load heavy, frozen items first, they can block the blades from getting to the liquids and softer ingredients, leading to uneven blending or strain on the motor.
Liquid First, Then Soft, Then Hard: The Golden Rule
Follow this sequence for a smooth operation:
- Liquids: Start by pouring in your liquid base. This could be water, milk, juice, yogurt, or even a runny sauce. The liquid helps create that initial vortex.
- Soft Ingredients: Next, add your leafy greens, fresh fruits, protein powders, nut butters, or cooked vegetables. These ingredients get easily incorporated into the liquid vortex.
- Frozen/Hard Items: Finally, add your frozen fruits, ice cubes, or hard vegetables like carrots. These go on top, and the vortex action pulls them down to be blended.
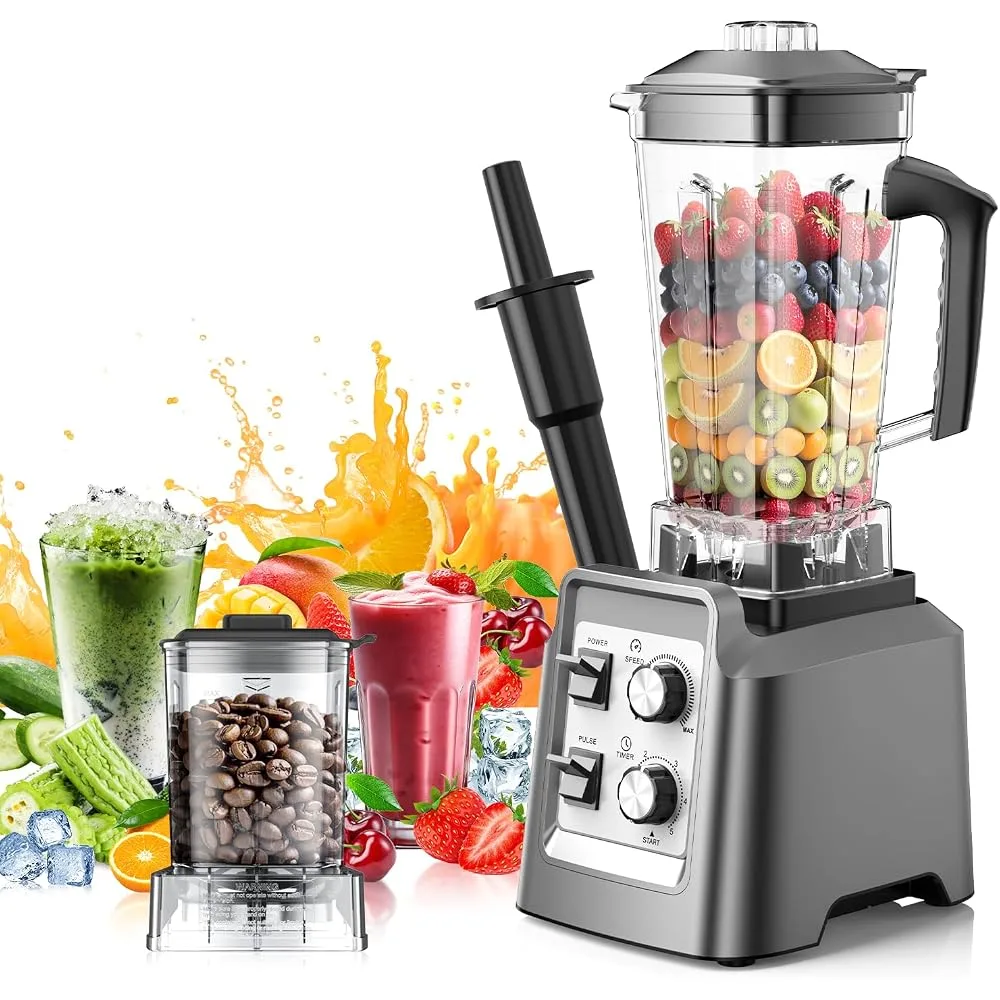
This layering technique ensures that the blades are always surrounded by enough liquid to move efficiently and break down all ingredients properly. Aggregate reviews suggest that improper loading is a common reason for user frustration and premature motor wear.
Mastering Blender Controls: Speeds, Pulse, and Tamper
Once your blender is loaded, it's time to get it whirring. Understanding the different controls means you can tackle a variety of recipes with confidence.
Understanding Speed Settings
Most blenders offer multiple speed settings, usually ranging from low to high.
- Low Speed: This is your starting point. It’s great for gently mixing ingredients, incorporating powders, or starting a thick mixture without splashing.
- Medium Speed: Useful for pureeing softer foods or starting to break down frozen items.
- High Speed: This is for achieving very smooth textures, like silky smoothies or creamy soups, and for crushing ice efficiently.
Always start on the lowest speed and gradually increase it as needed. This prevents ingredients from flying up and splattering, and it's gentler on the motor.
When to Use the Pulse Function
The "pulse" button is a game-changer for controlling your blend. It delivers short, powerful bursts of speed.
- Breaking Down Chunks: If you have large pieces of fruit or ice that aren't getting blended, a few pulses can chop them down without liquefying everything.
- Incorporating Ingredients: Pulse to gently mix in delicate items like herbs or chocolate chips at the end of the blending process.
- Coarse Chopping: For some recipes, you might want a slightly textured result, like for salsa. Pulsing can achieve this.
How to Safely Use a Tamper
Some high-powered blenders come with a tamper, a tool that fits through a hole in the lid. This is NOT a stirring spoon.
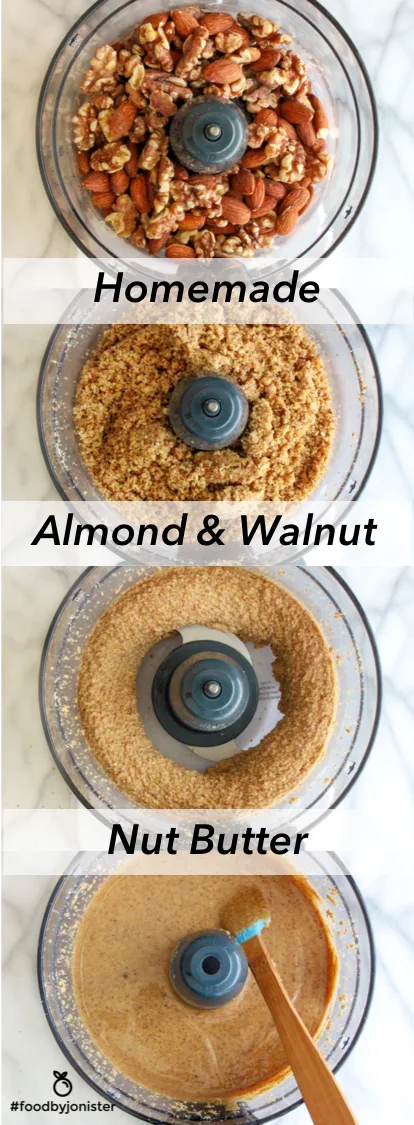
- Pushing Down Ingredients: Use the tamper only when the blender is running, to push stubborn ingredients down towards the blades. This is especially helpful for thick mixtures like nut butters or frozen desserts that might otherwise get stuck.
- Never Remove the Lid: The tamper is designed to be used while the lid remains securely in place.
It’s vital to note that the tamper should never come into contact with the blades. Manufacturer guidelines clearly state its intended purpose is to dislodge ingredients, not to stir or mix by hand.
Common Blender Problems and How to Fix Them
Even with careful use, blenders can sometimes act up. Knowing how to troubleshoot common issues will save you time and frustration.
Chunky Bits and Stubborn Ingredients
Problem: Your smoothie or sauce is still lumpy, or some ingredients just won't blend.
Why it happens: Often, this is due to incorrect loading order, not enough liquid, or too many frozen items at once. The vortex isn't strong enough to pull everything down.
The fix:
- Add More Liquid: Pour in a little more of your liquid base.
- Scrape Down the Sides: Stop the blender, remove the pitcher, and use a spatula to scrape down any ingredients stuck to the sides.
- Use the Tamper: If your blender has one, use it to push down ingredients while the blender is running (as described above).
- Break Up Large Chunks: If you're using large frozen fruit pieces, cut them into smaller chunks before adding them.
Leaks and Spills
Problem: Liquid is seeping out from the lid or the base of the pitcher.
Why it happens: This usually means the lid isn't sealed tightly, the pitcher isn't properly seated on the base, or there might be a crack in the pitcher itself.
The fix:
- Check Lid Seal: Ensure the lid is pressed down firmly and securely. If it has a removable center cap, make sure that’s in place too.
- Verify Pitcher Seating: Remove the pitcher from the base and reseat it, ensuring it clicks or locks into place.
- Inspect for Damage: Look closely at the pitcher for any cracks, especially around the base. If the pitcher is damaged, it needs to be replaced. According to user feedback analysis as of 2026, pitcher integrity is the most common reason for persistent leaks.
The Blender Won't Turn On
Problem: You press the power button, but nothing happens.
Why it happens: This is usually a safety mechanism or a power issue.
The fix:
- Check Power: Is the blender plugged in? Is the outlet working (test it with another small appliance)?
- Ensure Proper Assembly: Did you lock the pitcher onto the base correctly? Most blenders have a safety interlock that prevents them from running if not assembled properly. You should hear a click.
- Check for Overheating: If you just used the blender for a long time, it might have overheated and shut itself off as a protective measure. Let it cool down for 15-30 minutes, then try again.
- Examine the Cord: As mentioned in safety checks, a damaged cord can prevent operation.
Quick Cleaning Tricks for Your Blender
Cleaning your blender right after use is hands-down the easiest way to keep it in top shape and prevent stubborn residue. Waiting too long can make cleaning a real chore.
The "Rinse and Blend" Method
This is a lifesaver for daily cleanup.
- Rinse: As soon as you've poured out your smoothie or sauce, rinse the pitcher with warm water.
- Add Soap and Water: Fill the pitcher about halfway with warm water and add a drop or two of mild dish soap.
- Blend: Put the lid back on securely and run the blender on a medium setting for about 30-60 seconds. This usually loosens any food particles clinging to the blades and sides.
- Rinse Again: Pour out the soapy water and rinse the pitcher thoroughly until all soap residue is gone.
This method is incredibly effective for most daily messes, saving you from scrubbing. For those looking at kitchen appliance efficiency, tools like dishwashers offer a hands-off approach for blender jars if they are marked as dishwasher-safe, a feature common in many modern best compact dishwashers.
Tackling Tough Residue
For more stubborn gunk, like dried-on nut butter or sticky fruit pulp:
- Soak: Let the pitcher soak in warm, soapy water for an hour or two.
- Scrub Gently: Use a soft brush or a non-abrasive sponge to gently scrub the inside of the pitcher and around the blades. Be very careful when cleaning near the blades.
- Specialized Cleaners: Some manufacturers offer specific blender cleaning solutions, but mild dish soap and water usually do the trick.
- Dishwasher Safe Parts: If your blender pitcher and lid are marked as dishwasher-safe, this is the time to use it for a deep clean. Check your manual to see if your specific model supports this convenience.
Always allow all parts to air dry completely before reassembling or storing to prevent mildew.
Blender FAQs
What's the difference between a blender and a food processor?
A blender is primarily designed for liquefying ingredients, creating smooth textures for drinks, sauces, and purees. A food processor, on the other hand, is better for chopping, slicing, shredding, and mixing dry ingredients, offering more versatility in preparation tasks.
Can I put hot liquids in my blender?
It's generally not recommended to blend hot liquids in most standard blenders without caution. The heat can build up pressure inside the sealed pitcher, potentially causing the lid to blow off and leading to serious burns. If you must blend hot liquids, remove the center cap of the lid and cover it with a folded kitchen towel, holding it firmly in place while blending on a low speed.
Always check your blender's manual for specific instructions regarding hot liquids.
How often should I clean my blender?
You should clean your blender pitcher, lid, and blade assembly immediately after each use. Even if you only blended a little bit, residual food particles can dry and become difficult to remove, potentially harboring bacteria. Regular cleaning also helps maintain the blender's performance and longevity.
Are there specific ingredients that shouldn't go in a blender?
Avoid blending very hard, dry items like whole spices unless your blender is specifically designed for it (often called a "spice grinder" attachment). Also, steer clear of very sticky, thick doughs, as these can overwork the motor. Always refer to your blender's manual for a list of prohibited ingredients.
How long will my blender last?
With regular cleaning and proper use, a good quality blender can last anywhere from 5 to 15 years. Factors like motor power, build quality, and how frequently it's used for demanding tasks (like crushing large amounts of ice) will affect its lifespan. Per manufacturer guidelines, avoiding overheating and overloading the motor is key to maximizing longevity.
Expert Tips for Better Blending
Beyond the basic steps, a few pro tips can elevate your blending game. These focus on understanding your machine and making the most of its capabilities for superior results.
Understand Your Blender's Limitations
Not all blenders are created equal. A personal blender designed for single smoothies won't handle crushing large quantities of ice or tough vegetables like a high-powered countertop model with a robust motor might. Our research indicates that users often experience frustration when attempting tasks beyond their blender's capacity.
For example, trying to make nut butter in a less powerful unit might lead to motor strain or inconsistent results. As of 2026, models with motors ranging from 1000 watts and up are generally considered more capable for tougher jobs.
Work in Batches When Needed
If you're making a large quantity of something, like a big batch of soup or a pitcher of smoothies for a crowd, don't overload your blender. It's better to blend in smaller batches. This allows the motor to cool down between uses and ensures a smoother, more consistent blend.
Overfilling can lead to splattering and put unnecessary stress on the motor. Consider if your kitchen appliance needs align with larger capacity items, such as exploring the benefits of a family-sized refrigerator or a substantial pot for cooking pasta if you often prepare large meals.
Experiment with Textures
Don't be afraid to play around with different speed settings and pulse durations to achieve the texture you want. For a truly silky smooth texture, a longer blend on high speed is often necessary. If you prefer a bit more texture, like in a chunky salsa or relish, use the pulse function strategically.
Observing the ingredients as they break down provides the best visual cue for stopping at the right moment.
Consider the Blade Design
The design of the blender blades can significantly impact performance. Some blades are designed for pureeing, others for crushing ice, and some are a blend of both. While you can't change the blades on most blenders, understanding their general shape and angle can help you anticipate how they'll interact with different ingredients.
Sharp, well-positioned blades are crucial for efficient blending.
Keep an Eye on Maintenance
Beyond daily cleaning, periodically check the gasket or seal around the blade assembly for wear and tear. If it looks cracked or brittle, it might need replacement to prevent leaks. Also, ensure the jar itself is free from any chips or scratches that could compromise its integrity.
Proper maintenance, as detailed in manufacturer documentation, ensures your appliance remains safe and effective.


One Comment