How to Deep Clean a Blender
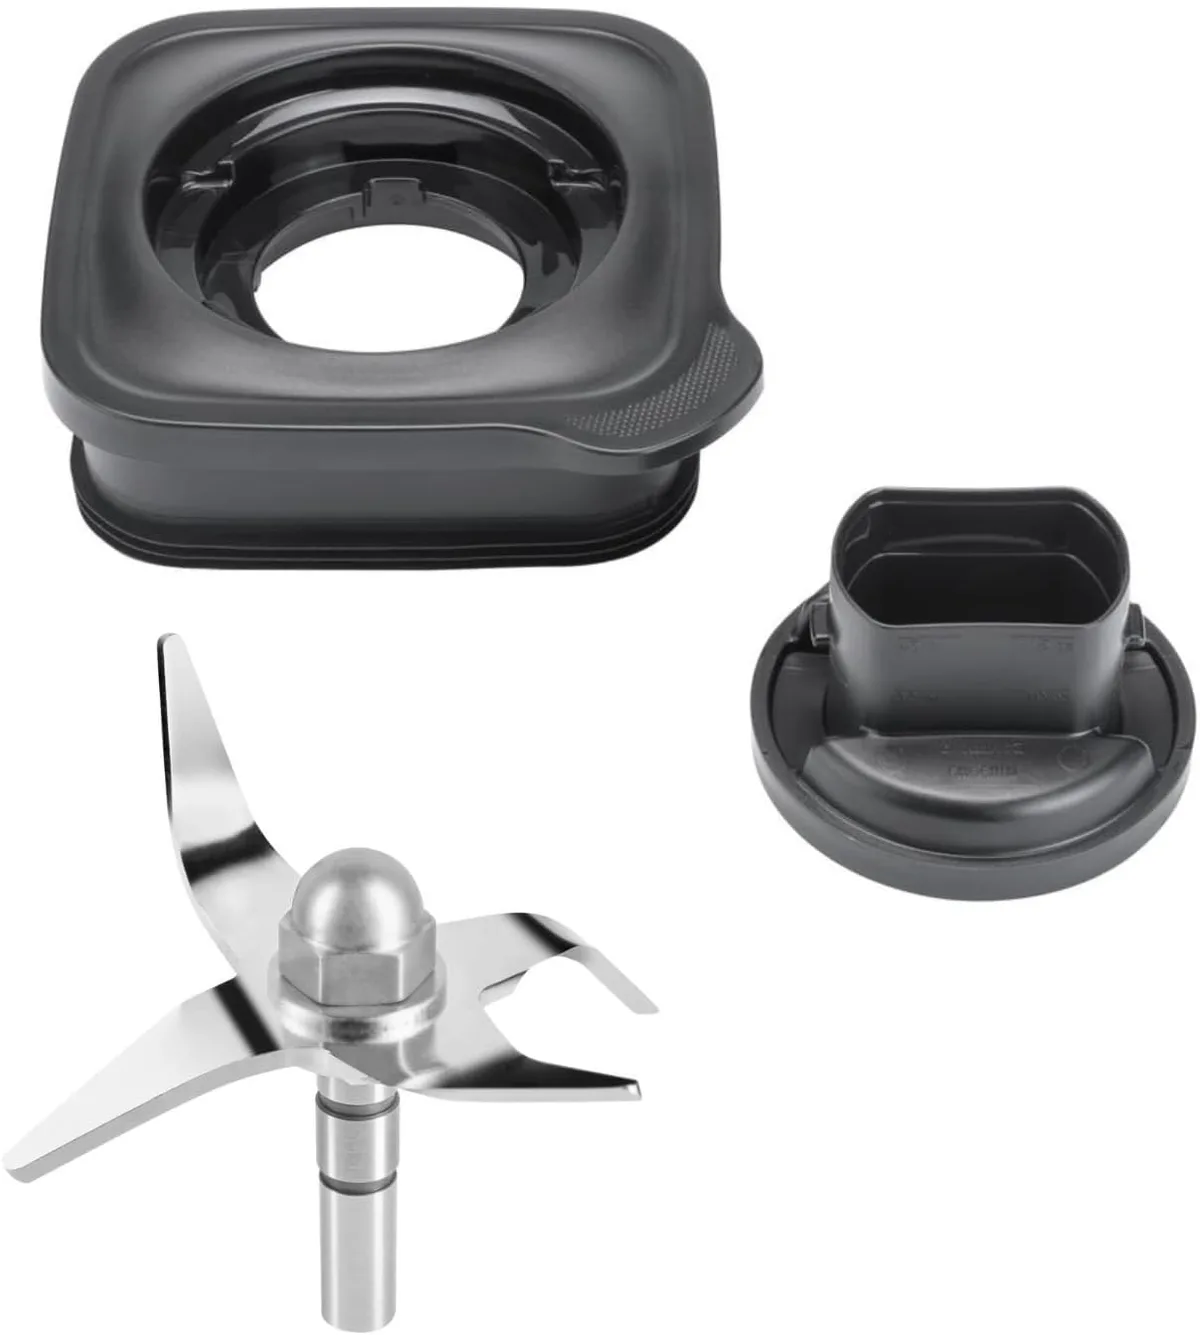
Image source: Bing (Web (fair-use with source credit))
Giving your blender a thorough, deep clean is more than just rinsing it out after each use. Over time, tiny food particles and residues can build up in hard-to-reach places, leading to lingering odors and even potential bacteria growth. If you've ever wondered how to tackle that stubborn gunk or persistent smell, you're in the right spot.
This guide will walk you through the process, ensuring your blender remains hygienic and performs at its best. We'll cover everything from disassembly to tackling tough stains, aiming for a spotless appliance. As of 2026, manufacturer specifications still emphasize regular deep cleaning for optimal blender lifespan and food safety.
Quick Answer
To deep clean a blender, unplug it and disassemble all removable parts, including the blade assembly. Soak the jar and lid in warm, soapy water. Scrub all components thoroughly, paying attention to seals and blade areas.
Use a baking soda paste for stubborn stains and a vinegar rinse for odors. Ensure all parts are completely dry before reassembly.
Essential Tools for a Sparkling Blender
Getting your blender truly clean often requires a few specific items beyond just soap and water. These tools help you reach the nooks and crannies where grime likes to hide. Having them on hand makes the whole process much smoother and more effective.
- Dish Soap: Your go-to for cutting through grease and general food residue.
- Warm Water: Essential for loosening dried-on food particles.
- Scrub Brush: A sturdy brush with firm bristles is best for scrubbing the inside of the jar and around the blade assembly. A bottle brush is ideal for reaching deep into the jar.
- Old Toothbrush: Perfect for getting into tight spots, like around the lid's seals and the motor base controls.
- Baking Soda: A natural abrasive and deodorizer that's great for tackling tough stains and smells.
- White Vinegar: Another powerful natural cleaner, excellent for deodorizing and removing mineral deposits.
- Soft Cloth or Sponge: For wiping down the exterior of the motor base and drying all the parts.
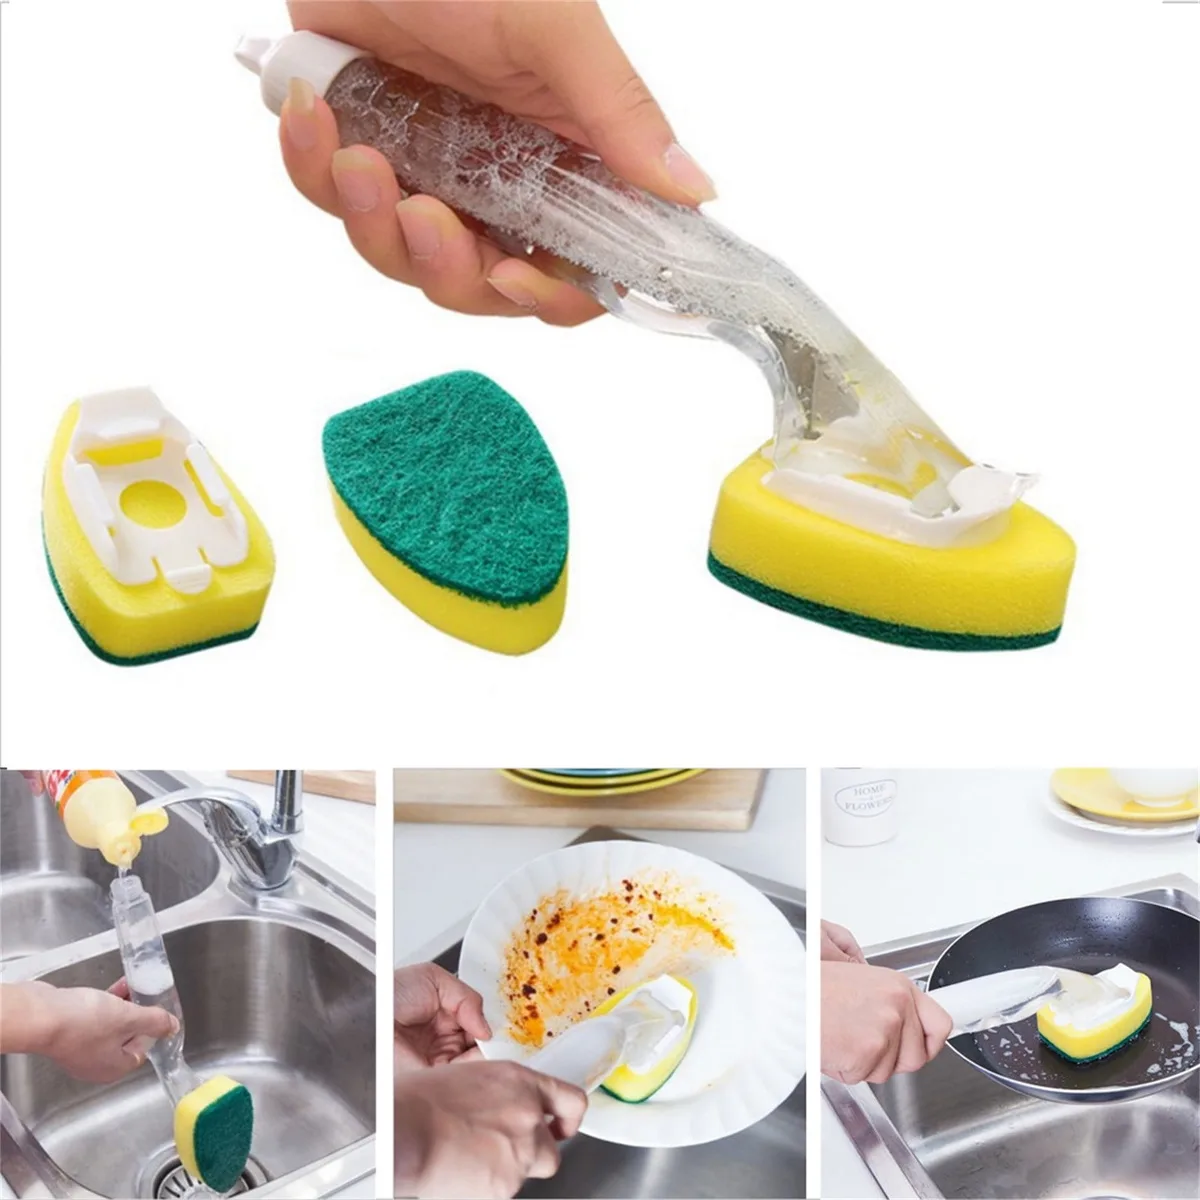
Image source: Bing (Web (fair-use with source credit))
Step-by-Step: The Deep Clean Process
Here’s the breakdown of how to give your blender a proper deep clean. Remember to always unplug the appliance before you start any cleaning.
Taking Your Blender Apart Safely
The first step in any deep clean is to gain access to all the parts.
- Unplug the blender. This is the most crucial safety step.
- Carefully lift the blender jar from the motor base.
- Remove the lid and any smaller cap components.
- For most blenders, the blade assembly can be unscrewed from the bottom of the jar. Handle this part with extreme care due to the sharp blades. Twist it counter-clockwise. If your model has a fixed blade, you'll need to adapt the cleaning method to reach around it.
Soaking and Scrubbing the Jar and Lid
Letting your blender jar and lid soak helps loosen stubborn residue, making them easier to clean.
- Fill your sink or a large basin with warm water and add a generous squirt of dish soap.
- Submerge the blender jar, lid, and cap, and let them soak for about 15 to 30 minutes.
- After soaking, use your scrub brush or sponge to thoroughly clean the inside of the jar. Pay attention to the bottom and any seams.
- Use an old toothbrush to clean around the lid's seals and any grooves where food bits might get trapped.
Tackling the Grimy Blade Assembly
This is often the dirtiest part of the blender, so it needs focused attention.
- Extreme caution is advised when handling the blade assembly due to its sharpness. Avoid running your fingers along the blades.
- Use a bottle brush or an old toothbrush, along with dish soap, to scrub around the blades and the entire assembly. Ensure you get into all the tiny crevices.
- Rinse the blade assembly thoroughly under warm running water to wash away all soap and loosened debris.
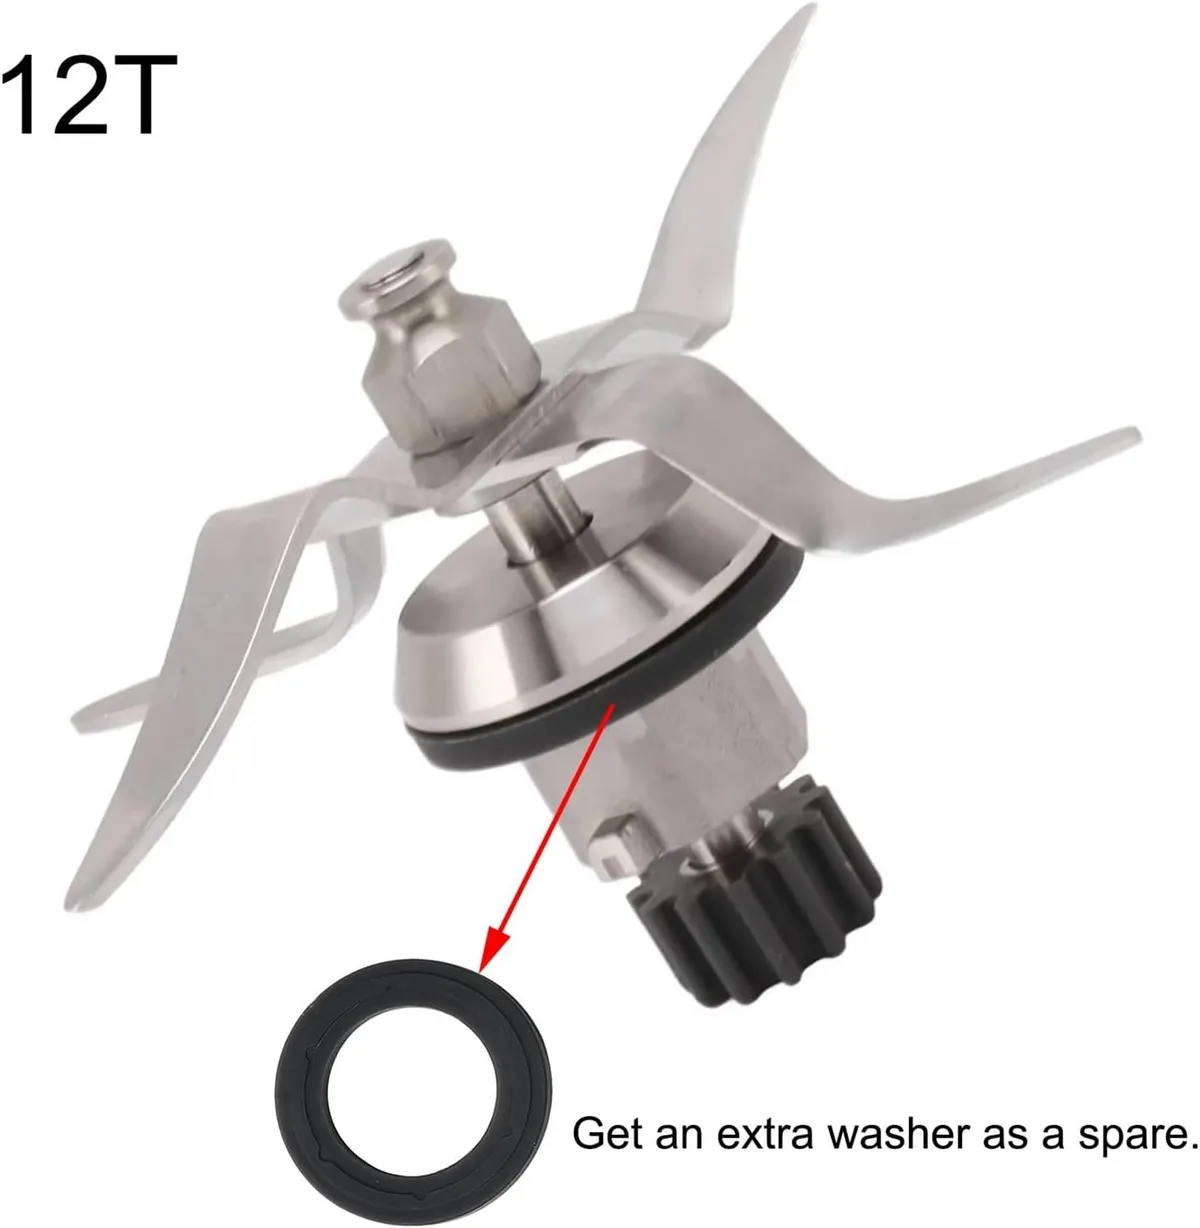
Image source: Bing (Web (fair-use with source credit))
Banishing Stubborn Stains with Baking Soda
If your blender jar or blade assembly has developed stubborn stains or a faint smell, a baking soda paste is a great solution. Baking soda acts as a mild abrasive and a natural deodorizer.
- Mix a few tablespoons of baking soda with just enough water to form a thick paste.
- Apply this paste directly to any stained areas on the jar or blade assembly.
- Let the paste sit for about 10 to 15 minutes to work on the stains.
- Scrub the treated areas gently with your brush.
- Rinse everything off completely with clean water.
The Vinegar Rinse for Freshness
White vinegar is a powerhouse for deodorizing and can help restore shine to your blender components. It's particularly effective if your blender has absorbed smells from strong ingredients like onions or garlic.
- Fill the blender jar about halfway with a mixture of equal parts white vinegar and water.
- Let this solution sit in the jar for at least 30 minutes, or up to an hour, to allow the vinegar to neutralize odors.
- After the soak, pour out the vinegar mixture.
- Rinse the jar, lid, and blade assembly thoroughly with plain water. This step effectively removes any lingering vinegar scent.
Common Blender Cleaning Mistakes to Avoid
Even when you're trying to do a good job, some common mistakes can undermine your cleaning efforts or even damage your blender. Being aware of these can save you time and prevent future issues.
- Not unplugging the blender: This is a major safety hazard. Always disconnect the power before disassembling or cleaning any part of the appliance.
- Using abrasive scrubbers on plastic jars: While a good scrub brush is necessary, harsh scouring pads can scratch plastic blender jars, making them more prone to staining and harboring bacteria in the future. Stick to soft sponges or nylon brushes for the jar itself.
- Putting the motor base in water: The motor base contains electrical components and should never be submerged in water. A damp cloth is sufficient for exterior cleaning.
- Not drying parts completely: Moisture left in seals or crevices can lead to mold or mildew growth, defeating the purpose of cleaning. Always ensure all parts are thoroughly dry before reassembly and storage.
- Ignoring the blade assembly: This is where food particles often accumulate and can be difficult to see. Failing to clean it thoroughly means you're not truly deep cleaning the blender, and it can contribute to odors and dullness.
Quick Tips for Daily Blender Maintenance
While a deep clean is essential periodically, establishing good daily habits can make subsequent deep cleans far less demanding. These small efforts keep your blender in better shape between more intensive cleaning sessions.
- Rinse Immediately: As soon as you're done using the blender, rinse the jar, lid, and blade assembly with warm water. This prevents most food particles from drying and hardening, which is the primary cause of stubborn gunk.
- Quick Soap Wash: For lighter uses, a quick wash with dish soap and warm water is often enough. You can even use the "blend clean" trick: add water and a drop of soap to the jar, run it for 30 seconds, then rinse. This method is excellent for maintaining cleanliness between more intensive deep cleans.
- Wipe Down the Base: After each use, quickly wipe down the motor base, especially the area where the jar sits. This prevents spills from baking on and keeps the exterior looking neat.
- Air Dry: Whenever possible, allow disassembled parts to air dry completely before putting them away. This prevents moisture buildup, a common culprit for unpleasant smells and potential mold.
Maintaining Your Blender for Long-Term Performance
Regular cleaning is crucial, but proper maintenance extends your blender's life and ensures it always runs smoothly. This involves more than just washing parts; it includes careful storage and awareness of potential wear and tear. Think of it as giving your appliance the best possible conditions to keep performing well for years to come.
Proper storage can prevent dust accumulation on internal components and keep parts from warping. When parts are clean and dry, they are less likely to develop issues like mold or stiffness. Following these few extra steps ensures your blender is always ready to go when you need it, without any unpleasant surprises.
How to Store Your Blender
Storing your blender correctly after cleaning is a simple but important step. If your blender is used frequently, leaving it on the counter is fine, as long as all parts are dry. If you store it in a cabinet, consider disassembling it partially to allow air circulation, especially in humid environments.
- Countertop Storage: Ensure the jar is completely dry before placing it back on the motor base, or store them separately to allow air to circulate. If storing together, make sure the lid isn't sealed tightly to prevent any trapped moisture from causing issues.
- Cabinet Storage: If you store your blender in a cabinet, ensure all components are bone dry. Storing the jar separately from the base can help prevent odors from developing. Some users prefer to wrap the cord neatly to keep it tidy and prevent tangles.
What to Inspect During Cleaning
During your deep cleaning routine, it's a good time to give your blender a quick once-over for any signs of wear. This proactive approach can help you catch small problems before they become bigger, more costly issues.
- Seals and Gaskets: Check the rubber or silicone seals on the lid and blade assembly. Look for any signs of cracking, hardening, or tearing. Damaged seals can lead to leaks.
- Blade Sharpness: While not directly related to cleaning, observe the blades. If they appear dull or nicked, it might affect blending performance and indicate it's time for a replacement or a different type of blender for tougher tasks.
- Cord and Plug: Inspect the power cord and plug for any fraying, cuts, or damage. If you notice any issues, stop using the blender immediately and consult the manufacturer or a qualified repair person.
Safety / Legal / Compliance / Warnings
When working with any kitchen appliance, safety is paramount, especially when dealing with sharp blades and electrical components. Adhering to safety guidelines ensures you avoid injuries and prevent damage to your blender. It's essential to treat every appliance with respect for its potential hazards.
The primary concern with blenders is the sharp blade assembly. Always handle it with extreme care, gripping the base of the assembly rather than the blades themselves. Disconnecting the power cord before cleaning or disassembling any part of the blender is a non-negotiable safety step.
Water and electricity do not mix, and short circuits can damage the motor base or, worse, pose an electrical hazard.
- Electrical Safety: Always unplug the blender before cleaning, disassembling, or performing any maintenance. Ensure your hands are dry when handling the motor base and power cord.
- Blade Hazard: The blender blades are extremely sharp. Handle the blade assembly with caution, and never touch the blades directly with your fingers. Keep children away from the appliance during cleaning and when it's assembled.
- Material Compatibility: Be mindful of the cleaning agents you use. Harsh chemicals can degrade plastic components or damage seals. Always refer to your blender’s manual for recommended cleaning solutions. For instance, while bleach is a strong sanitizer, it may not be suitable for all blender materials.
Frequently Asked Questions About Blender Cleaning
How often should I deep clean my blender?
Our research suggests that a deep clean every 2-4 weeks is typically sufficient for most home users, depending on how frequently you use the blender and the types of ingredients you process.
Can I put blender parts in the dishwasher?
Many blender jars and lids are dishwasher safe, but always check your manufacturer's instructions. The blade assembly is often not recommended for dishwashers, as the harsh detergents and high heat can dull the blades or damage seals over time.
What if my blender still smells after cleaning?
If odors persist, try a longer soak with white vinegar and water, or make a paste of baking soda and water to scrub the interior. Ensure no food particles are trapped in the seals or under the blade assembly. For persistent issues, some manufacturers suggest a solution of a few drops of bleach in water, but always consult your manual first due to material compatibility.
Is it okay to use bleach on my blender?
While bleach can be effective for sanitizing, it's generally not recommended for routine blender cleaning, especially on plastic parts, as it can cause discoloration or degradation over time. Always check your blender's manual before using bleach.
How do I clean a blender with a fixed blade?
If your blender has a fixed blade assembly that cannot be removed, you'll need to be more creative. Use a good bottle brush and soapy water to scrub as deeply as possible around the blades. A strong rinse under running water is also crucial.
For a deeper clean, you can try the vinegar and water soak method, ensuring the liquid level reaches around the blades.







One Comment