Coffee Maker Not Brewing
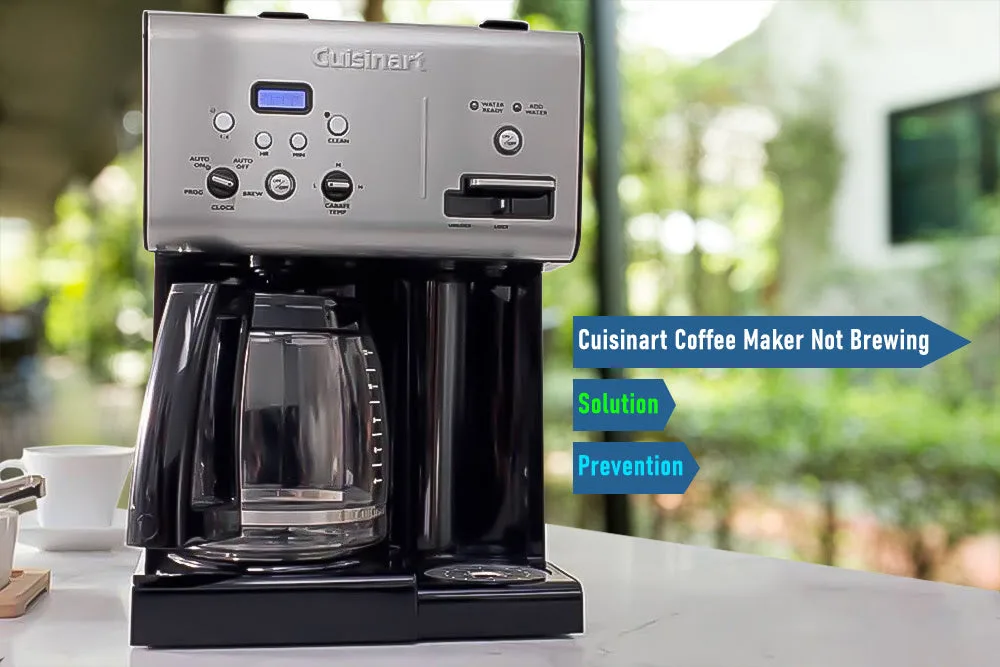
Image source: Bing (Web (fair-use with source credit))
So, your coffee maker's decided to take a break, and you're staring at a silent machine instead of a steaming mug. That frustrating moment when your coffee maker not brewing is a universal pain point for caffeine lovers. You're not alone, and thankfully, most of the time, it’s a fixable problem without needing a technician.
In our research, we found that common issues often stem from simple clogs, electrical glitches, or minor component misalignments. Manufacturer specifications, like those from Breville, often indicate regular descaling intervals, typically every 1-3 months depending on water hardness and usage, to prevent these very brewing disruptions. Let's break down the most likely culprits and how to get your coffee flowing again.
Quick Answer: Coffee Maker Not Brewing
Your coffee maker isn't brewing because of a blockage, a power issue, or a component failure. Check for water flow obstructions like scale buildup in the lines, ensure the water reservoir is correctly seated, and confirm the machine is properly plugged in and powered on. For pod machines, a blocked needle or improperly inserted pod can also halt brewing.
Quick Checks: The Obvious Stuff First
Before we get deep into troubleshooting, let’s just cover the super basic things that can stop a coffee maker in its tracks. It sounds silly, but these are the most common reasons a machine might seem dead.
Is it Plugged In and Powered On?
This sounds like a joke, but it happens! Double-check that the power cord is firmly plugged into the back of the coffee maker and, crucially, into a working wall outlet. Sometimes, a power strip can be switched off, or a circuit breaker might have tripped.
If you've got other appliances plugged into the same outlet, see if they’re working.
Water Reservoir and Basket/Pod Placement
Most coffee makers have safety features that prevent them from operating if key components aren't in place correctly. For drip machines, ensure the water reservoir is filled to at least the minimum line and that it's properly seated on its base; some models won't engage the pump if the reservoir isn't locked in. Similarly, make sure the brew basket or pod holder is fully inserted and clicked into place.

Image source: Web (Bing) / inkl.com (Web image (fair-use with source credit))
When Water Won't Flow: Troubleshooting Brew Issues
You've got power, lights are on, and maybe you even hear a little gurgle, but nothing is coming out into your carafe or mug. This usually points to a problem with how the water is moving through the machine.
Checking for Clogs: Mineral Buildup and Descaling
Over time, minerals from your tap water can build up inside your coffee maker's internal tubing and heating element. This scale is a common enemy of efficient brewing. If left untreated, it can restrict water flow so much that the machine can't brew properly.
Manufacturer specifications, like those from Keurig, often recommend descaling every 1-3 months to keep these passageways clear.
To tackle this, you'll typically run a descaling solution (either a commercial product or a 1:1 mix of white vinegar and water, depending on your machine's manual) through a brew cycle. After the descaling cycle, run several cycles of plain water to rinse out any lingering vinegar smell or taste.
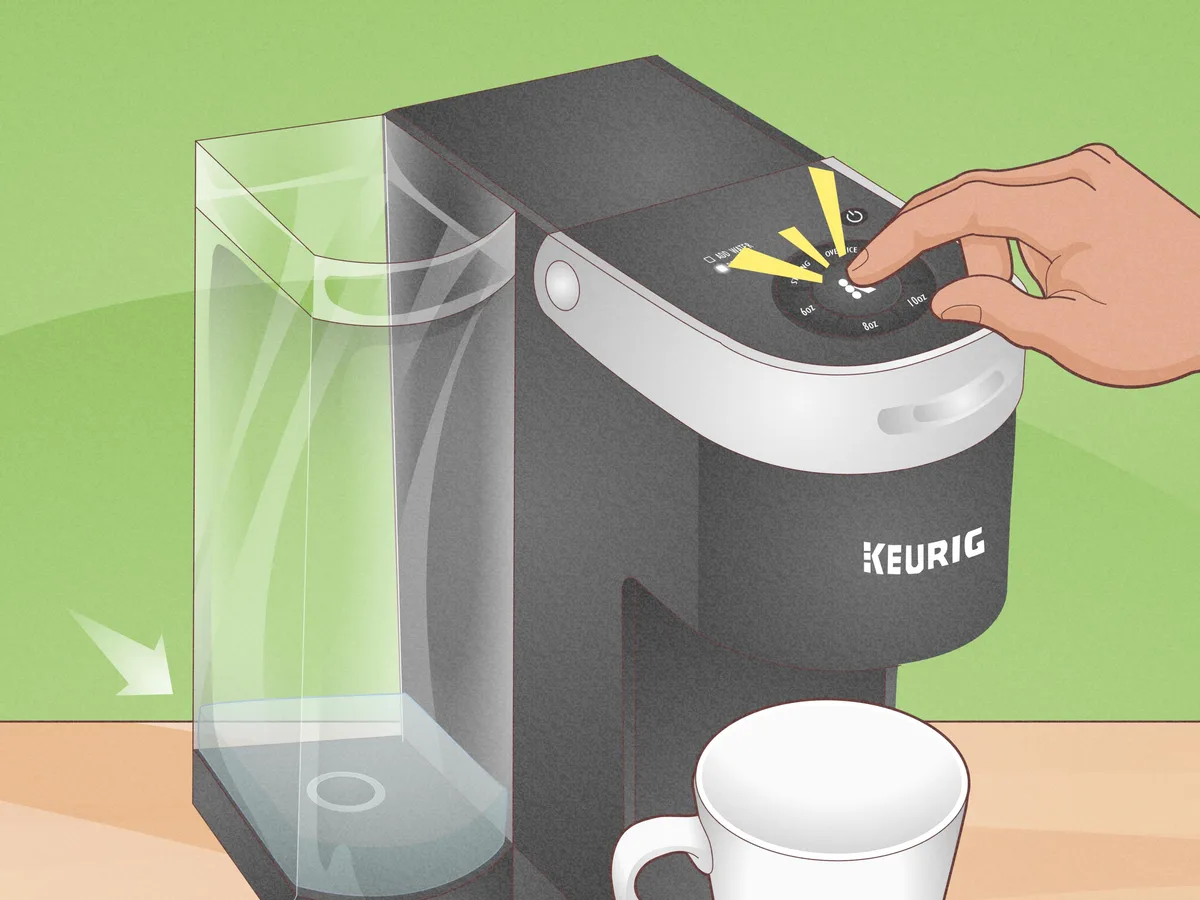
Image source: Bing (Web (fair-use with source credit))
Is the Water Pump Actually Working?
The water pump is what pulls water from the reservoir, heats it, and pushes it through to brew. If you don't hear the typical whirring or gurgling sound that indicates the pump is engaged, it might be the source of the problem.
- Listen carefully: A healthy pump will make a distinct noise during the brewing cycle.
- Potential issue: Sometimes, air can get trapped in the pump, preventing it from drawing water. A descaling cycle can sometimes help dislodge this air.
- If it's silent: If there's no sound at all from the pump area, it could indicate a failed pump motor, which would likely require repair or replacement of the unit.
Filter Basket Overload or Blockage
This is particularly relevant for drip coffee makers. If the coffee grounds are too finely ground for your machine, or if you’ve used too much coffee, the water can’t pass through efficiently. This leads to the brew basket overflowing, or the water backing up and preventing the brew cycle from completing.
- What to check: Ensure you're using a medium grind size for most drip coffee makers. The standard recommended coffee-to-water ratio is about 1-2 tablespoons of grounds per 6 ounces of water.
- The fix: Use the correct grind size, don't overfill the basket, and make sure the filter paper is seated correctly. Cleaning the brew basket thoroughly after each use also prevents old grounds from causing blockages.
The Silent Treatment: Machine Powers On But Does Nothing
This is perhaps the most perplexing scenario: the lights come on, you press the brew button, but absolutely nothing happens. No water movement, no heating, no signs of life beyond the indicator lights.
Heating Element Issues
The heating element is crucial; it's what heats the water to the optimal brewing temperature, typically between 195°F and 205°F (90°C and 96°C) according to industry standards. If this element fails, the machine might not even initiate the brewing process because it can't perform this essential first step. You might notice the machine isn't getting warm at all, even after it should have started heating.
This is a component that usually requires professional attention or a DIY replacement if you're comfortable with appliance repair.
Thermostat or Safety Cut-Off Problems
Coffee makers have built-in thermostats and safety cut-off switches designed to regulate temperature and prevent overheating. If the thermostat malfunctions or a safety switch trips erroneously, it can halt the entire operation. These mechanisms are there to protect the appliance and your home, but a faulty one can mistakenly shut down the brewing process.
Addressing this often involves inspecting and potentially replacing these internal electrical components.
Lid Switch Malfunctions
Many coffee makers, especially drip models, are equipped with a lid switch. This is a small mechanical or magnetic switch that the lid activates when it's fully closed. Its purpose is to signal to the machine’s circuitry that it’s safe to begin brewing.
If this switch is broken, misaligned, or obstructed by debris, the coffee maker will think the lid is open and will refuse to start the brew cycle, even if everything else is in order. You might be able to test this by gently pressing down on the lid area while attempting to brew.
Pod-Based Machines: Specific Quirks
Pod or single-serve coffee makers, like those using K-Cups or Nespresso capsules, have a slightly different set of potential brewing blockers due to their enclosed system.
Debris in the Pod Area
The sharp needle that pierces the coffee pod and the area where the pod sits can become clogged with small bits of plastic, foil, or coffee grounds. This debris can prevent the machine from properly piercing the pod, sealing it, or allowing water to flow through it. Carefully inspecting this area with a flashlight and using a paperclip or a small cleaning brush to dislodge any obstructions is often the solution.
Be gentle to avoid damaging the needle assembly.
Reservoir Seating for Pod Machines
Similar to drip coffee makers, single-serve machines rely on the water reservoir being correctly positioned and locked to activate a sensor. If the reservoir isn't fully seated or is improperly attached, the machine may not detect that there's water available, and the brew cycle will simply not start. Ensure you hear a positive click or feel a secure connection when placing the reservoir back onto the machine's base.
When to Call in the Experts or Consider Replacement
If you've gone through all these troubleshooting steps and your coffee maker is still stubbornly refusing to brew, it might be time to consider professional help or a new machine. Some issues, like a completely failed pump or heating element, are often more costly or complex to repair than buying a new coffee maker, especially for budget-friendly models. For many machines, replacement parts can be difficult to source, or the labor costs can quickly add up.
As of 2026, the average lifespan for a mid-range coffee maker is often cited as 5-7 years, so an older machine might simply be reaching the end of its functional life. If your machine is still under warranty, contacting the manufacturer’s customer support is your best bet before attempting any repairs yourself.
Is it Worth Repairing?
The decision to repair or replace often comes down to a few key factors. Generally, if the repair cost approaches 50% or more of the price of a new, comparable machine, replacement is usually the more economical choice. This is especially true for less expensive models where specialized parts might not be readily available.
For higher-end or commercial-grade coffee makers, professional repair might make more sense given their initial investment and longer expected lifespan.
What to Do If It's Out of Warranty
If your coffee maker is past its warranty period, you have a few options. You can try to find a local appliance repair shop that specializes in coffee makers. It's a good idea to get a quote upfront before authorizing any work.
Alternatively, some manufacturers offer out-of-warranty repair services, though these can sometimes be costly. Many users find that for standard drip or pod machines, the convenience and affordability of purchasing a new unit often outweigh the expense and hassle of repair.
Frequently Asked Questions (FAQs)
Why is my coffee maker making noise but not brewing?
This usually indicates the pump is working but water isn't flowing correctly. Check for blockages in the water lines, a clogged filter, or an issue with the brew basket seating. Scale buildup is a common culprit for this symptom.
Can I use any descaling solution in my coffee maker?
Always refer to your coffee maker's user manual. Some manufacturers recommend specific descaling solutions, while others approve of white vinegar. Using the wrong solution could damage your machine or void its warranty.
How often should I descale my coffee maker?
This depends on your water hardness and how often you use the machine. Generally, descaling every 1-3 months is recommended. If you notice slower brewing or mineral deposits, it’s time for a descale.
My coffee maker leaks water, what's wrong?
Leaks can occur from a cracked water reservoir, a loose connection in the water line, or a problem with the brew basket seal. Ensure all parts are properly assembled and check for visible damage to the reservoir.
What if my coffee maker only brews half a pot?
This often points to a partial blockage in the water line or heating element, preventing the full water volume from being heated and dispensed. A thorough descaling process is usually the first step to resolve this.