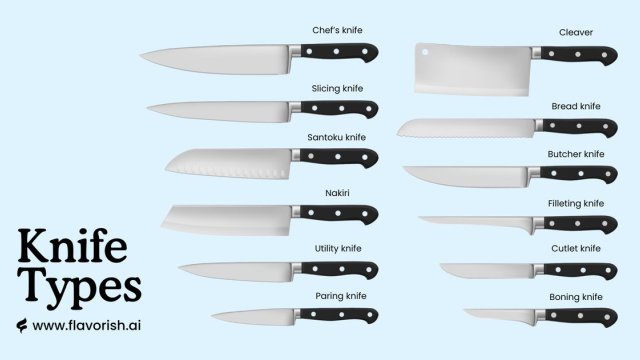
Kitchen Knife Types
Core kitchen knife types center on three essential tools: an 8-inch chef’s knife for volume chopping, a 3.5-inch paring knife for hand work, and a 9-inch serrated bread knife for crusts. Specialty blades like boning, santoku, and cleaver models handle narrow butchery and prep jobs. Matching specific blade geometry, steel hardness, and edge grind to the dense or delicate structure of different ingredients ensures clean, safe cuts.
Understanding kitchen knife parts and types
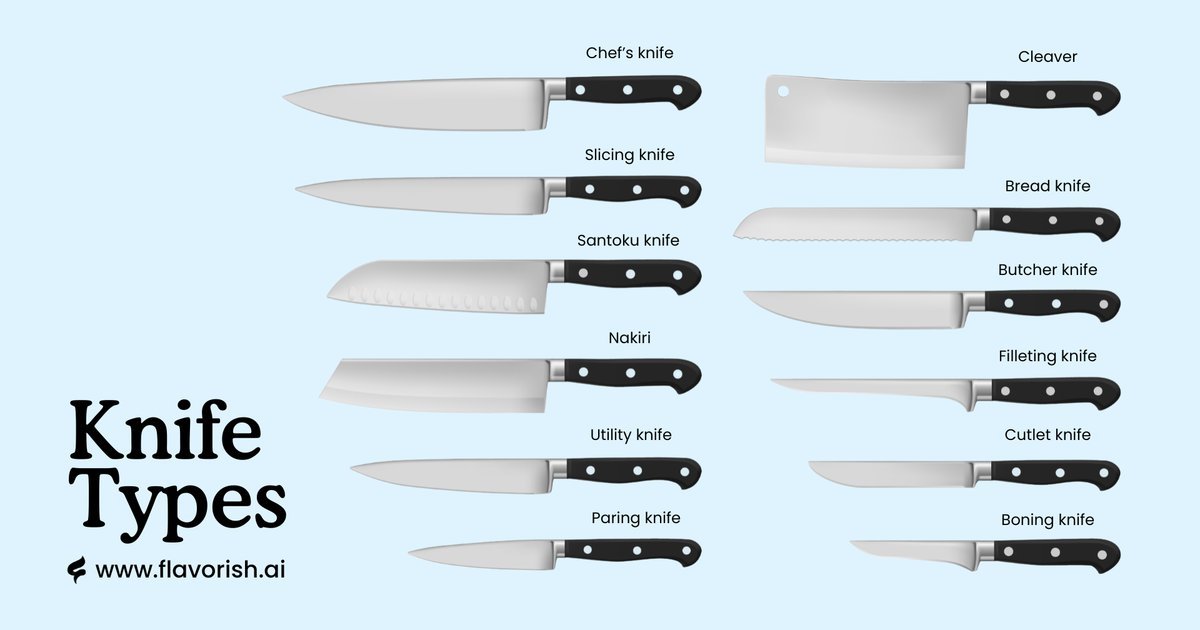 Photo: www.flavorish.ai on Google
A kitchen knife directs manual pressure through a wedged metal edge to sever food fibers cleanly. Home cooks and professional line cooks rely on these tools to speed up prep and control portion sizes. A widespread misconception is that buying a 15-piece block set makes meal preparation easier. Most extra blades sit unused because three shapes handle nearly all kitchen prep.
Every knife balances trade-offs in edge profile and steel chemistry. A curved Western belly rocks smoothly over herbs, while a flatter Japanese profile demands a clean push-cut motion. Thin blades slice effortlessly through firm root vegetables, but their narrow edges chip if twisted against hard materials. Thicker blades resist chipping against bones, yet they wedge and split brittle produce like carrots instead of slicing them cleanly.
The blade works alongside a handle, bolster, and tang. A full tang runs through the entire handle length, giving the tool better balance and strength under heavy downward force. Stamped blades lack this integrated weight, making them feel light during extended prep.
The basic method
- Match the blade profile to the food. If slicing crusty bread or ripe tomatoes, use a serrated blade; if dicing onions or dense squash, use a broad chef’s knife.
- Grip the handle firmly near the blade, pinching the heel of the steel between your thumb and the side of your index finger for control.
- Place food on a stable wooden or plastic board resting on a flat surface, setting a damp cloth underneath to stop board slip.
- Curl the fingertips of your guiding hand inward like a claw, resting the flat side of the knife blade against your knuckles.
- Slice forward and downward in a continuous motion, letting the sharp edge do the cutting rather than forcing downward weight.
- Check your cut surface after three strokes; if the food tears or juices run freely on the board, adjust your cutting angle.
- Wash the steel immediately after prep with warm water and mild liquid soap, drying the entire tool with a towel before storing.
How much forward draw to use versus downward pressure is the single judgment call that separates a clean cut from torn food. Forcing a dull blade downward crushes plant cells and squirts bitter juices onto the board. Slicing with light forward momentum shears cleanly through cell walls. Re-edging heavily chipped blades or thinning down thick shoulders requires coarse whetstones or specialized grinding equipment. Anyone without proper sharpening equipment should take damaged steel to a professional sharpener.
Key numbers and settings at a glance
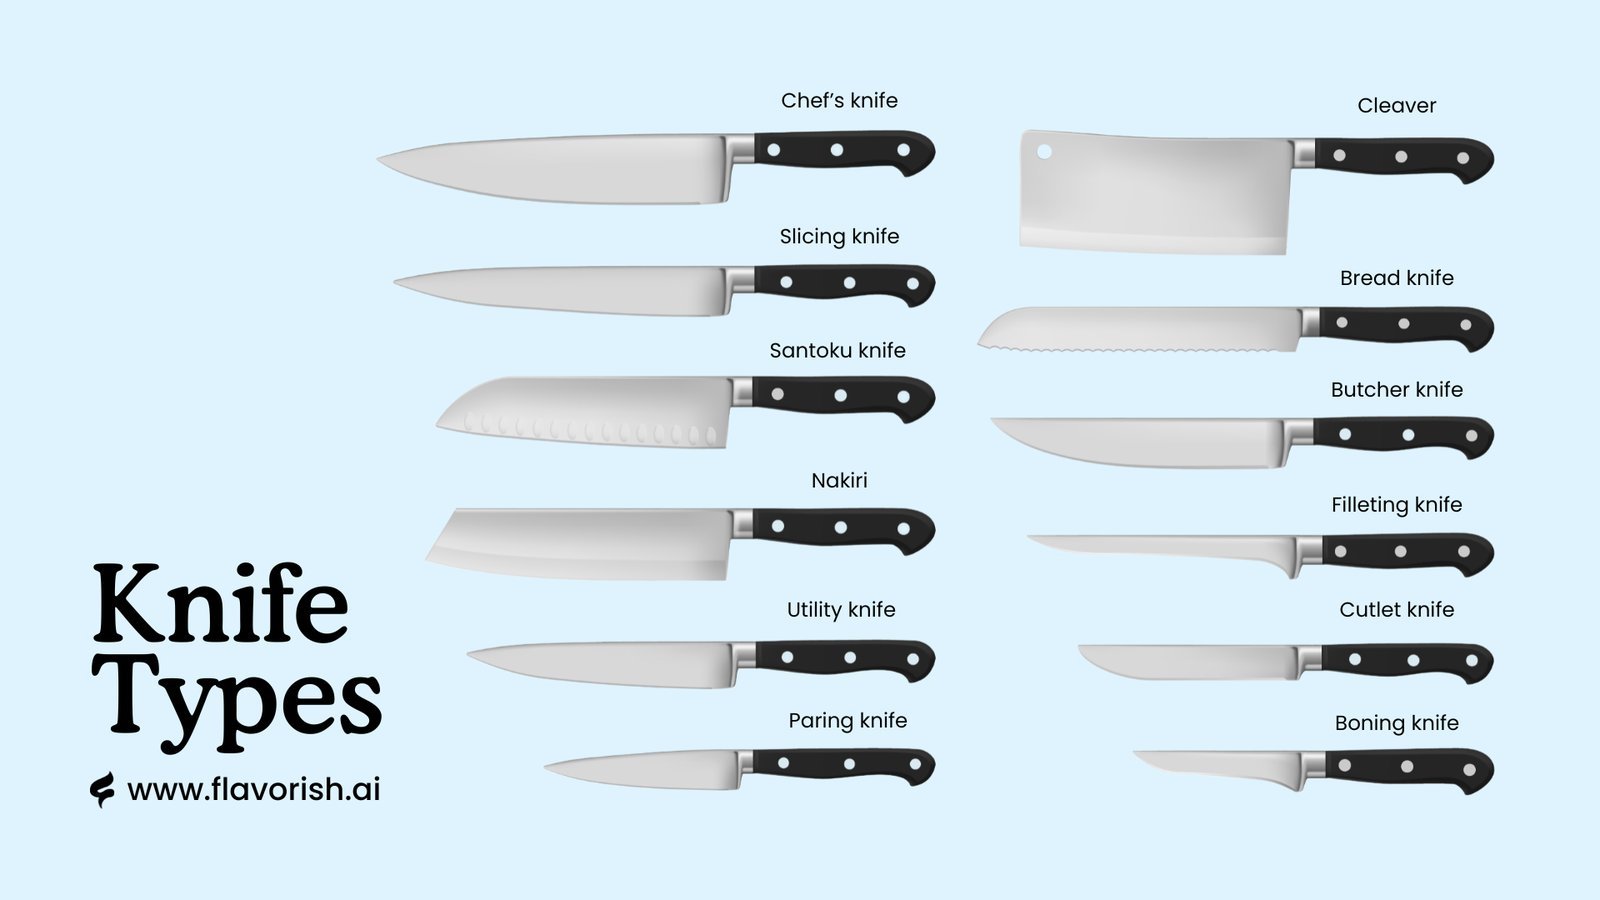 Photo: gnosi.tech on Google
Blade geometry determines how metal behaves against food resistance across daily cooking prep.
| Situation | What to use | How long | What to watch for |
|---|---|---|---|
| Dicing onions, carrots, and celery | 8-inch chef’s knife | 5 to 10 minutes | Clean cuts without crushing vegetable layers |
| Slicing crusty sourdough or baguettes | 9-inch serrated bread knife | 1 to 2 minutes | Sawing gently without compressing the soft crumb |
| Trimming silver skin from beef tenderloin | 6-inch flexible boning knife | 3 to 5 minutes | Blade flexing tightly against connective tissue |
| Peeling small apples or coring strawberries | 3.5-inch paring knife | 2 to 4 minutes | Thumb control keeping cuts shallow and steady |
| Fine-dicing shallots and fresh garlic | 7-inch santoku knife | 2 to 3 minutes | Flat edge making flush contact against board |
| Portioning whole raw chicken through joints | 6-inch rigid utility knife | 4 to 6 minutes | Tip finding cartilage gaps without hacking bone |
What separates good results from bad ones
Board Setup and Steel Alignment
Good prep starts with board stability and edge alignment. Setting a damp towel beneath your cutting surface stops unexpected shifting that ruins straight cuts. Experienced prep workers align their blade edge before every session using a smooth ceramic or grooved steel rod held at a steady 15 to 20-degree angle. This straightens the microscopic teeth of the metal without grinding away blade material. If you skip this alignment step, the rolled metal edge catches against slippery onion skins and skids off target.
Processing Order and Tool Limits
Working cleanly means grouping tasks by moisture and texture. Cut dry, dense root vegetables first, then move to wet alliums, and finish with proteins. This order keeps your board dry so foods don’t slide around. Stop immediately if you feel the blade wedging tightly in half-cut sweet potatoes; rocking a thin blade side-to-side chips the edge. Switch to a thicker Western chef’s knife for tough produce, saving delicate Japanese cutlery for soft vegetables, boneless fish, and cooked meats.
Common problems and quick fixes
Small adjustments to your grip, board, or blade choice immediately correct everyday prep issues.
| What you notice | What it usually means | What to do first |
|---|---|---|
| Blade slides off slick tomato skin | The cutting edge has rolled over or dulled | Switch to a serrated edge or hone the chef’s knife |
| Dense squash pinches blade tight | Blade spine is too thick for deep splitting | Wedge a second shallow cut next to the first |
| Cutting hand cramps quickly | Grip is too tight or knife balance sits rearward | Slide hand forward to pinch blade steel directly |
| Food sticks heavily to the blade face | Smooth polished surface creates vacuum pull | Use a knife with ground hollow indentations |
| Edge chips along the belly line | Board surface is too hard or blade twisted in cut | Switch to wood and slice without lateral torquing |
Safe Handling and Sanitation Standards
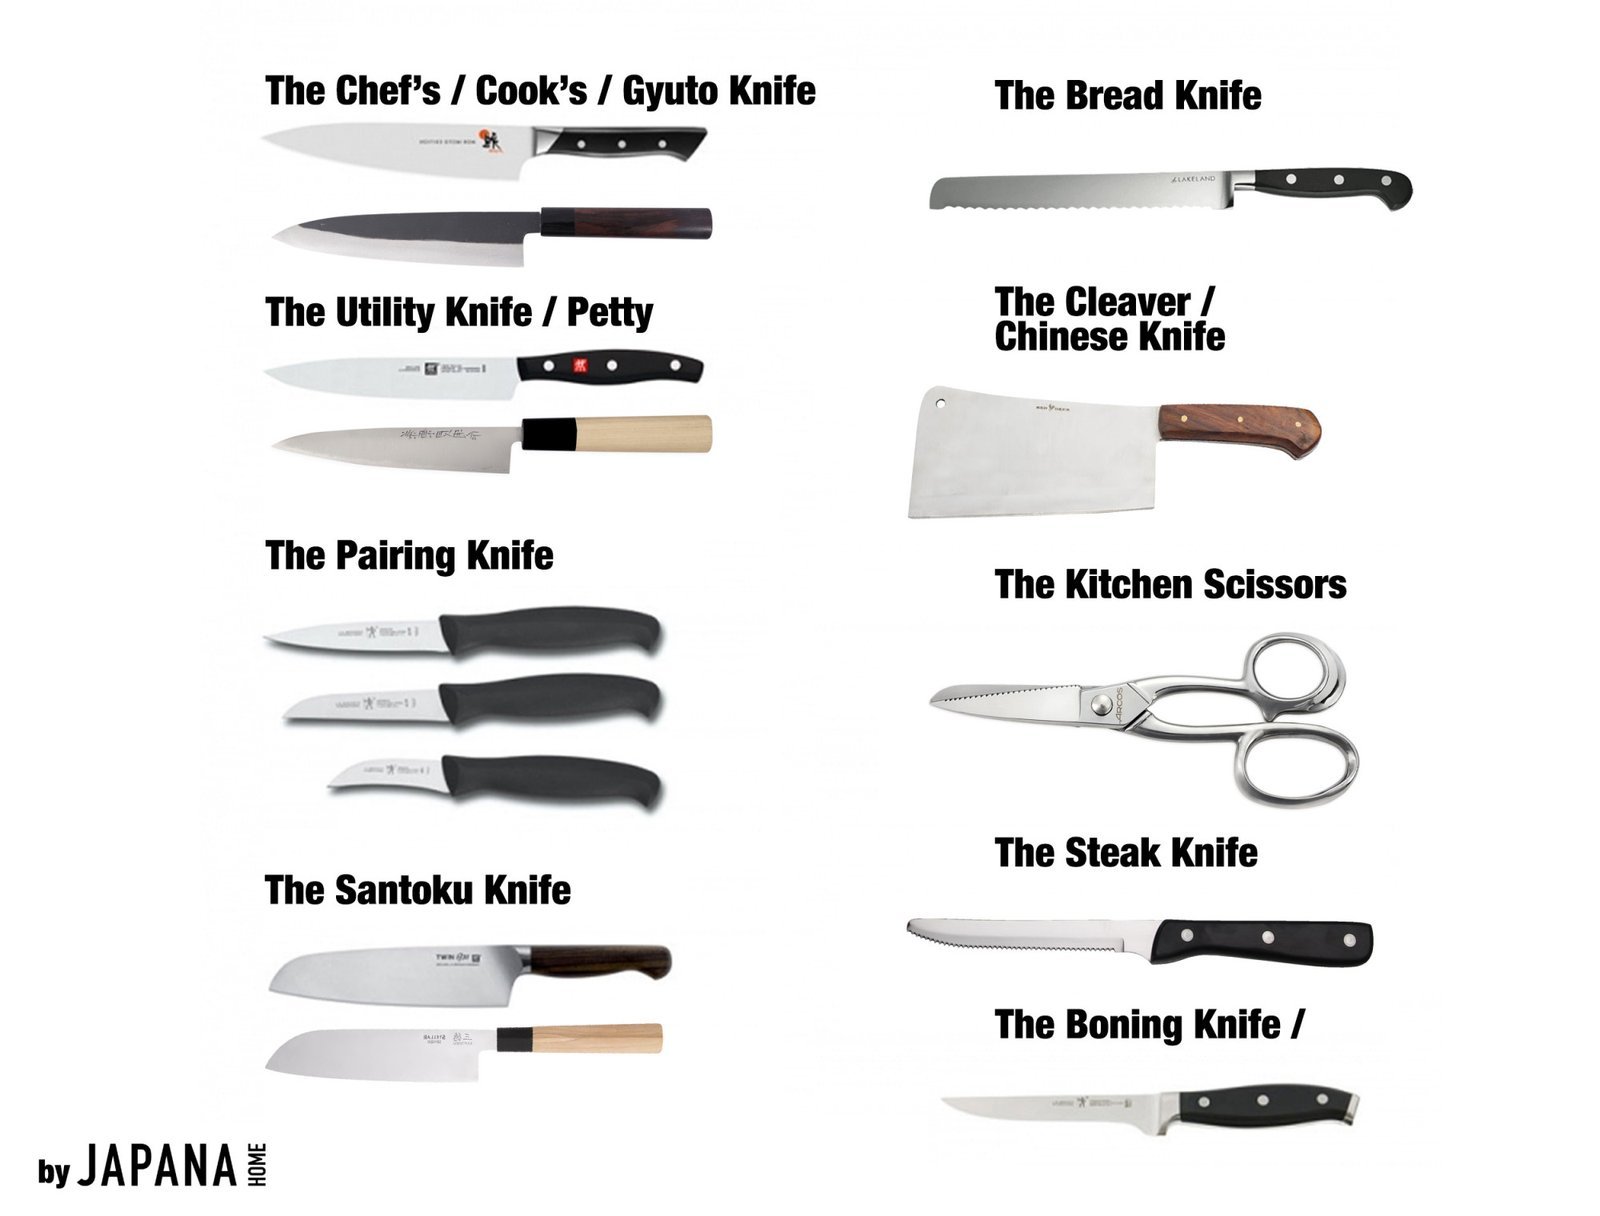 Photo: oishya.com on Google
Food safety rules demand strict cross-contamination controls during daily prep. The FDA Food Code guidelines state that food-contact surfaces, including cutting blades, must be cleaned and sanitized between tasks involving raw animal proteins and ready-to-eat foods. Using the same unwashed blade on raw chicken breasts and then slicing raw salad greens transfers dangerous pathogens like Salmonella.
Commercial operations require dedicated knives for distinct food groups. At home, wash blades immediately after working with raw meat using hot water and detergent. If a knife edge develops deep cracks or loose handle scales where food particles collect, take it out of rotation. Cracked handles harbor bacteria that standard hand washing can’t dislodge. Sanitizing sanitizes the surface, but physical gaps demand handle replacement or disposal.
Maintaining Edge Health and Storage
A knife edge deteriorates through abrasion against cutting surfaces and chemical oxidation. Wash blades by hand immediately after slicing acidic foods like lemons, tomatoes, or onions. Leaving lemon juice on carbon steel discolors the metal within minutes and dulls the keen apex. Never place kitchen cutlery inside a home dishwasher; forceful water jets blast the steel against ceramic dishware, while harsh detergent salts pit the edge.
Store dry blades on an open magnetic wall strip, inside slotted wood blocks, or inside rigid edge guards. Storing loose knives inside an open drawer is a common mistake that ruins edges through repeated metal-on-metal impacts. This mistake costs owners significant sharpening fees and ruins expensive cutlery prematurely. Honing rods maintain existing edges for several months, but when a blade slides off tomato skin without biting, sharpen the edge using a 1,000-grit water stone.
When to use a different approach
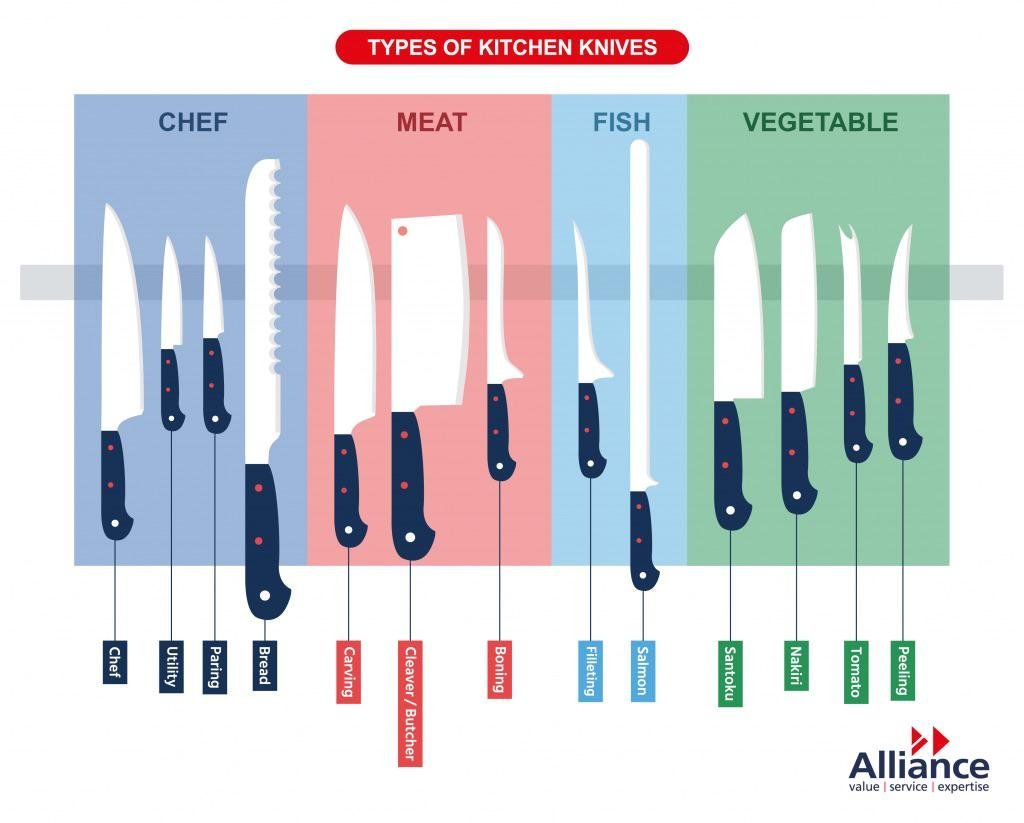 Photo: www.reddit.com on Google
A standard kitchen knife isn’t for splitting thick, frozen meat blocks or cleaving dense beef shank bones. Hacking through frozen items will snap hardened steel edges instantly. Use a specialized bone saw or allow frozen food to thaw safely in the refrigerator before cutting.
Ultra-thin slicing of cured meats like prosciutto or salami also fails with standard handheld blades. Hand pressure creates irregular, thick wedges that ruin delicate cured textures. A mechanical rotary deli slicer is the correct tool for paper-thin charcuterie portions. Finally, pureeing garlic cloves into smooth paste works faster and more evenly inside a small mortar and pestle than under repeated flat-blade crushing.
Frequently asked questions
Can kitchen knives go in the dishwasher?
No. The intense spray knocks blades against other utensils, blunting the edge quickly. Dishwasher heat also swells wooden handles and breaks synthetic resin bonds. Aggressive alkaline detergents pit the steel surface, ruining razor edges in single cycles. Hand-wash and dry your knives immediately.
Why do Japanese knives chip easier than German knives?
Japanese knives use harder steel heat-treated to higher ratings, ground to thin 12 to 15-degree angles. This hardness holds sharpness longer but turns the metal brittle. German knives use softer steel ground to 20-degree angles, which bends under tough impacts rather than chipping away.
How long does a sharpened knife edge stay sharp?
A home chef’s knife stays sharp between 3 to 6 months with regular board use and weekly steel honing. Knives used daily on fibrous vegetables need stone sharpening sooner. This timeline varies by steel type and cutting board material, so check the edge regularly.
Is a dull knife more dangerous than a sharp knife?
Yes. A dull edge requires heavy downward force and slips off firm vegetable skins easily. When a dull blade slips under forceful pressure, the user loses control of the knife path. Sharp edges bite into food surfaces instantly, requiring minimal cutting force and keeping fingers safer.
What happens if you cut on a glass board?
Cutting on a glass board rolls and chips metal edges almost immediately. Glass has higher surface hardness than cutlery steel, so the metal apex deforms on first contact. Always use end-grain wood, edge-grain maple, or soft food-grade polyethylene boards to preserve fine blade edges.



2 Comments