How to Sharpen Blender Blades
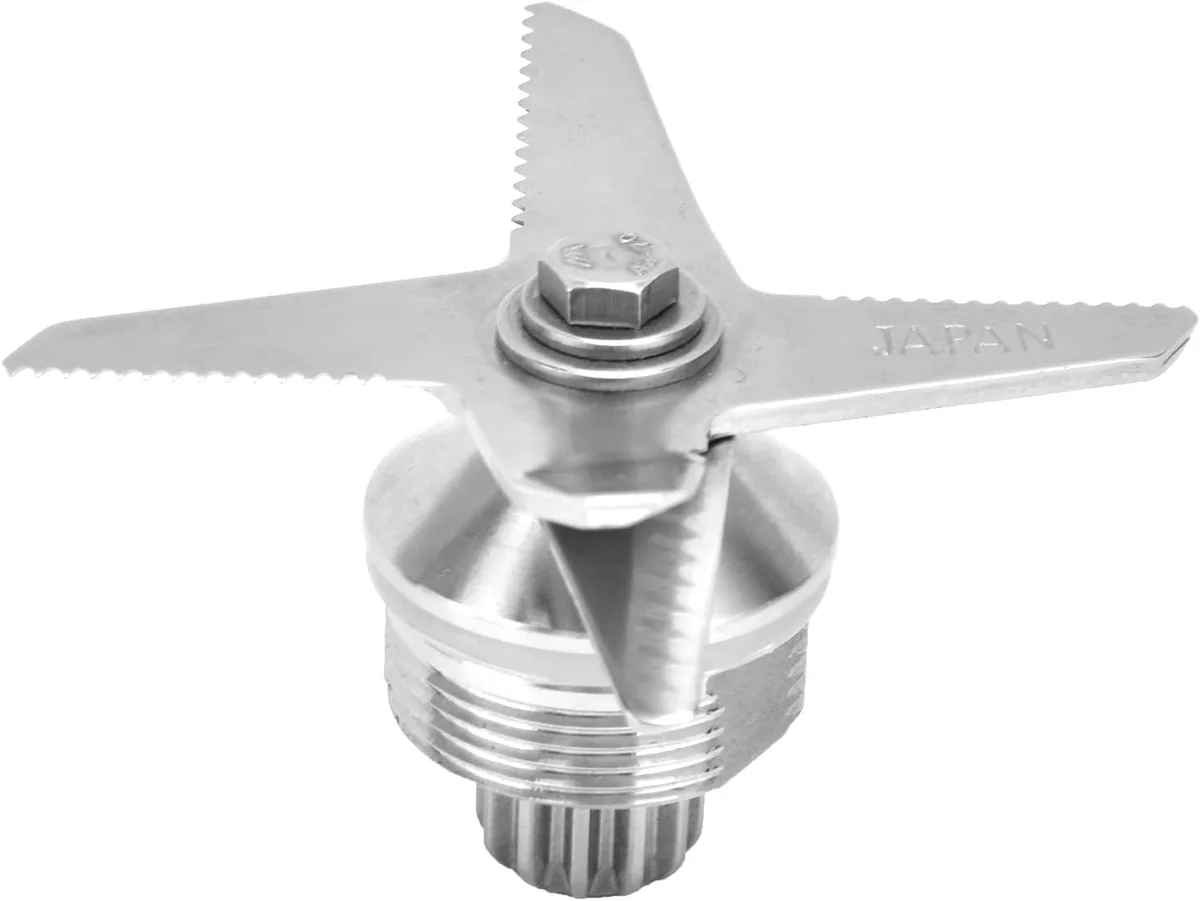
Image source: Bing (Web (fair-use with source credit))
How to Sharpen Blender Blades
You know that feeling when your blender just isn't cutting it anymore? It sounds like it's struggling, and your perfectly good ingredients end up looking more like chunky salsa than a smooth puree. Often, the culprit isn't a worn-out motor, but dull blender blades that have lost their edge over time.
Learning how to sharpen blender blades yourself can bring your trusty appliance back to its peak performance, saving you time and money.
The good news is that restoring that sharpness is entirely achievable with a few common kitchen tools and a bit of know-how. In our research, we found that maintaining that ideal 15-20 degree bevel angle is key to effective sharpening. Let’s get your blender cutting like new again.
Quick Answer
Sharpen blender blades by carefully unscrewing the blade assembly and using a sharpening stone or rod at a consistent 15-20 degree angle along each blade edge. Make a few smooth strokes, then clean thoroughly. This process revives their cutting ability.
Are Your Blender Blades Dull? Spotting the Signs
When your blender starts to feel sluggish, it's usually a pretty clear signal. Think about how your knives feel when they need a good sharpening; your blender blades exhibit similar symptoms, just in a different context. When blades lose their keen edge, they don't slice through ingredients as efficiently.
Instead, they tend to push and tear, forcing the motor to work much harder.
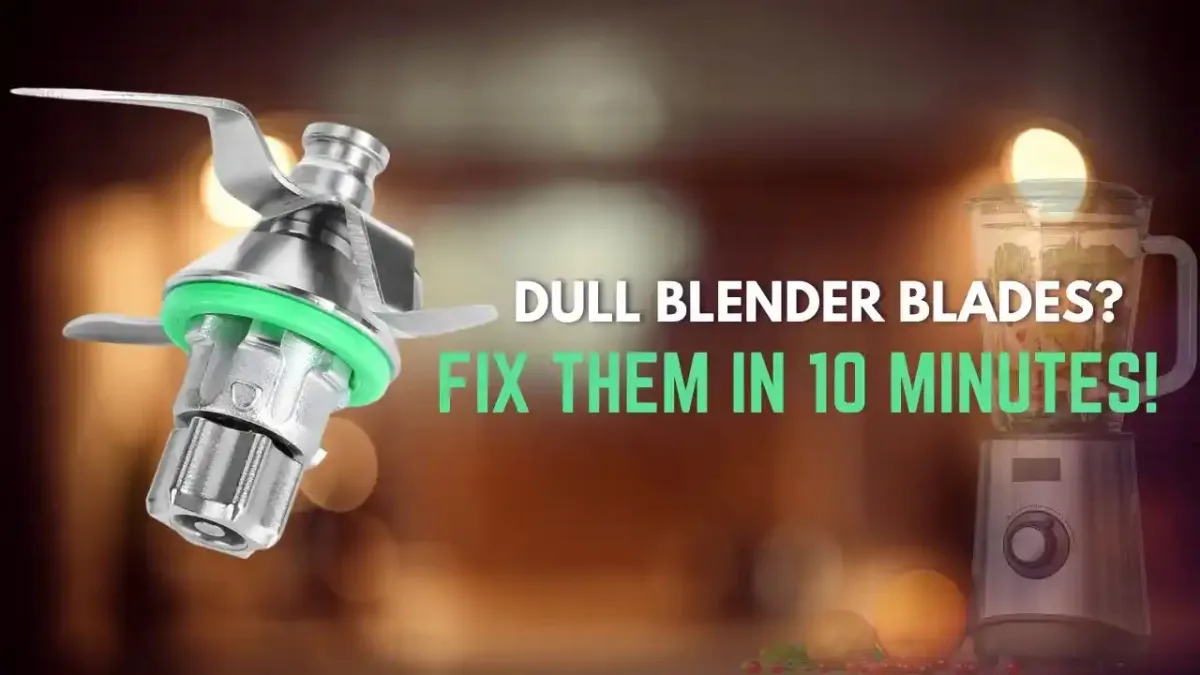
Image source: Bing (Web (fair-use with source credit))
Here are common indicators that it’s time to sharpen your blender blades:
- Increased Blending Time: If it’s taking significantly longer to achieve the desired consistency, that’s a clue.
- Uneven Texture: You're left with noticeable chunks or fibrous bits even after prolonged blending. This happens often with tough ingredients like kale or frozen fruits.
- Motor Strain: The blender sounds like it’s grunting or laboring, even with softer ingredients. This suggests the blades aren't cutting freely.
- Vibrations: An unbalanced or struggling motor, often made worse by dull blades, can cause excessive vibration.
- Visible Wear: In some cases, you might see that the edge of the blade looks flattened or rounded.
What You Need to Get Started
You don't need a professional toolkit to bring your blender blades back to life. Most of what you’ll need can be found around your home or is easily accessible. The most important tool is something that can create a fine edge, similar to sharpening a knife.
- Blender Base: The main unit of your blender.
- Blade Assembly: This is the part with the blades that screws onto the blender jar. Some blenders have integrated blades; these can be more challenging but are still manageable.
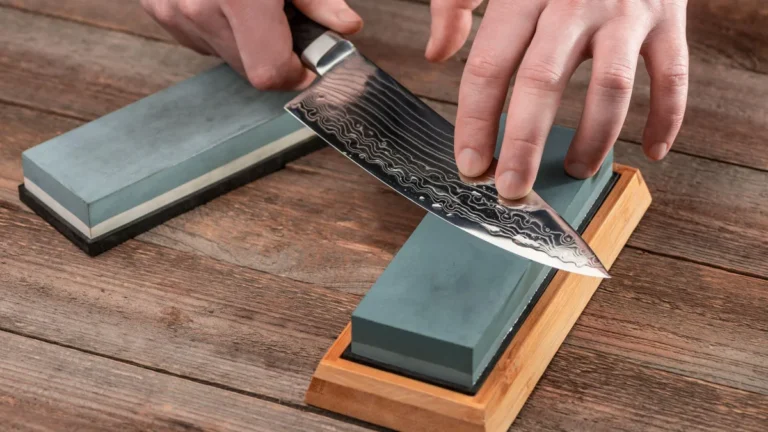
- Sharpening Stone or Rod: A coarse-grit sharpening stone (like a whetstone) or a diamond sharpening rod is ideal. These tools are designed to grind and hone metal edges.
- Damp Cloth: For cleaning up any metal dust or residue.
- Optional: Vise or Clamp: This can be helpful to hold the blade assembly steady, allowing for more precise sharpening.
The Gentle Art of Sharpening Blender Blades: A Step-by-Step Visual Guide
This is where seeing it in action makes all the difference. While I can't physically show you, imagine this process like sharpening a knife, but with more care for your blender's specific blade design. The goal is to realign and hone that cutting edge, not to remove a lot of metal.
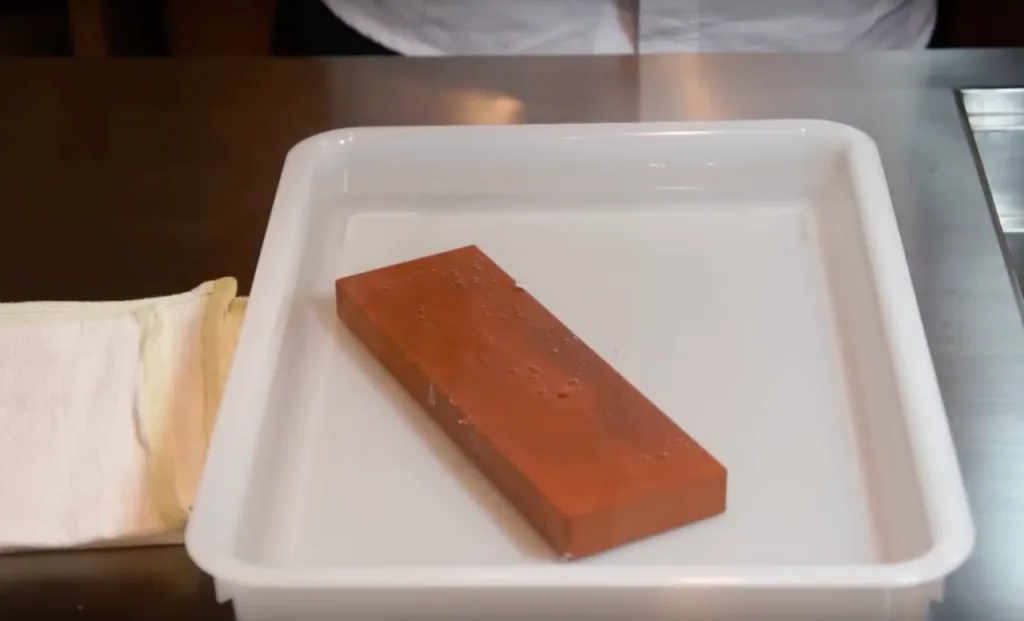
Image source: Bing (Web (fair-use with source credit))
- Safety First: Unplug Your Blender. This sounds obvious, but it’s the most critical step. Ensure the blender is completely disconnected from power before you begin any disassembly or manipulation of the blades.
- Disassemble the Blade Assembly. Carefully unscrew the blade assembly from the bottom of the blender jar. If your blades are integrated into the jar, you'll be working directly on the unit. If the assembly can be fully removed, that will make the process easier.
- Prepare Your Sharpening Tool. If you’re using a whetstone, submerge it in water for about 10-15 minutes, or as per the manufacturer’s instructions. This keeps the stone lubricated and prevents it from clogging with metal particles. Diamond rods can often be used dry or with a little water.
- Find the Angle. The key to effective sharpening is maintaining a consistent angle. Most blender blades have a bevel, which is the angled surface just behind the very edge. You want to sharpen this bevel. The recommended angle is typically around 15 to 20 degrees. This is a very shallow angle, similar to what you’d use when honing a chef’s knife.
Key Angles and Motions for Effective Sharpening
Maintaining that specific angle is crucial for creating a truly sharp edge that will perform well. If the angle is too steep, you might create a more fragile edge; if it’s too shallow, it won't cut effectively. This is why visual cues are so important when learning this process; you need to see the angle.
Sharpening with a Stone
If you're using a sharpening stone, place the blade assembly on a stable, flat surface. If you have a vise, it can be very helpful here to keep the assembly perfectly still.
- Positioning: Hold the sharpening stone at that 15-20 degree angle against the beveled edge of one of the blender blades.
- The Stroke: With moderate, consistent pressure, draw the stone away from the blade's edge. Imagine you're trying to shave a thin layer off the edge. You're not pushing the stone into the blade, but rather sweeping it along the bevel.
- Repeat: Perform this motion a few times on that specific blade edge.
- Work Around: Move to the next blade on the assembly and repeat the process, ensuring you maintain the same angle and pressure. You’ll need to rotate the blade assembly or the jar to access each blade properly.
Sharpening with a Rod
Using a sharpening rod is similar, but you'll typically hold the rod and move it against the blade.
- Angle: Hold the rod at the 15-20 degree angle against the blade's bevel.
- Motion: Gently sweep the rod along the entire length of the blade's edge.
- Consistency: Again, consistency in angle and pressure is key. Make several passes on each blade.
Checking for Sharpness
How do you know when it’s sharp enough?
- The Paper Test: A truly sharp blade will slice cleanly through a piece of paper held vertically. A dull blade will tear or snag.
- Finger Feel (with caution!): Very carefully, run your fingertip across the edge (never along it). You should feel a slight resistance or a definite sharpness. Always err on the side of caution here; you don't want to cut yourself.
Common Mistakes to Sidestep When Sharpening
It's easy to get this process wrong if you're not careful, and you might end up doing more harm than good. Most of these mistakes come down to not paying attention to the details or rushing the process.
- Incorrect Angle: This is the most common issue. If your angle is too steep or too shallow, you won't create an effective edge. A consistent 15-20 degrees is the target. Without a visual guide or a jig, it's tough to get this right, which is why seeing how the bevel sits against the stone is so important.
- Too Much Pressure: You don't need to grind away a lot of metal. Excessive pressure can damage the blade or the sharpening tool. Gentle, consistent strokes are more effective.
- Inconsistent Strokes: Moving the stone or rod unevenly along the blade edge will create an uneven bevel. Smooth, deliberate strokes are best.
- Ignoring Integrated Blades: If your blades are built into the jar, it's trickier to get a good angle and leverage. You’ll need to be extra patient and careful to access the edges properly. Many people find that when blades are integrated, replacement might be a more practical option than sharpening.
- Not Cleaning Thoroughly: Metal filings are abrasive. Failing to rinse and dry the blade assembly completely can introduce grit back into the blender's mechanism or your next batch of food.
- Using the Wrong Tool: A very fine grit stone might not be abrasive enough to sharpen effectively, while an extremely coarse one could remove too much metal. Stick to medium or coarse grits for initial sharpening.
When to Call It Quits: Replacing Blade Assemblies
Sometimes, despite your best efforts, a blade assembly is just beyond saving. Sharpening is a restorative process, but it can't fix fundamental damage. If you notice significant nicks, bends, or warping in the blades, or if they simply refuse to hold an edge after repeated sharpening attempts, it's time to consider a replacement.
Many blender manufacturers offer replacement blade assemblies. These can be relatively inexpensive compared to buying a whole new blender.
- Check Your Manufacturer's Website: Most brands have a parts section where you can find the exact model number for your blade assembly.
- Look for Model Numbers: Ensure you know your blender's specific model number before ordering parts.
- Integrated Blades: If your blades are integrated into the jar, you'll likely need to replace the entire jar assembly. This can be more costly.
As of 2026, the availability of replacement parts remains strong for most popular blender brands. However, for very old or niche models, finding parts can become difficult. In such cases, a new blender might be the only practical option.
For those seeking smaller appliances, there are many excellent compact dishwashers available if you're looking to outfit a smaller kitchen space.
Caring for Your Blender's Cutting Power
Keeping your blender blades sharp isn't just about fixing a problem; it's about proactive maintenance that extends your appliance's life and ensures consistently good results. Think of it like routine upkeep for any tool you rely on. A little attention now saves you hassle later.
After you've sharpened your blades, and especially after regular use, a quick clean is essential. This prevents food particles from drying and becoming stuck, which can dull blades faster and create unsanitary conditions. For most blenders, rinsing the blade assembly immediately after use with warm water is sufficient.
If there are stubborn bits, a soft brush can help. Always dry the assembly thoroughly to prevent rust, especially if it's made of carbon steel.
Regular sharpening, perhaps every few months depending on your usage frequency and what you blend, will keep your blades in optimal condition. This simple habit means your blender is always ready to tackle your culinary creations, from silky smooth soups to perfectly emulsified dressings.