How to Weigh Flour With a Kitchen Scale
If you’ve ever struggled with inconsistent baking results, the culprit might be how you're measuring your flour. Getting the right amount of flour is crucial, and using measuring cups can lead to surprising variations. Learning how to weigh flour with a kitchen scale is a simple technique that can dramatically improve the outcome of your recipes.
As of 2026, precision in home baking is more accessible than ever.
Our research indicates that a single cup of all-purpose flour can vary in weight by as much as 113 to 142 grams, depending on how it's scooped and packed. This wide range is a primary reason why bakers and recipe developers recommend using a digital kitchen scale for accuracy. This guide will walk you through the process, ensuring your flour measurements are spot-on every time.
Quick Answer
To weigh flour with a kitchen scale, place your container on the scale, press the "tare" or "zero" button, then add the flour until the desired weight is displayed. This method provides consistent accuracy for baking. Always use a flat, stable surface for your scale.
Why Weighing Flour is Key for Baking Success
When you're baking, especially anything from delicate cakes to crusty breads, precision matters. Think of it like following a scientific formula; even small deviations can change the final product. Measuring cups, while common, are notoriously inconsistent.
How you scoop, whether you level it off, or if the flour is lightly packed or sifted can all add or remove significant amounts of flour.
For example, aggregate user feedback reports that one cup of all-purpose flour can weigh anywhere from 4 ounces (about 113 grams) to over 5 ounces (around 142 grams). This difference is significant enough to affect the texture, density, and rise of your baked goods. Manufacturers of professional baking equipment consistently recommend weight measurements for superior results.
What You Need to Weigh Flour Accurately
You don't need a lot of fancy equipment to start weighing your flour. The most important tool is a reliable kitchen scale.
- Digital Kitchen Scale: Any digital scale with a "tare" or "zero" function will work. These scales are widely available and relatively inexpensive. A scale that measures in grams and ounces is ideal, as recipes often specify one or both.
- Your Flour: Whatever type your recipe calls for, all-purpose, whole wheat, bread flour, etc.
- A Container: This can be the mixing bowl you'll use for your recipe, a separate bowl, or even a sturdy plate. The key is that it can sit stably on the scale.
Having these items ready makes the process smooth and efficient.
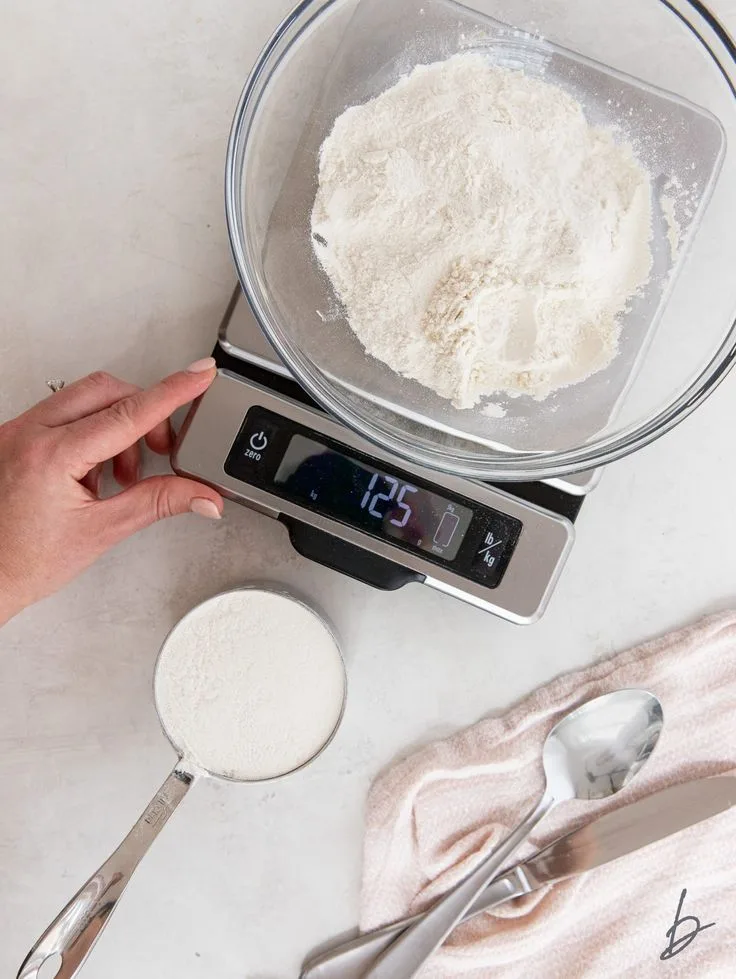
Image source: Bing (Web (fair-use with source credit))
The Simple Steps: How to Weigh Flour with Your Scale
Weighing flour is a straightforward process, and once you do it a few times, it becomes second nature. The goal is to get the exact weight of flour your recipe requires, eliminating the guesswork associated with volume measurements.
1. Set Up Your Scale
First things first, find a flat, stable, and level surface for your kitchen scale. A countertop is usually perfect. Avoid placing the scale on a soft mat, near a vibrating appliance, or on an uneven surface, as this can lead to inaccurate readings.
Turn the scale on and let it settle for a moment.
2. Tare Your Container
Place the bowl or container you plan to use directly onto the scale. Once it's sitting stably, press the "tare" or "zero" button. This function resets the scale’s reading to zero, effectively ignoring the weight of the empty container.
The display should now read "0" or "0.0". This step is crucial for ensuring you're only measuring the weight of the flour itself.
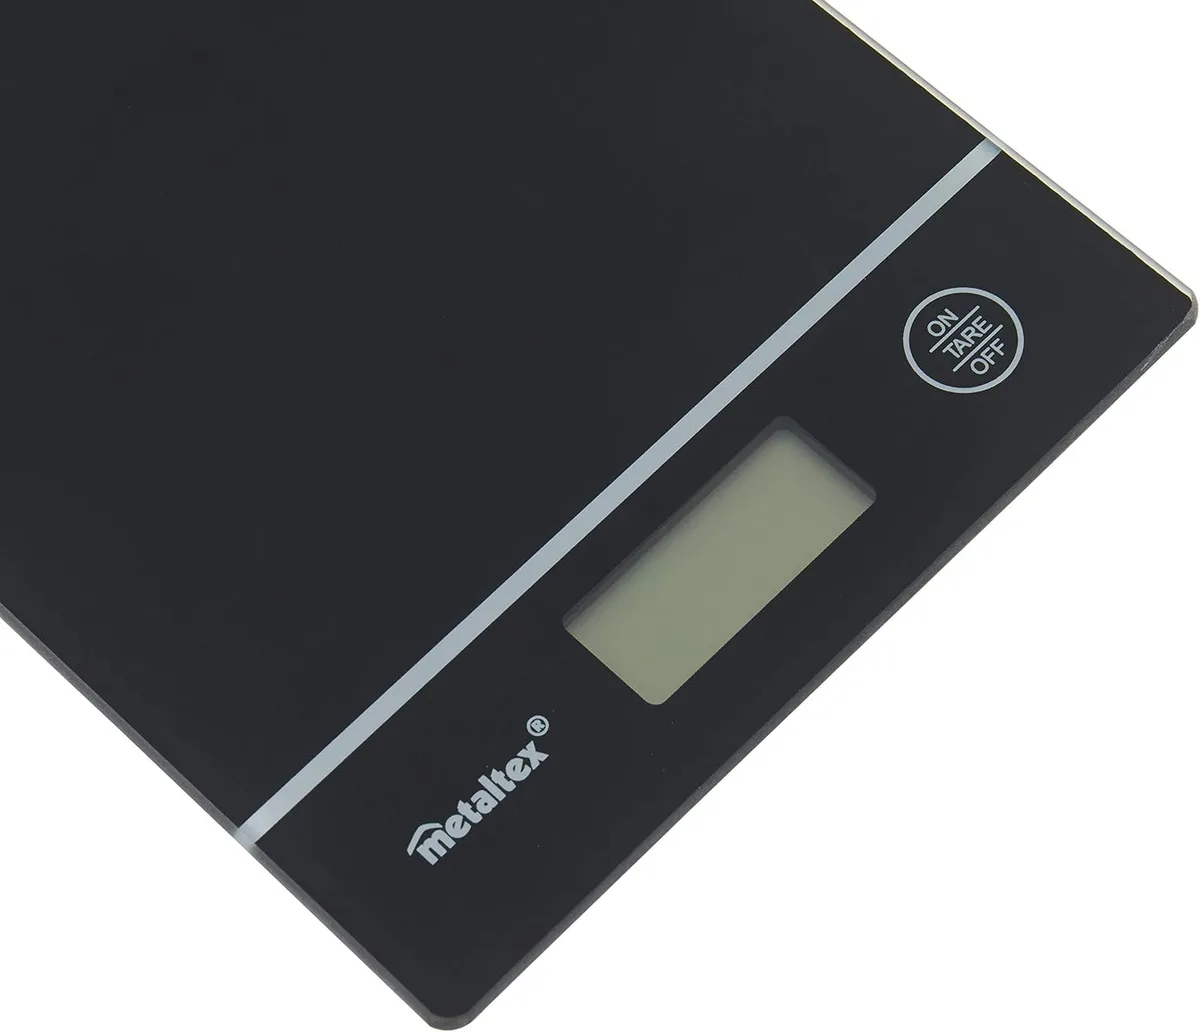
Image source: Bing (Web (fair-use with source credit))
3. Add the Flour
Now, carefully add the amount of flour specified in your recipe. If your recipe calls for 250 grams of flour, slowly spoon or pour flour into the container on the scale until the display reaches exactly 250 grams. If you go slightly over, you can gently scoop a tiny bit out with a spoon.
If you're under, add a bit more. The goal is to be as precise as possible.
Pro Tips for Flawless Flour Weighing
Beyond the basic steps, a few extra tips can ensure your flour weighing is always perfect. These are the kinds of details that make a real difference in the kitchen, especially when you're aiming for professional-level results.
- Use a Level Surface: This bears repeating because it's that important. A solid, flat countertop is your best bet for accurate readings. Even a slight tilt can throw off your scale's precision by several grams.
- Pour, Don't Scoop Directly: If possible, pour some flour from your storage container into a separate intermediary bowl or directly into your weighing bowl. This prevents cross-contamination and is easier to manage than trying to scoop precisely from a large bag.
- Convert if Necessary: If your recipe lists cups but you prefer weighing, look up a reliable conversion for that specific type of flour. For instance, many sources suggest 1 cup of all-purpose flour is roughly 120-125 grams, but this can vary. Always check the most current standards available from reputable culinary sites.
- Tare for Each Ingredient: If you're adding multiple ingredients to the same bowl on the scale, remember to hit the "tare" or "zero" button before adding each new ingredient. This way, the scale only measures the weight of the ingredient you're currently adding.
- Understand Your Scale: Different scales have different sensitivities. Some might read in 1-gram increments, others in 0.5-gram increments. Know what yours is capable of and aim for the precision it offers.
Common Mistakes When Weighing Flour (And How to Fix Them)
Even with the right tools, a few common slip-ups can lead to inaccurate flour weights. Catching these early can save your baking project from an undesirable outcome.
- Unstable Surface: Placing the scale on a wobbly or uneven surface is a major cause of error. This often leads to readings that fluctuate or are consistently off. Fix: Always ensure your scale is on a hard, flat, and level countertop.
- Not Taring Properly: Forgetting to press the "tare" or "zero" button after placing your container means you're not just measuring flour, but flour plus the weight of your bowl. This adds extra, unneeded weight to your final measurement. Fix: Always press "tare" after placing your container on the scale, before adding any ingredients.
- Over-Adding Flour: It's easy to overshoot the target weight, especially when you're first getting used to the scale. Fix: If you go over by a gram or two, you can often gently scoop a tiny bit back out with a spoon. For larger overages, it’s usually best to discard that batch and start again to maintain precision.
- Reading the Scale Incorrectly: Make sure you're looking at the correct unit (grams or ounces) as specified by your recipe, and ensure the scale has stabilized its reading before you stop adding flour. Fix: Wait for the numbers on the display to stop fluctuating before you consider the weight accurate.
Weighing Flour vs. Measuring Cups: What's the Real Difference?
The core difference between weighing flour and using measuring cups boils down to accuracy and consistency. Measuring cups rely on volume, which is inherently variable. Imagine trying to fill a cup with feathers versus sand, the volume might look similar, but the actual amount of material is very different.
Flour behaves similarly, affected by humidity, how it's stored, and how it's scooped.
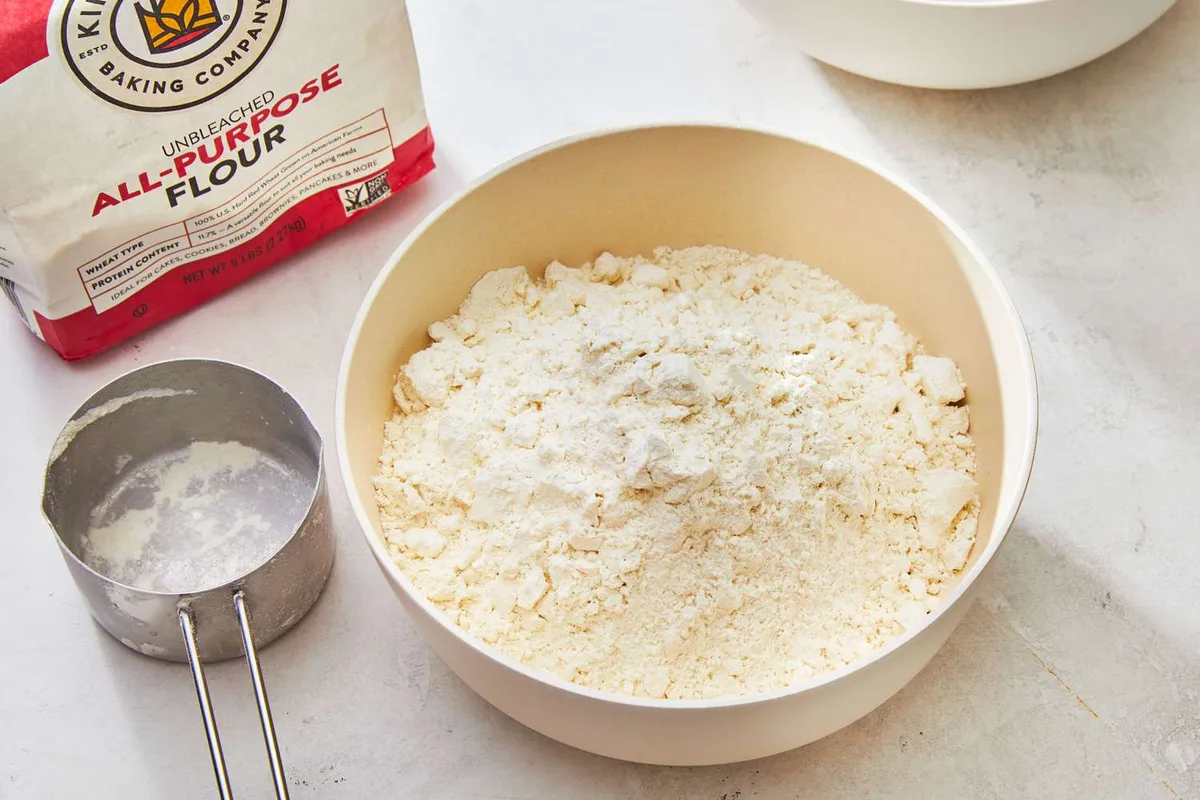
Image source: Bing (Web (fair-use with source credit))
When a recipe specifies flour by weight, it's based on a precise quantity that has been tested for optimal results. For instance, a recipe calling for 500 grams of bread flour has a very specific hydration and dough consistency in mind. If you measure that out using cups, you might end up with 450 grams or even 550 grams, leading to dough that's too dry or too wet.
This is why many professional bakers, and increasingly, home bakers, swear by using a scale. It’s the most reliable way to replicate recipes exactly, whether you’re baking at home or in a professional kitchen. Manufacturers of baking equipment, such as those producing high-end ovens, often provide weight recommendations in their product manuals for this very reason.
Who is Weighing Flour Best For?
Weighing flour is best for anyone who values consistency and precision in their baking. This includes serious bakers trying to perfect challenging recipes, recipe developers needing exact measurements, and even beginner bakers who want to achieve success early on by simplifying a critical measurement.
Who Might Stick with Measuring Cups?
Measuring cups are generally fine for recipes where slight variations don't significantly impact the outcome, such as some cookies, muffins, or quick breads where the margin for error is wider. They are also convenient for quick, everyday cooking tasks where absolute precision isn't critical.
Frequently Asked Questions About Weighing Flour
Why is weighing flour more accurate than using cups?
Weighing flour measures its mass directly, while cups measure volume. Flour's density can vary greatly depending on humidity, how it's packed, and even the type of flour, making volume measurements inconsistent.
Can I use any kitchen scale to weigh flour?
Yes, any digital kitchen scale with a "tare" or "zero" function will work for weighing flour. Ensure it can measure in grams or ounces, as specified by your recipe.
What happens if I don't have a scale?
If you don't have a scale, you can use measuring cups, but be aware of potential inconsistencies. For best results, gently spoon flour into the cup without packing and level off the excess. Many recipes provide weight conversions for cups.
How do I convert cup measurements to grams for flour?
General conversions suggest around 120-125 grams per cup for all-purpose flour. However, this varies by flour type and even brand. For precise baking, it's best to use recipes that provide gram measurements or consult a reliable conversion chart specific to the flour type.