How to Clean a Juicer
So, you've just finished a vibrant batch of fresh juice and are staring at the juicer parts, wondering about the cleanup. Knowing how to clean a juicer effectively is key to ensuring it runs smoothly and your creations taste as good as they look. A clean juicer isn't just about appearance; it's about hygiene and longevity.
Manufacturer specifications often highlight the importance of regular cleaning for optimal performance. For instance, many centrifugal juicer filters are designed to be cleaned immediately after use to prevent dried-on pulp from reducing their efficiency, a process typically taking between 5 to 10 minutes per cleaning session. We've gathered the essential information to make this task straightforward.
Quick Answer
Clean your juicer right after use. Disassemble, rinse parts under warm water, scrub the filter and other components with a brush and soap, rinse again, and dry completely. This prevents stains, mold, and ensures better performance.
Why Cleaning Your Juicer Matters Right Away
The biggest secret to making juicer cleaning a breeze is tackling it immediately after you're done juicing. Seriously, don't let those fruit and veggie bits sit and dry. When everything is still fresh, the pulp and juice residue come off with minimal effort.
- Prevents Stubborn Stains: Freshly squeezed produce can leave behind potent pigments that, if left to dry, can permanently stain your juicer parts. A quick rinse stops this in its tracks.
- Avoids Mold and Bacteria: Moisture and organic matter are breeding grounds for unwanted microorganisms. Immediate cleaning is your first line of defense against potential health hazards.
- Easier Future Use: A clean juicer is a welcoming juicer. You're much more likely to juice regularly when you don't have to face a difficult cleaning job each time.
The Benefits of Immediate Cleanup
Beyond just ease, cleaning your juicer right after use offers tangible advantages that impact both your appliance and your health. Regular, prompt cleaning ensures that your juicer operates at peak efficiency.
- Maintains Juicing Performance: When the filter and other parts are clogged with dried residue, your juicer works harder and extracts less juice. A clean machine is an efficient machine.
- Preserves Appliance Lifespan: Consistent, gentle cleaning prevents harsh scrubbing later on, which can wear down delicate parts and shorten the life of your juicer.
- Ensures Pure Juice Flavor: Any residual pulp or juice can ferment slightly, imparting off-flavors to your next batch. Immediate cleaning guarantees fresh, pure taste every time.
What You'll Need for a Sparkling Juicer
Gathering the right tools before you start makes the whole process smoother. You don't need a specialized cleaning kit; most of what you'll need is already in your kitchen.
- Warm Water: Essential for loosening up pulp and juice residue.
- Mild Dish Soap: A standard, gentle dish soap is perfect for cleaning.
- A Stiff Brush or Scrub Brush: Crucial for getting into the mesh of the filter and other textured areas. Some juicers come with their own specific cleaning brushes.
- A Soft Cloth or Sponge: For wiping down the larger, smoother surfaces of the juicer body and its components.
- An Old Toothbrush: An absolute lifesaver for reaching into very tight corners, around seals, and other hard-to-access spots.
How to Clean Your Juicer: A Step-by-Step Visual Guide
Cleaning a juicer involves a few key stages, and while we can describe them, visualizing the process often helps. Imagine each part laid out, ready for attention.
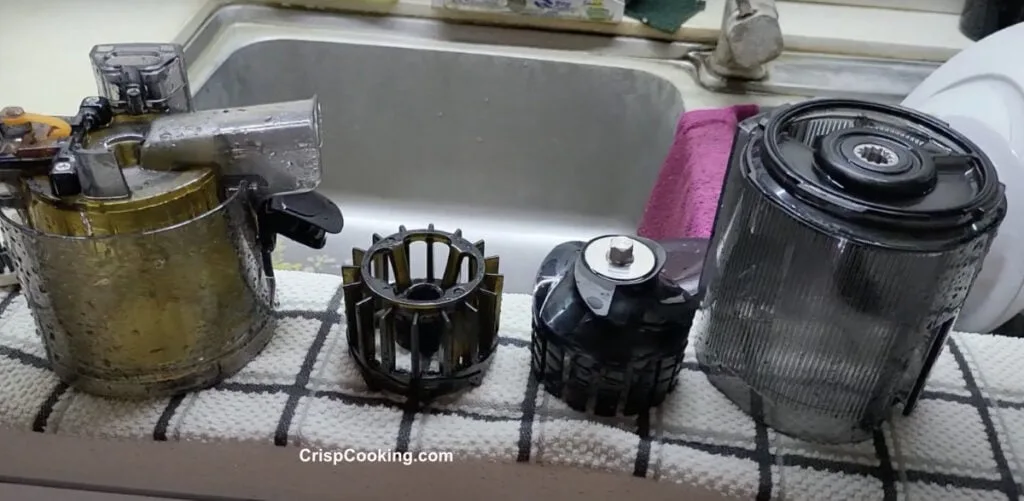
Image source: Bing (Web (fair-use with source credit))
Taking Your Juicer Apart
The first step is always to safely disconnect your juicer from its power source. Then, carefully take apart all the removable components. This typically includes the pulp container, the juice spout or collection cup, the filter basket or strainer, and the plunger.
Lay these parts out where you can easily access them.
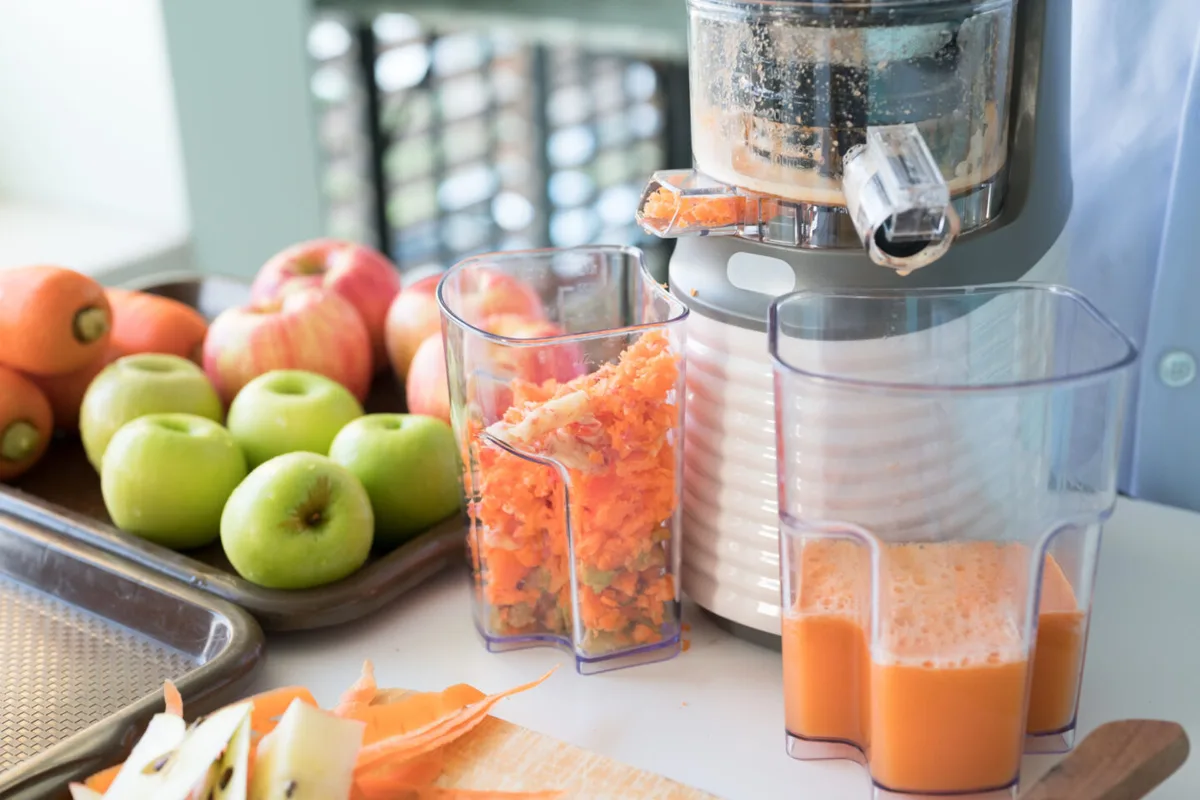
Image source: Bing (Web (fair-use with source credit))
The Initial Rinse: Washing Away the Fresh Bits
As soon as the parts are disassembled, run them under warm water. For most juicers, this immediate rinse will wash away a significant amount of the fresh pulp and juice residue, making the subsequent scrubbing much easier. If you're cleaning right after juicing, you'll be surprised how much comes off with just water.
Scrubbing Those Tricky Parts: Filter, Strainer, and More
This is where the real cleaning happens, especially for the filter or strainer, which is usually the most challenging part. Use your stiff brush and warm, soapy water to gently but thoroughly scrub the mesh. You need to get into every tiny opening to dislodge any stuck-on bits.
For areas around seals or tight crevices, your old toothbrush is your best friend.
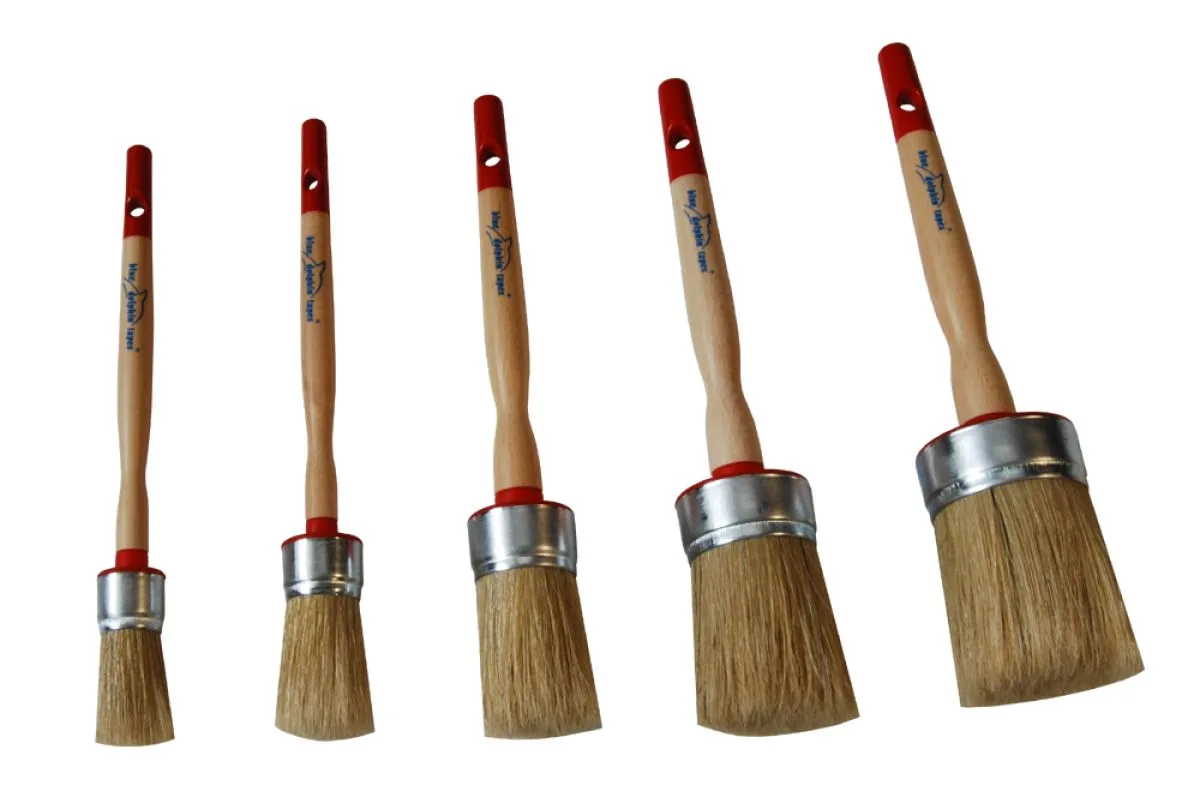
Image source: Web (Bing) / polbud.co.uk (Web image (fair-use with source credit))
Wiping Down the Body and Exterior
The main body of the juicer usually just needs a wipe-down. Use a soft cloth or sponge dampened with warm, soapy water. Be very careful to avoid getting water into any electrical outlets or openings on the motor base.
For stubborn exterior spots, a gentle cleaner can be used, but always follow up with a damp cloth to remove residue.
Drying Every Single Piece
This step is absolutely critical and often overlooked. Ensure every single part of your juicer is completely dry before you reassemble it or put it away for storage. You can use a clean kitchen towel or allow the parts to air dry thoroughly, preferably on a drying rack so air can circulate around them.
Any lingering moisture can lead to mold and mildew.
Avoiding Common Juicer Cleaning Mistakes
Even with the best intentions, a few common slip-ups can make juicer cleaning more frustrating or less effective. Being aware of these can save you time and prevent potential issues down the line.
Stains, Mold, and the Consequences of Neglect
The most significant mistake is delaying cleaning. Leaving pulp and juice to dry on juicer parts for extended periods, especially overnight, can lead to stubborn stains that are incredibly difficult to remove. Furthermore, this moist, organic environment is an ideal breeding ground for mold and bacteria.
Aggregate user reviews frequently mention that a juicer left uncleaned for days can develop unpleasant odors and unsightly mildew, compromising the hygiene of future juices.
Not Drying Parts Completely
Another frequent error is failing to dry all juicer components thoroughly before reassembly or storage. While a quick wipe might seem sufficient, residual moisture trapped in crevices or around seals can lead to the growth of mold and bacteria. Manufacturer specifications consistently recommend complete drying to prevent these issues and maintain the appliance's sanitary condition.
This is especially true for the filter basket and the chute area.
Expert Tips for Stubborn Juicer Messes
Sometimes, despite your best efforts, a few bits of produce cling stubbornly to your juicer parts, or you notice slight discoloration. Don't panic; there are a few advanced techniques and common remedies that can help tackle these tougher cleaning challenges without resorting to harsh chemicals.
- Baking Soda Paste: For minor stains or sticky residue on plastic parts, a paste made from baking soda and a little water can be very effective. Apply the paste to the affected area, let it sit for about 10-15 minutes, and then gently scrub with your brush. Rinse thoroughly afterward. This is a mild abrasive that usually lifts stains without scratching.
- Lemon Juice Soak: For slightly more persistent discoloration, especially on stainless steel components, a short soak in lemon juice can sometimes help. The natural acidity of lemon juice can break down certain residues. Be sure to rinse extremely well afterward to avoid any lemony taste in your juice.
- Vinegar Solution (Use with Caution): For truly stubborn buildup, a diluted white vinegar solution can be used. Mix equal parts white vinegar and water. Soak the problematic parts for no more than 15-20 minutes, then scrub and rinse exceptionally well. However, always check your juicer's manual first, as some manufacturers advise against using vinegar on certain materials. Its acidity can sometimes degrade seals or plastics over time.
Juicer Cleaning Safety First
When you're working with any kitchen appliance, safety should always be at the forefront. Juicers, especially those with motors, have specific safety considerations that are important to follow to prevent injury or damage to the appliance itself.
- Always Unplug: Before you start any cleaning process, ensure your juicer is unplugged from the power outlet. This is non-negotiable. It prevents accidental startup, which could cause serious injury, particularly when your hands are wet or near moving parts.
- Water and Electricity Don't Mix: Be extremely cautious around the motor base. Never immerse the motor unit in water or any other liquid. Use only a damp cloth to wipe down the exterior of the base, and ensure no liquid seeps into any vents or openings. Per standards set by organizations like Underwriters Laboratories (UL), electrical appliances require careful handling around water.
- Handle Sharp Parts Carefully: The cutting mechanism or blades in some juicers can be very sharp. Always handle these parts with care, using a brush to clean them rather than your fingers whenever possible.
- Read Your Manual: While these are general guidelines, always refer to your specific juicer's user manual. Manufacturer documentation provides precise instructions and warnings tailored to your model, which is the most authoritative source for safe operation and cleaning.
Frequently Asked Questions About Juicer Cleaning
How long does it usually take to clean a juicer?
Cleaning a juicer typically takes between 5 to 10 minutes if done immediately after use. If residue has dried and hardened, it could take longer, potentially 15 to 20 minutes, depending on the juicer's design and how long the material has been left.
Can I put juicer parts in the dishwasher?
Some juicer parts are dishwasher-safe, but not all of them. It's crucial to check your juicer's manual. Often, filters, pulp containers, and juice cups can go on the top rack, but the motor base and sometimes delicate strainers should only be hand-washed to prevent damage.
How often should I deep clean my juicer?
Beyond the immediate post-use rinse and scrub, a deeper clean once a week or every few uses is recommended, depending on how frequently you juice. This involves more thorough scrubbing and ensuring all parts are completely dry before reassembly. For those who juice daily, a weekly deep clean is advisable.
What if my juicer manual is lost?
If you've misplaced your juicer's manual, most manufacturers have them available for download on their official websites. Searching for your juicer's model number on the manufacturer's site is usually the best way to find this essential documentation.