How to Use a Juicer

Image source: Bing (Web (fair-use with source credit))
So, you're curious about how to use a juicer to unlock fresh, vibrant flavors and a boost of nutrients? It's simpler than you might think, and getting it right means delicious juice without the hassle. The key is understanding that your juicer's type dictates the best approach for prep, operation, and cleanup.
Our research confirms that mastering juicer use involves a few core steps, but the specifics vary. For instance, manufacturer specifications indicate that some models can handle produce up to 3 inches in diameter, while others require smaller pieces. Following a clear workflow ensures you get the most out of your machine and your ingredients.
Quick Answer
To use a juicer, prep your produce by washing and cutting it into chute-sized pieces. Assemble the juicer securely, then feed ingredients steadily. Clean the machine immediately after use to prevent pulp buildup.
Understanding Your Juicer Type: Centrifugal vs. Masticating
The way you operate a juicer depends heavily on its internal mechanics, which fall into two main categories: centrifugal and masticating. Each type extracts juice differently, affecting everything from preparation needs to the final juice quality. As of 2026, these remain the dominant technologies, each with distinct advantages for different users and produce.
Centrifugal Juicers
These machines are known for their speed. They work by using a motor to spin a basket containing a sharp blade at high RPMs. This centrifugal force shreds the produce, then flings the juice through a fine mesh sieve, separating it from the pulp.
Because they operate quickly, they can generate a bit more heat, which some believe can degrade certain nutrients. They are generally easier to use for beginners and handle harder fruits and vegetables effectively.
- How they work: High-speed blade shreds produce, centrifugal force separates juice.
- Best for: Apples, carrots, celery, beets, ginger.
- Pros: Fast, often less expensive, wider chutes typically.
- Cons: Can be noisy, juice may foam more, less efficient for leafy greens, potential for slight nutrient degradation due to heat.
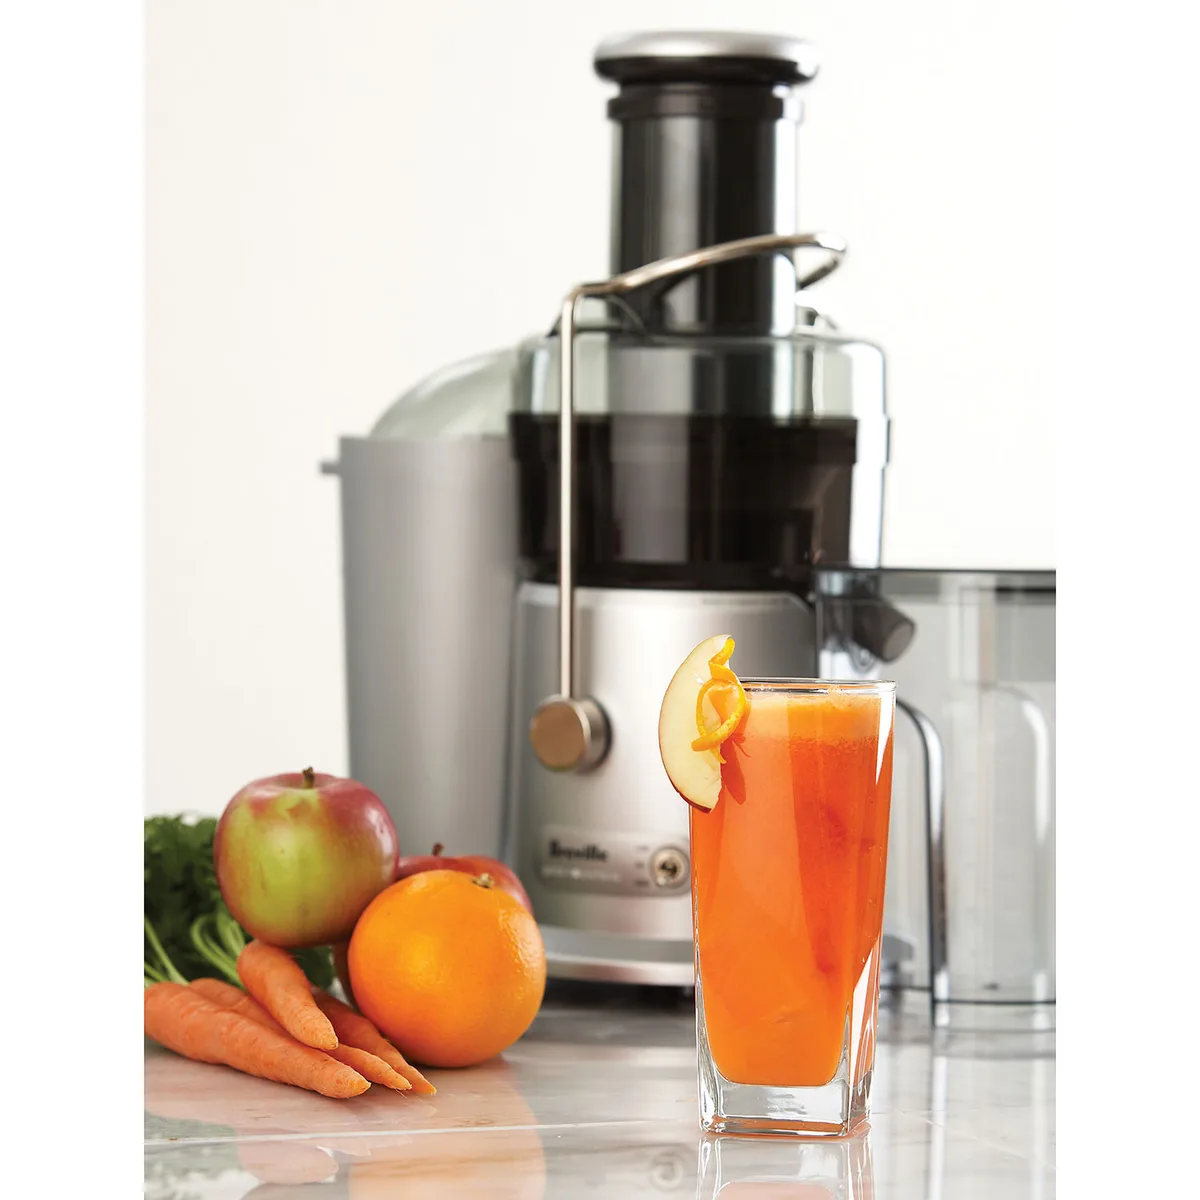
Image source: Bing (Web (fair-use with source credit))
Masticating Juicers
Also called slow juicers, these machines operate at much lower speeds, typically between 40-110 RPM. Instead of shredding, they use an auger (a screw-like mechanism) to crush and press produce against a screen, slowly squeezing out the juice. This gentler process minimizes heat and oxidation, often resulting in a higher yield of juice with more nutrients and a smoother texture.
They excel at juicing leafy greens, wheatgrass, and softer fruits, though they can also handle harder items.
- How they work: Slow-speed auger crushes and presses produce.
- Best for: Leafy greens (kale, spinach, wheatgrass), herbs, soft fruits, nuts (for nut milk), and also harder produce.
- Pros: Higher juice yield, less oxidation, quieter operation, better for leafy greens, more versatile.
- Cons: Slower juicing process, often more expensive, chutes may be narrower requiring more prep.
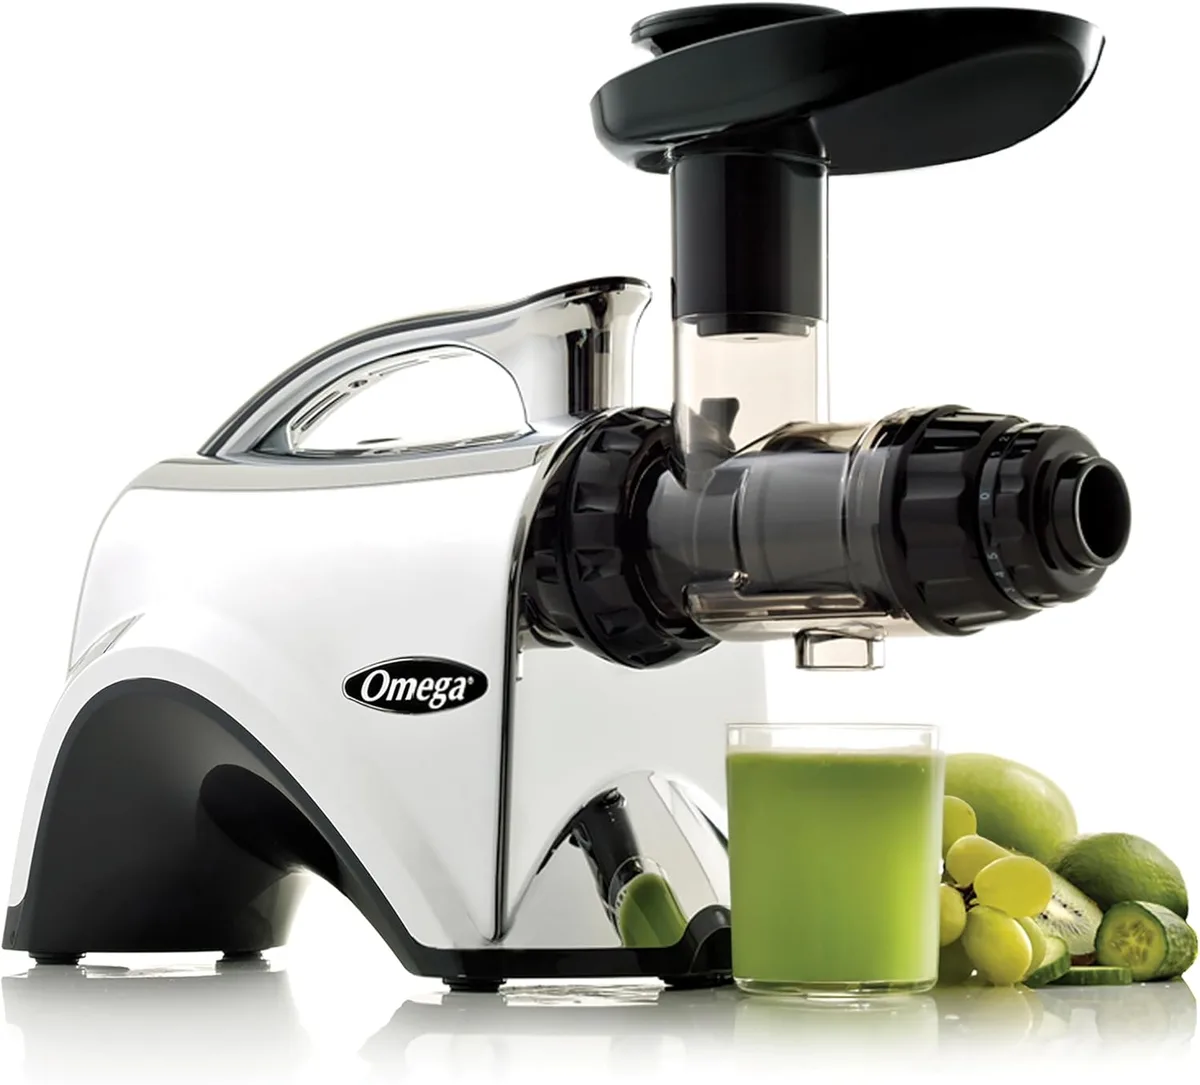
Image source: Bing (Web (fair-use with source credit))
Preparing Your Produce for Juicing
Getting your fruits and vegetables ready is a crucial step that directly impacts the efficiency and quality of your juice. The amount of prep needed can vary based on your juicer type, but some fundamental rules apply to all. Proper preparation ensures your machine runs smoothly and you extract the maximum flavor and nutrients from your ingredients.
Washing and Initial Prep
Thoroughly washing all produce is non-negotiable. This removes dirt, pesticides, and other residues. For most fruits and vegetables, a good rinse under cool running water is sufficient.
If you're concerned about wax on items like apples or cucumbers, you can use a produce brush to scrub them clean.
- Rinse: Always wash produce under cool water.
- Scrub: Use a brush for waxy items like apples or carrots.
- Dry: Lightly pat produce dry with a clean towel before juicing.
Specific Ingredient Handling (Pits, Seeds, Rinds)
Certain parts of fruits and vegetables can damage your juicer, create bitter flavors, or simply not yield juice. Always remove pits from stone fruits like peaches, plums, and cherries. Similarly, remove large seeds from fruits like melons and papayas.
For citrus, peeling is generally recommended, especially for lemons and grapefruits, as the rind contains bitter oils that can overpower the juice. While some juicers can handle small seeds from berries or grapes, check your manual to be sure. For items with tough or thick rinds, like pineapples or some squash, removing the rind prevents strain on the motor.
- Pits: Remove from all stone fruits.
- Large Seeds: Remove from melons, papayas, etc.
- Citrus Rinds: Peel to avoid bitterness (especially lemons, grapefruits).
- Tough Rinds: Remove from pineapple, melon, etc.
The Juicing Process: From Start to Finish
Once your ingredients are prepped and you know your juicer type, it's time to get juicing. The actual process is straightforward, but paying attention to a few details makes all the difference in achieving smooth operation and great results. Consistency in feeding and assembling correctly are key to avoiding common hiccups.
Assembling Your Juicer
Before you even think about turning on the machine, ensure it's correctly assembled. This typically involves placing the base, the juicing bowl or chamber, the strainer or basket, and the pulp collector in their designated spots. Most juicers have safety interlock mechanisms that prevent them from operating if not assembled properly.
Always consult your juicer's manual to confirm the correct order and secure fit of all components. A properly assembled juicer is vital for both safety and efficient juice extraction.
Feeding Ingredients and Running the Machine
This is where your juicer type comes into play most significantly.
- For Centrifugal Juicers: Turn the juicer ON before you start feeding produce into the chute. Once it's running at full speed, begin gently pushing your prepped fruits and vegetables down the chute with the provided pusher. Avoid forcing ingredients too quickly, which can overwhelm the motor and create unnecessary foam. The high-speed spinning action will do the work.
- For Masticating Juicers: Turn the juicer ON before feeding. Then, feed your prepped ingredients into the chute at a steady pace. For leafy greens, it's often beneficial to bunch them together or alternate them with harder produce like apples or carrots. This helps the auger grab and pull the greens through effectively, preventing them from getting stuck. Allow the slow-pressing action to extract the juice.
Managing Pulp and Collecting Juice
As you juice, your machine will separate pulp from liquid. Pay attention to the pulp collector and juice container. If the pulp bin becomes too full, it can cause the juicer to clog or back up, leading to a mess.
Similarly, ensure the juice container is positioned correctly to catch all the liquid. For optimal freshness, most experts recommend juicing only what you plan to drink immediately. Juice that sits for too long can lose nutritional value due to oxidation.
- Pulp Bin: Empty when two-thirds full to prevent jams.
- Juice Container: Ensure it's properly placed for maximum collection.
- Immediate Consumption: Fresh juice is best enjoyed within 24 hours for peak nutrition.
Cleaning Your Juicer: The Key to Longevity
Cleaning your juicer promptly after each use is perhaps the most critical step for its longevity and your ongoing enjoyment. Dried-on pulp and juice residue can become incredibly difficult to remove, potentially damaging components or affecting future performance. A quick clean-up routine saves you a lot of frustration down the line and ensures your juicer remains hygienic.
Immediate Rinsing
The moment you finish juicing, disassemble your juicer. Take each part, the chute, strainer, pulp collector, juice spout, and any other removable pieces, and rinse them thoroughly under cool running water. For centrifugal juicers, pay special attention to the sieve or mesh basket where pulp tends to cling.
For masticating juicers, the auger and screen need careful attention. This initial rinse removes the bulk of the residue before it has a chance to dry and harden.
Deep Cleaning Methods
For more stubborn bits or a deeper clean, use a soft brush (many juicers come with one specifically for this purpose) and a little mild dish soap. Gently scrub any lingering pulp or juice stains. If your juicer's parts are listed as dishwasher-safe in the manual, you can use that option, but hand-washing is often more effective for thoroughly cleaning intricate parts like the mesh strainer.
After washing, allow all components to air dry completely on a rack or clean towel before reassembling. Proper drying prevents mold and mildew, ensuring your juicer is ready for its next use.
Common Juicing Mistakes to Avoid
Even with the best intentions, some common slip-ups can turn your juicing experience from delightful to difficult. Understanding these potential pitfalls can help you sidestep frustrations and ensure you're getting the best possible juice. Avoiding these errors also protects your juicer's motor and components.
Over-Processing Ingredients
This usually applies to masticating juicers. If you repeatedly push ingredients through the auger without letting it grind and extract, you can overwork the motor. Similarly, for both types, trying to juice items that are too large for the chute can cause strain.
Always cut produce into appropriately sized pieces that fit comfortably into the feed chute. Manufacturer specifications often provide guidance on maximum ingredient sizes for optimal performance.
Forcing Produce Too Fast
Whether you have a centrifugal or masticating juicer, forcing produce down the chute too aggressively is a mistake. Centrifugal juicers are designed for steady feeding; pushing too hard can cause the motor to overheat or the pulp ejection to become less efficient. With masticating juicers, forcing can jam the auger or even damage the gears.
A gentle, consistent pace allows the machine's mechanism to work effectively, yielding more juice and less strain on the motor.
Neglecting Immediate Cleanup
As mentioned, delaying cleanup is a major mistake. Dried-on pulp and juice are extremely difficult to remove, requiring excessive scrubbing that can damage delicate parts like the mesh strainer. It can also lead to the growth of mold or bacteria within the machine.
The best practice, confirmed by aggregated user feedback, is to disassemble and rinse all parts immediately after you finish juicing. This makes cleaning a quick, five-minute task rather than a lengthy chore.
Expert Tips for Better Juicing
Achieving consistently delicious and nutrient-rich juice involves more than just following the basic steps. Our research indicates that simple tweaks in ingredient selection and combination can significantly enhance your juicing results. Paying attention to how different produce interacts within the juicer also helps optimize yield and flavor.
Ingredient Combinations
When it comes to mixing fruits and vegetables, think about balance. Pairing sweet fruits like apples or pears with more neutral or slightly bitter greens can create a well-rounded flavor profile. For instance, a combination of spinach, cucumber, and a green apple provides hydration and a touch of sweetness.
If you find your juice too tart, adding a bit more sweet fruit can help. Conversely, too much sweet fruit might make the juice overly sugary, so balancing with a neutral vegetable like celery or cucumber is a good strategy.
- Sweetness Balance: Pair sweet fruits (apples, pears) with leafy greens (spinach, kale) or hydrating vegetables (cucumber, celery).
- Flavor Enhancement: Add a small piece of ginger or a slice of lemon to boost zestiness.
- Avoid Over-Mixing: Don't overload the juicer with too many different types of produce at once; this can sometimes muddy flavors.
Optimizing Leafy Green Juicing
Leafy greens, like kale, spinach, and wheatgrass, are nutritional powerhouses but can be tricky to juice, especially in centrifugal models. For masticating juicers, it’s highly effective to roll greens into a tight ball or a long log before feeding them into the chute. This helps the auger grab them and pull them through the machine efficiently.
If you're using a centrifugal juicer, bunching greens together and feeding them with a harder fruit or vegetable can help push them through the blades. Some users find that a quick rinse of leafy greens before juicing helps them slide through more easily.
- Masticating Juicers: Roll greens into a tight ball or log. Alternate with harder produce.
- Centrifugal Juicers: Bunch greens together and feed with a firm fruit or vegetable.
- Tip: Some users report that a very light rinse of greens can aid smoother feeding.
Frequently Asked Questions About Juicing
How long does setup take?
Setup typically takes between 2 to 5 minutes, depending on your juicer model and your familiarity with its parts. Ensuring all components are correctly locked into place is the most important step for safety and operation.
Can I juice frozen fruits?
Generally, it's not recommended to juice frozen fruits in most standard juicers. The ice can strain the motor and damage the blades or auger. If you want a frozen treat, it’s better to use a blender for smoothies.
How much juice can I expect from my produce?
Juice yield varies greatly by produce type and juicer efficiency. For instance, hard fruits like apples typically yield around 75-85% juice by weight. Leafy greens can be less efficient, especially in centrifugal models, sometimes yielding 30-50% juice depending on freshness and the juicer's capability.
What if my juicer seems to be struggling or making strange noises?
If your juicer starts to struggle or makes unusual noises, stop the machine immediately. This usually indicates a jam or that you're trying to process something too hard or too large for the machine. Check the chute and internal components for blockages.
Always refer to your manufacturer's manual for specific troubleshooting steps related to motor strain.