How to Winterize an Ice Maker
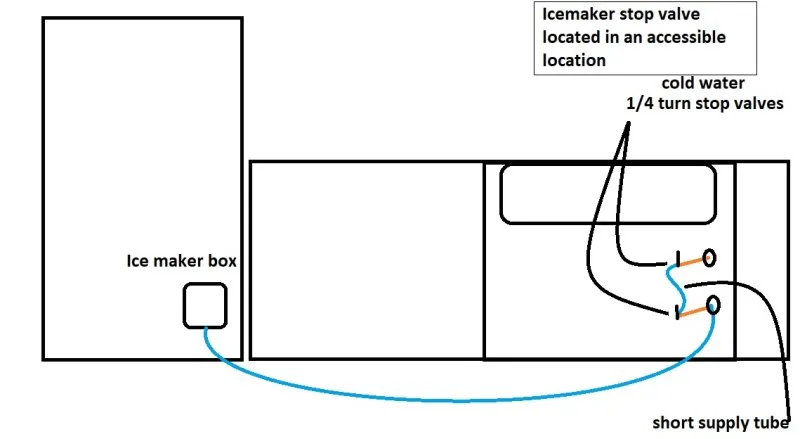
Image source: Bing (Web (fair-use with source credit))
When the temperatures drop and winter arrives, it's crucial to protect your appliances from the cold. If you've ever wondered how to winterize an ice maker, especially one you won't be using for a few months, you're in the right place. Skipping this simple but vital step can lead to cracked components and costly repairs down the line.
Proper winterization prevents water from freezing inside your ice maker's delicate internal systems, which can cause significant damage. Manufacturer specifications for many residential ice makers, particularly those exposed to potential freezing, recommend a thorough draining process if the unit will be inactive below 32°F (0°C) for an extended period. Failing to prepare your unit can turn a minor inconvenience into a major repair bill.
Quick Answer
To winterize an ice maker, you'll need to disconnect the water supply, drain all water from the unit and its lines, clean the ice bin, and ensure power is off. The specific steps vary depending on whether your ice maker is part of a refrigerator, a separate indoor unit, or an outdoor model, with outdoor units requiring more thorough attention to freezing risks. Always follow manufacturer guidelines for your specific model.
Why Winterize Your Ice Maker? Dangers of Freezing Temperatures
Leaving an ice maker exposed to freezing temperatures without proper preparation is a recipe for disaster. Water expands as it freezes, and this expansion can exert immense pressure on the internal components of your ice maker. This pressure can lead to cracks in water lines, pumps, valves, and even the ice bin itself.
These aren't minor issues; they can result in leaks that cause water damage to your flooring, cabinets, or even the structure of your home.
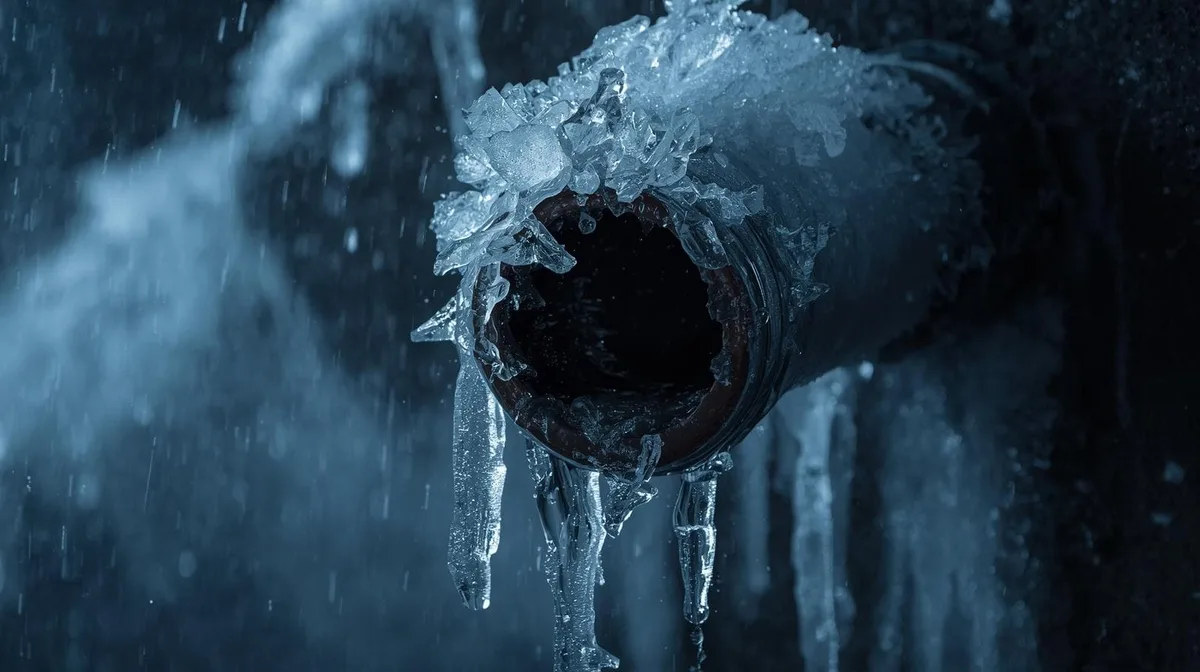
Our research indicates that a single burst water line from a frozen ice maker can release gallons of water per minute, leading to thousands of dollars in repairs for water damage. Beyond the immediate physical damage, freezing can also compromise the seals and connections within the ice maker, leading to persistent leaks even after thawing. This is particularly true for commercial ice makers or those installed in unheated garages or seasonal properties where temperatures can plummet well below freezing for extended periods.
Is Your Ice Maker Indoor or Outdoor? Understanding the Difference
Before you start, the most important thing to figure out is where your ice maker lives. This single factor dictates the intensity of the winterization process you’ll need. Is it tucked away inside your kitchen refrigerator, or is it a standalone unit in your bar, basement, or even outdoors on a patio?
- Refrigerator Ice Makers: These are usually the simplest to deal with. They're located within a temperature-controlled environment, so the primary risk is if the refrigerator itself is turned off and placed in a freezing space, or if a power outage leaves it vulnerable.
- Separate Indoor Ice Makers: Think under-counter units in kitchens or dedicated ice machines in basements or home bars. These are still protected from the harshest elements but might be in less consistently heated areas, like a garage or unfinished basement, increasing their risk.
- Outdoor or Commercial Ice Makers: These are the most vulnerable. Exposed to ambient temperatures, they are prime candidates for freezing if not properly winterized. Commercial units, often used year-round, need specific shutdown procedures if they’re to be left inactive during cold months.
How to Winterize: The Decision Tree for Your Ice Maker
Winterizing your ice maker isn't a one-size-fits-all job. The right approach depends entirely on the type and location of your unit. Let's break down the process based on whether you have a refrigerator ice maker, a separate indoor unit, or an outdoor machine.
Branch 1: Indoor Refrigerator Ice Maker Steps
If your ice maker is part of your refrigerator, winterizing primarily means protecting it if the entire unit is being shut down or moved to a cold space.
- Disconnect Water Supply: Locate the water line connecting to the refrigerator. It’s usually a thin plastic or copper tube. Turn off the water shut-off valve that feeds this line. If there's no valve, you may need to shut off the main water supply to your house temporarily.
- Empty the Ice Bin: Remove the ice bin and empty any remaining ice. Wash and dry the bin thoroughly.
- Run the Ice Maker Briefly (Optional but Recommended): If the refrigerator is still powered on, allow the ice maker to run for a cycle or two to flush out any residual water from the internal mechanism.
- Turn Off Ice Maker Function: Most refrigerators have a switch or setting to disable the ice maker. Consult your refrigerator’s manual to find this.
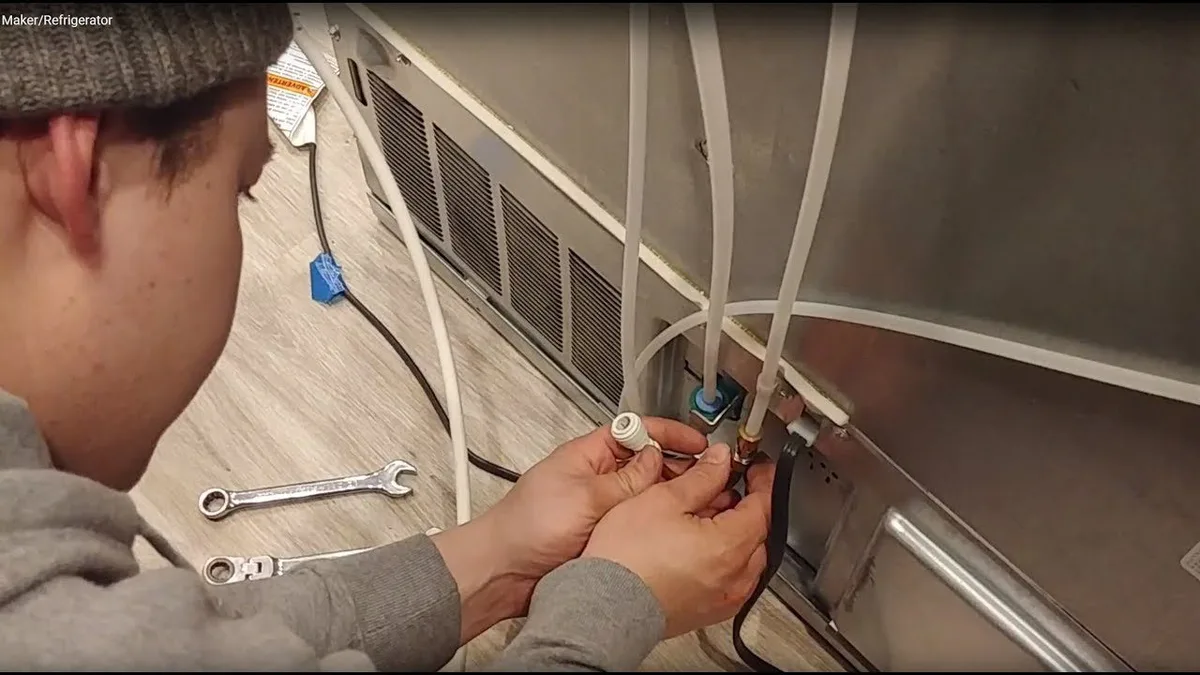
- Disconnect Refrigerator Water Line: Once the water is off, disconnect the water line from the back of the refrigerator. Have a towel ready, as a small amount of water may drip out.
- Ensure Refrigerator is Off: If you're shutting down the refrigerator entirely, unplug it. Make sure the location it's stored in will not freeze.
Branch 2: Separate Indoor/Undercounter Ice Maker Steps
These units require a bit more direct attention, as they are dedicated appliances.
- Disconnect Power: Unplug the ice maker from its electrical outlet.
- Turn Off Water Supply: Locate the water shut-off valve feeding the ice maker and turn it off. This is crucial for preventing leaks and freezing.
- Remove Ice and Clean: Empty the ice bin and clean the entire interior of the ice maker with a mild detergent and water. Dry thoroughly with a clean cloth. This prevents mold and mildew growth.
- Drain Water Lines:
- Water Inlet Line: Disconnect the water line from the back of the ice maker. Position a bucket or towel underneath to catch any residual water. Allow the line to drain completely.
- Drain Line: For units with a drain pump, you'll need to disconnect the drain line and ensure it's also completely emptied of water. Some units have a drain plug you can remove; check your manual.
- Purge Lines (Optional but Recommended): For added protection, especially if the unit is in a location prone to significant temperature drops, some manufacturers suggest using a small air compressor to gently blow out any remaining water in the lines. Use low pressure to avoid damage.
- Cover the Unit: Once completely dry, cover the ice maker with a breathable fabric cover to protect it from dust.
Branch 3: Outdoor/Commercial Ice Maker Steps
For units exposed to the elements or larger commercial machines, winterization is critical to prevent severe damage. These machines are built for durability but aren't designed to withstand freezing water.
- Disconnect Power and Water: First, shut off the power supply to the ice maker. Then, locate and turn off the main water supply valve feeding the unit.
- Drain Ice Bin and Interior: Remove all ice and thoroughly clean the ice bin and all internal surfaces. Dry everything completely with clean cloths.
- Drain Water Lines: This is the most crucial step. You'll need to disconnect both the water inlet line and the drain line. For units with a drain pump, ensure it’s completely emptied. Many outdoor units have a specific drain plug; remove it and let gravity do the work.
- Purge Lines with Air: To guarantee all water is out, use a low-pressure air compressor to blow out both the inlet and drain lines. Aim the air to push any residual water towards the disconnected ends. Never use high pressure, as this can damage seals and internal parts.
- Protect Components: If possible, remove and store smaller components like the ice bin and filter cartridges indoors in a dry, temperature-controlled environment.
- Cover the Unit: Use a heavy-duty, weather-resistant cover to protect the entire unit from snow, ice, and debris. Ensure the cover is secured to prevent wind from lifting it.
Essential Tools and Supplies for Ice Maker Winterization
Having the right gear on hand makes winterizing your ice maker a smooth operation, not a frustrating one. You don't need a full toolbox, but a few key items will make the job much easier and cleaner. It's always best to check your specific ice maker's manual for any unique requirements, but this list covers most scenarios.
Here’s a rundown of what you’ll likely need:
- Towels or Rags: Plenty of absorbent towels are essential for catching drips and drying components. Old t-shirts or shop rags work great.
- Bucket: A small to medium-sized bucket is needed to catch water when disconnecting lines.
- Adjustable Wrench or Pliers: For loosening and tightening fittings on water lines.
- Screwdriver Set: Some ice makers may have panels or components secured with screws.
- Mild Detergent and Cleaner: For cleaning out the ice bin and interior.
- Dry Cloths or Microfiber Towels: For thoroughly drying all surfaces.
- Small Air Compressor (Optional): Useful for purging water from lines, especially for outdoor or commercial units, but use with caution and low pressure.
- Water Line Plugs (Optional): If you want to ensure no air gets into the system and prevent potential minor leaks upon re-activation.
- Breathable Cover: To protect the unit from dust while it’s in storage.
Remember to consult your ice maker's user manual. It will often list specific tools or parts recommended by the manufacturer for preparation and storage.
Common Winterizing Mistakes to Sidestep
Even with the best intentions, a few common missteps can undermine your winterization efforts, leading to trouble when spring rolls around. Avoiding these pitfalls is just as important as performing the steps correctly. Our analysis of user feedback and common service calls highlights these recurring errors.
- Not Draining Completely: This is the biggest one. Leaving even a small amount of water in the lines or pump can freeze and cause cracks. Always double-check that all water has been removed.
- Ignoring the Drain Line: Many people focus solely on the water inlet line. However, the drain line can also hold water and freeze, potentially causing damage or blockages.
- Leaving Power On: If the unit is in a freezing environment, leaving it plugged in won't prevent freezing and could even damage the compressor if the internal temperature drops too low. Always disconnect power.
- Not Cleaning Thoroughly: A dirty ice bin or interior can harbor mold and mildew over a long storage period. A quick clean-out prevents unpleasant odors and unsanitary ice come spring.
- Forgetting the Water Shut-Off Valve: Failing to turn off the main water supply valve before disconnecting can lead to a surprise flood. Always confirm the valve is fully closed.
- Using Too Much Air Pressure: If you opt to purge lines with air, use very low pressure. High pressure can damage seals and internal components.
Quick Tips for Spring Re-activation
When the weather warms up, getting your ice maker back online should be straightforward if you winterized it properly. The key is a methodical re-introduction of water and power.
- Inspect the Unit: Before reconnecting anything, give your ice maker a visual once-over. Look for any signs of damage that might have occurred during storage.
- Reconnect Water Line: Reconnect the water supply line to the unit.
- Turn On Water Supply: Slowly open the water shut-off valve. Check immediately for any leaks at the connection points.
- Check for Leaks: Let the unit fill with water. Watch closely for any drips or seepage from the connections or the machine itself.
- Turn On Power: Plug the ice maker back in and turn on its power switch.
- Discard First Few Batches: Run the ice maker for at least two or three full cycles and discard all the ice produced. This flushes out any stagnant water or potential impurities from the system. Your ice maker should now be ready to produce clean, fresh ice.
Frequently Asked Questions About Ice Maker Winterization
How long does winterizing an ice maker typically take?
The time it takes depends on the type of ice maker and your experience. For a refrigerator ice maker, it might only take 15-30 minutes. A separate indoor unit could take 30-60 minutes.
Outdoor or commercial units, requiring more thorough draining and purging, might take 1-2 hours.
Can I just leave my ice maker plugged in if it's in a heated garage?
Yes, if your garage stays consistently above freezing, you can likely leave it plugged in and operational. However, it's still wise to check manufacturer recommendations, as extreme temperature fluctuations can still pose a risk even in a heated space.
What happens if I don't winterize my outdoor ice maker and it freezes?
If an outdoor ice maker freezes, you're likely looking at costly repairs. Water expansion can crack pipes, pumps, valves, and the ice bin. You'll probably need to replace damaged components, and sometimes the damage is extensive enough to require a full unit replacement.