How to Store an Ice Maker
Learning how to store an ice maker properly can save you significant hassle, preventing potential damage and ensuring it's ready to go when you need it next. Whether you’re stashing a portable unit for a few weeks or prepping a built-in for winter, the right technique matters. Ignoring these steps can lead to mold, unpleasant odors, or even costly repairs.
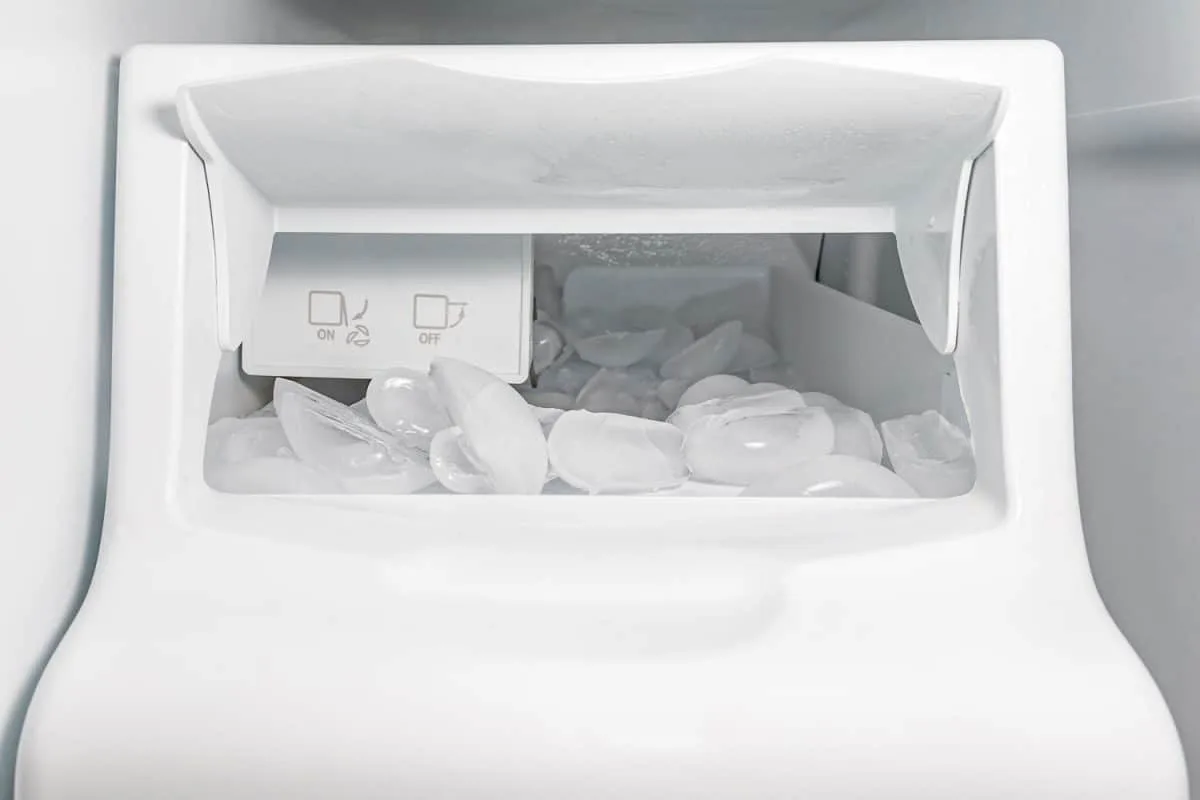
Image source: Bing (Web (fair-use with source credit))
Manufacturer specifications indicate that most ice makers are designed for continuous use, but proper shutdown and storage procedures are crucial for longevity. These guidelines, based on best practices and common appliance maintenance, will walk you through the process for different types of machines. We’ll cover everything from simple draining to more involved winterization techniques.
Quick Answer: When Does It Need Proper Storage?
If you won't use your ice maker for more than a few weeks, it needs proper storage. This means draining all water to prevent mold and mineral buildup, and cleaning it thoroughly. For built-in units, longer shutdowns require winterizing to protect water lines from freezing.
Draining Your Portable Ice Maker for Short Stays
Storing a portable ice maker for a few weeks is pretty straightforward, mainly involving removing all moisture and giving it a quick clean. This prevents any lingering water from becoming a breeding ground for bacteria or causing unpleasant smells when you power it back on.
Step 1: Power Down and Unplug
First things first: always unplug the ice maker from its power source. This is a safety precaution and ensures the unit is completely inactive. Don't rely on just switching it off; physically disconnect it from the wall outlet.
Step 2: Emptying the Water Reservoir
Locate the drain plug, typically found at the bottom or rear of the unit. You might need a small container to catch the water. If your model has a removable ice bin, take it out and empty any ice and water from that as well.
Ensure every last drop is removed to prevent stagnation.
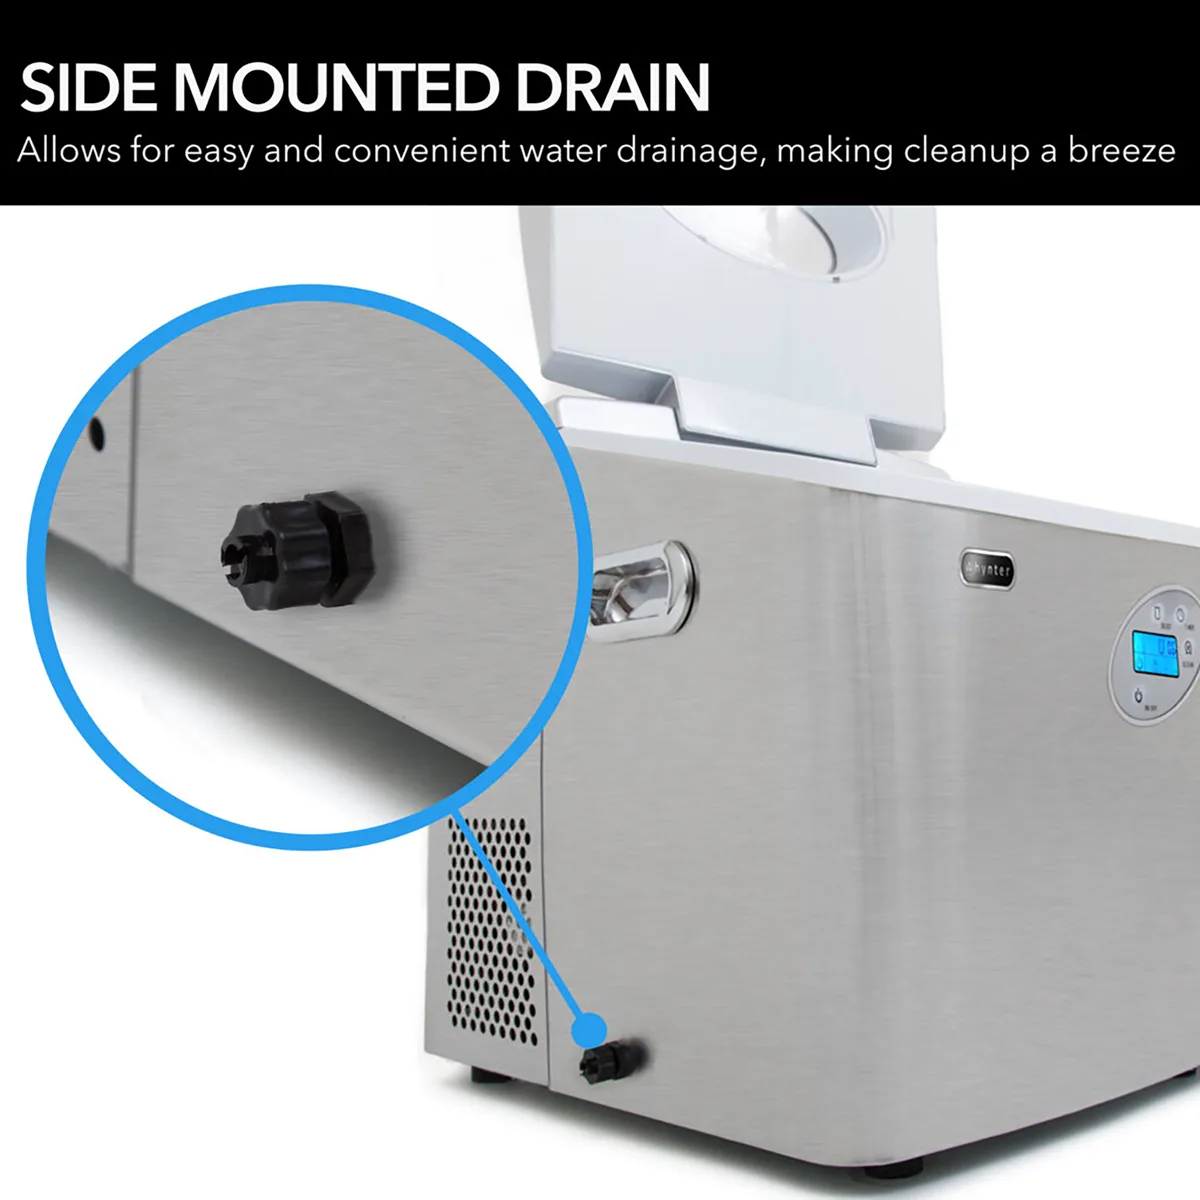
Image source: Bing (Web (fair-use with source credit))
Step 3: Wiping Down the Interior and Exterior
Use a soft, damp cloth to wipe down the inside of the ice maker and the ice bin. You can use a mild soap solution if necessary, but make sure to rinse thoroughly with a clean damp cloth afterward. Dry the exterior with a soft towel to prevent water spots.
Step 4: Air Circulation and Upright Storage
If your portable ice maker has a door or lid, leave it slightly ajar. This allows air to circulate freely, helping to dry out any residual moisture. Always store the unit in an upright position.
Storing it on its side could potentially damage internal components or cause oil to leak into the refrigerant system.
Long-Term Storage for Portable Ice Makers: Prepping for Months
When you need to store a portable ice maker for an extended period, say several months or more, you’ll want to add a few extra steps to ensure it stays in great condition. This is more than just draining; it’s about a deep clean and protecting it from the elements during its downtime. Proper preparation now means it’ll be as good as new when you need it again.
Thorough Cleaning and Descaling
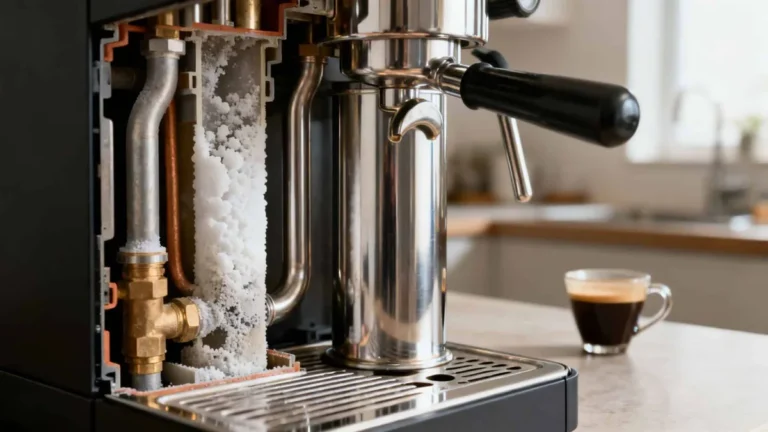
Before long-term storage, give your ice maker a more thorough cleaning. Follow your manufacturer’s recommended cleaning cycle, which usually involves a descaling solution to remove mineral deposits. These deposits can harden over time and affect performance.
After running the cleaning cycle, drain and wipe it down thoroughly again, ensuring no cleaning solution residue remains.
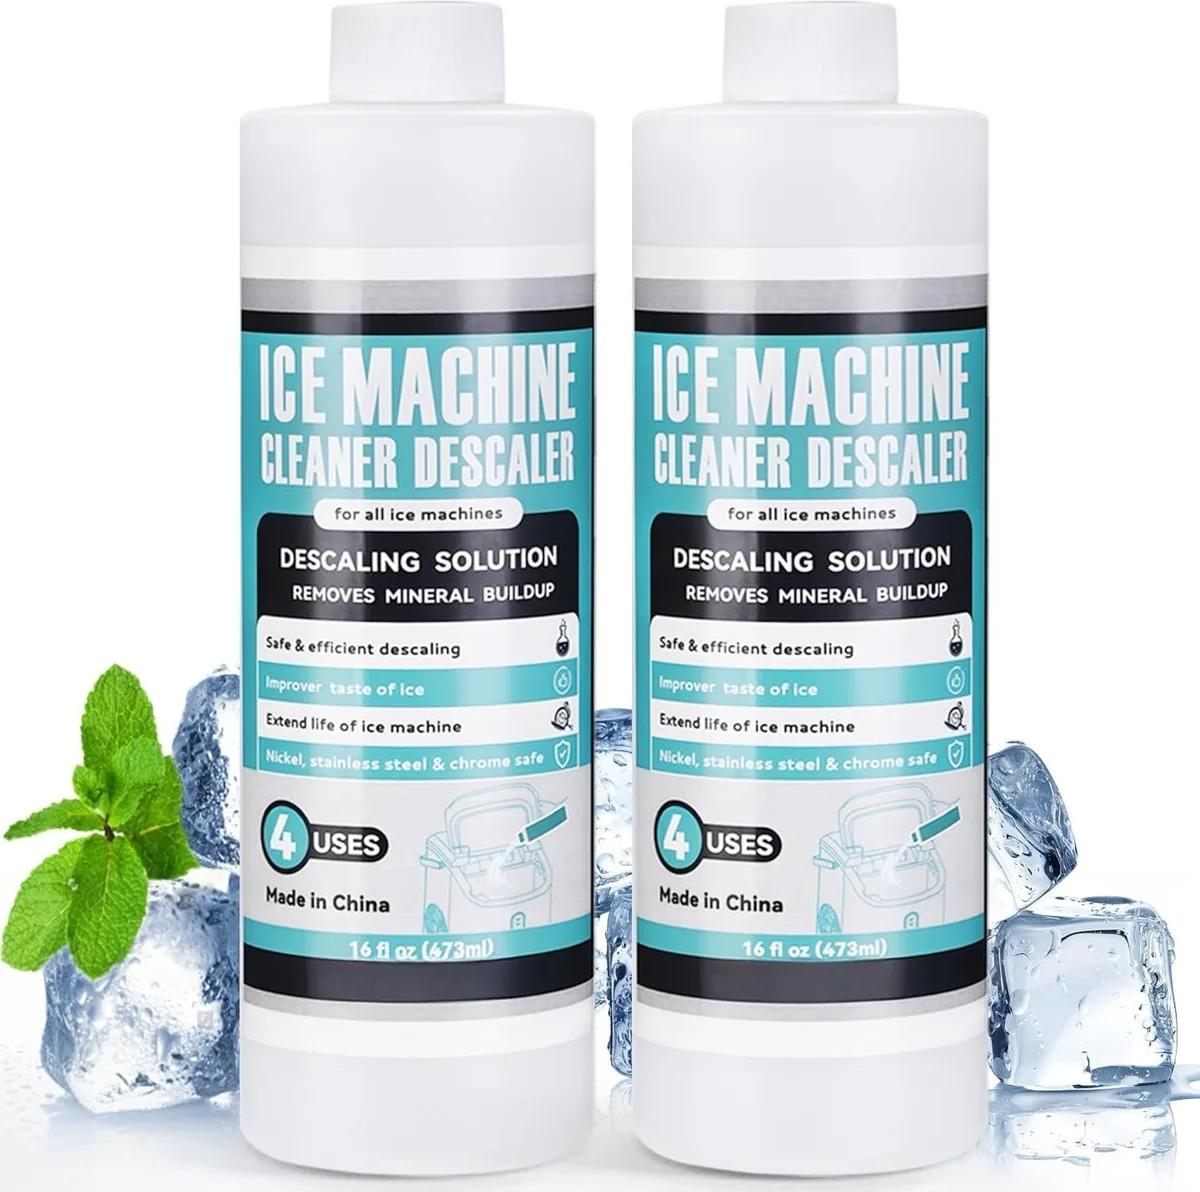
Image source: Bing (Web (fair-use with source credit))
Protective Packaging and Storage Environment
If you still have the original packaging, use it to store the ice maker. The fitted foam and cardboard box offer excellent protection against dust and physical damage. If you don't have the original box, wrap the unit in a clean, breathable cloth, avoid plastic wrap, which can trap moisture and lead to mildew.
Store it in a cool, dry, and stable environment. Avoid attics, uninsulated garages, or basements prone to extreme temperature fluctuations or high humidity. Aggregate user reviews indicate that climate-controlled storage units are ideal for extended periods.
Storing Built-In Ice Makers: The Winterizing Process
Storing a built-in ice maker, often integrated into your kitchen or home bar, requires a more detailed approach, especially if the area is subject to freezing temperatures. Winterizing is crucial to prevent water within the supply lines and the unit itself from freezing, expanding, and causing significant damage like cracked pipes or burst components. This process is best understood by following manufacturer specifications, but the general principles are consistent across many models.
Step 1: Shutting Down and Disconnecting Power
Begin by turning off the ice maker through its control panel and then unplugging it from the power source. Like portable units, ensuring it's completely powered down is the first safety step. For built-in models, this often means accessing a power switch behind the unit or at a dedicated breaker.
Step 2: Draining Water Lines and Internal Components
This is the most critical part of winterizing. You must remove all water from the supply line connected to the ice maker. This usually involves shutting off the main water valve supplying the unit and then disconnecting the water line.
Some manufacturers recommend using compressed air to blow out any residual water from the line and the machine’s internal passages, ensuring they are completely dry. This step is vital in regions where temperatures regularly drop below freezing.
Step 3: Water Filter and Accessory Removal
If your built-in ice maker uses a water filter, it’s essential to remove it before storage. Filters can trap moisture and potentially freeze or degrade. Discard the old filter; you’ll install a new one when you reactivate the machine.
Also, remove any separate ice storage bins or internal racks for separate cleaning and storage in a dry place.
Step 4: Protecting the Unit and Plumbing
Once drained and cleaned, cover the ice maker with a breathable cloth or dust cover to protect it from dust and debris. Crucially, ensure the disconnected water line is secured so it doesn't drip water onto your floor. If possible, insulate any exposed plumbing in the vicinity of the ice maker.
For those uncomfortable with plumbing, consulting a technician is a prudent step to ensure proper winterization.
Common Mistakes When Storing Ice Makers
Even with the best intentions, a few common slip-ups can turn stored ice makers into a source of frustration later. Avoiding these pitfalls is key to ensuring your appliance is in good shape when you decide to use it again. Many issues stem from rushing the process or not fully understanding the appliance's needs.
Forgetting to Drain
The most frequent mistake is failing to drain all the water from the ice maker and its components. Even a small amount of standing water can lead to mold, mildew, and foul odors. For built-in units, even less water can freeze and cause significant pipe damage, leading to expensive repairs.
Storing in the Wrong Location
Placing an ice maker in an environment with extreme temperatures or high humidity is a recipe for disaster. Garages, attics, and uninsulated basements often experience these fluctuations. Moisture trapped in these areas can encourage mold growth and damage internal electronics.
A stable, dry, and climate-controlled environment, as specified by most appliance manufacturers, is always best.
Neglecting the Water Lines (Built-ins)
For built-in ice makers, simply turning off the machine isn't enough. If the unit is in an area prone to freezing, the water supply line must be properly drained or protected. Failure to do so is a primary cause of burst pipes and water damage during colder months.
This is a critical step in the winterization process that cannot be skipped.
When to Call a Professional
While many storage tasks for portable ice makers are DIY-friendly, there are specific situations where professional help is highly recommended. For built-in units, especially during winterization, if you are not comfortable with plumbing or electrical work, it’s best to err on the side of caution. A qualified appliance technician can ensure all water lines are properly cleared, preventing freeze damage that could cost thousands to repair.
If your ice maker is making unusual noises, displaying error codes, or if you're simply unsure about a particular step in the shutdown or storage process, calling a pro can save you time, stress, and money in the long run.
FAQs About Storing Ice Makers
### How long can I store an ice maker?
You can store an ice maker for several months or even years if properly prepared. The key is ensuring it's completely drained, cleaned, and kept in a dry, climate-controlled environment to prevent moisture damage, mold, or component degradation.
### Do I need to remove the ice bin for storage?
Yes, for most portable and some built-in ice makers, removing and separately cleaning the ice bin is recommended for long-term storage. This ensures it's thoroughly dry and free of any residue that could develop odors or mold.
### Can I store an ice maker on its side?
No, you should always store an ice maker upright. Storing it on its side can cause internal lubricants to leak into the refrigerant system, potentially damaging the compressor and other vital components, leading to costly repairs.
### What happens if I don't drain my ice maker before storing?
If you don't drain your ice maker, especially in colder conditions, the remaining water can freeze and expand, potentially cracking internal components or supply lines. Even in warmer conditions, standing water can lead to mold, mildew, and unpleasant odors, compromising hygiene and usability.