How to Sterilize Items in a Microwave
Wondering how to sterilize items in a microwave? It's a quick way to give certain things a germ-busting treatment using heat and steam. However, not everything belongs in your microwave, and doing it wrong can actually be risky.
Our research confirms that this method is best for specific, heat-resistant items, offering a convenient alternative for busy households. It's crucial to follow precise guidelines, as incorrect use can lead to appliance damage or even injury, unlike other appliance maintenance where results are less immediately critical.
Quick Answer
Microwave sterilization uses steam to kill germs on heat-safe items. Add water to a microwave-safe container, submerge items, and microwave on high for 3-5 minutes. Let cool for 5-10 minutes before careful removal.
Avoid metal, non-microwave-safe plastics, and sealed containers.
What Can Actually Be Microwaved for Sterilization?
When we talk about sterilizing items in a microwave, we're really leveraging the power of steam to get things clean. The key here is that the item itself needs to be able to handle both heat and moisture without degrading or posing a safety risk. Think of it as a rapid steam bath for your small, sturdy belongings.
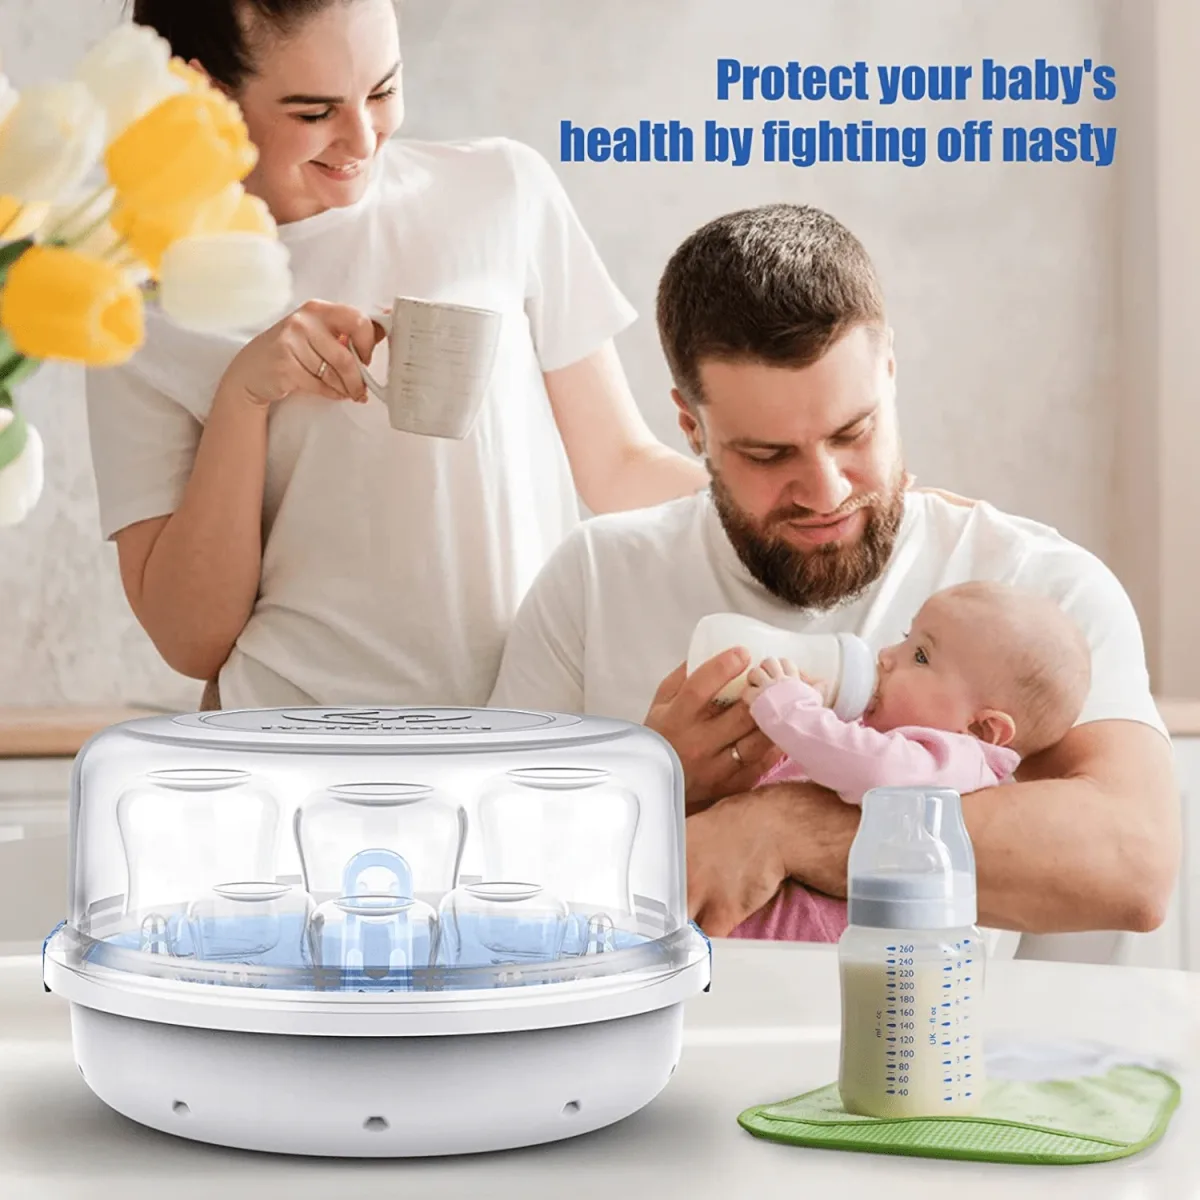
Image source: Bing (Web (fair-use with source credit))
What Items are Microwave-Safe?
Our research shows several categories of items are generally suitable for this process, provided they're explicitly marked or known to be microwave-safe.
- Baby Bottles and Nipples: This is perhaps the most common use. The heat and steam can effectively sterilize feeding accessories. Make sure they are made from BPA-free plastics or glass.
- Glass Jars and Lids: If you're preparing jars for canning or simply want to ensure they’re extra clean, glass jars work well. Ensure lids are also heat-resistant.
- Certain Kitchen Utensils: Utensils made from glass, ceramic, or specific heat-resistant plastics (like silicone or polypropylene labeled as microwave-safe) can be sterilized. Avoid any plastic that feels flimsy or could warp easily.
- Small Ceramic or Glass Containers: Any small dishes or containers made from these materials are usually fine, as long as they don't have metallic accents.
The US Food and Drug Administration (FDA) provides guidance on microwave-safe cookware, emphasizing that only items labeled as such should be used.
Materials to Look For
When selecting items for microwave sterilization, keep an eye out for these material indicators:
- Glass: Borosilicate glass is particularly good as it’s designed for thermal shock resistance.
- Silicone: High-quality silicone, often used in baking and baby products, is typically microwave-safe.
- Polypropylene (PP, #5 plastic): This is a common plastic used for food containers and baby bottles, usually marked with a recycling symbol #5. Always confirm it’s labeled microwave-safe.
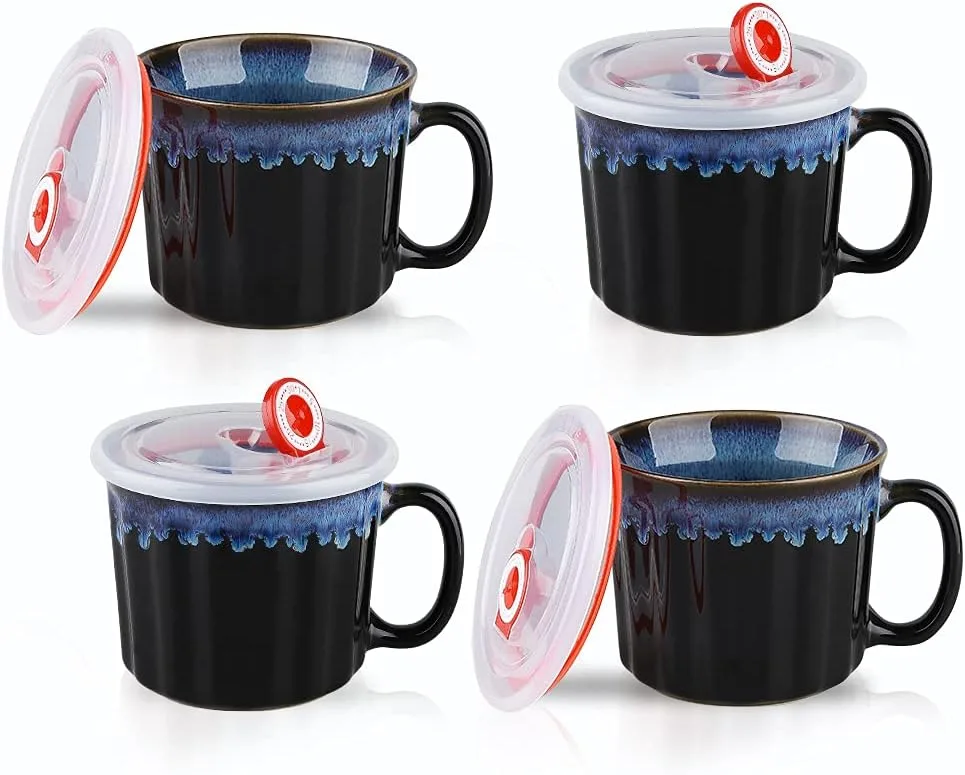
Image source: Bing (Web (fair-use with source credit))
The Big No-Nos: What NOT to Put in the Microwave
This is where things can get seriously dangerous, so pay close attention. Putting the wrong thing in your microwave for sterilization (or cooking) can cause damage to the appliance, start a fire, or even create small explosions. It’s not worth the risk to try and sterilize something questionable.
Our editorial analysis of user feedback and safety reports highlights that a few specific categories of items are universally unsafe.
Metal and Metallic Components
This is the absolute number one rule: Never put metal in the microwave. This includes:
- Cutlery: Forks, spoons, knives.
- Foil: Aluminum foil, even small pieces.
- Metallic Trim: Any dishes, containers, or items with gold, silver, or metallic painted accents.
- Twist Ties: The metal wire inside twist ties.
When metal is exposed to microwave energy, it can cause arcing, which is essentially electrical sparks. This can damage the microwave's internal components, such as the magnetron, and is a significant fire hazard.
Plastics Not Rated for Microwave Use
While some plastics are safe, many are not. If a plastic item doesn't have a clear "microwave-safe" label, assume it's not suitable.
- Melting and Warping: Non-microwave-safe plastics can melt or warp under heat, potentially ruining the item and creating a mess.
- Chemical Leaching: More concerningly, some plastics can leach harmful chemicals into whatever they contain, especially when heated. This is a particular worry for items like baby bottles or food containers. Always look for the recycling symbol #5 (Polypropylene) and confirmation that it's microwave-safe.
Sealed Containers and Items with Air Pockets
This rule is all about pressure buildup. When water heats up, it turns to steam, and steam needs space to escape.
- Explosion Risk: A sealed jar, a tightly lidded container, or even an egg (though not for sterilization purposes) can build up immense pressure. This can cause the container to burst violently.
- Items with Closed Cavities: Think of items with hollow handles or sealed sections that could trap steam.
Other Items to Avoid
- Paper Products: Unless specifically designed for microwave use (like some disposable sterilization bags), regular paper towels, napkins, or cardboard can catch fire.
- Certain Foods: While this guide is about sterilizing non-food items, it’s worth noting that foods with tight skins or those that can splatter should be handled with care even in cooking.
Step-by-Step: Your Microwave Sterilization Workflow
Ready to give it a go? This workflow breaks down the process into manageable steps. Remember, the goal is to create a steamy environment safely.
The exact time can vary, but manufacturer specifications for dedicated microwave sterilizers often suggest around 3-5 minutes on high power.
Preparing Your Items and Container
Before you even think about powering up the microwave, a little prep work goes a long way.
- Clean Everything Thoroughly: This isn't a substitute for washing. Wash all items with warm, soapy water to remove any food residue, oils, or grime. For baby bottles, pay attention to the inside of the nipple and the threads.
- Select a Microwave-Safe Container: You'll need a container that can hold water and withstand microwave heat. A glass bowl or a dedicated microwave sterilizing container/bag works best. Ensure it's large enough to hold your items without them being crammed together, allowing steam to circulate.
- Add Water: Pour enough water into the container to create steam. A good starting point is about 1 to 2 inches of water at the bottom. This water will boil and generate the steam needed for sterilization.
The Microwaving and Cooling Process
Now for the part where the magic happens, with safety as the top priority.
- Arrange Items in the Container: Place your cleaned items into the water-filled container. For items like baby bottles or nipples, it's often best to place them so the openings are facing downwards or sideways. This allows steam to get inside and ensures full contact. Don't overcrowd the container.
- Cover Loosely: If your container has a lid, place it on top but do not seal it tightly. You need to allow the steam to escape. If you're using a bowl, a microwave-safe plate placed loosely on top, or even a clean, damp paper towel, can serve as a cover. The key is ventilation to prevent pressure buildup.
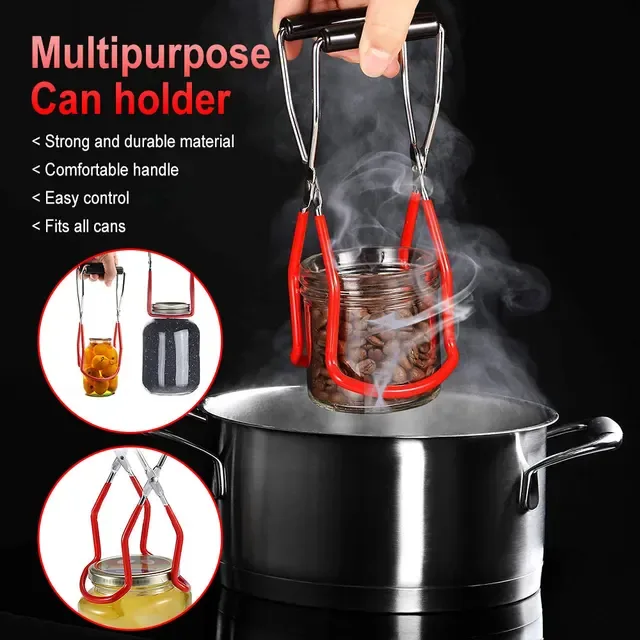
Image source: Bing (Web (fair-use with source credit))
- Microwave on High: Set your microwave to its highest power setting. The duration typically ranges from 3 to 5 minutes. The goal is to bring the water to a rolling boil, creating plenty of steam. For dedicated microwave sterilizer bags or containers, always follow the specific time instructions provided by the manufacturer.
- Allow to Cool: This is a critical safety step! Once the microwave cycle finishes, do not immediately open the door. Let the container and its contents sit inside the closed microwave for at least 5 to 10 minutes. This period allows the steam to continue its sterilization work and, more importantly, for the items and container to cool down significantly, reducing the risk of burns.
Safely Removing and Handling Items
The final steps are about getting your sterilized items out without any mishaps.
- Use Protective Gear: Always use oven mitts, pot holders, or thick kitchen towels to remove the hot container from the microwave. The container will be very hot, as will the items inside.
- Carefully Remove Items: Once the container is on a heat-resistant surface, use tongs or the protected mitts to carefully lift out each item.
- Drain and Dry: Invert the items over a clean surface or sink to drain any remaining water. Allow them to air dry completely on a clean rack or cloth before use or storage. Avoid touching sterilized surfaces with bare hands after removal.
Common Microwave Sterilization Mistakes to Dodge
Even with a straightforward process, a few common slip-ups can undermine your efforts or, worse, create hazards. Knowing these pitfalls can help you sterilize items effectively and safely. Our research indicates these are the most frequent errors people make.
- Using the Wrong Container: This is a big one. People might grab a plastic container that isn't marked microwave-safe, leading to melting or chemical leaching. Always check for the "microwave-safe" symbol or use glass.
- Forgetting to Add Water: Sterilization relies on steam. If you don't add enough water, or forget it altogether, you won't generate steam, and the items won't be sterilized. The water also acts as a buffer to prevent the container from overheating too quickly.
- Overcrowding the Container: Packing too many items into one container prevents steam from reaching all surfaces. This means some parts might not get sterilized, defeating the purpose. It also increases the risk of items tipping over or not being fully submerged in steam.
- Not Letting it Cool Enough: This is a significant safety hazard. Steam and hot water can cause severe burns. Rushing the cooling process and immediately grabbing items can lead to painful injuries. Always allow the recommended resting time inside the microwave.
- Sealing the Container Tightly: As mentioned earlier, this creates a pressure bomb. Steam needs a way to escape. A tightly sealed container can build enough pressure to rupture, potentially scattering hot water and items.
When to Reach for Alternatives: Other Sterilization Methods
While microwave sterilization is convenient for certain items, it’s not a one-size-fits-all solution. Sometimes, another method is safer, more effective, or simply better suited to the item you need to sterilize. Understanding these alternatives ensures you're always using the best approach.
- Boiling: This is a tried-and-true method, especially for baby bottles and nipples. Submerging items in boiling water for a set time (typically 5-10 minutes) is highly effective. It’s a good option for items where you can ensure they stay submerged and don't have any trapped air.
- Dishwasher Sanitize Cycle: Many modern dishwashers come with a high-heat sanitize cycle. This uses extremely hot water (often around 150°F or 65°C) and a heated drying cycle to kill bacteria. It's a great set-it-and-forget-it option for durable dishes, bottles, and certain kitchen tools. Manufacturer specifications often cite that these cycles meet public health standards for sanitation.
- Dedicated Steam Sterilizers: For parents, electric steam sterilizers designed specifically for baby bottles and accessories are very popular. They offer a controlled environment for efficient steaming and are generally user-friendly.
- Chemical Sterilization: Solutions like bleach-based cleaners or specialized sterilizing tablets are used in some contexts, particularly for medical equipment or when boiling isn't feasible. However, these require careful rinsing to remove any residue, especially for items that come into contact with food or babies.
Frequently Asked Questions About Microwave Sterilization
How long does it take to sterilize items in a microwave?
The actual microwaving time is usually 3 to 5 minutes on high power, but you need to factor in an additional 5 to 10 minutes for the items to cool down safely inside the microwave.
Can I sterilize baby pacifiers in the microwave?
Yes, if the pacifier is made from microwave-safe materials like silicone or BPA-free plastic. Wash it first, place it in a microwave-safe container with water, and follow the standard microwave sterilization steps.
What if my microwave doesn't have a "high" setting?
Use the highest power setting available. If your microwave has a power level dial, set it to 100%. If unsure, start with a shorter time (e.g., 2 minutes) and check for steam, adding more time in 1-minute increments.
Is microwave sterilization as effective as boiling?
When done correctly, microwave sterilization using steam can be just as effective as boiling for killing common household germs and bacteria. The key is ensuring sufficient steam exposure and proper temperatures.
Can I sterilize plastic baby bottle nipples in the microwave?
Yes, provided the nipples are made from microwave-safe silicone or BPA-free plastic. Always wash them thoroughly before sterilizing and ensure they are placed in a way that steam can circulate inside them.