How to Froth Milk With an Espresso Machine
Making perfect latte art or a creamy cappuccino at home used to feel like a barista-only skill. But with the right technique and a little practice, you can achieve that velvety milk texture on your own. Learning how to froth milk with an espresso machine unlocks a whole new level of home coffee enjoyment.
Our research shows that understanding the physics of steam and milk is key, alongside mastering a few visual cues. It’s less about expensive gadgets and more about the fundamentals, like the correct angle and immersion depth. Per manufacturer specifications, the ideal milk temperature for frothing typically falls between 140-155°F (60-68°C) to avoid scorching the milk's natural sweetness.
Quick Answer
To froth milk with an espresso machine, purge the steam wand, submerge its tip just below the milk's surface in a pitcher, and introduce air by wiggling the wand. Then, deepen the wand to create a vortex, heating the milk until it reaches 140-155°F. Swirl the milk to create microfoam and a glossy texture.
Why Seeing is Believing: The Visuals of Milk Frothing
When you're trying to get that perfect, silky texture for your latte, what you see is often more important than what you hear or even feel at first. It’s all about recognizing the subtle changes in the milk. Think of it like learning to read a recipe not just by the ingredients, but by how the batter looks and moves.
Visual cues tell you when you’re introducing the right amount of air, when the milk is starting to integrate, and when it's reached that ideal temperature. Without seeing these changes, you're essentially guessing, which leads to that bubbly, watery foam that most people try to avoid. This guide focuses on those key visual indicators.

Your Espresso Machine's Steam Wand: A Quick Look
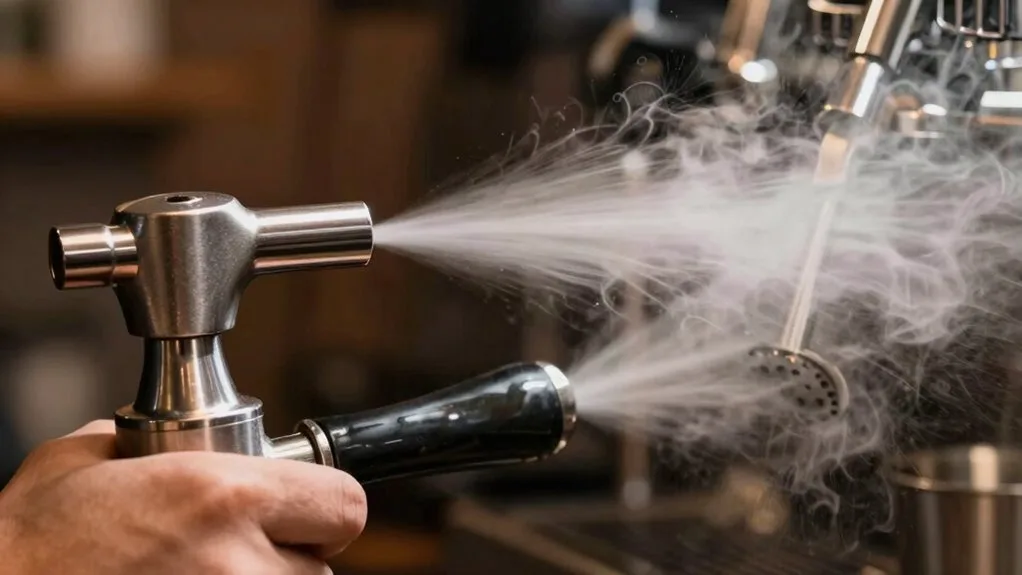
Every espresso machine designed for home use that can froth milk has a steam wand. This is the metal tube that releases pressurized steam from the boiler. It’s your primary tool for heating and texturing milk.
These wands can vary slightly between machines. Some have a single hole at the tip, while others have multiple small holes. The number and size of these holes can affect how quickly steam is released and how the milk is aerated, but the core principle of using them remains the same.
What to Look For
- Material: Almost always stainless steel for durability and hygiene.
- Articulation: Some wands pivot, making them easier to position.
- Valve Control: A knob or lever that controls the flow of steam.
Understanding your specific machine’s steam wand is the first step. Before you even touch the milk, it’s crucial to know how your wand operates.
The Right Milk Pitcher and Milk Matters
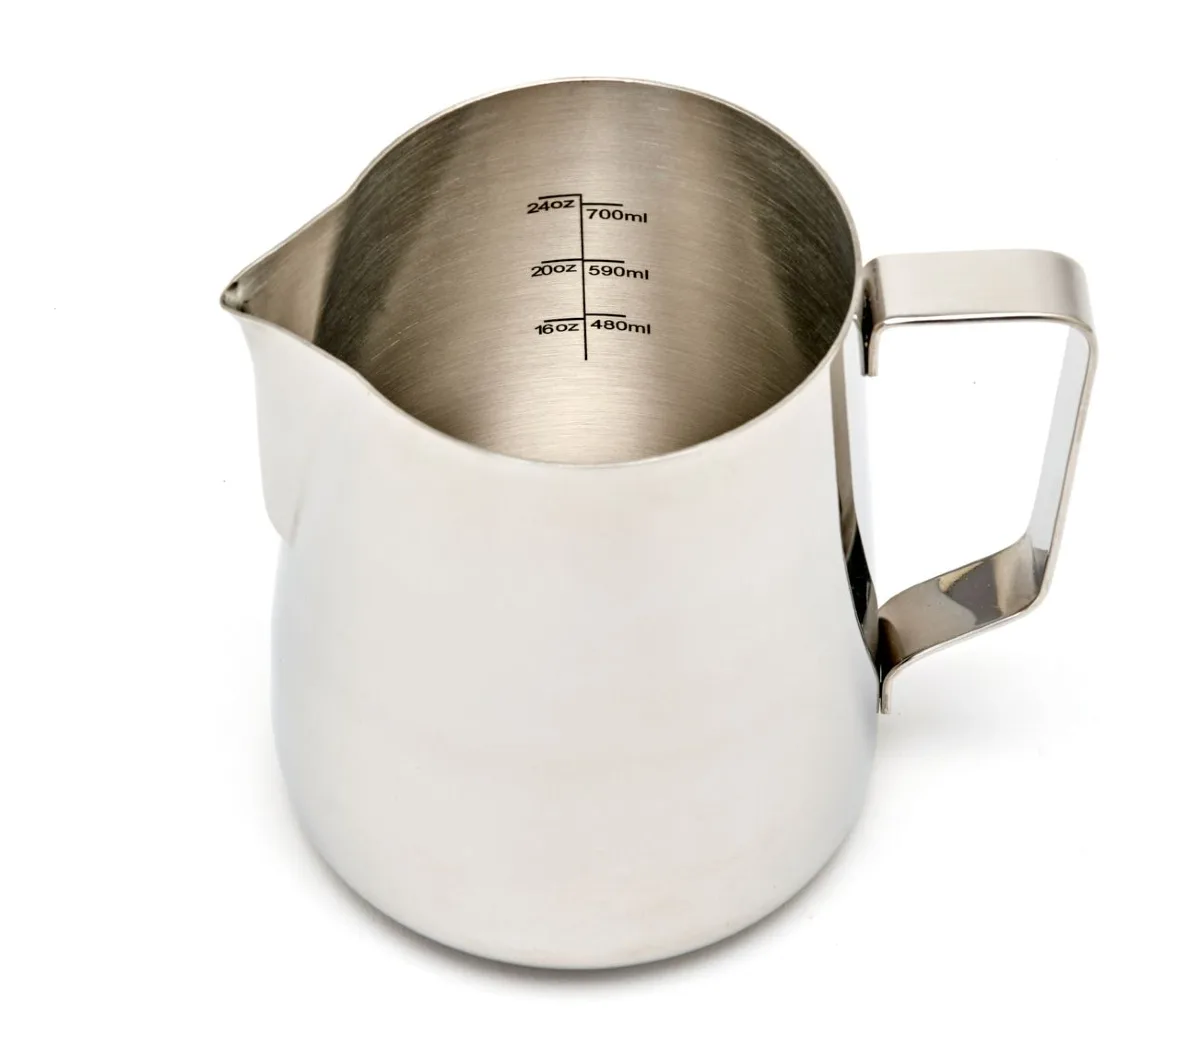
The vessel you use for steaming and the type of milk are critical for success. A good milk pitcher is usually made of stainless steel and has a spout designed for pouring. This helps you control the flow of textured milk for latte art later on.
Milk Pitcher Features
- Material: Stainless steel is preferred because it conducts heat well and is durable.
- Spout: A well-designed spout helps create a vortex and pour smoothly.
- Size: Common sizes are 12oz (for single drinks) and 20oz (for multiple drinks or larger cups).
The type of milk you use will significantly impact the final texture. Whole milk, with its higher fat and protein content, is generally the easiest to froth and produces the sweetest, creamiest foam. Other milk types, like skim milk, can froth but tend to create larger bubbles and a less stable foam.
Plant-based milks like oat and soy can also work well, though results can vary by brand.
Step-by-Step: The Visual Guide to Steaming Milk
This is where you put it all together. We'll walk through the process, focusing on what you should see at each stage. It's a combination of controlled action and observation.
1. Prep Your Station and Purge the Wand
Before you even think about pouring milk, get your espresso machine ready. Turn it on and allow it to heat up fully, ensuring the boiler is producing steam.
Next, take a clean, damp cloth and purge the steam wand. Point it away from you and briefly turn on the steam. This clears out any residual water or milk from the previous use, ensuring you get only dry steam.
This step is vital for a clean start and consistent steam pressure.
2. Aerating: Getting That Foam
Pour cold milk into your pitcher. For a single serving, aim to fill it about one-third to halfway. Using cold milk gives you more time to work before it gets too hot.
Submerge the tip of the steam wand just below the surface of the milk. You want to hear a gentle, paper-tearing or kissing sound. This is the sound of air being introduced into the milk.
Wiggle the pitcher slightly or adjust the wand position to keep that sound consistent, aiming to create a gentle whirlpool.
Don't overdo this phase. Our research indicates that aerating for too long will result in stiff, bubbly foam, rather than the desired microfoam. You're looking for a small increase in milk volume at this stage, typically around 20-30%.
3. Texturing: Creating the Silky Swirl
Once you’ve introduced enough air (usually 5-10 seconds, depending on your machine and wand), it's time to texture the milk. Submerge the steam wand tip a bit deeper into the milk. You should no longer hear the "kissing" sound.
Now, the goal is to create a vortex or whirlpool effect in the pitcher. This motion integrates the air bubbles into the milk, breaking them down into tiny microfoam. You'll see the milk start to spin.
Keep the wand submerged and maintain this spinning motion.
This phase is crucial for that smooth, glossy texture. If you see large bubbles forming, your wand might be too high, or you're not creating enough of a vortex.
4. Temperature Check and Polish
Continue spinning the milk until the pitcher feels warm to the touch. A common benchmark is to stop when the pitcher becomes too hot to comfortably hold for more than a second or two. For precision, using a thermometer is ideal; aim for 140-155°F (60-68°C).
Avoid going over 160°F (71°C), as this can scald the milk and ruin its natural sweetness.
As soon as you turn off the steam, remove the pitcher. Wipe down the steam wand immediately with your damp cloth and purge it again to clear any milk residue. This prevents milk from drying and clogging the wand.
Finally, swirl the milk in the pitcher again. This final swirl polishes the microfoam, making it glossy and uniform. If you've done it right, the milk should look like wet paint.
Common Visual Mistakes & How to Fix Them
Many beginners run into similar issues, and most can be spotted by looking closely at the milk. Recognizing these visual pitfalls is half the battle.
Too many big bubbles: This is the most common one.
- Visual: The milk looks like it’s been vigorously shaken, with large, airy pockets on top.
- Fix: You likely introduced too much air for too long in the aeration phase. Next time, reduce the time you hear that "kissing" sound, or submerge the wand slightly deeper from the start. You can try tapping the pitcher firmly on the counter a few times and swirling to break up some of those larger bubbles, but it's best to prevent them.
Watery milk with no foam: This means not enough air was incorporated.
- Visual: The milk looks thin, and there's no noticeable increase in volume. It might just look like warm milk.
- Fix: You probably didn't aerate long enough, or the steam wand tip was too deep to begin with. In the aeration phase, make sure you can hear that gentle "kissing" sound and that the milk is rising slightly in the pitcher.
Scorched or bitter milk: This is a temperature issue.
- Visual: The milk might look slightly discolored, or you might notice a burnt smell. The texture might also be off, not silky.
- Fix: You heated the milk too much. Always monitor the pitcher temperature by feel or use a thermometer. Stop steaming when it reaches 140-155°F (60-68°C). It’s better to stop a little early and re-steam briefly if needed, than to overheat it.
Troubleshooting Your Froth: When It Goes Wrong
Even with practice, sometimes your milk just won't cooperate. Don't get discouraged; these issues are usually fixable with a slight adjustment to your technique or equipment. Our research on common barista issues indicates that persistence and attention to detail are key.
Problem: The steam wand isn't producing enough steam.
- Possible Cause: The espresso machine's boiler might not be fully heated, or the steam wand could be clogged.
- Solution: Ensure the machine has been on long enough. Try purging the wand again. If that doesn't help, you may need to clean the steam wand more thoroughly. Refer to your machine's manual for specific cleaning instructions. For consistent performance, regular descaling is also important; you can learn how to descale a coffee maker here.
Problem: The milk texture is inconsistent, even with the same technique.
- Possible Cause: Variations in milk type, fat content, or temperature can cause this. The pitcher itself could also play a role.
- Solution: Try to use the same type of milk (whole milk is usually the most forgiving) and ensure it's as cold as possible. If you're using plant-based milks, experiment with different brands, as their protein and fat structures vary. Ensure your pitcher is clean and dry before use.
Problem: Large, persistent bubbles that won't go away.
- Possible Cause: Air was incorporated too aggressively or for too long.
- Solution: While it's best to prevent this, you can try to minimize it after steaming. Tap the pitcher firmly against the counter a few times to pop larger bubbles. Then, swirl the milk vigorously. If the bubbles are still too big for latte art, you might have to accept a less-than-perfect texture for this drink and try again on the next one. This is a common issue when learning how to fix a coffee maker's brewing issues, where understanding the machine's mechanics is key.
Expert Tips for Next-Level Milk Texture
Once you've got the basic steps down, these tips from experienced baristas can help you elevate your milk-frothing game. Our editorial analysis of top coffee-making resources highlights these often-overlooked details.
- Use the coldest milk possible: The colder the milk, the more time you have to introduce air and texture it properly before it gets too hot. Straight from the fridge is best.
- Don't over-aerate: It's tempting to keep that "kissing" sound going, but it leads to stiff foam. Aim for just enough air to get the milk volume up slightly.
- Listen to the sound: The steam wand's noise is a great indicator. A high-pitched screech means the wand is too high and too much air is entering. A low rumble or gurgle means it's too deep. The ideal is a gentle tearing or hissing.
- Clean immediately: Seriously, don't let that milk dry on the wand. Wipe it down and purge it right away. This prevents clogs and ensures better performance next time. Learning how to clean a single serve coffee maker also emphasizes immediate rinsing.
- Swirl, swirl, swirl: Before pouring, always swirl the milk. This integrates the foam and liquid beautifully, creating that glossy microfoam essential for smooth texture and latte art.
- Practice with different milks: Once you're comfortable with whole milk, experiment with oat, soy, or almond milk. Each will behave slightly differently, teaching you more about milk science.
Frequently Asked Questions About Frothing Milk
How long does it take to froth milk?
It typically takes about 20-40 seconds to froth milk, depending on your machine's steam power and how much milk you're steaming. The key is to get the right texture and temperature, not just to rush the process.
Can I froth milk without an espresso machine?
Yes, you can froth milk using other methods like a handheld frother, a French press, or even a whisk. However, an espresso machine's steam wand offers the most control for achieving professional-quality microfoam. You can learn how to use a French press for frothing here.
What is microfoam?
Microfoam is finely textured milk with very small, uniform bubbles, creating a glossy, velvety surface. It’s ideal for latte art because it integrates smoothly with the espresso and holds its structure.
What kind of milk is best for frothing?
Whole milk is generally considered the best for frothing due to its fat and protein content, which create a stable, sweet, and creamy foam. However, many people have success with oat milk and some soy milk varieties as well.
Why is my frothed milk so bubbly?
This usually happens when you've introduced too much air for too long during the steaming process, or the steam wand tip was too close to the surface. Try submerging the wand slightly deeper and reducing the aeration time in your next attempt.
Comparing Frothing Methods: Beyond the Steam Wand
While an espresso machine's steam wand is fantastic, it's not the only way to get frothed milk. Understanding your options helps you choose the best method for your needs and your kitchen setup.
| Method | Pros | Cons | Best For |
|---|---|---|---|
| Espresso Machine Wand | Creates true microfoam; integrated with coffee. | Requires espresso machine; learning curve. | Home baristas serious about latte art. |
| Electric Frother (Automatic) | Easy to use; often heats and froths simultaneously. | Less control over texture; can be pricey. | Convenience seekers; quick cappuccinos. |
| French Press | Simple; effective for creating foam. | Creates larger bubbles; doesn't heat milk. | Using with pre-heated milk; basic froth. |
| Handheld Frother | Portable; inexpensive. | Creates airy foam (not microfoam); requires batteries. | Quick, small-batch froth for a single drink. |
Each method offers a different outcome. If you're aiming for that silky, pourable microfoam for intricate designs, the steam wand is hard to beat. For a simple, quick foam without the espresso machine, an electric frother or French press works well.
When to Use Which Frothing Method
Your choice depends on what you're making and how much effort you want to put in.
- For Latte Art: An espresso machine's steam wand is the clear winner. The control it offers over milk texture is essential for creating those beautiful patterns. This is the professional standard for a reason.
- For Quick Cappuccinos: An automatic electric frother can be a great shortcut. You pour in cold milk, press a button, and it heats and froths it for you. It’s less control, but very convenient.
- For Simple Foam on Pre-heated Milk: If you’ve already heated milk on the stove or in a microwave, a French press can whip it into a frothy topping. You just plunge the press up and down vigorously. This works well if you're just looking for that foamy cap on a hot chocolate or a simple latte.
- For a Single, Quick Drink: A handheld frother is perfect for a single serving of foam. It’s battery-powered and creates a lighter, airier foam, not true microfoam, but it’s fast and easy. This is a good option if you don’t have an espresso machine but want some froth.
Troubleshooting Common Milk Frothing Issues
When your milk isn't coming out right, it’s usually one of a few things. Our research shows most issues stem from temperature, aeration, or technique.
Issue: Milk is too bubbly and airy.
- Cause: Too much air introduced, or air introduced for too long. The steam wand tip might have been too close to the surface.
- Fix: Submerge the wand tip a bit deeper. Reduce the time you hear the "kissing" sound. After steaming, tap the pitcher on the counter to pop bubbles and swirl to integrate.
Issue: Milk is too thin or watery, with no foam.
- Cause: Not enough air was incorporated. The steam wand might have been submerged too deep too quickly.
- Fix: Make sure you hear the "kissing" or "tearing" sound during the initial aeration phase. The milk should rise slightly in the pitcher.
Issue: Milk tastes burnt or scalded.
- Cause: Overheating. Milk solids can caramelize and burn above 160°F (71°C).
- Fix: Monitor the temperature closely. Use a thermometer, or stop when the pitcher is too hot to hold comfortably for more than a second. It's better to underheat slightly and re-steam than to overheat.
Issue: Foam separates quickly.
- Cause: Poorly integrated milk texture. The microfoam wasn't properly created or incorporated.
- Fix: Ensure you spent enough time texturing the milk to create a vortex. Swirl the milk vigorously before pouring to keep the foam and liquid combined. The texture should look like glossy paint, not stiff meringue.
Maintaining Your Steam Wand for Peak Performance
Regular cleaning of your steam wand is not just about hygiene; it's crucial for optimal performance and longevity. Milk residue can clog the small holes, reducing steam pressure and affecting the quality of your froth.
Daily Cleaning Routine
- Purge: Always purge the wand before and immediately after steaming milk. This clears out water and any lingering milk.
- Wipe: Use a clean, damp cloth to wipe down the wand exterior right after purging. Don’t let milk dry on it.
- Soak (if needed): If milk has dried on, you might need to briefly soak the wand tip in warm water before wiping again.
Deeper Cleaning and Maintenance
- Descaling: Over time, mineral deposits from water can build up inside the machine and affect steam production. Regular descaling according to your espresso machine's manual is essential. This helps maintain consistent steam pressure, which is vital for good frothing. You can find guides on how to descale a coffee maker that often apply to espresso machines too.
- Checking Holes: Periodically inspect the holes at the tip of the wand. If they look blocked, you might need to use a small pin or a specialized tool (often included with the machine) to carefully clear them.
Consistent maintenance ensures your steam wand will continue to deliver powerful, dry steam for perfect milk every time.