How to Adjust Espresso Machine Pressure
Dialing in your espresso machine’s brew pressure is a key step toward achieving cafe-quality shots at home. When your espresso extraction is off, it’s often because this crucial variable isn’t quite right. Getting it adjusted can make a world of difference in taste.
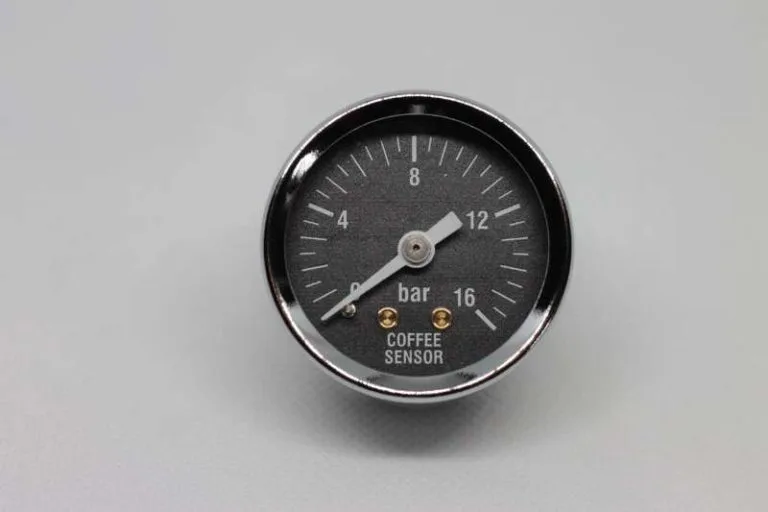
Image source: Bing (Web (fair-use with source credit))
In our research, we found that many home baristas overlook pressure as a tuning element, focusing only on grind size. However, manufacturer specifications often indicate that pump pressures can range significantly, with many targeting around 9 bars at the group head for optimal extraction.
Quick Answer
Adjusting espresso machine pressure involves locating the overpressure valve (OPV) screw and making small turns. Turning clockwise increases pressure; counter-clockwise decreases it. The goal is to achieve a balanced extraction, typically 8-9 bars at the coffee puck, resulting in sweet, well-rounded espresso.
Always unplug the machine first and consult your manual for specific instructions.
Why Adjusting Brew Pressure Matters for Your Espresso
Imagine squeezing a sponge. If you don't apply enough pressure, you won't get much water out. Apply too much force, and it might burst or become messy.
Espresso extraction works similarly. The pressure your machine uses forces hot water through finely ground coffee, dissolving the soluble compounds that create flavor and aroma.
When this pressure is too low, the water flows too quickly through the coffee puck, leading to under-extraction. This often tastes sour, weak, and lacks body. On the other hand, if the pressure is too high, the water can channel unevenly through the puck, or it might over-extract certain compounds, leading to a bitter, burnt, and astringent taste.
Manufacturer specifications, such as those found on some pump systems, often indicate operating pressures well above 9 bars, with the overpressure valve’s job being to regulate this down to an optimal level for espresso. Achieving the right pressure, typically between 8-9 bars at the coffee puck, unlocks the full potential of your coffee beans, bringing out sweetness, acidity, and balanced flavors.
Understanding Your Espresso Machine's Pressure System
Most espresso machines, especially those designed for home use, rely on a pump to create the necessary pressure. This isn't just a simple on/off switch; there's a system in place to manage and regulate that pressure. At its core, the pump generates high pressure, often significantly more than needed for espresso.
A crucial component then steps in to manage this output.
This regulation is key because consistent pressure is vital for predictable and delicious espresso. Without it, your shots will vary wildly, making it impossible to dial in your coffee consistently. Understanding the basic parts involved helps you identify what you might be able to adjust and what's factory-set.
What's Inside: OPV, Pump, and Gauges
At the heart of your machine's pressure system are a few key components. The vibration pump is the workhorse, generating the initial high pressure, often 15 bars or more. This pump is designed to be robust and reliable for consistent water flow.
Then there's the overpressure valve (OPV). This is the component most often adjusted by users to control the maximum brew pressure. Its job is to act as a safety release, dumping excess water and pressure back into the drip tray or water reservoir if the pressure exceeds a set point.
By adjusting the OPV, you're essentially changing that set point.
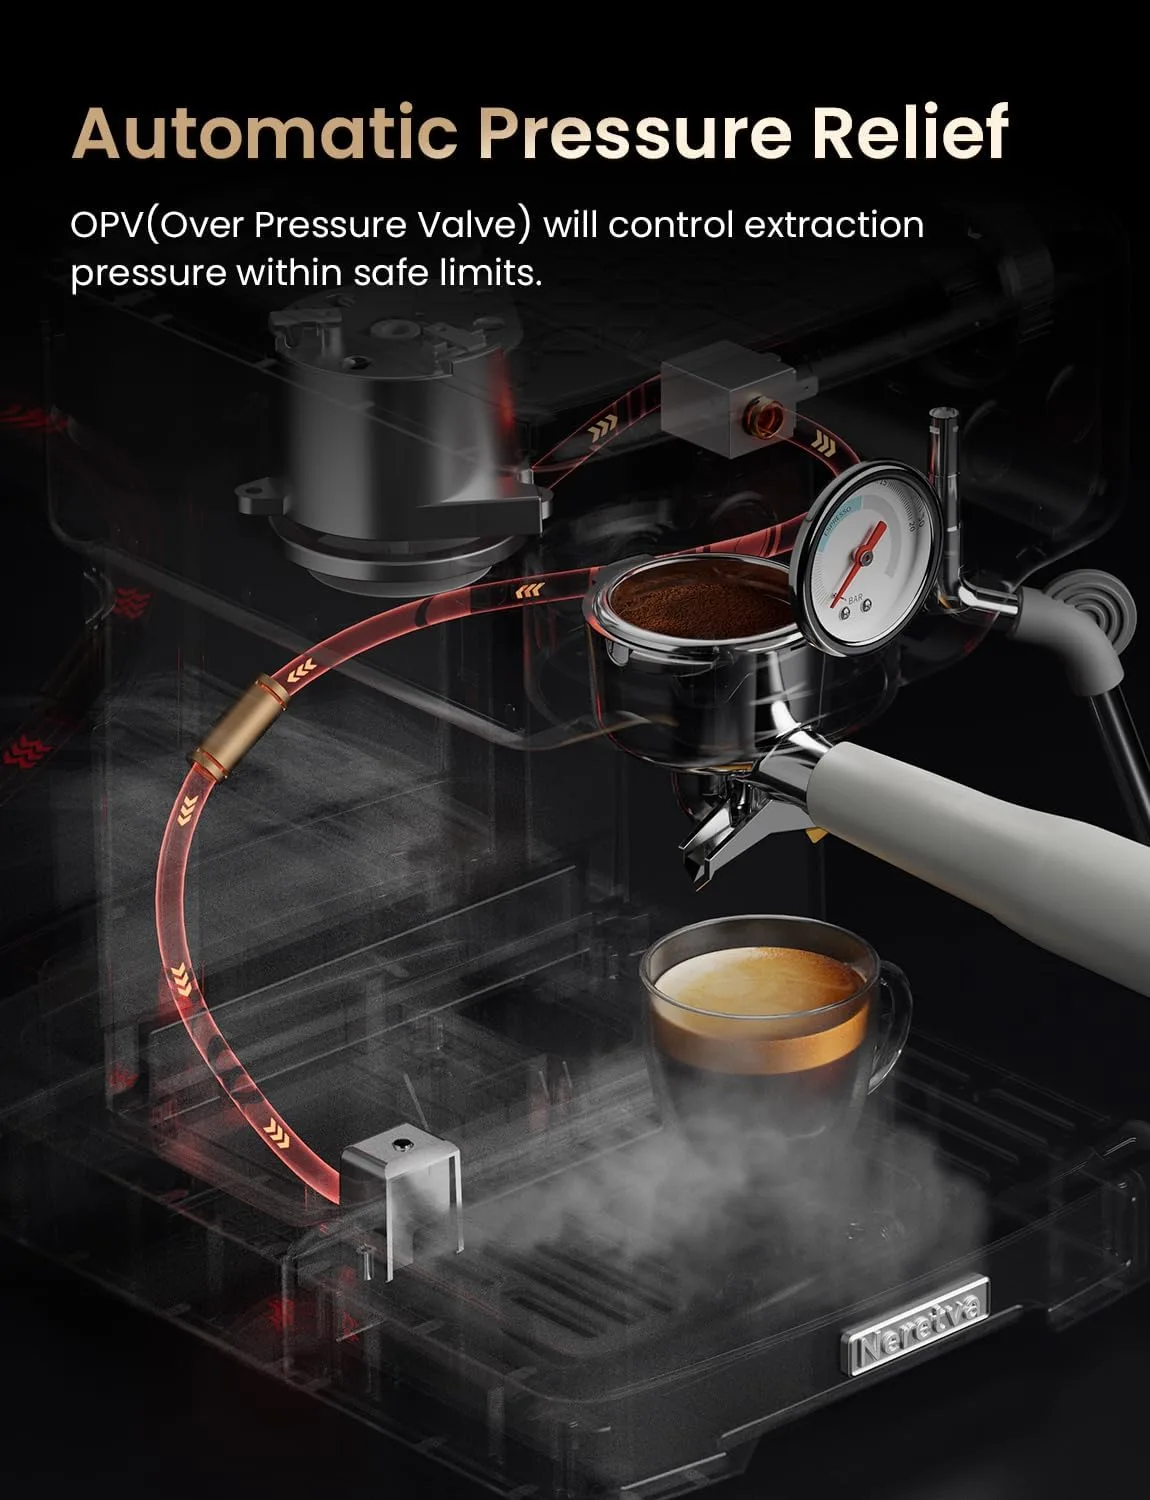
Image source: Bing (Web (fair-use with source credit))
Finally, many machines have a pressure gauge. This gauge usually indicates the pressure at the pump or within the system before the group head. It's a useful visual indicator, but it's important to remember it might not perfectly reflect the pressure at the coffee puck, which is what truly matters for extraction.
The actual pressure at the puck can be influenced by puck preparation and the resistance within the portafilter.
How to Adjust Brew Pressure: A Step-by-Step Workflow
Adjusting your espresso machine’s brew pressure, if your machine allows it, is a hands-on process. It requires a bit of patience and a willingness to experiment. Remember, not all machines are designed for user-adjustable brew pressure; many entry-level models have fixed pump outputs.
Always consult your machine's manual before proceeding, as internal components and adjustment methods can vary significantly between brands and models.
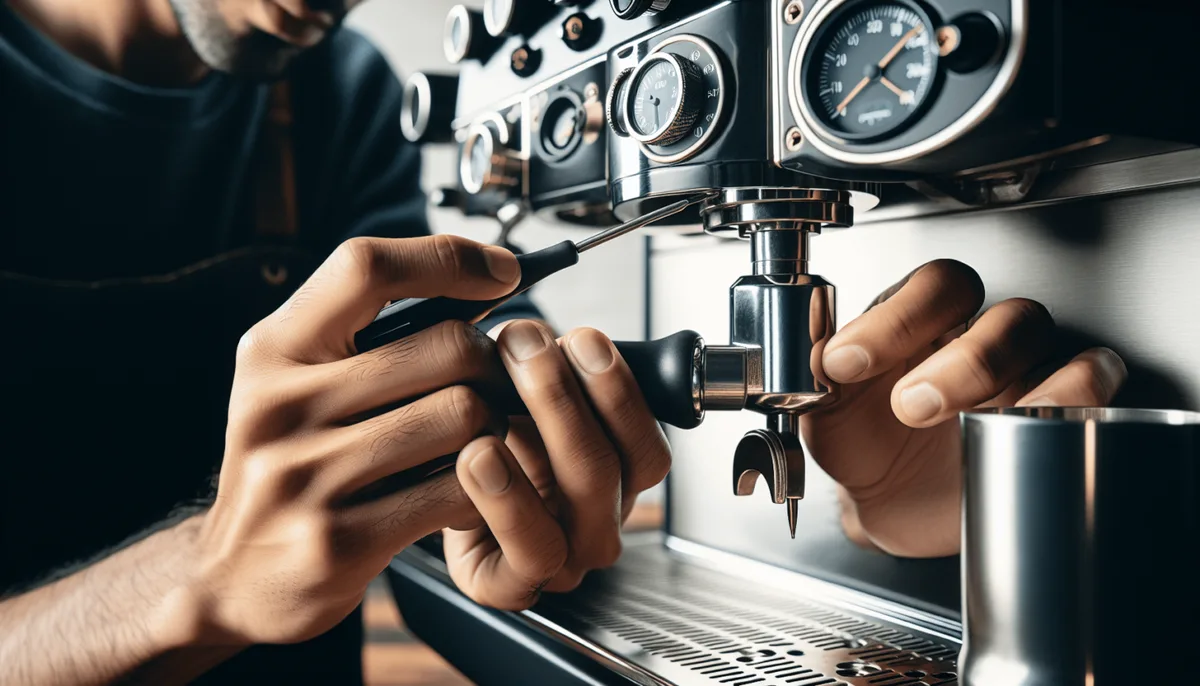
Image source: Bing (Web (fair-use with source credit))
If your machine does have an adjustable overpressure valve (OPV), here’s a general workflow. This process can help fine-tune your extraction and improve the taste of your espresso. As of 2026, the core principles of pressure adjustment remain consistent across most compatible machines.
Step 1: Safety First and Gaining Access
Before you even think about touching any internal components, safety is paramount. Always ensure your espresso machine is completely unplugged from the power source. Water and electricity are a dangerous combination, so double-check that the power cord is out of the wall socket.
You'll then need to gain access to the adjustment point. This typically means removing a top or side panel from your machine. Most manufacturers design these panels to be secured by a few screws.
Refer to your machine's manual for specific instructions on how to safely remove these panels without damaging your machine. Once the panel is off, you should be able to see the pump and associated plumbing, where the OPV is usually located.
Step 2: Making the Pressure Adjustment
With the machine unplugged and the necessary panels removed, you can now locate the overpressure valve (OPV). It’s typically a brass component with a small screw or adjustment nut on it. Your machine’s manual will be the definitive guide to its exact location and type of adjustment.
The general rule for adjusting the OPV screw is this:
- Turning Clockwise: This typically tightens the spring within the OPV, meaning it will require more pressure to open and dump water. This effectively increases the maximum brew pressure the machine will deliver.
- Turning Counter-Clockwise: This loosens the spring, allowing the OPV to open at a lower pressure. This effectively decreases the maximum brew pressure.
Start with very small adjustments, perhaps an eighth of a turn at a time. It’s easy to over-adjust, and making significant changes all at once can lead to unintended consequences. Think of it as a slow, deliberate tuning process.
Step 3: Testing, Tasting, and Fine-Tuning
After making a tiny adjustment to the OPV, you'll need to test the results. Plug your machine back in and power it on. Prepare your usual espresso dose in your portafilter, grind your beans, dose the basket, and tamp as consistently as possible.
Run a test shot, observing the flow of the espresso. Does it start to drip quickly, or does it flow steadily? Time the shot and measure the yield (the weight of the liquid espresso).
Most enthusiasts aim for a 1:2 ratio (e.g., 18g of coffee grounds yielding 36g of liquid espresso) within 25-30 seconds.
Now, taste it. Is it too sour? Too bitter?
Does it have a good balance of sweetness and acidity?
- If it’s sour, you might need slightly higher pressure, or your grind is too coarse. Try turning the OPV screw clockwise a tiny bit.
- If it’s bitter, you might need slightly lower pressure, or your grind is too fine. Try turning the OPV screw counter-clockwise a tiny bit.
Repeat this cycle of small adjustments, brewing, observing, tasting, and re-adjusting. This iterative process is key to finding your machine’s sweet spot for your specific coffee beans.
Common Pressure Adjustment Mistakes to Avoid
While adjusting your espresso machine’s brew pressure can elevate your coffee game, there are a few common pitfalls to steer clear of. One of the most frequent errors is making too large of an adjustment all at once. You might see a quarter-turn or even a half-turn recommended in some places, but for most home machines, especially those with sensitive OPV systems, an eighth of a turn is plenty.
Another mistake is not allowing the machine to fully heat up and stabilize before testing. Espresso machines need time for the water temperature and pressure to reach a consistent state. Rushing this can lead to misleading results.
Similarly, forgetting to unplug the machine before accessing internal components is a serious safety hazard. Always prioritize safety by disconnecting power before any internal work. If you're experiencing issues beyond pressure, consider how to troubleshoot a coffee maker.
Finally, many users solely rely on the machine’s built-in pressure gauge. While helpful, this gauge often shows pump pressure, not necessarily the actual pressure at the coffee puck. The true extraction pressure is influenced by the resistance of the coffee bed.
Therefore, rely heavily on your taste and visual cues (flow rate, shot time, crema) rather than just the gauge reading. For those struggling to get consistent results, understanding how to fix a coffee maker that is leaking water can also be a related troubleshooting step.
When to Adjust vs. When to Focus on Grind
Figuring out whether to tweak your espresso machine's pressure or adjust your grinder’s setting can be confusing, as both heavily influence extraction. As a general rule, if your machine allows for brew pressure adjustment, it’s often best to set the pressure to a good baseline and then use your grinder for day-to-day dialing.
Think of pressure as setting the overall potential for extraction. A well-calibrated pressure, typically around 8-9 bars at the puck, provides a solid foundation. Once that foundation is set, your grinder becomes your primary tool for fine-tuning.
If your espresso tastes sour, you’ll usually adjust your grind to be finer, or if it’s bitter, you’ll adjust it to be coarser. This is because grind size has a more immediate and responsive impact on flow rate and extraction time than pressure does.
However, if you’ve found the perfect grind size and your espresso is still consistently sour, it might indicate that your baseline brew pressure is too low for that particular coffee. Conversely, if you're getting bitterness even with a coarse grind, your pressure might be too high. Use pressure adjustments for macro-level tuning, when a significant change in taste persists across grind settings.
Use grind adjustments for micro-level tuning, making small, precise changes to perfect your shot on a daily basis. If you find your machine isn't performing as expected, resources on how to fix a coffee maker might offer further guidance.
How to Use Your Espresso Machine's Pressure Gauge
If your espresso machine has a built-in pressure gauge, it's a valuable tool for understanding what’s happening during your brew. This gauge typically displays the pressure being generated by the pump, often in bars. For example, many machines aim for a pump pressure around 9 bars during extraction, though the pump itself can generate much higher pressures.
Monitoring this gauge can help you confirm if your adjustments are having an effect. If you turn the OPV screw clockwise, you should see the gauge reading increase during a shot. If you turn it counter-clockwise, you should see it decrease.
It’s important to note that the gauge reading is usually pump pressure, which can be higher than the actual pressure at the coffee puck. This is because the coffee grounds and portafilter create resistance, effectively lowering the pressure at the point of extraction.
What Pressure Reading Is Best for Espresso?
The "ideal" pressure reading for espresso can vary, but a widely accepted target is between 8 to 9 bars of pressure at the coffee puck. This range is considered optimal for extracting the best balance of flavors from coffee grounds. It's enough pressure to properly saturate and extract the coffee's soluble compounds without causing over-extraction or channeling.
For lighter roasts, some enthusiasts might experiment with slightly higher pressures, perhaps pushing towards 9-10 bars at the puck, to help unlock brighter acids and sugars. Conversely, darker roasts, which are more prone to bitterness, might benefit from slightly lower pressures, closer to 7-8 bars. However, remember that the gauge on your machine usually shows pump pressure, which might be 1-3 bars higher than the actual pressure at the puck.
So, if your gauge reads 10-11 bars, you’re likely in that sweet 8-9 bar range at the coffee itself.
When Do You Need to Adjust Espresso Machine Pressure?
You might consider adjusting your espresso machine’s pressure if you're consistently struggling with the taste of your shots, even after dialing in your grind size. If your espresso is always too sour, indicating under-extraction, and you’ve already tried grinding finer, it could be a sign that your machine isn’t delivering enough pressure. In this scenario, slightly increasing the brew pressure might help achieve a more balanced extraction.
Conversely, if your espresso is persistently bitter, suggesting over-extraction, and you’ve experimented with grinding coarser, the pressure might be too high. Lowering the brew pressure in this case could help tame that bitterness. It’s also worth investigating pressure if you notice very inconsistent shot times or uneven flow, as this can sometimes be a symptom of pressure being out of the optimal range.
If you suspect a larger issue, consult guides on how to fix a coffee maker.
Frequently Asked Questions About Espresso Pressure
Can I adjust the pressure on any espresso machine?
Not all espresso machines allow for user adjustment of brew pressure. Many entry-level models have a fixed pump output. You’ll need to consult your machine's manual to see if it has an adjustable overpressure valve (OPV) or other pressure regulation mechanisms.
What happens if I adjust the pressure too high?
If you set the pressure too high, your espresso might become overly bitter and astringent. You may also experience channeling, where water aggressively forces its way through weak spots in the coffee puck, leading to uneven extraction and a generally unpleasant taste.
What happens if I adjust the pressure too low?
Setting the pressure too low often results in under-extracted espresso. This typically tastes sour, thin, and lacks body and sweetness. The shot might also run too fast, even with a fine grind.
How often should I check or adjust my espresso machine's pressure?
For most home users, once you've found the optimal pressure setting for your machine and beans, you likely won't need to adjust it often. It’s more of a calibration step than a daily task. You might revisit it if you change your coffee beans significantly or if you suspect the machine's performance has changed.
Is it safe to adjust the pressure myself?
Yes, it is generally safe if you follow proper procedures. Always unplug the machine before accessing internal components, and make small, incremental adjustments. Consult your manual and proceed with caution.
If you are uncomfortable working with internal components, consider seeking professional help or exploring how to troubleshoot a coffee maker for other issues.