How to Dehydrate Food in an Air Fryer
Ever look at those expensive bags of dried fruit or jerky and think, "I could totally make that myself"? You're right, you absolutely can, and using your air fryer is a surprisingly straightforward way to do it. Learning how to dehydrate food in an air fryer unlocks a world of homemade, healthy snacks that save you money and let you control exactly what goes in.
This method taps into the appliance's ability to circulate hot air efficiently, gently removing moisture over several hours to preserve food. Manufacturer specifications for many air fryers indicate they can reach dehydrating temperatures as low as 100°F (38°C), perfect for this low-and-slow cooking process. Let's dive into how you can transform your kitchen into a snack-making hub.
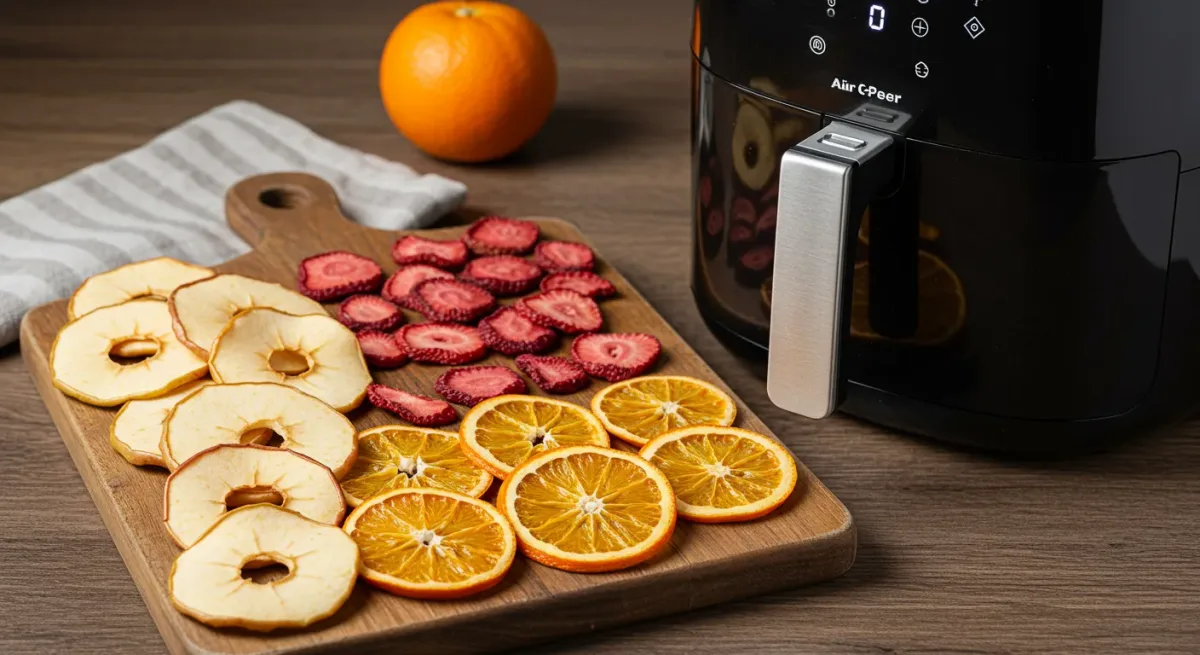
Image source: Bing (Web (fair-use with source credit))
Why Visuals Matter for Dehydrating in Your Air Fryer
When you're dehydrating food, especially for the first time, relying solely on time and temperature can be tricky. What looks "done" can vary. That's where visual cues become your best friend.
Our research shows that experienced users consistently check for specific textures and appearances, not just preset times.
Think of it like this: a bright red strawberry will darken and shrink as it dehydrates, becoming leathery. A slice of zucchini might go from crisp to pliable and slightly chewy. Your air fryer's manual might give you a starting point for time, but understanding the visual transformation of your food is key to getting it just right.
What You Can Dehydrate and What to Expect
You can dry a surprising range of items in your air fryer, turning fresh ingredients into shelf-stable snacks. The process gently removes moisture, concentrating flavors and changing textures from fresh to leathery, chewy, or even crispy.
Popular Food Choices
The possibilities are broad, but some items consistently perform well and are popular for homemade snacks.
- Fruits: Apples, bananas, strawberries, mangoes, pineapple, kiwi, and citrus peels are fantastic. They become sweet, chewy delights.
- Vegetables: Kale, sweet potatoes, zucchini, mushrooms, and bell peppers can be dehydrated. Kale turns into crispy chips, while others become chewy or leathery.
- Herbs: Delicate herbs like parsley, basil, oregano, and mint dry beautifully, preserving their flavor for culinary use.
- Meats: Beef, turkey, and venison can be made into jerky. This requires careful preparation and attention to safety, as raw meat is involved.
Expected Textures & Appearance
As food dries, it loses water content, which changes its physical state.
- Leathery: Many fruits and vegetables will become leathery. They should bend without snapping but also shouldn't feel wet or sticky.
- Chewy: Similar to leathery, but with a slightly more yielding texture.
- Crispy: Foods like kale or some root vegetable chips will become brittle and snap when bent.
- Darkened Color: Most foods will darken as they dehydrate due to the concentration of sugars and pigments.
Your Step-by-Step Guide to Air Fryer Dehydrating
Transforming fresh food into a dried treat is a process that requires a little preparation and a lot of patience. Follow these steps for successful dehydration using your air fryer.
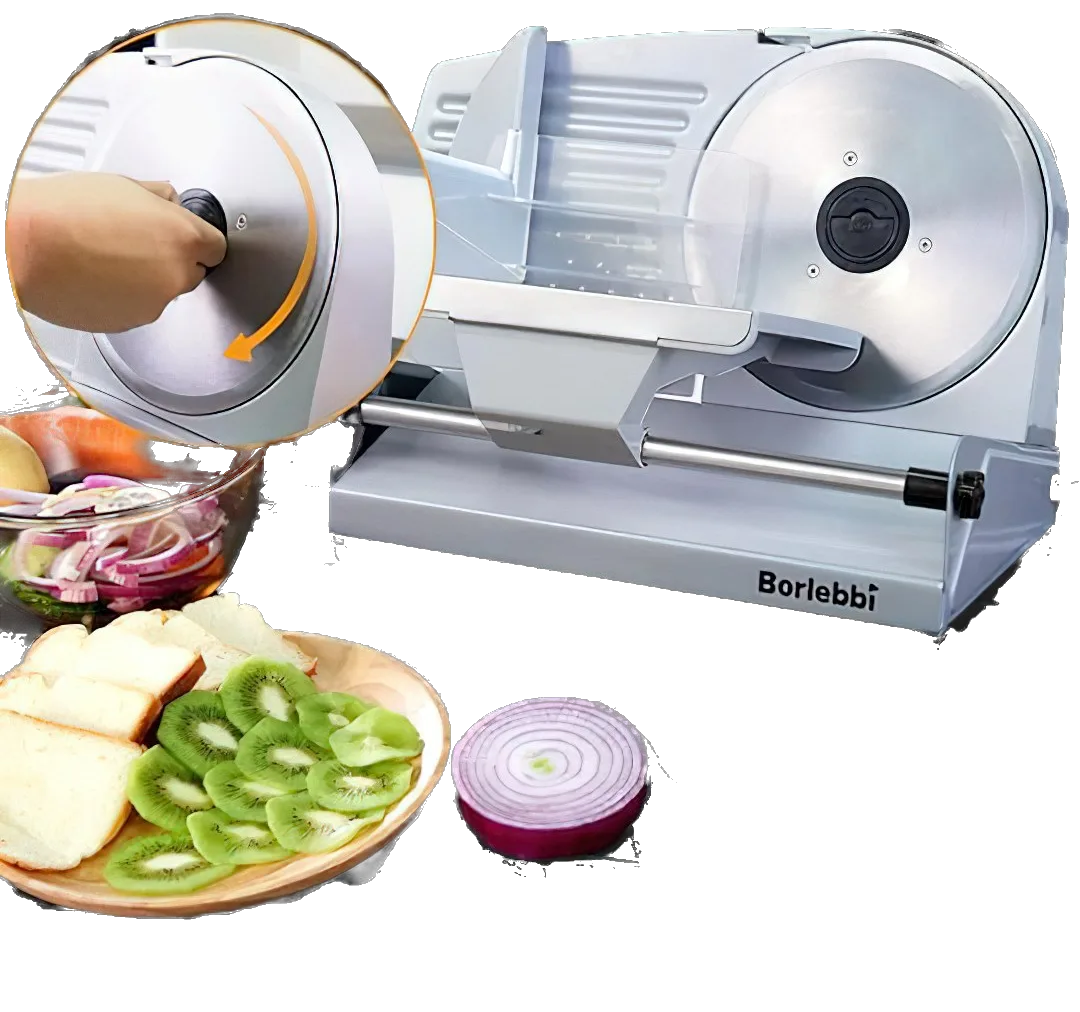
Image source: Bing (Web (fair-use with source credit))
1. Preparing Your Ingredients for Drying
Proper preparation ensures even drying and the best results. This step is crucial, no matter what you're dehydrating.
- Slice Thinly and Evenly: Aim for slices between 1/8 and 1/4 inch thick. Uneven slices will dry at different rates, leading to some pieces being over-dried while others are still too moist. A mandoline slicer is ideal for consistent results, but a sharp knife works too.
- Remove Pits, Seeds, and Stems: Anything hard or woody should be removed before drying to ensure a pleasant final texture.
- Marinate (for Meats): If you're making jerky, this is your chance to add flavor. Use marinades that are low in sugar, as high sugar content can cause the meat to burn at dehydrating temperatures. Ensure the meat is thoroughly coated.
2. Arranging Food in the Air Fryer Basket
How you place the food in the air fryer basket makes a big difference in how evenly it dries.
- Single Layer Only: Do not stack your food. Each piece needs direct contact with the circulating hot air. Piling food up means the bottom layers won't get enough air exposure.
- Allow for Airflow: Don't overcrowd the basket. Leave a small gap between each piece so air can move freely around everything. This might mean you have to dehydrate in batches, especially if you have a lot of food.
3. Setting Up Your Air Fryer for Dehydration
The right settings are critical for successful dehydration. The goal is low, slow drying, not rapid cooking.
- Low Temperature is Key: Set your air fryer to its lowest temperature, typically between 100°F (38°C) and 150°F (65°C). If your air fryer doesn't go this low, you may need to experiment with the lowest setting and check more frequently.
- Use the Dehydrate Function (If Available): Some air fryers come with a specific "dehydrate" setting. If yours has one, use it! It's usually pre-programmed for optimal temperature and fan speed.
- Duration Varies: Dehydrating takes hours, not minutes. Plan for anywhere from 4 to 12 hours, depending on the food type, thickness, and your specific appliance.
4. Monitoring and Flipping for Even Drying
Regular checks are essential to ensure all your food dries consistently.
- Check Every Hour or Two: Pull out the air fryer basket periodically to inspect the food.
- Flip the Pieces: Turn each piece of food over to expose the other side to the circulating air. This helps prevent one side from drying out faster than the other.
5. Testing for Perfect Doneness
Knowing when your food is ready is more art than science, relying heavily on your senses.
- Cool to Test: Let a piece cool for a few minutes before testing. Warm food can feel more pliable than it will when completely cool.
- The Bend Test: For fruits and jerky, the food should bend without breaking. It should feel leathery or pliable but not wet or sticky. If it snaps, it's likely over-dried.
- Crispness Check: For items like kale chips, they should be brittle and snap easily when bent. If there’s any softness, they need more drying time.
Common Mistakes and How to Fix Them
Even with simple processes, a few missteps can lead to less-than-ideal results. Avoiding these common errors will help you get perfectly dehydrated snacks every time.
Image source: Bing (Web (fair-use with source credit))
Avoiding Uneven Drying
One of the biggest frustrations is when some pieces are dried to perfection, while others remain too moist or are burnt. This often stems from inconsistent preparation or arrangement.
- Problem: Slices are cut at varying thicknesses.
- Fix: Use a mandoline slicer or a very sharp knife to ensure all pieces are uniformly sliced, ideally between 1/8 and 1/4 inch thick. This is critical for even moisture removal.
- Problem: Food is overcrowded in the air fryer basket.
- Fix: Arrange food in a single layer with space between pieces. If you have a lot to dehydrate, plan to do it in multiple batches. This allows hot air to circulate freely around every item.
Preventing Over or Under-Drying
Knowing when to stop the drying process is key. Too little time leaves food vulnerable to spoilage, while too much time results in tough, brittle snacks.
- Problem: Food is still moist or sticky after the expected drying time.
- Fix: Continue drying, checking every hour. Factors like humidity in your kitchen or the specific moisture content of your produce can affect drying times. Ensure the temperature is set as low as possible.
- Problem: Food snaps easily but feels dry and brittle.
- Fix: Remove the food immediately. If you plan to eat it within a few days, this might be okay, but for longer storage, it's over-dried. For jerky, it should bend without breaking.
Sticking Woes and Other Issues
Sometimes food can stick to the basket, or unexpected things can happen during the process.
- Problem: Sticky fruits or meats adhere to the air fryer basket.
- Fix: Ensure your basket is clean and dry before use. For particularly sticky items, lining the basket with parchment paper (with holes poked for airflow) can help, though it may slightly increase drying time. Some manufacturers advise against parchment paper, so check your appliance manual.
- Problem: Delicate herbs get blown around or pulverized by the fan.
- Fix: Use the lowest fan speed if your air fryer offers this option. You can also place herbs under other, heavier items or use a mesh mat designed for dehydrating if your model accommodates it.
Air Fryer Dehydrating vs. Dedicated Dehydrators
When deciding how to get into dehydrating, you'll likely wonder if your air fryer is truly up to the task compared to a dedicated appliance. While both methods aim to remove moisture, they have different strengths and limitations. Your air fryer is excellent for small batches and convenience if you already own one.
A dedicated food dehydrator, however, offers more consistent temperature control and larger capacity. If you plan to dehydrate frequently or in larger quantities, a specialized unit might be a worthwhile investment. For occasional use or trying out new recipes, the air fryer is a perfectly capable starting point.
As of 2026, many home cooks find their air fryer meets their needs for snack-making.
Safety First: Key Precautions for Dehydrating Meat and More
Dehydrating food, especially raw meat, involves some safety considerations to prevent spoilage and potential health risks. Adhering to best practices ensures your homemade snacks are safe to consume. Always consult guidelines from reputable sources like the U.S.
Department of Agriculture (USDA) for specific food safety recommendations, especially regarding internal temperatures for meat.
- Meat Handling: If dehydrating raw meat for jerky, it's crucial to prevent bacterial growth.
- Pre-cook: Many experts recommend pre-cooking meat to an internal temperature of 160°F (71°C) for beef and 165°F (74°C) for poultry before dehydrating. This step is vital for killing harmful bacteria.
- Curing Agents: Using marinades with a curing agent, such as salt or specialized jerky cures, can also help inhibit bacterial growth during the drying process.
- Cleanliness: Ensure your air fryer basket, utensils, and all food preparation surfaces are thoroughly cleaned before and after use.
- Proper Storage: Once food is completely dehydrated and cooled, store it in airtight containers in a cool, dry place. This prevents rehydration from ambient moisture and helps maintain quality and safety. If you notice any signs of mold or off-smells, discard the batch immediately.
Frequently Asked Questions About Air Fryer Dehydrating
### How long does it typically take to dehydrate food in an air fryer?
Drying times vary greatly depending on the food type, thickness, and your air fryer model, but generally range from 4 to 12 hours. It's always best to check for doneness rather than relying solely on a set time.
### Can I dehydrate raw meat for jerky in my air fryer?
Yes, but with important safety precautions. It's highly recommended to pre-cook the meat to an internal temperature of 160°F (71°C) for beef or 165°F (74°C) for poultry before dehydrating, or use a marinade with a curing agent to inhibit bacterial growth.
### What is the ideal temperature for dehydrating food in an air fryer?
The ideal temperature is typically as low as your air fryer will go, usually between 100°F (38°C) and 150°F (65°C). This low heat gently removes moisture without cooking the food.
### How do I know when my dehydrated food is ready?
For fruits and jerky, they should be leathery and bend without breaking but shouldn't feel wet or sticky. For items like kale chips, they should be brittle and snap easily. Always let a piece cool completely before testing.
### Can I dehydrate food in my air fryer if it doesn't have a specific dehydrate setting?
Yes, if your air fryer has a low-temperature setting (around 100-150°F or 38-65°C), you can use that. Some users may prop the door slightly ajar to lower the temperature further, but always check your appliance's manual to ensure this is safe for your model.