How to Cook Quinoa in a Rice Cooker
Ever opened a rice cooker, added quinoa, pressed the button, and ended up with a pot full of beige mush? That's the most common story we hear. Knowing how to cook quinoa in a rice cooker comes down to two things: the liquid ratio and the type of machine you own.
Once you match those, the cooker does all the work.
As of 2026, most multi-cookers and higher-end rice cookers include a dedicated quinoa or whole-grain cycle. Even the simplest one-button cooker can produce fluffy quinoa, though. The hidden trap is the measuring cup that came with your cooker.
It holds 180 milliliters, not the 240 milliliters of a standard US measuring cup. That difference alone can ruin a batch. So let's match your machine to the right method.
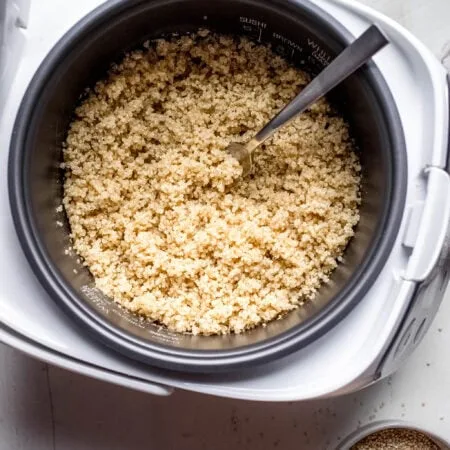
Image source: Bing (Web (fair-use with source credit))
The Right Ratio: Your Quick Answer
Rinse the quinoa well. Use a fine-mesh strainer and run cold water over it for about 30 seconds. Drain it thoroughly, then combine it with liquid in the cooker pot.
For white quinoa, start with 1 cup quinoa and 1.5 cups liquid in a basic cooker. In machines with a dedicated quinoa program, use 1.75 cups liquid, because the cycle tends to be shorter. Red, black, and tricolor blends behave differently, so check the section on adjusting liquid.
The goal is a tender grain with a visible spiral ring and no puddle of water at the bottom. If the cooker switches to warm before the liquid is absorbed, your ratio was too high. If you hear sputtering or get a burnt layer, your ratio was too low.
The Simple Formula That Works in Almost Every Cooker
Here's the formula we recommend after comparing manufacturer manuals and aggregated user reports. Use one part quinoa to two parts liquid in a basic one-button cooker. Use one part quinoa to one and three-quarter parts liquid in a fuzzy-logic or multi-cooker with a grain setting.
If your cooker has a dedicated quinoa button, follow the same 1-to-1.75 ratio and trust the machine.
For a small batch, that means 1/2 cup dry quinoa and 3/4 cup water in a multi-cooker. For a full pot, use 2 cups quinoa and 3.5 cups liquid. The key is to use the same cup for both ingredients.
Mixing the included rice-cooker cup with a standard measuring cup throws everything off.
Know Your Rice Cooker Type First
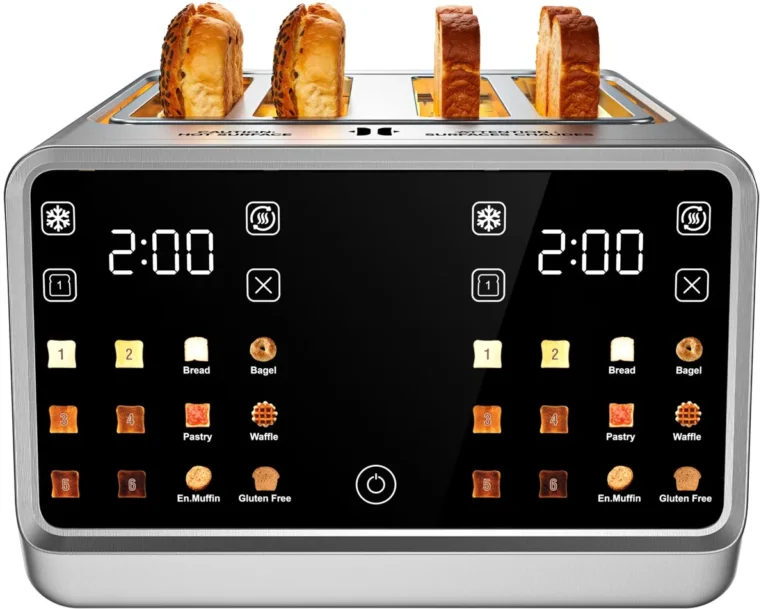
Before you measure anything, figure out what kind of rice cooker you own. The three common types are basic one-button cookers, fuzzy-logic cookers, and multi-cookers with a quinoa or whole-grain setting. Each one handles liquid differently.
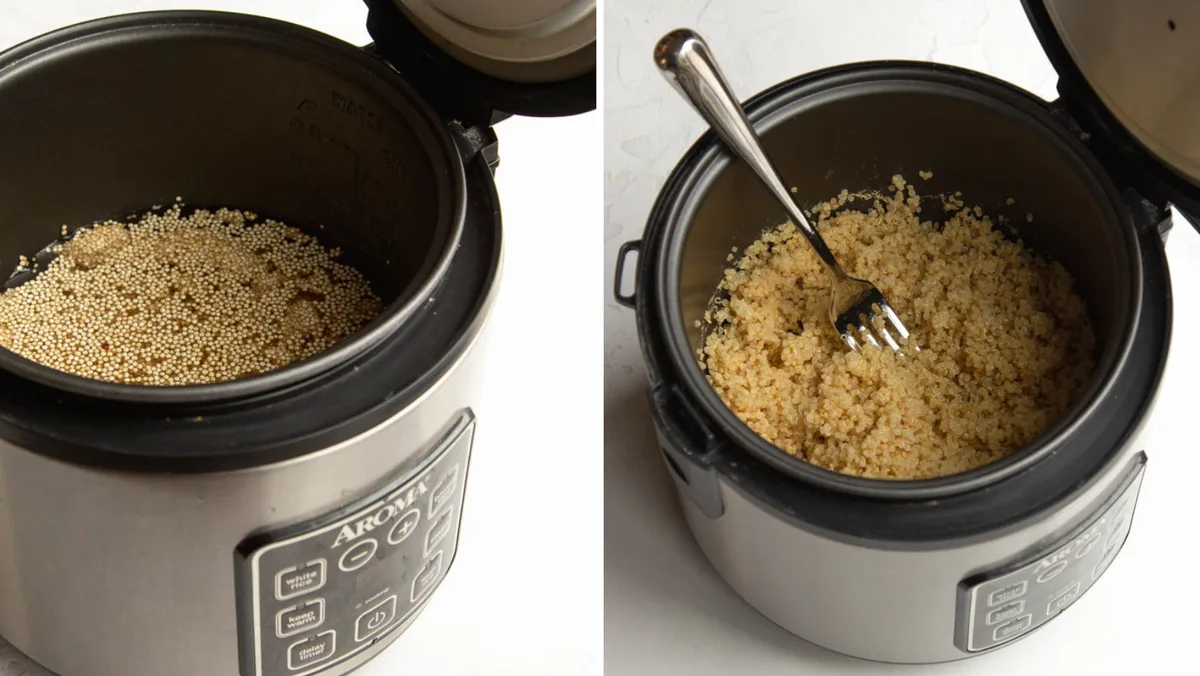
Image source: Bing (Web (fair-use with source credit))
Basic One-Button Cookers: Lower the Liquid
If you have a basic one-button cooker, it boils aggressively until the thermostat detects the boiling point, then switches to warm. That means steam escapes quickly and the cooking window is shorter. Use one part quinoa to two parts liquid.
That extra water compensates for the loss. Rinse the quinoa first, then let the pot sit on warm for ten minutes before fluffing. Your cooker's water line is marked for rice, so don't trust it for quinoa.
Fuzzy-Logic and Multi-Cookers: Set It and Forget It
These machines track temperature and time with a microcontroller. The manual usually lists a whole-grain setting. Use one part quinoa to 1.75 parts liquid.
Let the machine run the full cycle, then let it rest. The sensor handles the switch to warm automatically, so there's less guesswork.
Cookers with a Dedicated Quinoa or Whole-Grain Setting
This is the easiest route. Press the quinoa button, use 1.75 parts liquid, and walk away. The preset cycle already includes a rest phase.
Manufacturer specs indicate these cycles run roughly 25 to 30 minutes. That's longer than a basic cooker, but the texture comes out more consistent.
Which Path Is Yours? Decision Branch
If your cooker has only one button, follow the 2-to-1 path. If it has a grain preset but no quinoa button, use 1.75-to-1. If it has a dedicated quinoa setting, use 1.75-to-1 and trust the program.
That's the whole decision tree. Choose your branch and move to the steps below.
Step-by-Step: Cooking Quinoa in Any Rice Cooker
This sequence works in every rice cooker we've seen. The order matters, but the process is forgiving. Here's how to cook quinoa in a rice cooker from start to finish.
Rinse or Skip? How to Handle Saponins
Saponins are a natural bitter coating on the grain's outer layer. Most quinoa sold in bulk still carries traces of it. Rinse one cup of quinoa in a fine-mesh strainer under cool water for at least 30 seconds.
Rub the grains gently with your fingers, then drain well. Some packages say pre-rinsed, but a quick rinse never hurts. Dry quinoa clumps less and absorbs water more evenly.
Measure with the Right Cup and Why It Matters
Use the same cup for quinoa and liquid. If your rice cooker came with its own cup, remember it's 180 milliliters. A standard US measuring cup holds 240 milliliters.
That extra 60 milliliters per cup can turn fluffy quinoa into porridge.
If you want precision, switch to weight-based measuring instead. Zero out the bowl first, then add the quinoa. For consistent results, regular calibration keeps readings accurate.
A simple upkeep routine prevents drift and keeps the scale reliable.
Load, Set, and Walk Away
Add the quinoa and chosen liquid to the inner pot. Add a pinch of salt or a splash of broth now, before cooking. Do not stir after the cycle starts.
Stirring can confuse the thermostat and create hot spots. Select your cycle, close the lid, and let the machine do its job. Resist the urge to check.
Every time you lift the lid, you lose steam and change the cooking temperature.
The Rest Step That Makes It Fluffy
When the cooker switches to warm, let the quinoa rest for five to ten minutes with the lid closed. This allows the grains to absorb any remaining liquid and relax. Fluff gently with a fork, not a spoon.
A fork separates the grains without crushing them. If your cooker has a keep-warm setting, use it as the resting stage. Just don't leave it there for hours.
Adjusting Liquid for Quinoa Variety, Broth, and Altitude
Not all quinoa behaves the same. White quinoa cooks up light and fluffy. Red quinoa holds its shape and has a firmer bite.
Black quinoa is the crunchiest and takes the longest. Tricolor blends combine all three, so they need a bit more liquid to avoid a hard center.

Image source: Web (Bing) / commons.wikimedia.org (Web image (fair-use with source credit))
| Variety | Liquid per 1 cup quinoa | Notable behavior |
|---|---|---|
| White quinoa | 1.75 to 2 cups | Fluffs lightest, cooks fastest |
| Red quinoa | 2 cups | Holds shape, nutty bite |
| Black quinoa | 2 cups | Crunchier texture, earthy flavor |
| Tricolor blend | 2 cups | Mix of textures, takes the longest |
Water vs Broth: Flavor Impact and Salt Content
Water lets the quinoa's natural nutty flavor shine. Vegetable broth adds a savory depth without meat. Chicken broth gives an even richer taste.
Just watch the salt. Most broths already contain sodium, so skip adding extra salt until after cooking. Taste the cooked quinoa first, then season.
That way, you can't overshoot. USDA FoodData Central lists quinoa's protein and mineral profile, but for cooking behavior, the rice cooker manual matters more.
High-Altitude and Long-Cycle Cookers
At higher altitudes, water boils at a lower temperature. That means quinoa takes longer to cook and needs more liquid. Add an extra two to three tablespoons of liquid per cup when cooking above 5,000 feet.
Fuzzy-logic cookers tend to run longer cycles anyway, so they handle altitude better than basic one-button models. If you're cooking on an extended cycle, check the texture once and close the lid fast if it's not done.
Common Mistakes and How to Fix Them
Even careful cooks hit these issues. The good news is that each one has a simple fix.
Foaming Over the Lid
Saponins cause most of the foaming, and grease or starch can add to it. That's why rinsing matters so much. Foam also happens when you fill the pot past the max fill line.
Keep the quinoa and liquid below the cooker's marked maximum. If it still threatens to bubble over, place a clean paper towel across the top of the pot before closing the lid. It catches the foam without blocking steam.
Burnt Bottom Layer
A burnt crust usually means the liquid ratio was too low or the cooker is on a cycle that's too long for quinoa. A thin brown layer on the bottom is normal in some machines. A thick, rock-hard layer means trouble.
Use a bit more liquid next time and switch to the quinoa or grain setting if you have one. After cooking, unplug the cooker and let the pot cool before soaking. Never scrape a hot nonstick surface.
Mushy or Crunchy Quinoa
Mushy quinoa comes from too much liquid. Crunchy quinoa comes from too little liquid or a cycle that ended too soon. Both are fixable.
For mushy quinoa, reduce the liquid by a quarter cup next batch. For crunchy quinoa, add two tablespoons of water, restart the cooker on warm, and let it sit covered for ten minutes. The residual heat steams the grains without overcooking them.
Why Opening the Lid Mid-Cook Ruins Texture
Every time the lid lifts, steam escapes and the temperature drops. The cooker's sensor then overcorrects, which leads to uneven cooking. One quick peek can add several minutes to the cycle and turn the bottom layer into paste.
Trust the machine. If you're genuinely unsure, check only after the cooker switches to warm. That's the safest moment to judge doneness without wrecking the batch.
Storing, Reheating, and Repurposing Leftover Quinoa
Cooked quinoa stores better than most grains. It doesn't turn gummy like rice, and it freezes without turning to mush. The key is to cool it quickly and seal it properly.
Fridge and Freezer Guidelines
Let the quinoa cool completely before sealing. Condensation inside the container breeds soggy grains and faster spoilage. Store it in an airtight container in the fridge for 4 to 5 days.
Press a paper towel on top before closing the lid to absorb extra moisture.
| Storage method | Container | How long |
|---|---|---|
| Fridge | Airtight container | 4 to 5 days |
| Freezer | Zip-top bag, pressed flat | Up to 3 months |
For the freezer, press the quinoa flat in a zip-top bag. This saves space and lets you break off a portion without thawing the whole block. Just snap off what you need and seal the bag again.
The Splash-of-Liquid Reheat Trick
Reheated quinoa goes dry fast. Add a teaspoon of water or broth per cup of quinoa before reheating. Cover and microwave in 30-second bursts, fluffing between each one.
On the stovetop, a splash of liquid and 2 to 3 minutes of steaming restores the original texture.
Quick Meal Prep Ideas Using Cooked Quinoa
- Grain bowls with roasted vegetables, beans, and a simple vinaigrette.
- Breakfast porridge with milk, cinnamon, and chopped fruit.
- Quinoa patties, binding with egg and breadcrumbs, then pan-frying.
- Cold salads with cucumber, tomato, feta, and lemon juice.
If you're portioning out meals, portioning by weight keeps each container consistent.
Frequently Asked Questions
Can you cook quinoa and rice together in a rice cooker?
Yes, but use a mixed-grain setting if your cooker has one. Combine 1/2 cup quinoa and 1/2 cup rice with 1.75 cups liquid. White rice takes longer, so the quinoa will come out softer.
In a basic cooker, expect the rice to stay firmer than the quinoa.
Do you really need to rinse quinoa if the package says pre-rinsed?
Rinse anyway. Pre-rinsed labels help, but saponin traces and dust can still remain. A 30-second rinse removes bitterness and keeps the cooker from foaming over.
It costs ten seconds and consistently improves the final texture.
Can I use the cooker's keep-warm function as a resting stage?
Yes, for 5 to 10 minutes. Keep-warm lets residual steam finish cooking the grains. Beyond 30 minutes, the bottom layer dries out and sticks to the pot.
Fluff with a fork once the rest time is done.
How long does quinoa last in the fridge?
4 to 5 days in an airtight container. After that, it dries out and may spoil. Freeze for up to 3 months.
Reheat with a splash of water or broth to bring back the moisture.