How to Cook White Rice in a Rice Cooker
If you've ever ended up with a mushy pot of rice or a scorched mess stuck to the bottom, you already know the struggle. Learning how to cook white rice in a rice cooker fixes that, because the machine handles the heat, timing, and steam for you. The real trick isn't pressing the button, it's getting the water ratio and prep steps right before you do.
Most standard rice cookers use a 180 ml cup (about ¾ of a US cup) and have water lines printed inside the pot. As of 2026, the consensus across manufacturer manuals and aggregate user experience is clear: rinsing the rice, using the correct ratio, and letting it rest before serving make the difference between "fine" and "actually good." Let's walk through the whole process so you can nail it every time.
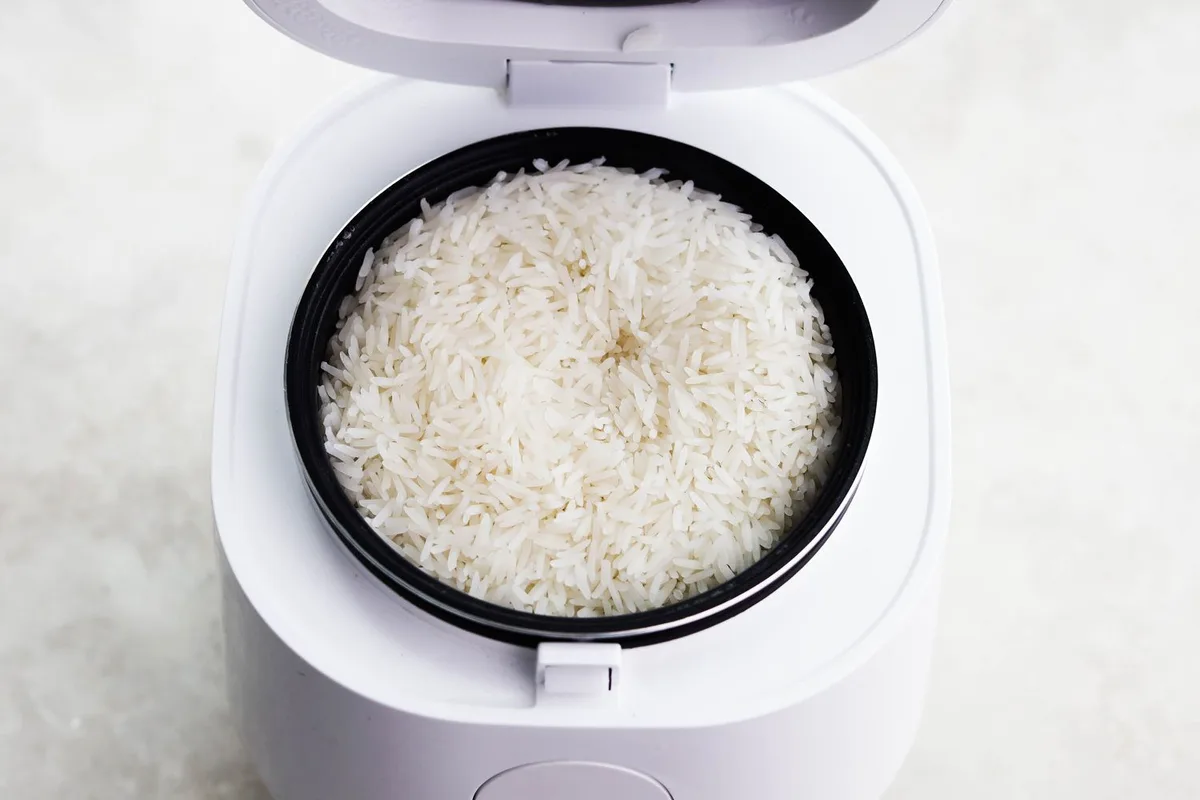
Image source: Bing (Web (fair-use with source credit))
Start Here: Choose Your White Rice, Grab the Right Ratio
The biggest mistake people make is treating all white rice the same. That just doesn't work. Long-grain, medium-grain, and short-grain rice absorb water differently, so the first step is figuring out which one you're cooking.
| Rice Type | Examples | Water Ratio (per 1 rice-cooker cup) | Texture Result |
|---|---|---|---|
| Long-grain | Jasmine, Basmati, standard American long-grain | 1.5 to 1.75 cups water | Fluffy, separate grains |
| Medium-grain | Calrose, sushi-grade medium grain | 1.25 to 1.5 cups water | Slightly sticky, tender |
| Short-grain | Japonica, sushi rice, arborio | 1.25 to 1.5 cups water | Soft, sticky, clumping |
Long-grain rice has less surface starch and stays firmer when cooked. Short-grain rice releases more starch, which makes it cling together naturally. If you use a one-size-fits-all ratio, you'll get disappointment.
Most rice cookers have printed water lines that match these ratios. But they assume you're using the included measuring cup, not a regular kitchen cup. That little detail trips up more people than you'd think.
So before anything else: know your rice type, then measure accordingly. That single distinction solves most rice cooker failures before they happen.
Quick Answer
Rinse the rice until the water runs clear. Drain it well. Add the correct water ratio.
Press start.
Let the rice cook, then let it sit for 10 to 15 minutes on keep-warm. Fluff with a rice paddle. Serve.
That's the entire process in five sentences. The rest is fine-tuning the details, so your specific rice type and the texture you want come out perfect every single time.
How to Cook White Rice in a Rice Cooker: Step-by-Step Workflow
Now let's get into the actual workflow. Follow it in order the first few times. Once you've done it twice, it'll feel automatic.
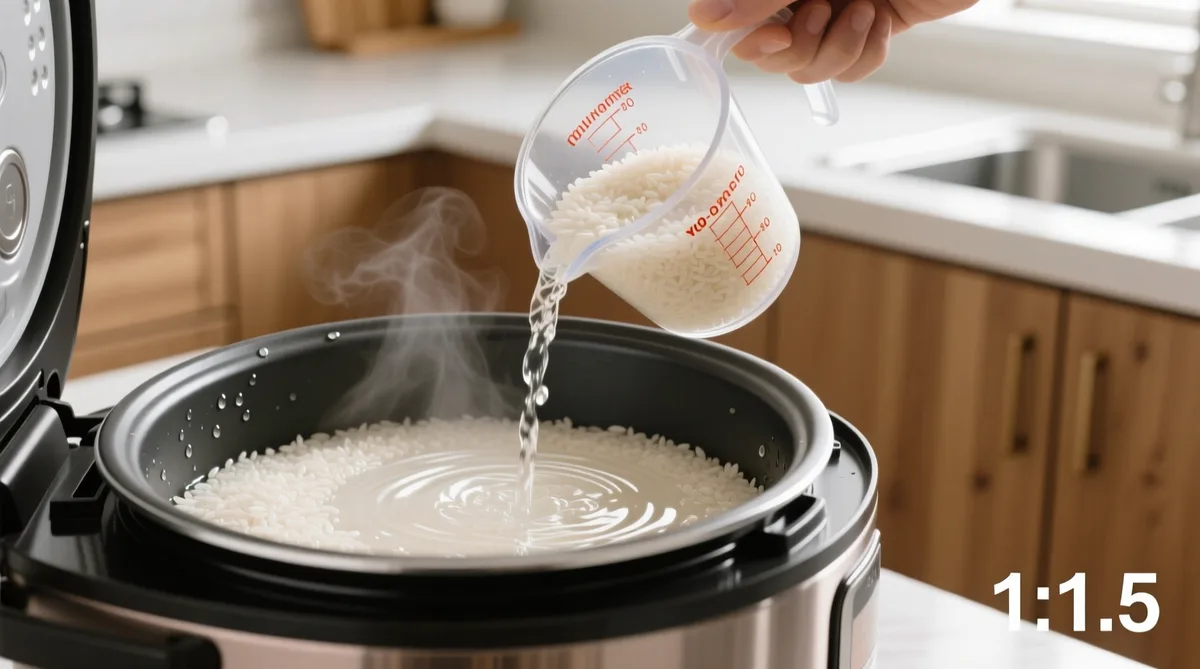
Image source: Bing (Web (fair-use with source credit))
Step 1: Measure the rice with the rice cooker cup
Always use the plastic cup that came with your rice cooker. It holds 180 ml, not the 240 ml of a standard US measuring cup. If you swap in a regular cup, you'll throw off every water ratio by about 25 percent, and your rice will come out wrong.
Step 2: Rinse the rice
Put the rice in a fine-mesh sieve or a bowl. Rinse under cold running water, swishing the grains with your fingers. Keep going until the water turns from milky to mostly clear.
This usually takes three to five rinses.
Why bother? Rinsing washes away excess surface starch. That starch is what makes rice turn gummy or clump into a paste.
Cleaner rice means cleaner, more separate grains. If your rice has been "fortified" with iron or vitamins (common in US long-grain), rinsing removes some of it, but the texture improvement is worth it for most cooks.
Step 3: Drain and transfer
Shake the sieve to get rid of excess water. Transfer the drained rice into the inner pot of the rice cooker. Don't let it sit in the rinsing water; you want the fresh cooking water to be exactly what you measured.
Step 4: Add the correct amount of water
Here's where the grain type matters again. Use the ratios from the table above. If your rice cooker has water lines inside the pot, they're designed for the included cup, so a full pot of rice to the "2 cup" line equals two rice-cooker cups.
Step 5: Cook and let it rest
Press the white rice setting, or just hit start on a basic model. When the cooker switches to keep-warm, let the rice sit for 10 to 15 minutes without opening the lid. This lets the steam redistribute through the grains and firms up the texture.
Step 6: Fluff and serve
Use a rice paddle or a wooden spoon. Gently fold the rice from the edges toward the center. Fluffing separates the grains and releases excess steam.
Then it's ready to serve.
Texture Tuning: Adjust Water, Soak Time, and Cooker Settings for Perfect Results
The basic recipe gets you edible rice. Tuning it gets you rice you actually crave. Here's how to adjust things based on what you want.
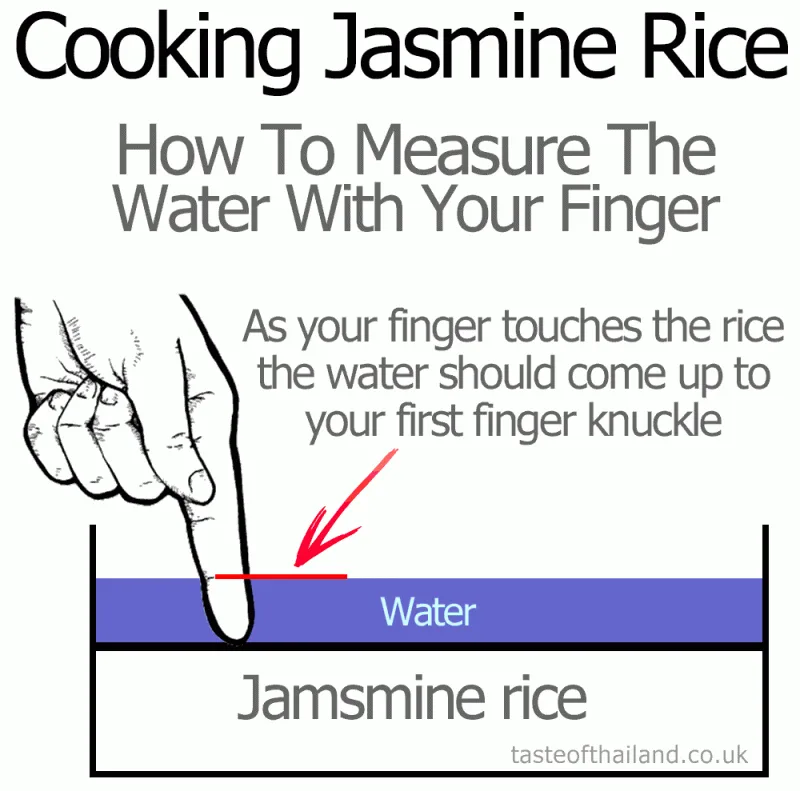
Image source: Bing (Web (fair-use with source credit))
If you want firmer, drier rice
Cut the water back slightly. For long-grain rice, drop from 1.75 cups to 1.5 cups per cup of rice. The grains will separate more and hold their shape better.
This works great for fried rice later, since drier rice absorbs sauces without turning mushy.
If you want stickier, softer rice
Add a little more water and consider a short soak before cooking. Soaking for 20 to 30 minutes lets the grains absorb water before heat hits them. That gives a plumper, softer result.
It's especially helpful for short-grain and sushi rice.
The knuckle method
If you grew up in a household that cooked rice daily, you probably know this one. Add water until it reaches your first knuckle when your fingertip touches the top of the rice. It's imprecise, but it works surprisingly well across many rice cookers and pot sizes.
If you don't trust the printed lines, this is a solid backup.
Use the right cooker setting
Many mid-range and premium rice cookers have separate settings for white rice, quick cook, and mixed grains. Some even have specific programs for jasmine or sushi rice. Use the setting that matches your grain.
A quick cook setting is faster but often leaves rice slightly firmer, since it shortens the absorption time.
The soak advantage
A 20-minute soak before pressing start produces noticeably plumper grains. It also reduces the chance of a hard, undercooked center. If you're cooking short-grain or sushi rice, soaking isn't optional, it's basically required for the right texture.
For jasmine and basmati, it's less critical but still helpful.
Mistakes to Avoid: Soggy, Crunchy, and Stuck-On Rice (And How to Fix Them)
Everyone hits a failure now and then. The good news is that every common rice cooker problem has a fix.
- Using the wrong measuring cup. A standard US measuring cup holds about 240 ml. A rice cooker cup holds 180 ml. Swap them and your water ratio gets thrown off by a huge margin. If your rice comes out soggy or undercooked, check which cup you actually used.
- Skipping the rinse. Unrinsed rice releases too much starch during cooking. That starch creates a foamy boil-over and leaves your rice sticky and gummy. If cooked rice makes a grain paste on the bottom of the pot, you likely skipped this step.
- Opening the lid during cooking. Every time you lift the lid, you release steam and drop the temperature inside. The rice cooker has to compensate, and it usually overcooks or dries out the edges. Resist the urge to peek.
- Not resting the rice after cooking. Straight-off-the-button rice is often wet on the surface. The 10 to 15 minute rest on keep-warm lets the moisture settle evenly. Skipping it gives you uneven, clumpy rice.
- Too much water in general. If your rice turns to porridge, you're adding too much water. Cut back by ¼ cup per cup of rice next time. Also check whether your cooker's printed lines assume pre-rinsed rice. Most do, but some budget models don't.
- Rice stuck to the bottom. This happens when the keep-warm cycle runs too long on some cookers, especially the cheap ones. If rice sits for hours, the bottom layer dries out and sticks. Unplug or switch off after a reasonable amount of time.
For precise measuring, especially if you're scaling recipes, a quick weight check with a compact kitchen digital scale can make a real difference. Weighing your rice removes all guesswork from the ratio.
Keeping and Reheating Leftover Rice Safely
Cooked white rice keeps well, but only if you handle it right. The USDA's food safety guidance recommends refrigerating leftovers within two hours. Room temperature rice becomes a breeding ground for bacteria faster than most people expect.
Cool the rice down before sealing it. Spread it in a shallow container so it cools evenly. Once it's at room temperature, pop the lid on and refrigerate.
Cooked white rice stays good for three to five days in the fridge.
Freezing works too. Portion the rice into sealed bags or containers and freeze for up to a month. Weighing out individual portions before freezing makes meal prep far easier later on.
When reheating, add a splash of water and cover the bowl. Microwave on high until steaming throughout. A covered pan on the stove works just as well.
Avoid reheating rice more than once, because every cycle of cooling and heating adds food safety risk.
Here's a bonus: day-old refrigerated rice is the best base for fried rice. The grains dry out slightly, which means they absorb sauce without turning mushy. That's not a flaw.
It's a feature.
Frequently Asked Questions
How much water do I use for white rice in a rice cooker?
Use 1.5 to 1.75 cups of water per rice-cooker cup for long-grain rice. Use 1.25 to 1.5 cups for medium and short-grain rice. The rice cooker cup holds 180 ml, not the 240 ml in a standard measuring cup.
Rinse the rice first, then match the water to your grain type.
Do I need to rinse white rice before putting it in a rice cooker?
Yes, rinse until the water runs clear. That usually takes three to five washes. Rinsing removes surface starch that causes gumminess and foaming.
If you prefer sticky rice, you can skip it, but expect a starchier texture and more foam during cooking.
Why does my rice stick to the bottom of the rice cooker?
Sticking usually means the keep-warm cycle ran too long or you used too little water. Turn the cooker off within an hour after cooking. Also confirm you're using the 180 ml rice cooker cup, not a regular kitchen cup.
Why is my rice mushy and soggy?
Too much water is the most common cause. Cut back by ¼ cup per cup of rice next time. Unrinsed rice can also turn mushy, since leftover starch makes grains clump and break down.
If you want exact repeatability, taring your scale before measuring takes the guesswork out entirely.
Can I cook jasmine and basmati rice the same way?
Mostly yes. Both do well with 1.5 to 1.75 cups of water per rice-cooker cup. Jasmine leans slightly softer, while basmati turns out fluffier with a rinse and a 10-minute soak before cooking.
Adjust from there based on your taste.
How long does white rice take in a rice cooker?
Most basic rice cookers finish white rice in 25 to 35 minutes. A quick-cook setting runs about 15 to 20 minutes but leaves the rice firmer. Always add 10 to 15 minutes of rest time after cooking for the best texture.
Final Decision Guide: Your Quick-Start Rice Cooker Reference
Here's the whole method in one place.
- Cooking jasmine or basmati: rinse well, use 1.5 to 1.75 cups of water per rice-cooker cup, skip the soak.
- Cooking short-grain or sushi rice: rinse well, use 1.25 to 1.5 cups of water, and soak for 20 minutes before pressing start.
- Want firmer rice for fried rice: cut the water by ¼ cup and keep the 10-minute rest time.
- Want softer, stickier rice: add ¼ cup of water and extend the rest time to 15 minutes.
- Mushy rice: use less water next batch.
- Crunchy rice: use slightly more water and make sure you aren't skipping the rinse.
The rice cooker handles the heat. Your job is matching the grain to the right water amount, rinsing it properly, and letting it rest. Master those three steps and you'll get consistently good rice every single time.
If you want to make measurements even more precise, choosing a good digital scale helps when you're scaling recipes up or down. A little routine upkeep keeps the numbers accurate for years.







One Comment