How to Clean Hand Mixer Beaters
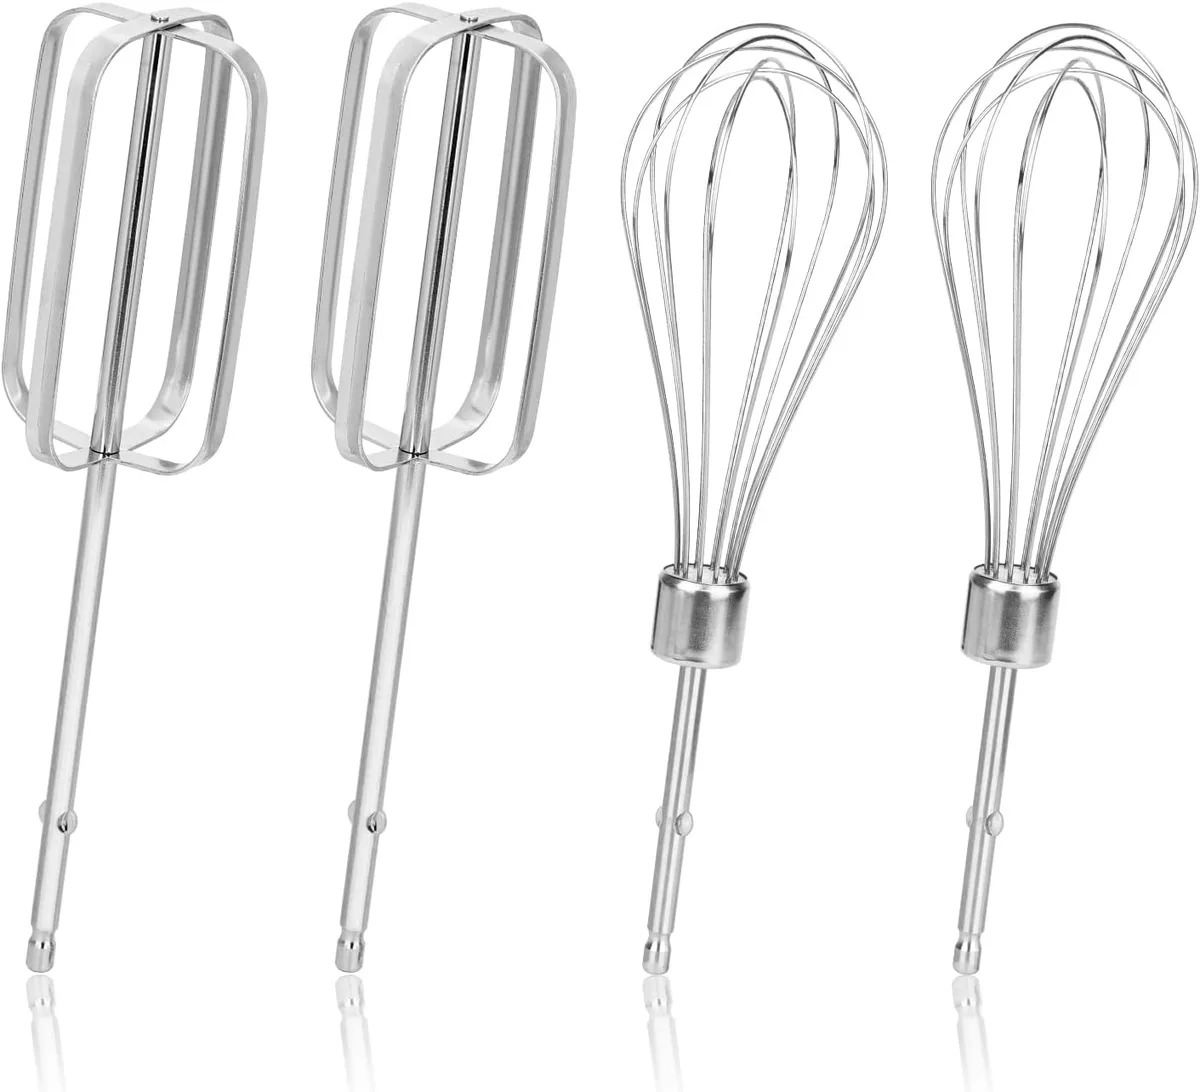
Image source: Bing (Web (fair-use with source credit))
Cleaning Your Hand Mixer Beaters: A Visual Guide
Sticky batter, dried-on dough, or smeared cream cheese, we’ve all faced the aftermath of baking with a hand mixer. Getting those beaters spotless can feel like a chore, especially when residue hides in all the nooks and crannies. Fortunately, keeping your hand mixer beaters in top shape is straightforward with the right approach.
Properly cleaning your hand mixer beaters ensures they’re hygienic for your next culinary creation and extends the life of your appliance. Manufacturer specifications often recommend cleaning attachments immediately after use to prevent food particles from hardening, a common practice that aligns with food safety guidelines from the FDA, as per their general recommendations for kitchen hygiene.
Quick Answer
To clean hand mixer beaters, unplug the mixer, detach the beaters, and rinse off loose debris. Wash them thoroughly with hot, soapy water, using a brush for stubborn bits. Rinse them completely and dry them thoroughly to prevent rust.
Why Visuals Matter for Cleaner Beaters
When you’re elbow-deep in cleaning, sometimes words alone aren’t enough. That’s where visuals come in handy, especially for tasks like cleaning appliance attachments. Seeing the process, like how to angle a brush into a finned beater or the best way to rinse a whisk attachment, makes all the difference.
Our goal here is to walk you through each step so clearly, you can practically picture it. We'll point out the specific areas that tend to collect the most gunk and show you the most effective ways to tackle them. This guide uses clear descriptions and references to what you'd see in an image to ensure you get those beaters sparkling clean, every time.
Quick Start: Detaching and Pre-Rinsing Beaters
Before you dive into the nitty-gritty, the first, crucial step is always safety and preparation. Always make sure your hand mixer is unplugged from the power source before you even think about touching the beaters. This simple action prevents accidental activation and potential injury.
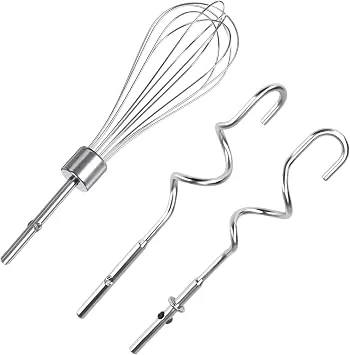
Once unplugged, you'll need to detach the beaters. Most hand mixers have a simple release button or lever. Press this firmly, and the beaters should slide out easily.
Give them a quick rinse under cool running water right away. This helps wash away the majority of loose food particles, like excess batter or egg white, before they have a chance to dry and harden.
Step-by-Step Cleaning: Tackling Batter Buildup
Now that your beaters are detached and pre-rinsed, it’s time for a more thorough cleaning to get rid of any lingering residue. This process is key to maintaining both hygiene and the performance of your mixer. Don’t underestimate the power of a good scrub and the right cleaning agents.
Using Hot, Soapy Water and the Right Tools
The most effective way to clean your hand mixer beaters involves hot, soapy water. Fill a sink or a basin with warm water and add a few drops of dish soap. Swish it around to create suds.

You’ll want a good brush for scrubbing. A stiff-bristled dish brush works well, but for those really tight spots, a bottle brush or even an old, clean toothbrush can be a lifesaver. Gently scrub the entire surface of each beater, paying close attention to any seams, grooves, or the edges where batter tends to cling.
For whisk attachments, make sure to get in between each wire loop.
Reaching Those Tricky Crevices
The real challenge with hand mixer beaters often lies in those hard-to-reach places. Batter, especially thicker doughs or cookie mixes, can get packed into the narrow gaps where the beater shaft meets the head. These crevices are prime spots for bacteria to grow if not cleaned properly.
When scrubbing, try to angle your brush or toothbrush to get into these narrow spaces. If you've detached the beaters and are washing them by hand, you can often use the tip of the brush to dig out stubborn bits. For more integrated whisk attachments, rotating the brush or soaking the beaters for a few minutes can help loosen dried-on material before you scrub.
Aggregate user reviews often mention that a little patience here saves a lot of trouble down the line.
Thorough Rinsing to Remove All Residue
After you've scrubbed away the visible residue, the next critical step is a thorough rinse. This isn't just about washing away soap; it's about ensuring no food particles remain stuck in any crevices. Incomplete rinsing can lead to unpleasant flavors transferring to your next batch of food or even the development of mold over time.
Hold each beater under a stream of clean, running water. Rotate them and angle them so the water gets into every nook and cranny you just cleaned. You should be able to see the water run clear, with no bubbles or opaque film indicating soap or food remnants.
If you notice any lingering residue, repeat the scrubbing and rinsing process for that specific area. For those who often find themselves troubleshooting appliance issues, remember that a good rinse is as important as the washing itself. This is a fundamental part of maintaining kitchen equipment, much like keeping a coffee maker's water reservoir clean.
Drying for Durability: Preventing Rust and Mold
Once your beaters are sparkling clean and thoroughly rinsed, you might be tempted to just set them aside. However, skipping the drying step is a common mistake that can lead to rust and mold. Proper drying is absolutely essential for keeping your beaters in good condition and ensuring they last.
Metal beaters, especially those made of stainless steel or other alloys, can develop rust spots if left damp for extended periods. This not only looks unsightly but can also degrade the metal over time. Similarly, any residual moisture trapped in crevices can become a breeding ground for mold and bacteria, compromising food safety.
Manufacturer specifications often recommend complete air drying or towel drying before storage.
Why Quick and Complete Drying Matters
- Rust Prevention: Exposure to moisture, especially on metal surfaces, is the primary cause of rust. A quick, thorough drying prevents this.
- Mold & Bacteria Control: Damp environments are ideal for microbial growth. Ensuring beaters are bone-dry eliminates this risk.
- Appliance Longevity: Clean, dry beaters reduce wear and tear on the mixer's motor and internal mechanisms when they’re reinserted.
After rinsing, shake off any excess water. Then, use a clean, dry dish towel to vigorously dry each beater. Pay special attention to any areas where water might pool or hide, like the base of the beaters or any intricate whisk designs.
Allowing them to air dry completely in a well-ventilated spot can also work, but towel drying is faster and more reliable.
Common Beater Cleaning Mistakes to Sidestep
Even with the best intentions, it's easy to make a misstep when cleaning your hand mixer beaters. These errors might seem small, but they can impact how clean your beaters get, how long they last, and even the safety of your food. Our research and aggregate user feedback highlight several common pitfalls to avoid.
What NOT to Do with Your Beaters
- Leaving them dirty: The biggest mistake is putting beaters back in the drawer without cleaning them. Food residue hardens, making future cleaning much harder and increasing the risk of contamination.
- Using harsh abrasives: While you need to scrub, avoid steel wool or overly abrasive scouring pads. These can scratch the beater surface, potentially damaging protective coatings and creating places for food to stick later.
- Soaking for too long without drying: While a short soak can help loosen dried batter, leaving metal beaters submerged in water for hours can actually promote rust, especially if they’re not dried immediately afterward.
- Forgetting to unplug: Always, always unplug your hand mixer before detaching or cleaning the beaters. This is a critical safety step to prevent accidental operation.
- Dishwasher gamble: While some beaters are dishwasher safe, many aren't. High heat and harsh detergents can warp, rust, or damage coatings on non-approved beaters. Always check your mixer’s manual. If you're unsure, hand washing is the safest bet. If your mixer’s manual is lost, you might need to troubleshoot appliance issues to find a replacement or consult the manufacturer's website.
Being aware of these common errors can help you ensure your beaters are cleaned effectively and safely every time.
Maintaining Your Beaters for Longevity
Taking good care of your hand mixer beaters goes beyond just cleaning them after each use. Regular maintenance ensures they perform optimally and helps prevent premature wear and tear. Think of it like routine upkeep for any kitchen tool you rely on, similar to how keeping a coffee maker's water reservoir clean ensures good brew quality.
The core of this maintenance is consistent, proper cleaning and drying. However, it also involves being mindful of how you store them and watching for any signs of damage. Over time, these simple practices can significantly extend the usable life of your beaters and, by extension, your hand mixer itself.
Storage Smarts for Beaters
Where you store your beaters matters. Ideally, they should be kept in a dry place where they won't be knocked around or come into contact with other sharp objects. Many hand mixers come with a storage case or a designated compartment for the beaters.
If yours doesn't, a small drawer organizer or a dedicated container can work wonders.
Avoid tossing them loosely into a kitchen drawer with utensils. This can lead to scratches and dents that might not only look bad but could also compromise the integrity of the beater's surface. Proper storage prevents damage and keeps them ready for your next baking project.
Watching for Wear and Tear
Periodically inspect your beaters for any signs of damage. Look for bent wires on whisk attachments or chipped coatings on other types. Bent beaters can cause uneven mixing and put extra strain on your mixer's motor.
If you notice significant bending or damage, it might be time to consider replacing them, especially if they are no longer fitting correctly into the mixer slots. For example, if one beater wobbles excessively compared to the other, it's a sign something isn't right.
FAQs About Hand Mixer Beater Care
How often should I clean my beaters?
You should clean your hand mixer beaters immediately after each use, before food residue has a chance to dry and harden.
Can I put my beaters in the dishwasher?
It depends on the specific model. Always check your hand mixer’s manual first. Some beaters are dishwasher-safe, while others can be damaged by the heat and harsh detergents.
Hand washing is often the safest bet if you’re unsure.
What if my beaters have rust spots?
If you notice rust spots, gently scrub them with a paste made of baking soda and water. Rinse thoroughly and dry immediately. For persistent rust, you might need to replace the beaters, especially if they are integral to your mixer's function or if the rust is extensive, as it can affect food safety.
You can often find replacement beaters on the manufacturer's website or through appliance parts retailers.
Are there special cleaners for beaters?
Typically, regular dish soap and hot water are sufficient for cleaning hand mixer beaters. There aren't usually specialized cleaners required unless dealing with very stubborn stains or rust, where a mild abrasive like a baking soda paste might be used. Always ensure any cleaning agent is food-safe and rinsed off completely.
How do I store my beaters properly?
Store your beaters in a dry place, preferably in the storage case that came with your mixer or in a dedicated container to prevent them from getting scratched or damaged by other utensils.