How to Use a Hand Mixer for Cake
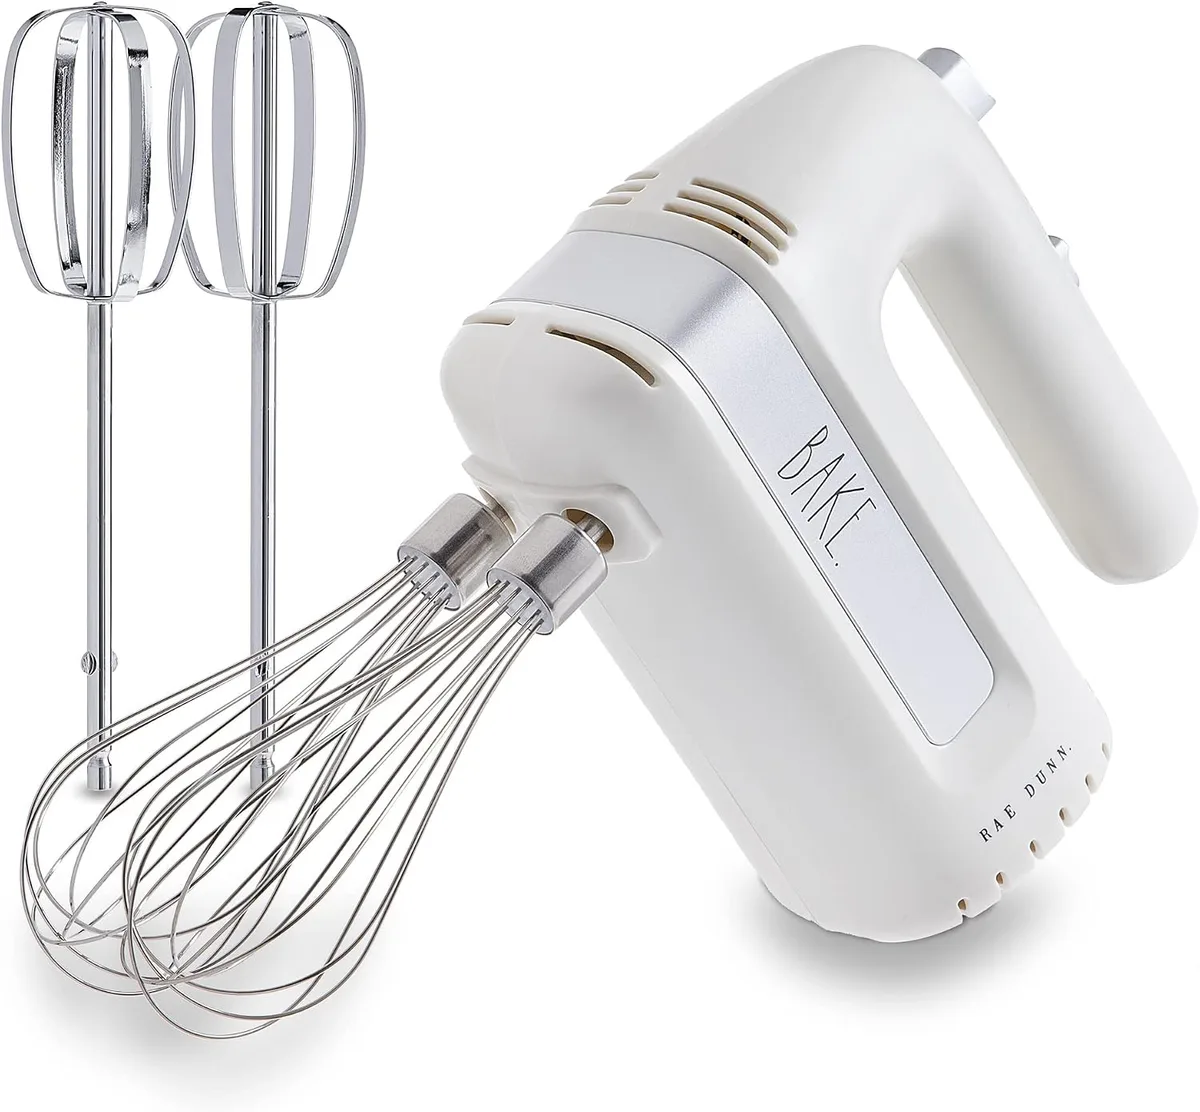
Image source: Bing (Web (fair-use with source credit))
Ever stared at a recipe and wondered if your hand mixer can really get you that perfect cake texture? You're not alone! Getting it right is all about knowing the simple steps and avoiding a few common pitfalls.
This guide breaks down exactly how to wield your hand mixer like a pro, from getting your ingredients ready to achieving that flawless batter every time. We'll cover the basics and some insider tips that make all the difference.
Quick Answer
To use a hand mixer for cake, start on the lowest speed to combine ingredients without mess. Gradually increase speed as batter thickens. Move the mixer around the bowl, scraping sides often.
Avoid overmixing once flour is added. This ensures even batter and a tender cake crumb.
Before You Even Plug In: Prep Work is Key
Getting ready before you flip the switch is half the battle for a great cake. It’s all about making sure you have everything you need and that your tools are ready to go. This stage prevents fumbling later and helps you focus on the mixing itself.
Gather Your Ingredients and Tools
Your recipe is your absolute best friend here. It tells you exactly what ingredients you need and at what temperature they should be. Manufacturers' specifications for mixers often highlight the importance of using ingredients at room temperature for optimal emulsification and aeration.
This means things like butter, eggs, and milk should generally be left out for about 30-60 minutes before you start.
Having all your ingredients measured out and ready in separate bowls is a game-changer. It’s called mise en place in the cooking world, and it means "everything in its place." This way, when the recipe calls for adding something, it's right there.
Check Your Mixer and Bowl
Before you dive in, give your hand mixer a quick once-over. Make sure the beaters are clean and securely attached. Most models have a simple mechanism; just push the beaters into their slots until they click.
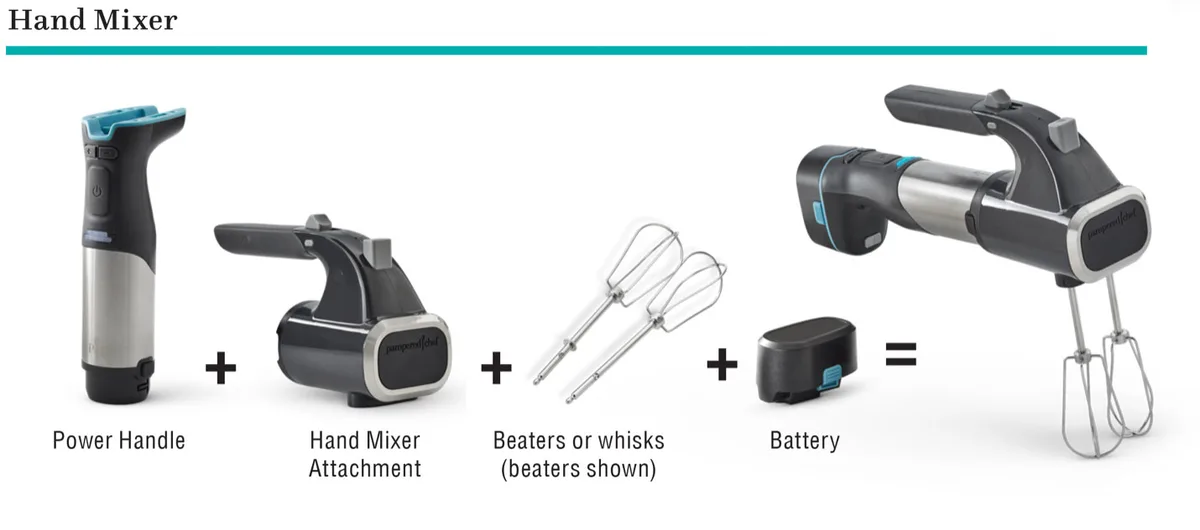
Image source: Bing (Web (fair-use with source credit))
Using the right bowl is also crucial. It should be deep enough to contain any splattering, especially when you start on higher speeds. A common guideline from appliance manufacturers suggests a bowl at least 3 quarts (about 2.8 liters) in size for standard cake batters to prevent overflow.
A bowl that's too shallow will mean more cleaning up later, and nobody wants that!
Let's Get Mixing: The How-To
This is where you'll actually use the hand mixer. The goal here is to combine your ingredients effectively without overworking the batter, which can lead to a tough cake.
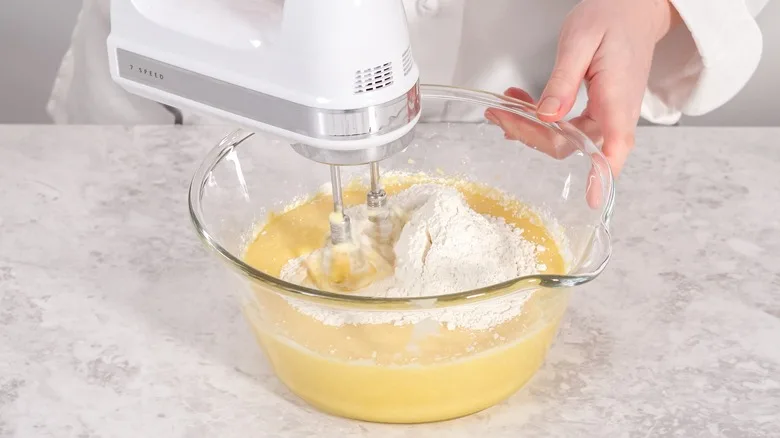
Image source: Bing (Web (fair-use with source credit))
Starting Out: Low and Slow is the Way to Go
This is probably the most important tip for preventing a mess and ensuring even mixing. Always, always start your hand mixer on the lowest speed setting. If you crank it up to high right away when you've got dry ingredients like flour and sugar, you'll end up with a cloud of ingredients flying out of the bowl.
It’s like starting a car; you don't floor the gas pedal immediately. You ease into it. This low speed helps to gently incorporate the dry ingredients into the wet ingredients without creating a flour explosion.
It also prevents the gluten in the flour from developing too much too soon, which is key for a tender cake.
Gradually Increase Speed
Once your ingredients have started to come together on the lowest speed, you can begin to increase the speed according to your recipe's instructions. If the recipe calls for "mixing until just combined," you'll only need to bring it up to medium speed for a short time. If it says "beat until light and fluffy," you'll likely use a medium or high speed for a longer duration.
Aggregate user reviews often point out that many common mistakes happen when users don't adjust speeds appropriately. Recipes are designed with specific mixing times and speeds for a reason. Following them closely is your best bet for success.
Mastering the Movement: Technique Matters
It's not just about holding the trigger down. How you move the mixer around the bowl makes a big difference. Keep the beaters moving consistently throughout the mixing process.
- Circulate: Move the beaters in a circular pattern around the bowl.
- Go Up and Down: Occasionally lift the beaters up and down through the batter to ensure everything is incorporated.
- Scrape the Sides: Don't forget the edges! Ingredients can cling to the sides of the bowl, especially butter and sugar. Make sure your beaters reach these areas.
This consistent movement helps to create a uniformly mixed batter and prevents dense spots or dry pockets from forming in your cake. It ensures that every bit of your batter gets the same treatment.
Scrape, Scrape, Scrape
This is a critical step that many people overlook, but it's essential for even mixing. Every minute or so, stop the mixer and use a rubber spatula to scrape down the sides and the bottom of the bowl. This gets any bits of flour, butter, or sugar that might be stuck to the edges and brings them into the main batter for further mixing.
Think of your spatula as your mixer's sidekick. It's what ensures that no ingredient gets left behind. This step is especially important when you're creaming butter and sugar, as tiny lumps of butter can easily get missed if you don't scrape regularly.
Following this practice helps guarantee a smooth, homogenous batter, which is a hallmark of a well-made cake.
What Different Speeds Mean for Your Cake
Hand mixers typically have multiple speed settings, and each one serves a different purpose in the cake-making process. Understanding these settings helps you achieve the desired texture and consistency for your batter. Manufacturer specifications often detail the intended use for each speed.
- Low Speed (1-2): This is your starting point. It's perfect for gently combining dry ingredients with wet ingredients, or for lightly mixing delicate batters to avoid overdevelopment of gluten. It minimizes splatter and ensures a controlled start.
- Medium Speed (3-4): This speed is your go-to for general mixing tasks. It's great for creaming softened butter and sugar together until light and fluffy, or for incorporating eggs and liquids into your batter. It provides enough power to mix thoroughly without being too aggressive.
- High Speed (5-6): Use this speed sparingly and only when the recipe specifically calls for it, usually for tasks that require incorporating a lot of air. This can include whipping egg whites to stiff peaks or whipping cream to a firm consistency. For cake batter, high speed is often used for the final creaming stages to achieve maximum volume.
Using the correct speed at the right time directly impacts the final texture of your cake. For example, over-whipping flour on high speed can lead to a tough, dense cake. Manufacturer guides, like those from Cuisinart or KitchenAid, consistently advise matching the mixer speed to the recipe's requirements for optimal results.
Signs You're Doing It Right (and When to Adjust)
As you get more comfortable with your hand mixer, you'll start to develop an intuition for when the batter is just right. Pay attention to both what you see and what you hear. These are your best indicators for whether you're on the right track or if you need to make a small adjustment.
What a Smooth Batter Looks Like
A well-mixed cake batter will generally have a uniform appearance. You shouldn't see distinct streaks of unmixed flour or pockets of butter that haven't been incorporated. The color should be consistent throughout.
For recipes that call for creaming butter and sugar, the mixture should appear pale yellow and significantly lighter and fluffier than the original butter. If you're unsure, compare it to a visual reference in your recipe book or online, as textures can vary slightly by ingredient. When making a simple vanilla cake, for instance, the batter should be thick enough that it flows slowly from the beaters in ribbons, rather than just pouring out.
Understanding Mixer Sounds
The sound your hand mixer makes can tell you a lot about how it's performing. A steady, consistent hum usually indicates that the mixer is working within its normal parameters and the batter is at an appropriate consistency for the speed you're using.
However, if you notice the motor straining or sounding like it's struggling to turn the beaters, that's a red flag. This can happen if the batter is too thick for the speed, or if you've tried to mix too much at once. In such cases, it's best to stop the mixer, scrape down the bowl, and perhaps reduce the speed slightly.
Some manufacturers' technical manuals mention that prolonged strain can potentially overheat the motor.
Pro Tips for Perfect Cake Batter
Beyond the basic steps, a few extra tips can really elevate your cake-baking game. These are the little things that experienced bakers often do without thinking.
- Don't Overmix Once Flour is Added: Once you start adding flour to your wet ingredients, switch to a lower speed and mix only until the dry streaks disappear. Overmixing at this stage develops gluten, which can make your cake tough and dense.
- Wipe Down Beaters Between Stages: If you're creaming butter and then adding eggs, it’s a good idea to wipe the beaters clean. This prevents any residual butter from affecting the next stage of mixing and keeps your batter clean.
- Use a Spatula for Precision: While the mixer does the heavy lifting, a good rubber spatula is indispensable for scraping down the bowl. It ensures you capture every bit of batter, leading to a more consistent final product.
- Let the Mixer Rest: If you're mixing for an extended period, especially on higher speeds, give your hand mixer a short break every few minutes. This helps prevent the motor from overheating.
Common Mistakes to Avoid
Even with a great hand mixer, it's easy to fall into some common traps that can affect your cake's outcome. Being aware of these can save you from a disappointing bake.
- Starting on High Speed: As we've mentioned, this is a recipe for a messy kitchen and unevenly mixed ingredients. Always start low.
- Not Scraping the Bowl: Ingredients clinging to the sides and bottom are a frequent culprit for lumpy batter or uneven texture. Regular scraping is non-negotiable.
- Overmixing the Flour: This is a classic mistake that leads to a tough cake. Mix flour just until it's incorporated; a few tiny lumps are usually okay.
- Using Ingredients at the Wrong Temperature: Cold butter won't cream properly, and cold eggs can make your batter seize up. Always follow your recipe's temperature guidelines.
- Improper Beater Attachment: Ensure beaters are firmly locked into place. Loose beaters can cause uneven mixing or even fall out.
Safety First: Unplugging and Cleaning
Always remember to unplug your hand mixer from the power outlet before attempting to remove or clean the beaters. This is a critical safety precaution, as mixer beaters are sharp and the motor could accidentally engage if plugged in.
To clean the beaters, most models allow them to be released with a button or lever. Once removed, they can typically be washed by hand with warm, soapy water or placed in the dishwasher, depending on the manufacturer’s instructions. Always dry them thoroughly before storing to prevent rust.
For the mixer body, wipe it clean with a damp cloth; never immerse the motor unit in water.
What About Alternatives? Hand Mixers vs. Stand Mixers
When you're looking at ways to mix cake batter, two main electric options usually come up: the hand mixer and the stand mixer. While both do the job, they're best suited for different tasks and kitchens.
- Hand Mixer: These are portable, easy to store, and generally less expensive. They're fantastic for smaller batches, quick jobs, or when you need flexibility to move around the bowl. If you bake cakes only occasionally or have limited counter space, a hand mixer is a great choice.
- Stand Mixer: These are powerful, stationary appliances. They excel at larger batches, heavy doughs, and tasks that require long mixing times, like whipping meringue for hours. They free up your hands completely but take up more space and are a bigger investment. For avid bakers who make multiple cakes a week, a stand mixer is a worthy consideration.
When is a Hand Mixer Right for You?
Deciding whether a hand mixer is your best bet depends on a few factors. If your baking involves mostly standard cake recipes, cookies, or lighter batters, a hand mixer will serve you very well. They are also excellent for tasks where you might need to incorporate ingredients in multiple bowls or at different stations.
If you're just starting out, or if your primary focus is on cakes and other baked goods that don't require intensive kneading, a hand mixer is an economical and efficient tool. As of 2026, most entry-level to mid-range hand mixers offer at least five speeds and come with a standard set of beaters, providing ample power for most home baking needs. They are user-friendly, making them ideal for home bakers of all skill levels.
Frequently Asked Questions About Hand Mixers for Cake
Can I use a hand mixer to whip egg whites?
Yes, you can use a hand mixer to whip egg whites. Use the whisk attachment if your mixer has one, or the standard beaters on high speed. Whip them until stiff peaks form, which means when you lift the beaters, the egg whites stand up straight without curling.
What does it mean to "cream" butter and sugar?
"Creaming" means beating softened butter and sugar together until the mixture is light in color and fluffy in texture. This process incorporates air into the batter, which helps your cake rise and gives it a tender crumb. It usually takes several minutes on medium to high speed.
How long should I mix cake batter?
Mixing times vary greatly by recipe. Once flour is added, mix only until just combined, usually 30-60 seconds. For creaming butter and sugar, it might take 3-5 minutes.
Always follow your specific recipe's instructions for the best results.
Why is my cake dense when I used a hand mixer?
A dense cake can result from several issues, including overmixing the flour, not creaming the butter and sugar enough to incorporate air, or using ingredients at the wrong temperature. Ensure you're following your recipe precisely and using the correct mixing techniques.