How To Use A Headlight Restoration Kit: Easy Guide
Use a headlight restoration kit by cleaning, sanding, polishing, and sealing the lens to remove haze and yellowing.
Cloudy headlights can make a car look older than it is, but the bigger issue is safety. I have used a lot of headlight restoration kits over the years, and the process is usually simple once you know the right order. In this guide, I’ll walk you through how to use a headlight restoration kit the right way, what to expect, what mistakes to avoid, and how to make the results last.

What a headlight restoration kit does
A headlight restoration kit is made to remove the oxidized outer layer on plastic headlight lenses. Most modern headlights use polycarbonate, not glass, and that material can get cloudy from UV rays, road salt, dirt, and age. The kit helps bring back clarity by combining cleaning, abrasion, polishing, and a protective coating.
If you have ever asked how to use a headlight restoration kit and whether it really works, the answer is yes for many mildly to moderately cloudy headlights. I have seen headlights go from dim and yellow to clear enough to make a real difference at night. The key is following the steps carefully and not rushing the prep.
What you should know before starting
Before you use a headlight restoration kit, check the condition of the lens. If the headlight has deep cracks, heavy pitting, water inside the housing, or damage on the inside, a kit may not fix it. It works best when the problem is surface oxidation.
Here is what you usually need:
• Headlight restoration kit
• Microfiber towels
• Masking tape
• Spray bottle with water
• Gloves
• Clean bucket or access to water
• A drill, if your kit uses sanding pads or polishing discs
I always tell people to read the kit instructions first, even if they have used one before. The steps are similar across brands, but the sanding grit, polish type, and sealant can vary.
How to use a headlight restoration kit step by step
1. Wash and dry the headlights
Start with a clean surface. Wash the headlight lens and the area around it with soap and water, then dry it well. Dirt and grit can scratch the lens during sanding, so this step matters more than most people think.
If there is wax or road film on the car, remove it too. A clean lens gives the kit a better chance to work evenly.
2. Tape around the headlight
Use masking tape to protect the paint, trim, and rubber seals around the headlight. This is one of the simplest but most important steps in how to use a headlight restoration kit. Sanding tools can slip, and even hand sanding can mark the surrounding area if you are careless.
Apply the tape in a neat border around the lens. I like to add an extra strip on corners where the panel curves, because those spots are easy to nick.
3. Sand the lens if your kit requires it
Many headlight restoration kits include sanding discs or wet sanding pads. This step removes the damaged outer layer. Usually, you start with a coarser grit and move to finer grits.
Follow the kit directions, but the general process looks like this:
• Wet the lens and sanding pad
• Sand in straight, even motions
• Keep the surface wet to reduce heat and scratches
• Move across the lens slowly and cover every section
• Repeat with finer grits if included
Do not press too hard. Let the abrasive do the work. I learned the hard way that too much pressure can create uneven spots that take longer to fix later.
4. Check the surface as you go
After each sanding stage, wipe the lens clean and inspect it. The headlight may look cloudy at first, and that is normal. The goal is to remove oxidation evenly, not to make it look perfect in one pass.
If you still see yellow patches or rough areas, keep sanding gently until the surface looks uniform. Uneven sanding can leave swirl marks or miss damaged spots.
5. Apply the polishing compound
Once sanding is done, apply the polishing compound that comes with the kit. This step restores clarity and reduces haze left behind by sanding. You can use a microfiber applicator by hand or a polishing pad if the kit includes one.
Work the polish in small circles or short back-and-forth passes, depending on the instructions. The lens should start to look clearer and smoother. This is usually the most satisfying part of how to use a headlight restoration kit, because you can see the change quickly.
6. Wipe off residue and inspect the lens
Use a clean microfiber towel to remove leftover polish. Look at the headlight from different angles in daylight. If it still looks hazy, you may need another light polishing pass.
Sometimes I have needed to repeat the polish once more for an older lens. That is normal, especially if the oxidation was heavy.
7. Apply the protective sealant
This step is easy to skip, but you should not. The sealant helps protect the lens from UV rays and slows down future clouding. Without it, the headlight may yellow again sooner than you expect.
Depending on the kit, the sealant may be a wipe-on coating, spray, or UV protectant film. Apply it evenly and let it cure for the recommended time. If the instructions say not to drive or get the lens wet for a while, follow that advice.
Common mistakes to avoid
A lot of people search how to use a headlight restoration kit because they want a fast fix. That is fine, but rushing can lead to poor results. I have seen most failed attempts come from the same few mistakes.
Avoid these problems:
• Skipping the cleaning step
• Forgetting to tape off the paint
• Using too much pressure while sanding
• Not sanding evenly across the whole lens
• Skipping the sealant
• Trying to restore cracked or damaged lenses with surface oxidation products
Another common mistake is expecting one kit to fix every problem. If the lens is deeply damaged or has internal fogging, restoration may improve it only a little. In those cases, replacement may be the better option.
How long the results last
How long a restored headlight stays clear depends on the kit quality, the sealant, driving conditions, and sun exposure. Some results last a few months, while better kits with strong UV protection can last much longer. Garaged cars often hold the finish longer than vehicles parked outside every day.
I have found that the sealant is what makes the biggest difference in durability. A good restoration job without protection is like washing your car and leaving it out in a storm.
To help the finish last:
• Reapply UV sealant when needed
• Wash the headlights gently
• Park in shade when possible
• Avoid harsh cleaners on the lens
When a headlight restoration kit is worth it
A headlight restoration kit is worth it when the lens is cloudy, yellow, or dull but still structurally sound. It is also a smart choice if you want better nighttime visibility without paying for new headlight assemblies. For many cars, it is one of the best low-cost maintenance jobs you can do at home.
It is especially helpful if:
• The headlights look foggy from oxidation
• Night driving has become harder
• You want to improve the car’s appearance
• You are trying to pass a vehicle inspection in a state where headlight clarity matters
From a practical standpoint, this is one of those simple jobs that can pay off quickly. Clear headlights can improve both safety and curb appeal.
Choosing the right kit
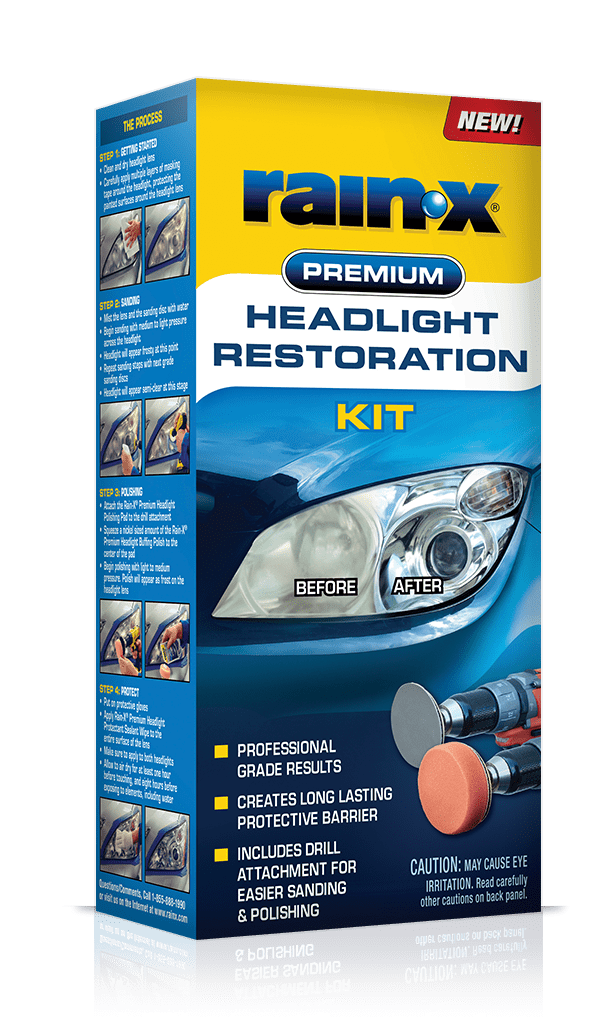
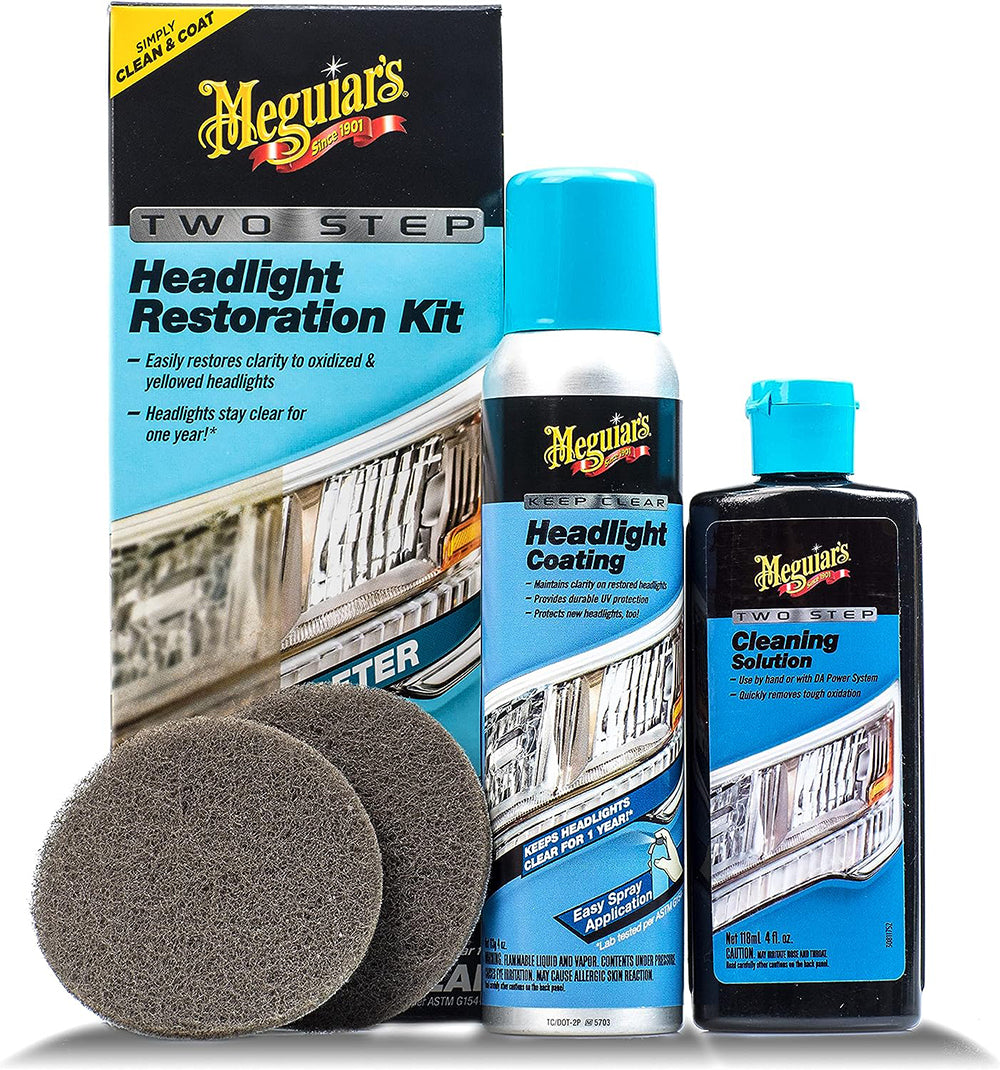
Not all kits are the same. Some are designed for hand use, while others work better with a drill. Some include only polish and sealant, while others provide a full sanding system.
Look for a kit that includes:
• Multiple sanding grits if the headlights are heavily oxidized
• A polishing compound
• A UV protectant or sealant
• Clear instructions
• Enough materials for both headlights
If your headlights are only lightly hazy, a no-sand or light-polish kit may be enough. If they are deeply yellowed, a multi-step sanding kit usually works better.
Safety and environmental notes
Wear gloves if the kit includes strong chemicals. Work in a well-ventilated area, and avoid getting polish or sealant on hot surfaces. If you are using a drill attachment, keep it controlled so it does not jump and scratch the paint.
It also helps to be careful with runoff. Do not rinse heavy polishing residue into storm drains if you can avoid it. Wipe it up and dispose of materials responsibly.
Frequently Asked Questions of How to use a headlight restoration kit
How long does it take to restore headlights with a kit?
Most headlight restoration kits take about 30 minutes to 1 hour per pair of headlights. Heavily oxidized lenses may take longer, especially if the process includes multiple sanding steps.
Do I need a drill to use a headlight restoration kit?
No, not always. Some kits are made for hand use, while others work better with a drill or polishing tool for faster results.
Will a headlight restoration kit make headlights look brand new?
It can make them look much better, and sometimes nearly new, if the damage is mostly surface oxidation. Deep cracks, internal haze, or severe pitting may still be visible.
How often should I restore my headlights?
That depends on sun exposure and driving conditions, but many cars need attention every 1 to 2 years. Reapplying a UV sealant can help extend the time between full restorations.
Is it better to restore headlights or replace them?
Restoration is usually cheaper and works well for cloudy lenses with surface oxidation. Replacement is better if the housing is cracked, leaking, or damaged inside.
Conclusion
Using a headlight restoration kit is one of the easiest ways to improve safety and refresh the look of your car. The process is simple when you clean the lens, sand it properly, polish it well, and finish with a protective sealant. If you take your time and avoid the common mistakes, the results can be very impressive.
If your headlights are starting to look dull, now is a great time to fix them before visibility gets worse. Try the steps above, compare a few kit options, and choose one that fits your car’s condition. If you found this guide helpful, leave a comment or explore more car care tips to keep your vehicle looking and driving its best.