How To Use A Scratch Remover Kit: Easy Repair Guide
A scratch remover kit works by cleaning, polishing, and blending light surface scratches until they fade.
A good scratch remover kit can save you time, money, and stress when your car gets that annoying mark from a shopping cart, a tree branch, or a careless wash mitt. I have used plenty of scratch remover kit products over the years, and the truth is simple: they work well when you match the kit to the scratch and follow each step with patience. In this guide, I’ll walk you through how to use a scratch remover kit the right way, what to expect, and the common mistakes that can turn a small repair into a bigger headache.
What a scratch remover kit actually does
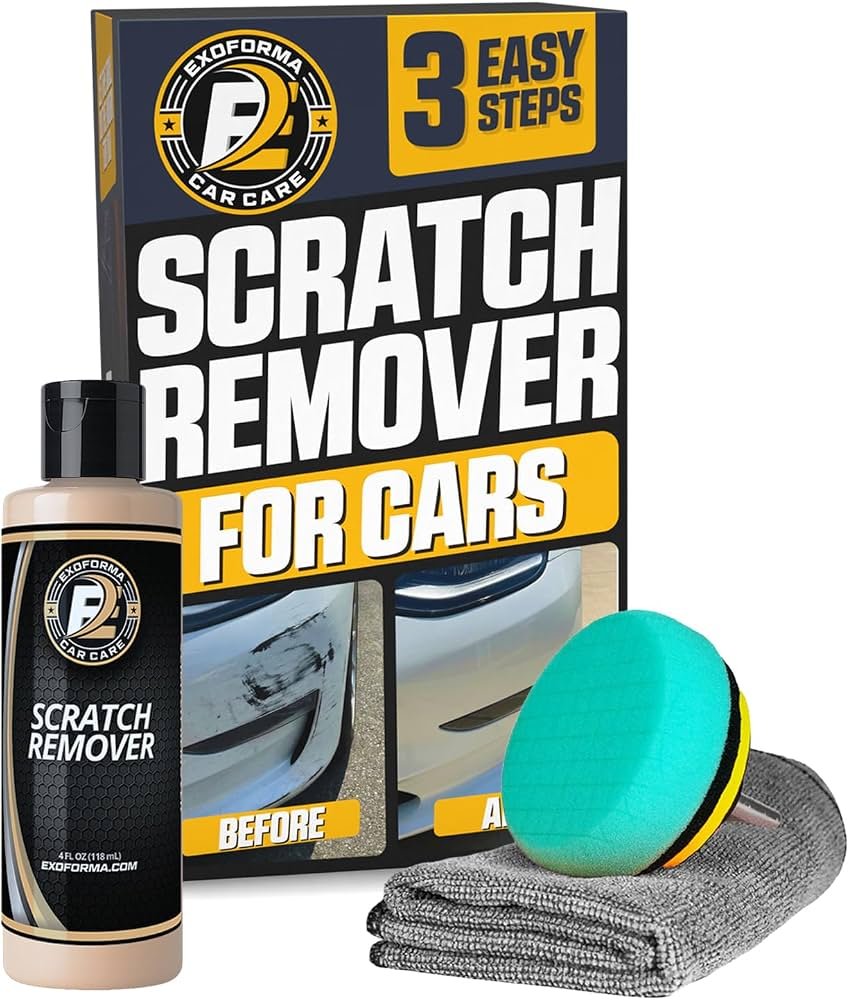
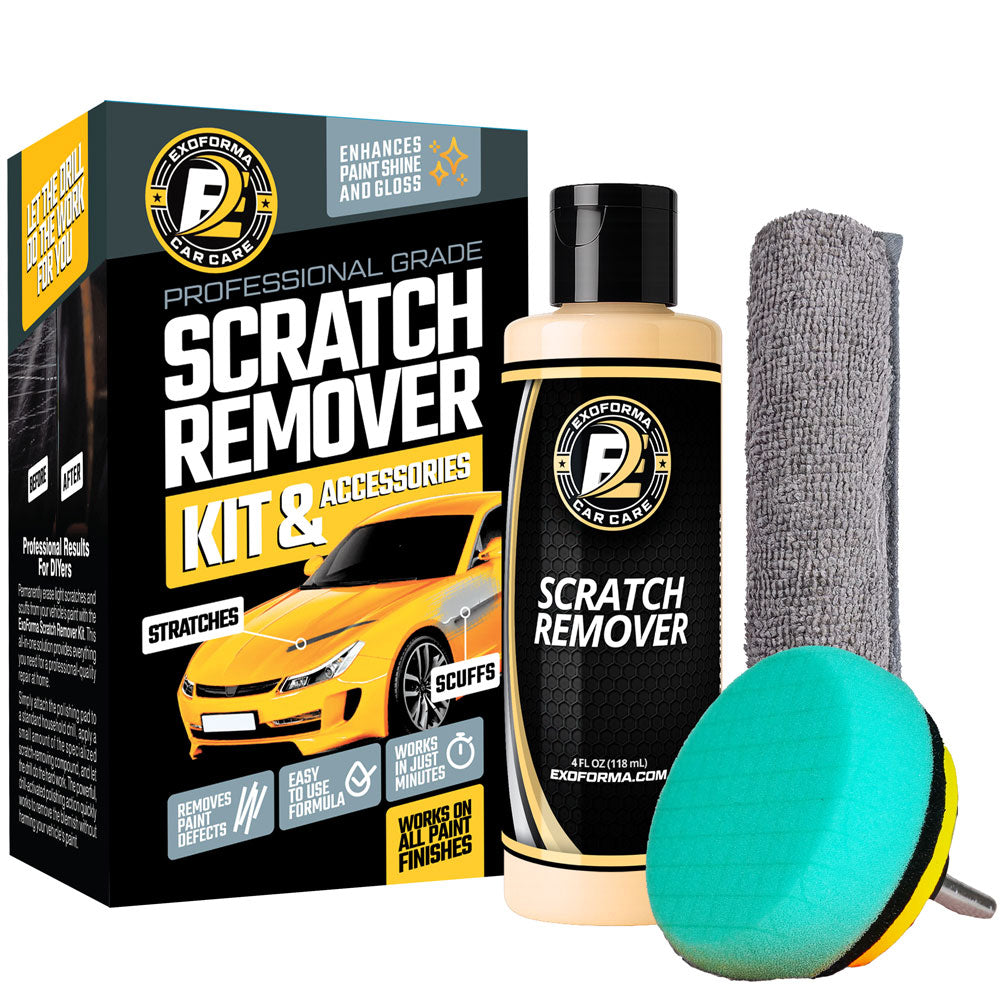
A scratch remover kit is made to reduce or remove light damage on a car’s clear coat. Most kits include a rubbing compound, polishing pad, microfiber cloth, and sometimes a finishing polish. Some also include touch-up paint or applicator tools for deeper marks.
The goal is not magic. The kit levels the damaged area so the scratch blends into the paint around it. On a fresh-looking car, that can make a huge visual difference fast.
A scratch remover kit usually works best on:
- Clear coat scratches
- Fine swirl marks
- Light scuffs from brushes or branches
- Paint transfer from another object
It usually does not fully fix:
- Deep scratches that reach primer or metal
- Chips with missing paint
- Rust spots
- Large gouges
How to know if your scratch can be fixed with a kit
Before you use a scratch remover kit, check how deep the scratch is. This matters a lot. If you skip this part, you may waste time and make the finish look worse.
A simple test can help:
- Wash the area first so dirt does not hide the true damage
- Run your fingernail gently across the scratch
- If your nail glides over it, the scratch is likely light
- If your nail catches hard, the scratch may be too deep for a basic kit
From my own experience, the best results came from scratches that looked ugly but stayed in the clear coat. I once fixed a long mark on a black sedan that looked serious at first. After cleaning and polishing, it faded so much that you had to search for it in bright light.
What you need before you start
Gather everything before you touch the paint. That small step saves a lot of frustration.
You will usually need:
- Scratch remover kit
- Car wash soap
- Water and bucket
- Microfiber towels
- Foam applicator pad or polishing pad
- Masking tape
- Clean drying cloth
- Car wax or sealant for protection
If the kit includes a compound and polish, keep them separate. Compound removes damage. Polish restores shine. Wax protects the finish after the repair.
Step-by-step: how to use a scratch remover kit
Using a scratch remover kit is not hard, but the order matters. Work slowly and keep the area clean.
1. Wash the scratched area
Start with a clean panel. Dirt can act like sandpaper, and that can create more scratches while you work.
Use car soap and water. Dry the area with a microfiber towel. If the scratch is near trim or edges, make sure those spots are clean too.
2. Inspect the scratch in good light
Look at the scratch in sunlight or under a strong lamp. This helps you see the full length and depth.
If needed, use masking tape around the scratch. That protects nearby paint and gives you a clear work zone.
3. Apply the scratch remover product
Put a small amount of product on the applicator or pad. A little goes a long way. Using too much can leave a hazy spot or make cleanup harder.
Work in small sections. If the scratch is long, divide it into smaller parts so you can control the pressure.
4. Rub in straight or circular motions as directed
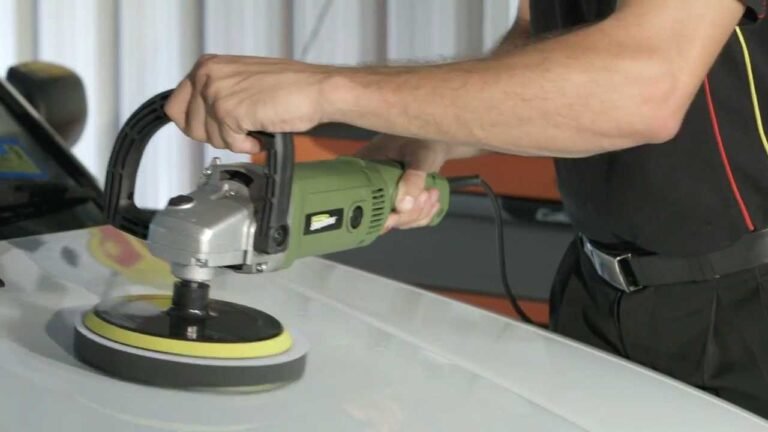
Follow the kit instructions, but most products work best with moderate pressure and even strokes. Keep your hand steady.
Do not scrub wildly. Think of it like polishing a watch face, not cleaning a pan. Smooth motion gives better results.
5. Wipe off residue and check your progress
Use a clean microfiber towel to remove leftover product. Step back and check the scratch from different angles.
If the scratch is still visible, repeat the process once or twice. Do not overdo it. Too much polishing can thin the clear coat.
6. Finish with polish or wax
If the kit includes polish, use it after the scratch is reduced. This helps restore gloss. Then apply wax or paint sealant to protect the area.
That last step matters more than many people think. A repaired area without protection can dull faster and collect grime.
Common mistakes to avoid
I have seen a lot of good repair attempts go wrong because someone rushed. The most common mistakes are easy to avoid.
- Skipping the wash: Dirt can grind into the paint and create more marks
- Using too much pressure: Heavy pressure can damage the clear coat
- Working on hot paint: Heat can make products dry too fast
- Using the wrong cloth: Rough towels can add new scratches
- Expecting deep scratches to vanish: Some damage needs professional repair
One mistake I made early on was trying to fix a scratch in direct sunlight on a hot hood. The product dried too fast, and I had to redo the whole section. Since then, I always work in shade and on cool paint.
Tips for better results
A scratch remover kit can do a lot, but technique makes the biggest difference. Small habits lead to cleaner results.
- Test the product on a hidden spot first
- Work on one panel at a time
- Use clean microfiber towels only
- Keep the pad flat against the surface
- Check your progress often instead of guessing
- Stop if the paint starts looking thin or uneven
If your kit includes different grades of compound, start with the least aggressive option. That is safer for your clear coat and often enough for light marks.
When a scratch remover kit is a good choice
A scratch remover kit is a smart fix when the damage is light and cosmetic. It is also a good choice if you want to improve the car’s look before a sale or special event.
It is especially useful for:
- Lease return prep
- Used car cleanup
- Minor parking lot marks
- Light surface dullness
- Fresh paint transfer
For everyday drivers, it can be a low-cost way to keep a car looking cared for. That said, it is not a cure-all.
When you should not use a scratch remover kit
Some damage is beyond what a consumer kit can handle. In those cases, using the kit may only waste time or make the issue more visible.
Avoid DIY scratch removal when:
- You can see primer, base coat, or bare metal
- The scratch is deep and wide
- The panel is already repainted and you are unsure of the finish
- The area has rust
- The scratch is on a delicate surface like matte paint without approved products
If you are unsure, a body shop or detailing pro can inspect the area. That is often cheaper than fixing a mistake later.
How to choose the right scratch remover kit
Not all kits are the same. Some are for tiny scuffs, while others are for stronger defect removal.
Look for:
- Clear instructions
- Compatible use on your paint type
- Included applicators and microfiber towels
- A compound and finishing polish if you want better results
- Good reviews from users with similar scratch types
A trusted kit should explain what it can and cannot do. If the product promises to erase every scratch on every car, be careful. Real products have limits.
What to expect after using a scratch remover kit
The scratch may not disappear completely, especially in bright sunlight or at certain angles. That is normal. The real goal is to make it far less noticeable.
After a good repair, the area should look smoother, brighter, and more even. The scratch line may still exist under close inspection, but it should blend better with the surrounding paint.
In my experience, that visual improvement is often enough for most drivers. A car does not need to be flawless to look cared for.
Caring for the area after repair
Once the scratch is treated, protect the paint so the finish lasts.
Do this after the repair:
- Avoid washing the car for 24 hours if the product label says so
- Use gentle car soap
- Apply wax or sealant every few months
- Use clean microfiber towels
- Park away from tight brushy spots when possible
Good maintenance helps prevent new scratches. Think of it like caring for a cut after it heals. A little attention now saves trouble later.
Frequently Asked Questions of How to use a scratch remover kit
Can a scratch remover kit remove deep scratches?
A scratch remover kit is usually best for light clear coat damage and surface scuffs. If the scratch reaches primer or metal, you will likely need a body repair or touch-up paint.
How long does it take to use a scratch remover kit?
Most small repairs take 15 to 45 minutes, depending on the scratch and the product. Larger areas or deeper marks may take longer and need more than one pass.
Do I need to wax the car after using a scratch remover kit?
Yes, waxing or sealing the area is a smart final step. It helps protect the paint and keeps the repaired spot looking smooth and shiny.
Can I use a scratch remover kit on any car color?
Yes, most kits work on all common paint colors if used correctly. Still, always check the label and test a small hidden area first.
Why does the scratch still show after using the kit?
Some scratches are too deep to fully remove. In many cases, the kit will only reduce how visible the scratch is, which is still a useful improvement.
Conclusion
Using a scratch remover kit is one of the easiest ways to improve your car’s look without a costly repair. The key is simple: clean the area, test the scratch depth, use the right product, and finish with protection. When you take your time and stay realistic about what the kit can do, the results can be surprisingly good.
If you want your car to look cleaner and better cared for, start with one small scratch and learn the process. Then keep your paint protected so you do not have to repeat the job too often. If this guide helped, share it, bookmark it, or leave a comment with your own scratch repair experience.