How To Use A Battery Maintainer: Easy Step-By-Step Guide
Use a battery maintainer by connecting it to the battery, plugging it in, and letting it safely keep the charge topped off.
If you own a car, motorcycle, boat, lawn tractor, or any seasonal vehicle, learning how to use a battery maintainer can save you from dead-start frustration. I’ve used them on everything from a weekend motorcycle to an older car that sits for long stretches, and the difference is huge when you set them up the right way. This guide explains how a battery maintainer works, how to connect it safely, and how to avoid the common mistakes that shorten battery life.

What a battery maintainer does
A battery maintainer is a smart charging device made to keep a battery at full charge without overcharging it. It is not the same thing as a jump starter or a heavy-duty charger. Think of it like a steady drip of water that keeps a plant healthy, instead of flooding it all at once.
A maintainer is best for batteries that sit unused for days, weeks, or months. That includes:
- Cars that are stored for the winter
- Motorcycles used only on weekends
- Boats that stay parked in the off-season
- RVs and campers
- Lawnmowers, tractors, and small engines
Most modern battery maintainers use a multistage charging process. They bring the battery to a healthy level, then switch to a float mode or maintenance mode. That means they can stay connected for long periods with much less risk of damage than an old-school charger.
How to use a battery maintainer the right way
Using a battery maintainer is simple once you know the order. The key is to make the connection first, then power it up.
Here is the basic process:
-
Turn off the vehicle or equipment
Make sure the ignition is off and all accessories are off. If possible, remove the key and close the doors or compartments that could turn on lights. -
Inspect the battery
Check for cracks, leaks, corrosion, or swollen sides. If the battery looks damaged, do not connect the maintainer until the battery is inspected or replaced. -
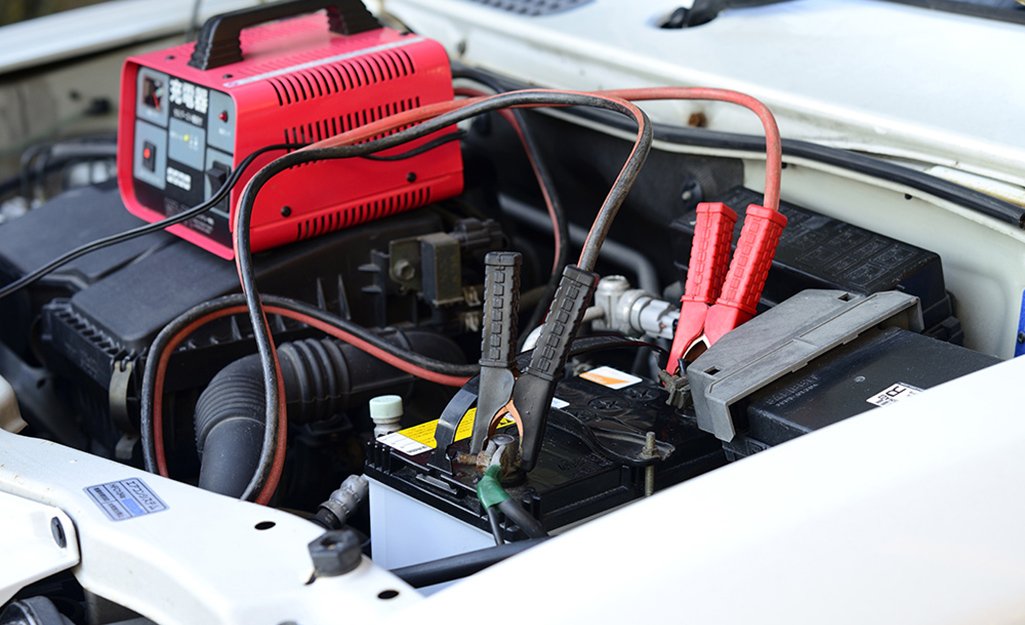
Connect the clamps or ring terminals
Attach the positive lead to the positive battery terminal first. Then connect the negative lead to the negative terminal or to a grounded metal point if the manual recommends it. -
Plug in the maintainer
Once the leads are secure, plug the maintainer into a wall outlet. Most smart maintainers will light up and begin monitoring the battery automatically. -
Confirm the charging status
Watch for indicator lights or a display screen. These usually show whether the battery is charging, fully charged, or in maintenance mode. -
Leave it connected as directed
A quality battery maintainer is designed for long-term use. Still, check the device from time to time and follow the manufacturer’s instructions.
I learned early on that the order matters. On one old motorcycle battery, I once plugged in the maintainer before connecting the clamps, and the unit gave an error. It wasn’t dangerous in that case, but it was a good reminder that the safest routine is connect first, power second.
Choosing the right battery maintainer
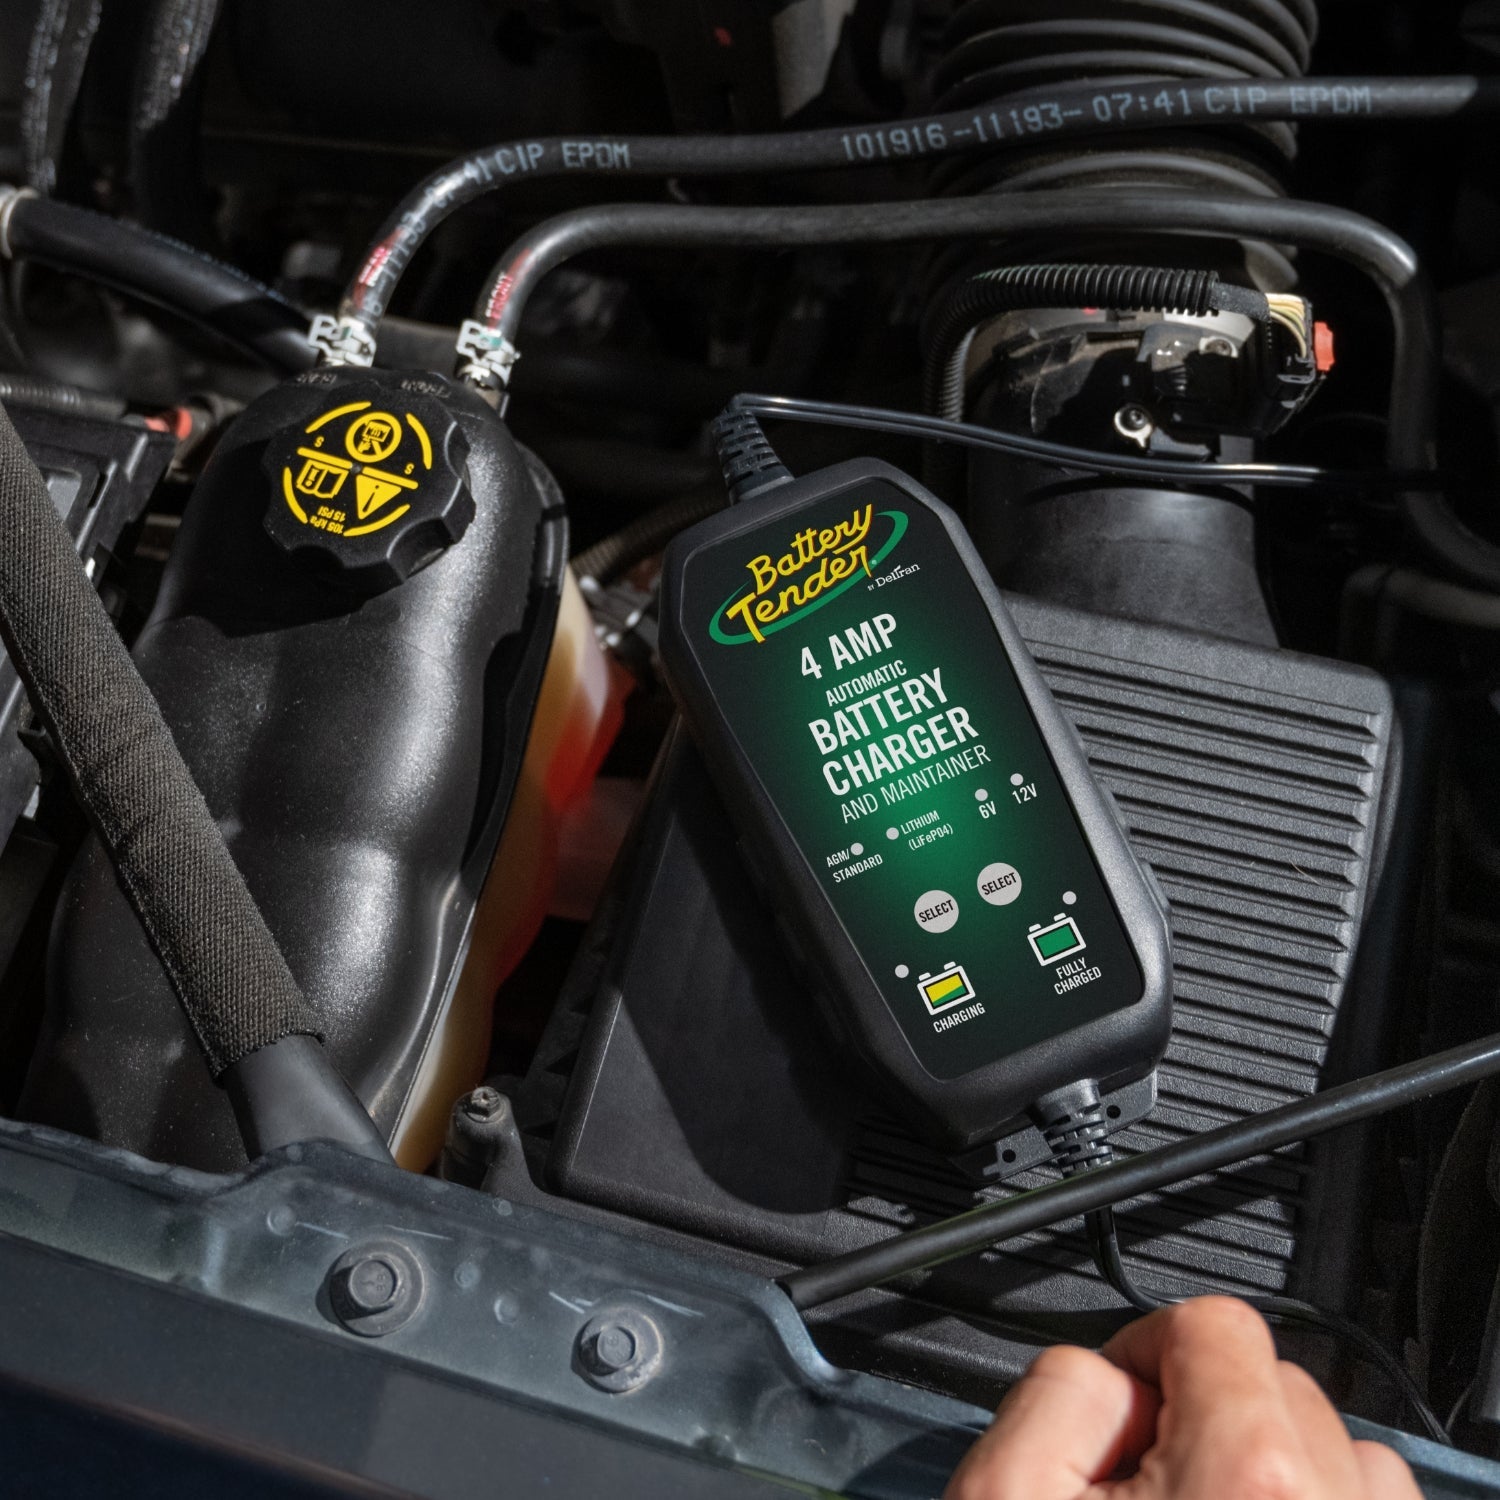
Not every maintainer works for every battery. The best choice depends on battery type, voltage, and size. A mismatch can lead to poor charging or, in the worst case, battery damage.
Look for these features:
-
Voltage match
Most passenger vehicles use 12-volt batteries. Some small equipment uses 6-volt batteries, so always check the label first. -
Battery chemistry support
Make sure the maintainer supports the battery type you have, such as lead-acid, AGM, gel, or lithium if applicable. -
Automatic shutoff or float mode
A smart maintainer should switch modes automatically once the battery is full. -
Reverse polarity protection
This helps prevent damage if the clamps are attached incorrectly. -
Spark protection
This is a helpful safety feature for home garages and storage spaces.
If you use it often, I strongly recommend buying one with clear status lights or a digital display. It removes a lot of guesswork, especially when you’re checking a battery after a long storage period.
Step-by-step safety tips before you connect it
Battery care is easy, but it still deserves respect. A battery can produce sparks, heat, and corrosive material if handled carelessly. A little caution goes a long way.
Before you use a battery maintainer:
-
Read the label on the battery
Confirm the voltage and chemistry before connecting anything. -
Work in a ventilated space
Batteries can release gas during charging, so avoid enclosed spaces with poor airflow. -
Wear basic protection
Safety glasses and gloves are smart, especially if the battery is older. -
Keep metal tools away from the terminals
A dropped wrench can create a short circuit fast. -
Check the cables
Frayed wires or loose clamps should be replaced before use.
One mistake I see a lot is people trying to “fix” a very dead battery with a maintainer alone. A maintainer is not always the right tool for a battery that has been deeply discharged. If the battery is badly drained, some maintainers may not even detect it.
How long to leave a battery maintainer connected
This depends on the device and the battery’s condition. Many smart battery maintainers are designed for long-term hookup, even for weeks or months, as long as the battery and charger are compatible.
In general:
- A battery with a light discharge may reach full charge within hours
- A deeply depleted battery may need much longer, depending on the maintainer’s output
- A full battery can often stay in maintenance mode indefinitely with a smart unit
Still, I like to check the battery and charger every so often. That habit has saved me from a surprise with a loose clamp more than once. A maintainer does the work, but a quick visual check adds peace of mind.
Common mistakes to avoid
Even a good battery maintainer can cause problems if it’s used the wrong way. Most mistakes are simple, which is good news, because they’re easy to prevent.
Avoid these errors:
-
Using the wrong voltage
A 12-volt maintainer should not be used on a 6-volt battery unless it supports both. -
Mixing up battery types
Some batteries need specific charging profiles. AGM and lithium batteries are especially worth checking carefully. -
Connecting to dirty or corroded terminals
Bad contact can lead to weak charging or false readings. -
Using an old non-smart charger as a maintainer
A basic charger may overcharge the battery if left on too long. -
Ignoring battery age
A maintainer cannot revive a battery that has already failed internally.
I’ve seen people assume a battery maintainer is a miracle fix. It is not. It helps preserve a good battery, but it cannot undo years of wear, sulfation, or internal damage.
Battery maintainer vs battery charger
People often confuse these two tools, but they serve different jobs. Knowing the difference helps you choose the right one and avoid battery problems.
A battery charger is used to refill a low battery. It usually delivers more power and may charge faster. A battery maintainer, on the other hand, is meant to keep a healthy battery topped off over time.
Here is the simple difference:
-
Charger
Best for restoring a low or dead battery -
Maintainer
Best for keeping a battery ready during storage -
Trickle charger
Older style charger that may continue sending current without smart control
If your battery is already dead, a maintainer may not be enough. If your battery is in good shape and you just want to keep it ready, a maintainer is the better choice.
Best uses for a battery maintainer
A battery maintainer shines in situations where equipment sits idle. That is when batteries slowly lose charge, even if nothing is “wrong.”
Good use cases include:
- Seasonal vehicles that sit unused
- Weekend toys like motorcycles or ATVs
- Backup vehicles that are rarely driven
- Collector cars stored in a garage
- Boats during winter storage
- Lawn equipment during the off-season
I’ve found the biggest benefit in winter storage. Cold weather makes batteries less efficient, and a vehicle that sits for weeks can be hard to start when you finally need it. A maintainer removes that stress.
How to store and care for your battery maintainer
A maintainer lasts longer when you treat it well. That means keeping it dry, clean, and untangled.
Store it like this:
- Coil the cables loosely
- Keep it away from moisture
- Avoid extreme heat
- Check clamps for corrosion
- Inspect the cord before each use
If the clips or connectors look worn, replace them. A damaged cable is a small problem until it becomes a big one. Good storage habits make the maintainer more reliable the next time you need it.
Frequently Asked Questions of How to use a battery maintainer
Can I leave a battery maintainer on all winter?
Yes, if it is a smart maintainer made for long-term maintenance. It should switch to float or maintenance mode once the battery is full. Still, check the unit occasionally to make sure the connection is secure and everything is working normally.
Does a battery maintainer charge a dead battery?
Not always. A maintainer is designed mainly to keep a battery charged, not to recover a severely dead one. If the battery is deeply discharged, you may need a regular charger first.
Do I connect the positive or negative terminal first?
Connect the positive terminal first, then the negative terminal. After the clamps are attached, plug the maintainer into the outlet. That order helps reduce the chance of sparks near the battery.
Can a battery maintainer damage my battery?
A quality smart maintainer should not damage a healthy battery when used correctly. Problems usually happen when the maintainer is the wrong voltage, the battery is damaged, or the device is not truly automatic. Always match the maintainer to the battery type.
Is a battery maintainer the same as a trickle charger?
No, they are different. A maintainer uses smart charging stages and then holds the battery at a safe level, while an older trickle charger may keep sending current continuously. That is why maintainers are usually safer for long-term use.
Conclusion
A battery maintainer is one of the simplest tools you can own if you want to protect a stored battery and avoid no-start headaches. The basic routine is easy: check the battery, connect the leads correctly, plug in the unit, and let it do its job. Once you understand how to use a battery maintainer, you can keep cars, motorcycles, boats, and small equipment ready with far less effort.
If you want fewer dead batteries and fewer surprises, start using a maintainer the right way before storage season hits. Take a few minutes to match the device to your battery, and you’ll likely save money, time, and frustration later. If this guide helped, explore more battery care tips or share your own experience with a maintainer in the comments.