How to Clean Toaster Slots
It's easy to forget about the toaster, but those little crumb-filled slots can become a real nuisance. If you've ever noticed a smoky smell or unevenly browned toast, it's likely time to address the build-up inside your appliance. Knowing how to clean toaster slots properly is essential for both safety and performance.
This guide breaks down the straightforward process, focusing on simple tools and careful techniques. Addressing this common kitchen appliance issue can prevent bigger problems down the line.
Quick Answer
To clean toaster slots, unplug the appliance, remove and empty the crumb tray, turn the toaster upside down over a towel, and shake it out. Use a soft brush for stubborn crumbs, then wipe the exterior. Always ensure the toaster is dry before plugging it back in.
Why Your Toaster Slots Need Cleaning
Those narrow openings in your toaster are more than just bread chutes; they’re where the magic happens, but also where the mess accumulates. Over time, toasted bread crumbs fall and collect at the bottom, often near the heating elements. This build-up isn't just unsightly; it's a potential fire hazard and can significantly impact how your toast turns out.
Manufacturer specifications from organizations like Underwriters Laboratories (UL) emphasize the importance of maintaining appliances to prevent safety risks. As of 2026, UL standards still highlight this for small kitchen appliances.
Burnt Crumbs and Smoky Smells: The Problem
You know that slightly acrid smell that sometimes wafts from your toaster? That's usually burnt toast crumbs catching fire, even if just a little. This can happen because the crumbs fall and collect directly below or beside the heating elements.
When these elements heat up for toasting, they can ignite the dry, oily debris. This might start as a faint wisp of smoke, but in extreme cases, it can lead to a small appliance fire. Beyond the smoky smell, this debris can also char and transfer an unpleasant flavor to your fresh bread, leading to less-than-perfect toast.
Unplug It First! The Safety Foundation
Before you even think about turning your toaster upside down or poking around inside, the absolute first step is to unplug it from the wall outlet. This is non-negotiable for your safety. Electricity and water, or even just fiddling with internal components while powered, can lead to electric shock or damage to the appliance.
Ensure the power cord is completely disconnected, and you’ve confirmed it’s not plugged in, before proceeding with any cleaning. This fundamental step protects you from immediate harm.
Your Toaster's Crumb Tray: Your First Line of Defense
Most toasters are designed with a removable crumb tray at the bottom. This is your primary tool for managing the bulk of the debris. You’ll typically find a small handle or lever that allows the tray to slide out.
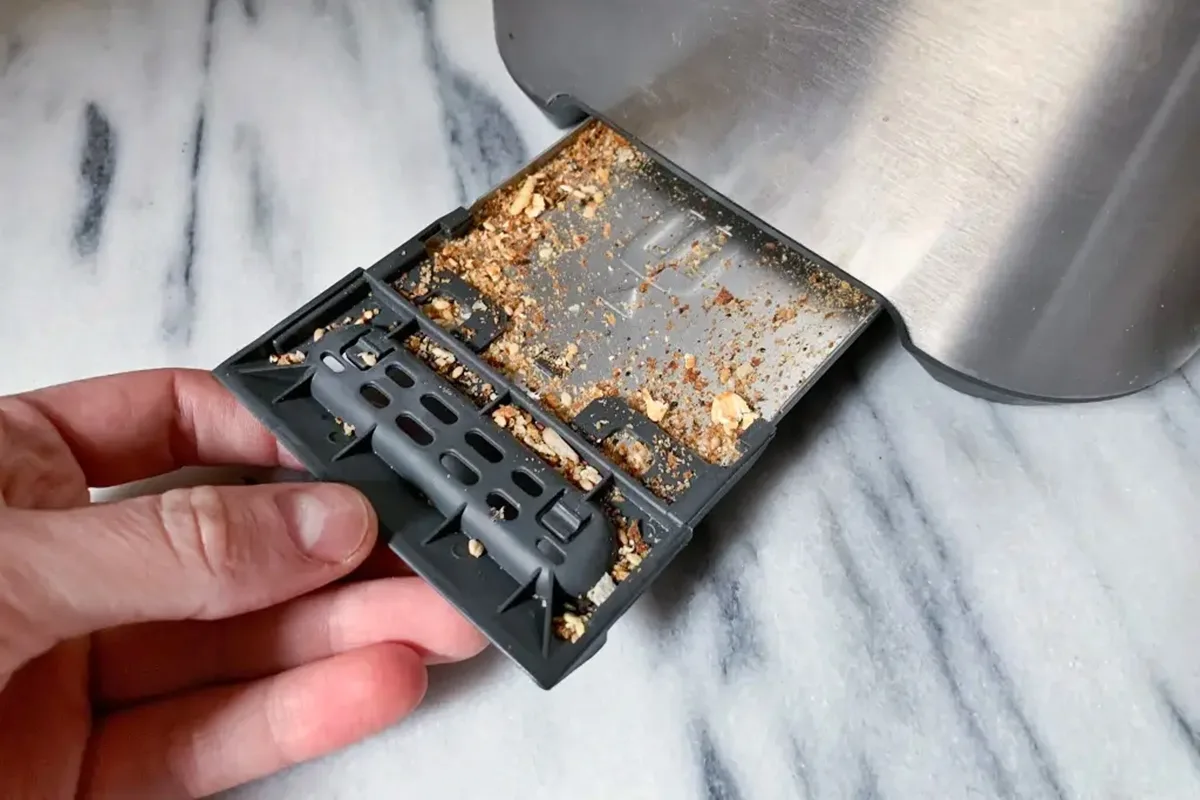
Image source: Bing (Web (fair-use with source credit))
Once removed, take the tray to your trash can and empty its contents. For toasters used frequently, this tray can fill up surprisingly fast. If the tray itself has become greasy or sticky, you can wash it with warm, soapy water and a soft cloth, but make sure it’s completely dry before sliding it back into the toaster.
This simple act of regular emptying is crucial for preventing a major build-up.
The Upside-Down Shake: Getting the Deep-Down Crumbs
After removing the crumb tray, it’s time to tackle the crumbs that have made their way deeper into the toaster’s slots. Lay down some newspaper or a clean kitchen towel on your counter or table. This will catch any loose debris that falls out.
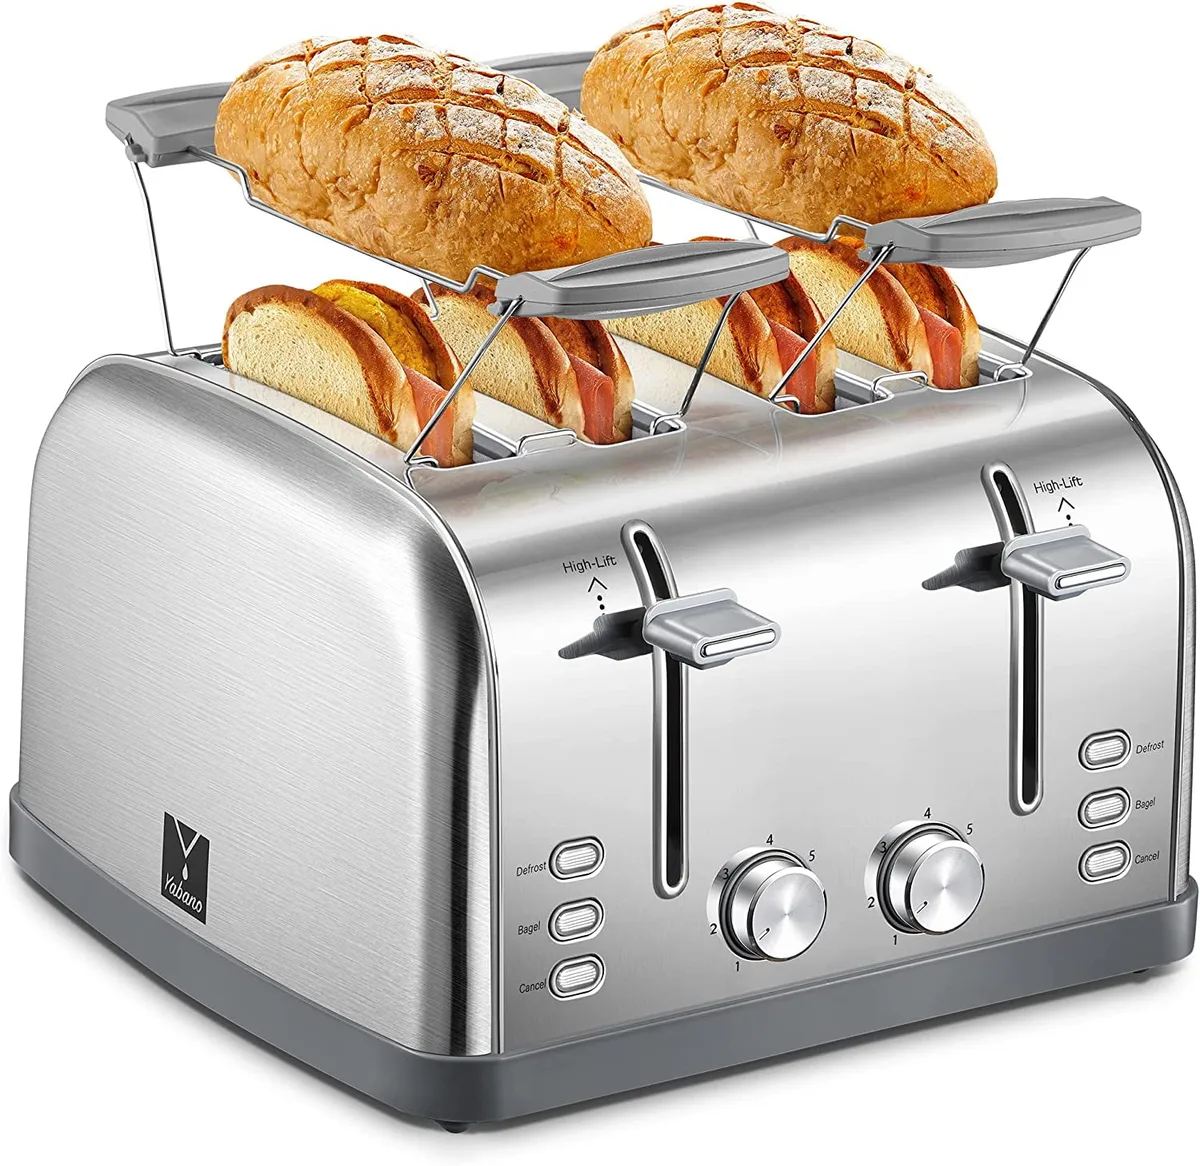
Image source: Bing (Web (fair-use with source credit))
Carefully turn the toaster upside down over the newspaper or towel. Give it a few gentle shakes. You’ll likely see a cascade of crumbs and small burnt pieces fall out.
This method is effective for dislodging anything that has settled at the very bottom of the toaster's interior, away from the crumb tray's reach. Don’t be too rough; you're just encouraging gravity to do its work.
A Gentle Brush for Stubborn Bits
Sometimes, shaking alone isn't enough, and a few stubborn crumbs might remain clinging to the sides of the toaster slots. This is where a soft brush comes in handy.
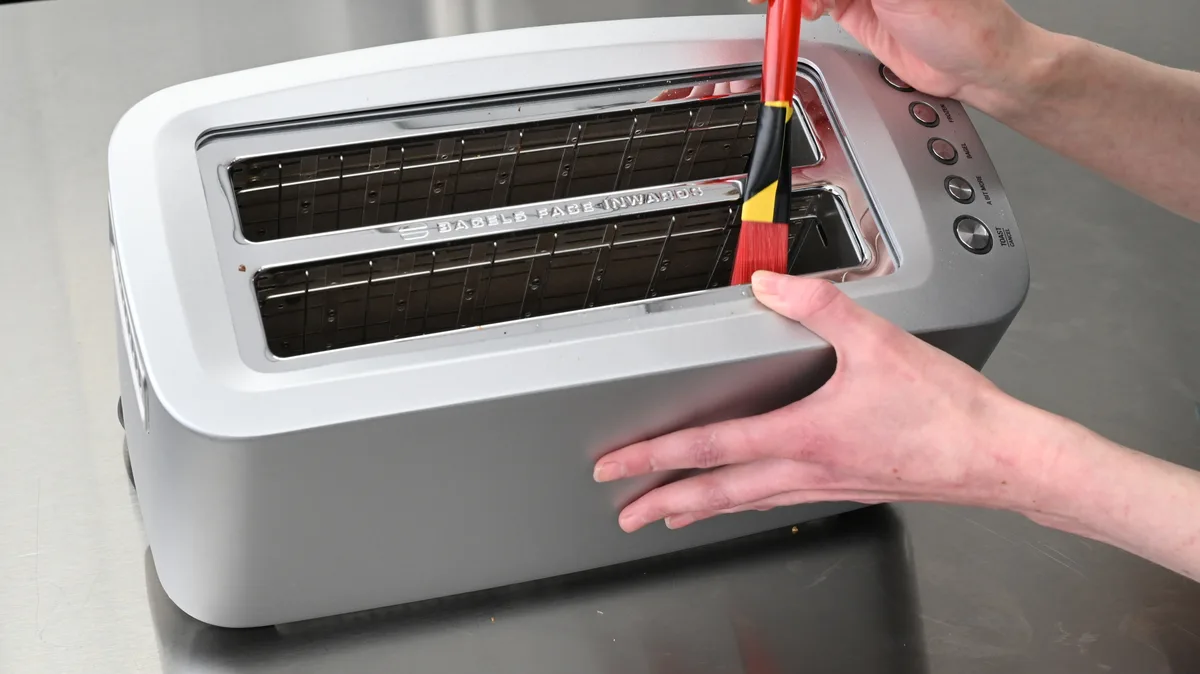
Image source: Bing (Web (fair-use with source credit))
A pastry brush, an unused paintbrush with soft bristles, or even a clean toothbrush can work well. Gently guide the brush down into the slots to dislodge any stuck-on debris. It's vital to use a soft brush and avoid anything metallic or sharp, as these can scratch or damage the delicate heating elements inside the toaster.
The goal is to coax the crumbs out, not to scrape or gouge the internal parts. Remember, these elements are crucial for proper toasting and can be easily damaged. If you're unsure about the material of your toaster's internal components, err on the side of caution and use the softest tool available.