How to Clean Coffee Maker
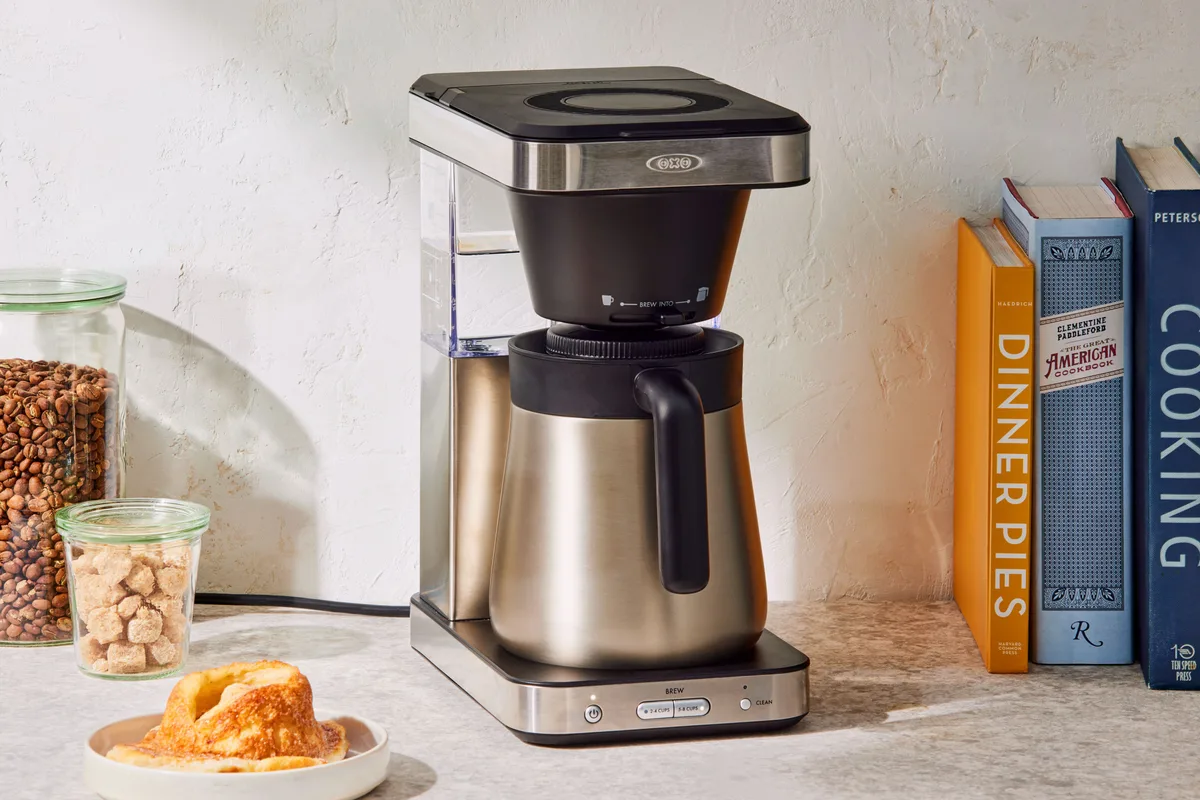
Image source: Bing (Web (fair-use with source credit))
Your coffee maker is probably one of the most-used appliances in your kitchen, and like anything you use regularly, it needs a good clean now and then. Knowing how to clean coffee maker equipment properly ensures your morning brew tastes its best and that your machine runs efficiently for years. Letting it go too long means brewing with old coffee oils and mineral deposits, which can really affect the flavor.
Research indicates that mineral buildup, also known as limescale, can accumulate in coffee makers over time, potentially affecting heating element efficiency. For instance, some manufacturer specifications suggest that limescale can increase brewing time by up to 20% if left untreated. Regular cleaning prevents this buildup and ensures a consistent brewing temperature, vital for optimal coffee extraction.
Quick Answer
To clean your coffee maker, use a 50/50 mix of white vinegar and water. Run half the solution through a brew cycle, let it sit for 30 minutes, then finish the cycle. Rinse by running fresh water through at least three times.
This removes mineral buildup and coffee oils for better taste.
What You'll Need for a Sparkling Coffee Maker
Gathering the right supplies makes the cleaning process smoother. You don't need a lot of fancy gadgets; most of what you need is probably already in your kitchen.
- White Vinegar: This is your secret weapon for breaking down mineral deposits and gunk. It's a safe, effective, and inexpensive descaling agent.
- Water: For diluting the vinegar and for the crucial rinsing cycles.
- Clean Cloth or Sponge: For wiping down the exterior and removable parts.
- Dish Soap: Mild dish soap is perfect for washing the carafe, filter basket, and other washable components.
- Small Brush: An old toothbrush or a dedicated small cleaning brush is great for scrubbing nooks and crannies around the brew head or drip tray.
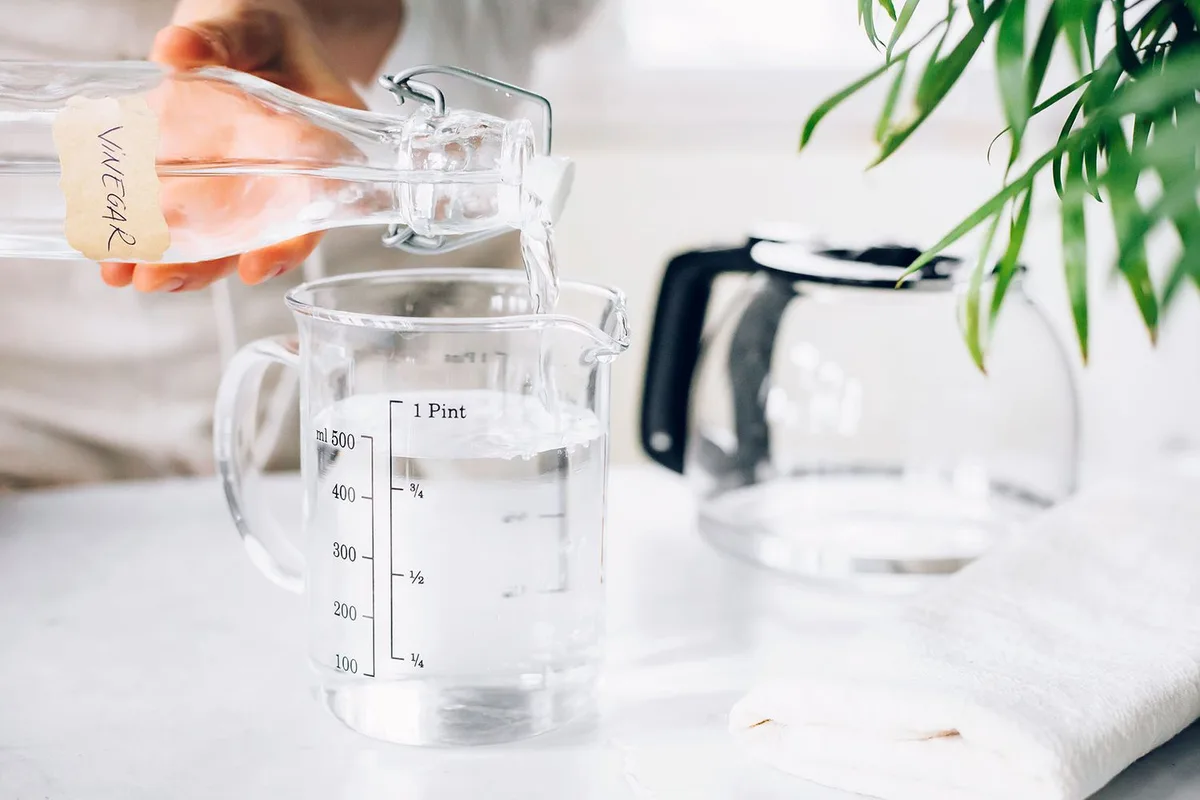
Image source: Bing (Web (fair-use with source credit))
The Step-by-Step Deep Clean (Descaling) Process
This process is designed to tackle the internal buildup that affects taste and performance. It's a thorough clean that you'll want to do about once a month.
Step 1: Prep Your Machine
First things first, make sure your coffee maker is unplugged and cool to the touch. Empty out any old coffee grounds from the filter basket and discard any leftover coffee from the carafe. Remove the filter basket and the carafe; these will be washed separately.
Step 2: Brew with the Vinegar Solution
Now, let's get that vinegar solution ready. Fill your coffee maker's water reservoir with a 50/50 mixture of white vinegar and water. If your machine has a 10-cup reservoir, use 5 cups of vinegar and 5 cups of water.
Place the empty carafe back onto the warming plate and position the empty brew basket.
Step 3: Let the Vinegar Work
Turn on the coffee maker and let about half of the vinegar-water solution brew through into the carafe. Once half is done, turn off the machine. Let it sit for at least 30 to 60 minutes.
This resting period is key; it allows the acidic vinegar solution to penetrate and break down the mineral deposits and coffee oils clinging to the internal components.
Step 4: Finish the Brew Cycle
After the soaking period, turn the coffee maker back on to finish brewing the remaining vinegar-water solution. Once the cycle is complete, discard the hot vinegar-water mixture from the carafe. It's normal if you notice a slight vinegar smell at this stage.
Step 5: The Essential Rinse Cycles
This is arguably the most crucial part to ensure no lingering vinegar taste affects your next pot of coffee. Fill the water reservoir completely with fresh, clean water. Run a full brew cycle with just water.
Discard the water from the carafe. Repeat this clean water rinse cycle at least two more times. For best results, run a third or even fourth rinse cycle until you can no longer detect any vinegar smell or taste.
This ensures all the descaling solution is flushed out.
Step 6: Clean External Parts
While the machine is doing its rinse cycles, or after they're finished, take time to clean the exterior. Use a damp cloth with a little mild dish soap to wipe down the machine's housing, the warming plate, and the area around the brew head. You can also use your small brush to get into any tight spots or crevices.
Thoroughly wash the carafe and filter basket with warm, soapy water, rinse them well, and let them air dry completely.
Dealing with Different Coffee Maker Types
While the vinegar method is a universal workhorse, different types of coffee makers might have slight variations or specific needs.
- Drip Coffee Makers: The 50/50 vinegar and water solution is your go-to for these. Just follow the steps outlined above. These are the most common machines, and this method is highly effective for them.
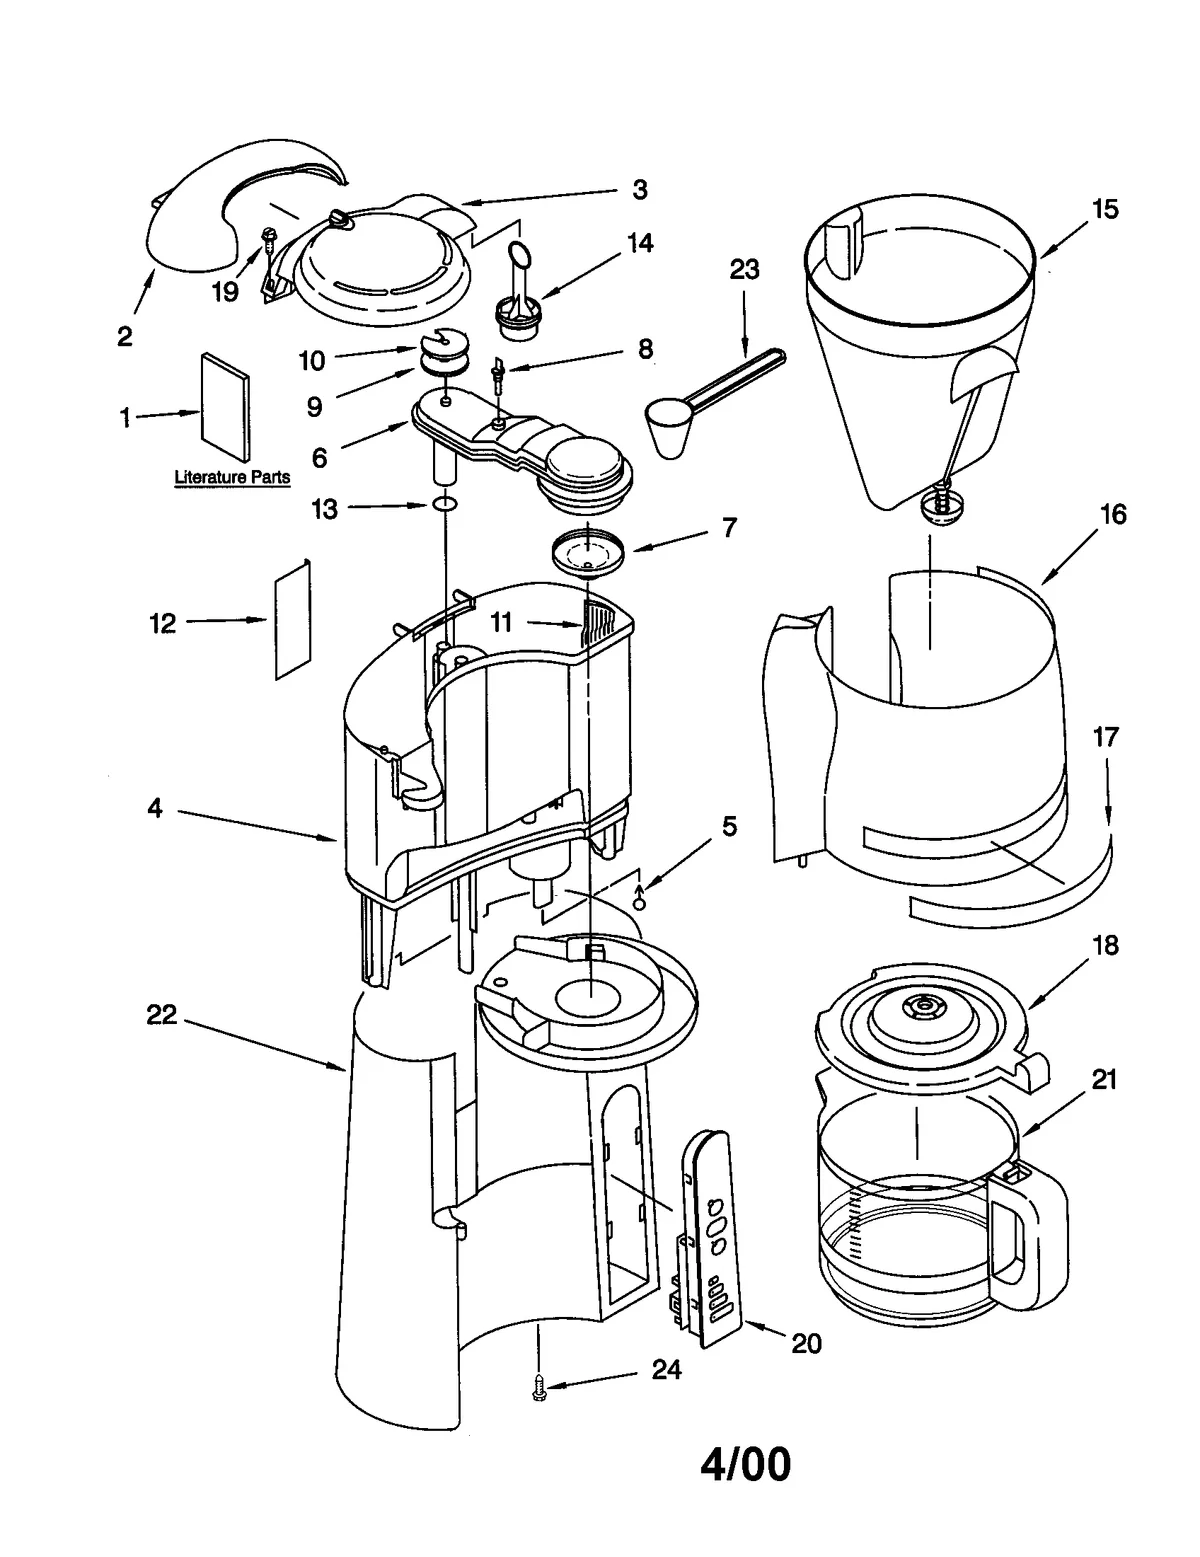
Image source: Bing (Web (fair-use with source credit))
Single-Serve Brewers (e.g., Keurig): Most single-serve machines benefit from a similar descaling process. Always check your manufacturer's instructions first, as some models have specific cleaning modes or recommended solutions. Generally, a 50/50 vinegar and water mix works, but follow your manual's guidance on reservoir capacity and cleaning cycle activation. For example, some machines may require you to run a descaling solution through multiple times before rinsing.
Espresso Machines: These machines can be more complex and often have specialized cleaning tablets or descaling solutions recommended by the manufacturer. Using the wrong solution or method can damage delicate components. It's best to consult your espresso machine's manual for specific descaling instructions. For instance, some require a specific descaling cycle initiation and a particular type of descaling liquid to avoid issues with internal pumps and boilers. If you're looking for a new machine, exploring options like 7 Best Semi Automatic Espresso Machine 2026 or 7 Best Automatic Espresso Machine 2026 might lead you to models with easier cleaning routines.
French Presses and Pour-Over Devices: These are generally much simpler and don't typically require descaling. Regular washing with warm, soapy water after each use is usually sufficient to keep them clean and free from coffee oils. Their simpler design means fewer internal parts where mineral buildup can occur.
Common Coffee Maker Cleaning Mistakes to Avoid
Even with the best intentions, a few common slip-ups can reduce the effectiveness of your cleaning or even potentially harm your machine. Being aware of these helps ensure you get the best results.
- Skipping the Rinse Cycles: This is a big one. If you don't rinse thoroughly after using vinegar or a descaling solution, your next pot of coffee will taste strongly of vinegar. This can also leave a lingering smell. Always complete at least 2-3 full water-only brew cycles.
- Using Harsh Chemicals: Never use bleach, ammonia, or abrasive cleaners inside your coffee maker. These can damage the internal components, leave harmful residues, and are difficult to rinse out completely. Stick to vinegar or manufacturer-recommended descalers.
- Not Cleaning Removable Parts: The brew basket, carafe, and any other removable pieces can harbor coffee grounds and oils if not cleaned regularly. Wash them with warm, soapy water after each use or at least daily. Letting them air dry prevents moisture buildup.
- Forgetting the Exterior: While internal cleaning is crucial for taste and function, the outside of your machine can accumulate dust and grime. A quick wipe-down with a damp cloth keeps it looking good and prevents dirt from potentially getting into the brewing area.
- Ignoring Manufacturer Instructions: While general advice like the vinegar method is widely applicable, specific models might have unique cleaning requirements or warnings. Always refer to your coffee maker's manual, especially for more complex machines like espresso makers or certain high-end brewers. For instance, some brands might warn against using vinegar on specific metal alloys.
Benefits & Drawbacks of Regular Cleaning
Keeping your coffee maker clean isn't just a chore; it actively improves your coffee experience and the longevity of your appliance. However, there are also some minor downsides to consider.
Benefits:
- Improved Coffee Flavor: This is the most significant advantage. Removing coffee oils and mineral deposits prevents them from making your coffee taste stale, bitter, or metallic. You'll enjoy the true flavor profile of your coffee beans.
- Extended Machine Lifespan: Regular descaling prevents mineral buildup from clogging internal tubes and damaging the heating element. This means your coffee maker is likely to last longer, saving you money on premature replacements.
- Faster Brewing: A machine free of clogs brews at its optimal speed. If you've noticed your brew cycles are taking longer, it's a strong sign that descaling is needed.
- Reduced Risk of Mold and Bacteria: Damp environments are breeding grounds. Regular cleaning, especially of removable parts, helps prevent the growth of mold and bacteria, which is better for your health.
- Quieter Operation: Limescale buildup can cause coffee makers to become louder as water struggles to pass through clogged channels. A clean machine operates more quietly and smoothly.
Drawbacks:
- Time Commitment: Deep cleaning and descaling take time, usually around 45-90 minutes including rinse cycles. This might be inconvenient if you need coffee in a hurry.
- Vinegar Smell: While temporary, the smell of vinegar during the cleaning process can be strong and unpleasant. Ensure good ventilation during this step.
- Potential for Machine Damage (if done incorrectly): Using the wrong cleaning agents or methods on delicate machines, like some espresso makers, can cause damage. Always follow manufacturer guidelines.
- Cost of Descaling Solutions (Optional): While vinegar is cheap, dedicated commercial descaling solutions can add to the cost of maintenance if you prefer using them.
Expert Tips for Fresher Coffee & A Happier Machine
Making sure your coffee maker is clean extends beyond just the brewing process; it impacts the overall health and longevity of the appliance itself. Regular maintenance, as recommended by many appliance manufacturers, is key to preventing common issues and ensuring consistent performance. For instance, a clean machine often operates more quietly and at a more stable temperature, contributing to better-tasting coffee.
Beyond the monthly deep clean, simple daily habits can significantly extend the time between more intensive descaling sessions. Emptying the grounds immediately after brewing, rinsing the carafe and brew basket, and wiping down the exterior can prevent the buildup of coffee oils and moisture that lead to problems. This proactive approach means less time spent on deep cleaning and a better coffee experience every day.
How Often Should You Deep Clean?
The frequency of deep cleaning your coffee maker depends heavily on two main factors: how often you use it and the hardness of your water. For a typical household that uses their machine daily, a monthly descaling is a good baseline. If you notice slower brewing times, diminished coffee flavor, or visible mineral deposits, it's a clear sign that a descaling is overdue.
- Daily Use, Soft Water: Once a month should suffice.
- Daily Use, Hard Water: Consider descaling every 2-3 weeks. Hard water contains more dissolved minerals, which will accumulate faster in your machine's internal components.
- Infrequent Use: You might get away with cleaning every 2-3 months, but it's still a good practice to run a descaling cycle after a long period of disuse, especially if the machine has been stored.
What to Do if You Don't Have Vinegar
If you don't have white vinegar on hand or prefer not to use it, there are commercial descaling solutions specifically designed for coffee makers. These products are formulated to effectively remove mineral buildup and coffee oils without leaving a strong odor. Always follow the instructions on the product packaging, as the concentration and usage can vary between brands.
Some brands might even offer specific descaling solutions tailored for certain types of coffee makers, such as espresso machines.
Preventing Buildup in the First Place
While thorough cleaning is essential, some preventative measures can slow down the rate of mineral buildup. Using filtered water instead of tap water can significantly reduce the mineral content introduced into your machine. Many manufacturers suggest using filtered water as part of their recommended maintenance schedule.
If you have particularly hard tap water, investing in a simple water filter for your tap or using a dedicated filtered water pitcher for your coffee maker can make a noticeable difference over time.
Frequently Asked Questions About Coffee Maker Cleaning
How long does a typical coffee maker cleaning cycle take?
A full deep clean, including the vinegar soak and multiple rinse cycles, usually takes between 45 minutes to 1.5 hours, depending on your machine's capacity and how many rinse cycles you run. The actual active cleaning time is much shorter, with most of the duration being the machine's brew cycle and the soaking period.
Can I use something other than vinegar or commercial descalers?
It's generally not recommended to use other household cleaners like bleach or ammonia, as they can damage your machine and leave unsafe residues. While some people suggest citric acid, it's best to stick to white vinegar or products specifically designed for coffee makers to ensure safety and effectiveness. Always check your manufacturer's guidelines for approved cleaning agents.
Why does my coffee taste bitter after cleaning?
If your coffee tastes bitter after cleaning, you likely haven't rinsed out all the vinegar or descaling solution. Run another 1-2 fresh water rinse cycles. Ensure the brew basket and carafe are also thoroughly rinsed to remove any residual cleaning solution.
Sometimes, a very dirty machine might require an extra round of cleaning.
How often should I clean the outside of my coffee maker?
Wiping down the exterior with a damp cloth can be done daily or every few days as part of your general kitchen cleanup. This prevents dust and grime buildup, keeping the appliance looking its best and preventing any debris from potentially entering the brewing system over time.
What if my coffee maker has a "clean" cycle button?
Many modern coffee makers, especially single-serve models, feature a dedicated "clean" cycle. If your machine has this, consult its manual to see if it should be used with a cleaning solution or just water. Often, you'll still need to run a descaling solution (like vinegar or a commercial product) through the machine before activating the clean cycle for a final flush.






2 Comments