How to Adjust an Exercise Bike
Ever hopped on an exercise bike and felt like your legs were either folding under you or stretching too far for the pedals? That's your bike telling you the settings are off. Learning how to adjust an exercise bike takes less than five minutes, and it makes any workout dramatically more comfortable.
It's not about guessing. It's about following a few simple body measurements and adjusting each contact point in the right order.
In our research, most stationary bikes offer four adjustment points: saddle height, saddle fore-aft, handlebar height, and handlebar reach. Manufacturer specifications indicate that ignoring the minimum insertion marks on seat posts is the most common setup mistake. Most home exercise bikes sold as of 2026 use quick-release adjustment systems, which make changing settings easy.
Once you've learned the method, it clicks and you'll never dread a shared gym bike again.
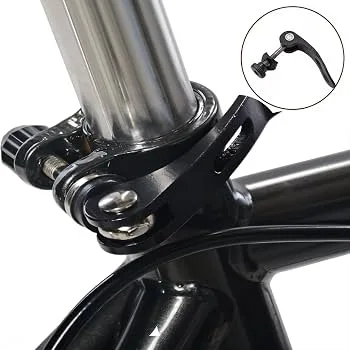
Image source: Bing (Web (fair-use with source credit))
Quick Answer
Set the saddle height first, the fore-aft position second, then the handlebars. Use the heel-on-pedal test for height. Adjust fore-aft until your knee lines up with the pedal spindle.
Level the saddle and set handlebars for a slight elbow bend. Check the minimum insertion marks before each ride.
Why Bike Fit Matters (Before You Touch a Knob)
The Difference Between a Good Ride and a Painful One
Proper fit keeps your joints happy and your power efficient. When your seat height is right, your legs engage smoothly through the pedal stroke. When it's wrong, you either overreach or crunch your knees.
That's where most cycling discomfort starts.
It's the same principle as dialing in a rowing machine properly. A few quick changes turn a punishing workout into a smooth one. Your body sends signals early.
The problem is that most riders ignore them and push through.
How Wrong Adjustments Show Up Over Time
Bad positioning rarely hurts on the first ride. It creeps in after ten minutes or the next day. Common signals are sore knees, numb hands, lower back stiffness, and feet that tingle.
These are early warnings, not part of getting fitter.
Leave it alone and you risk chronic irritation that forces you off the bike entirely. Fix it now and the same workout feels effortless. That's the value of understanding how each lever and knob changes your body's position.
Know Your Adjustment Points: What Actually Moves on an Exercise Bike
Before touching anything, find all four contact points. Each one changes how your body loads the pedals and handlebars. They work together, so the order matters.
Saddle Adjustments Explained
The saddle adjusts in three ways: height, fore-aft, and tilt. Height controls leg extension. Fore-aft shifts your weight over the cranks.
Tilt changes how much pressure your sit bones take.
Handlebar Adjustments Explained
Handlebars adjust up and down, and also move closer to you. Height changes your back angle. Reach changes the stretch through your shoulders and elbows.
Pedal and Crank Considerations
Pedal straps and cages affect foot position. Crank arm length is fixed on most exercise bikes, but it matters more than people think. Longer cranks suit taller riders.
Shorter cranks feel better for quicker cadences.
Quick-Release vs. Tool-Based Adjustments
Quick-release levers let you change settings in seconds without tools. Tool-based systems use hex bolts and need an Allen key. The adjustment points are identical.
Quick-release bikes just make multi-user households far easier. Since you'll be moving parts regularly, follow a routine upkeep schedule to keep everything gliding smoothly.
| Adjustment Point | What It Changes | Typical Tool |
|---|---|---|
| Saddle height | Leg extension, knee comfort | Quick-release lever or hex bolt |
| Saddle fore-aft | Knee alignment over pedal spindle | Slide rail, hex bolt |
| Saddle tilt | Sit bone pressure | Hex bolt |
| Handlebar height | Back angle, upper body strain | Quick-release or hex |
| Handlebar reach | Elbow bend, shoulder tension | Sliding stem, hex |
Saddle First: Height, Fore-Aft, and Tilt, Step by Step
Always set the saddle before the handlebars. A simple order makes the whole process take about two minutes. Don't skip ahead, since each step depends on the last.
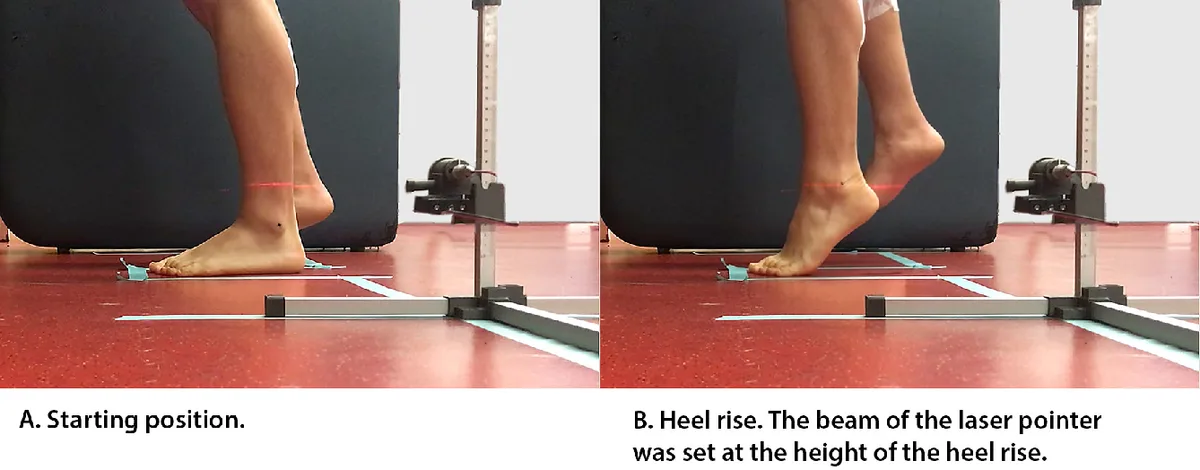
Image source: Bing (Web (fair-use with source credit))
Step 1: Set Saddle Height with the Heel-on-Pedal Test
Place your heel on the pedal at the bottom of the stroke. Your leg should be straight, not stretching. If your knee bends, raise the seat.
If your hip rocks, lower it.
Step 2: Dial In Fore-Aft Position with the KOPS Check
With both pedals horizontal, drop a virtual line from the front of your kneecap. It should meet the pedal spindle of the front foot. This is the knee-over-pedal-spindle (KOPS) position.
Move the saddle forward or back on its rail to match.
Step 3: Level the Saddle Tilt
The saddle should start perfectly level. A nose pointing up causes groin pressure. A nose down slides you forward and overloads your hands.
Use a small level if needed.
Step 4: Test-Ride at Low Resistance
After adjusting, ride for three minutes at easy resistance. Pedal at a steady 80 to 90 rpm. Feel for any clicking in the knees or instability in your hips.
Minor tweaks of a centimeter are normal, so don't be afraid to fine-tune after a short warmup.
Handlebars Next: Set Height and Reach Without the Guesswork
With the seat dialed, handlebars become straightforward. They don't affect the knees, but they decide how comfortable your upper body feels. A lot of riders set them once and forget them, but small shifts can mean the difference between a strong posture and a hunched one.
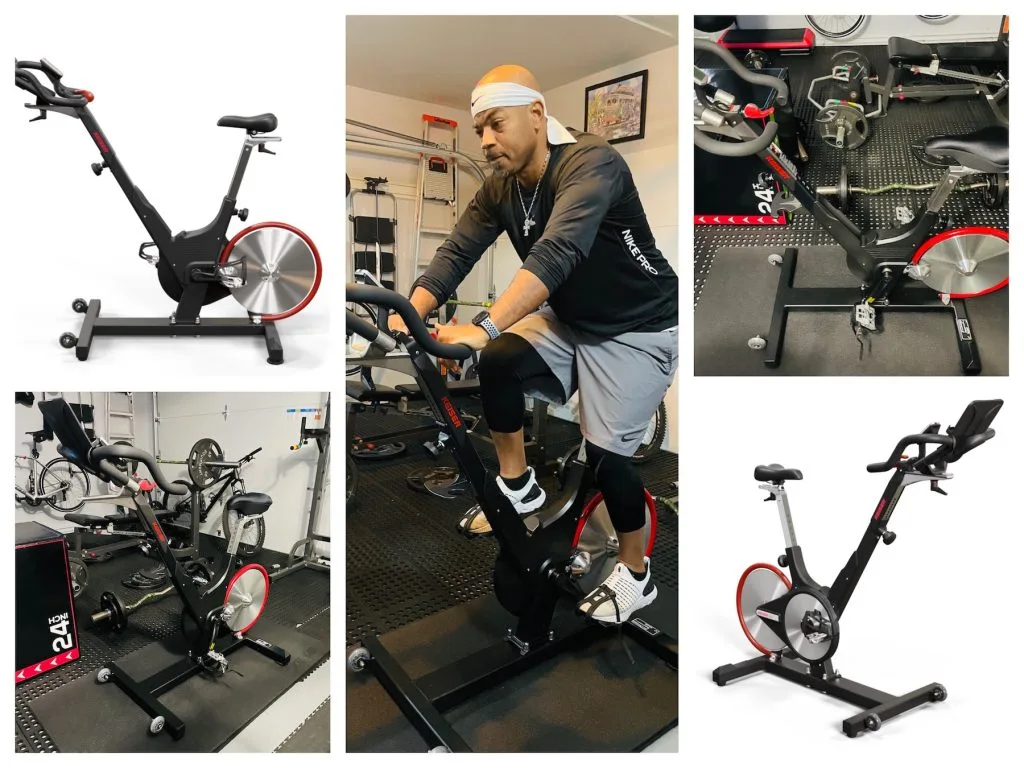
Image source: Bing (Web (fair-use with source credit))
The Elbow-to-Nose Reach Test
Sit on the bike with your hands on the handles. Your elbow should lightly touch the nose of the saddle when your arm is fully extended. If you can't reach, bring the handlebars closer.
If you're too cramped, slide them away.
Matching Handlebar Height to Your Riding Style
Recreational riders usually want the bars near saddle height. Spin-style riders often set them lower for aggressive riding. Taller riders may prefer more rise to reduce lower back strain.
There is no universal position, only the right one for your back and flexibility.
When Slightly Lower Is Better vs. When Higher Is Safer
A lower handlebar shifts your hips forward and engages the glutes. But it also bends your spine more. Higher bars suit beginners, older riders, and anyone with back issues.
Start neutral and only lower the bars after you feel strong and flexible.
When Something Hurts: A Symptom-Based Adjustment Guide
If you've already ridden and pain showed up, treat the symptom. The fix usually matches one of these five situations. Be patient, because one tiny change often solves a nagging problem.
Front-of-Knee Pain
The seat is too low or too far forward. Raise the seat slightly, then slide it back a few millimeters. That reduces the strain on the kneecap as you pedal.
Back-of-Knee Pain
The seat is too high or too far back. Lower the saddle a little and check your knee bend at the bottom of the stroke. You should still have a slight bend, not a locked leg.
Numb Hands or Feet
Numb hands mean the handlebars are too low or too far away. Raise them or pull them closer. Numb feet usually come from pedaling with locked ankles, so keep your foot level and adjust the straps instead.
It's the same principle as keeping your home gear clean. Small maintenance beats big problems later.
Lower Back Pain
This often flares from too much reach. Slide the saddle forward or raise the handlebars. If cycling is new to you, your core also needs time to adapt.
Ease into longer rides and the discomfort usually fades. Your body needs the same gradual ramp-up as any new workout routine.
Rocking Hips or Wobbling
Rocking hips mean the seat is too high or angled wrong. Drop the saddle until your hips stay still through every revolution. Check that the saddle is level too.
If you've done the steps correctly and still feel unstable, re-check the saddle tilt and the fore-aft position.
Mistakes That Wreck Your Setup (and How to Avoid Them)
Most fit problems come from four basic errors. Each one is easy to fix once you know what to look for.
Skipping the Minimum Insertion Marks
Every seatpost and handlebar stem has a minimum insertion line stamped into the metal. Raise the part above that line and the lock has too little surface to grip. The component can slip mid-ride, or even snap under load.
Always keep the line hidden below the clamp.
Adjusting Too Many Points at Once
Change one setting, then pedal for a few minutes. If you shift the saddle height, fore-aft, tilt, handlebars, and straps together, you won't know which change solved the issue. Bike fit professionals consistently recommend an incremental approach.
One variable at a time removes the guesswork.
Copying a Friend's Settings Blindly
Your inseam, torso length, flexibility, and riding style are unique. A setup that works for a 6'2" rider can cause back pain for someone who's 5'6". Use the measurement tests above instead of trusting someone else's numbers.
Tightening Without Testing
A quick-release lever needs real force, not a casual close. The lever should leave a slight imprint in your palm. After tightening, grab the saddle and shake it.
If anything moves, loosen and re-tighten. The same goes for hex bolts. Loose components are a common cause of stationary bike accidents, a category the U.S.
Consumer Product Safety Commission tracks closely.
The 10-Minute Re-Check Routine for Multi-User Households
Shared bikes demand a system. Spending a few minutes on re-checks saves you from constant minor injuries.
Marking Your Settings for Fast Swaps
Most bikes with quick-release posts let you record your height with a piece of tape. Wrap the tape around the seatpost right above the clamp. Write your initials on it.
When you return to the bike, match the tape to your previous mark. Do the same for the handlebar stem.
Checking Hard-to-See Bolts and Levers
Quick-release knobs grab attention, but the hidden hex bolts hold everything together. Use a 4mm or 5mm Allen key to check saddle rails and stem clamps at least monthly. Then shake the saddle and handlebars to make sure nothing moves.
A loose bolt shows up as a tiny wobble under load.
When to Re-Adjust After the First Few Rides
Your body settles into a new position within the first week. Minor aches are normal for the first two rides, but continuing pain means something is off. Re-check your fit after about three sessions.
Track your workout duration and comfort levels the same way you'd monitor any new exercise routine. Small adjustments now prevent bigger problems later.
Frequently Asked Questions
How Do I Adjust an Exercise Bike Without Tools?
Most modern exercise bikes use quick-release levers for the saddle and handlebars. Just pull the lever open, slide the part to the new position, and close it firmly. If your bike uses hex bolts, you'll need a basic Allen key set.
No other tools are required.
What Seat Height Should I Use for My Inseam?
Multiply your inseam in inches by 0.88 for a starting point. Then refine with the heel-on-pedal test. Your leg should barely touch the pedal with a straight heel at the lowest point.
Most riders end up within a centimeter of that formula, but body proportions vary widely.
Why Do My Hips Rock When I Pedal?
Rocking hips typically mean the saddle is too high or tilted slightly. Lower the seat until your hips stay level through the whole pedal stroke. Also confirm the saddle is flat.
A nose-down tilt pushes you forward and adds extra movement.
Should I Adjust the Bike Differently for Standing Climbs?
Standing climbs work best when the handlebars are level with or slightly lower than the saddle. That lets your hips move forward naturally. If you plan to stand often, raise the handlebar one notch for stability.
You will need to re-check your knee position afterward.
How Do I Find My Fit Faster on a New or Shared Bike?
Start with the saddle height and fore-aft tests before anything else. Those two points solve 80% of comfort issues. Then adjust the handlebar reach and height.
After that, memorize the numbers on the adjustment posts for next time. A small note on your phone works well.