How to Clean an Ice Maker Water Reservoir
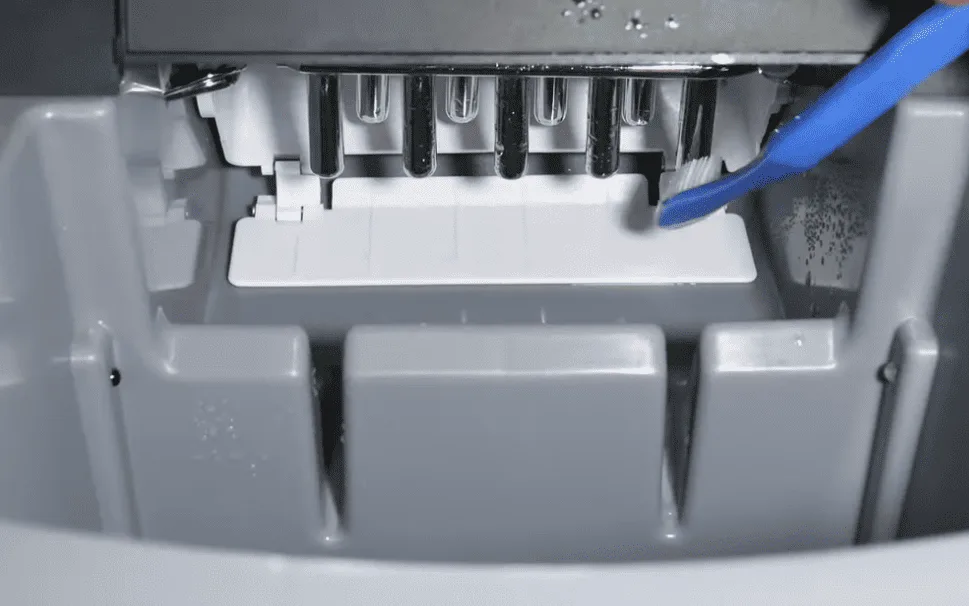
Image source: Bing (Web (fair-use with source credit))
So, you're wondering how to clean an ice maker water reservoir? It’s a pretty straightforward task that makes a big difference in the quality of your ice. A dirty reservoir can lead to unpleasant tastes and potentially harbor uninvited guests like mold and bacteria.
Keeping it clean ensures every glass of water or cocktail is as fresh as it should be.
In our research, we found that regular cleaning is essential. According to many manufacturer specifications, a thorough reservoir clean should happen at least every 1 to 3 months to maintain optimal ice quality and appliance hygiene. This guide will walk you through the simple steps to get your ice maker's water reservoir sparkling clean and odor-free.
Why Cleaning the Ice Maker Water Reservoir Matters
Keeping your ice maker's water reservoir clean is more than just a housekeeping chore; it directly impacts the quality and safety of your ice. Think about it: water sits in this reservoir, often at room temperature or slightly chilled, and it's the direct source for every ice cube you make. If this water source isn't clean, neither is your ice.
Our research indicates that neglecting this part of your ice maker can lead to several issues. Stagnant water can become a breeding ground for mold, mildew, and bacteria, which not only affects the taste of your ice but can also pose a health risk. This is why understanding how to clean an ice maker water reservoir properly is crucial for anyone who values fresh, safe ice.
Fresher Taste, Better Hygiene
The primary benefit of a clean water reservoir is undoubtedly the improvement in taste. Stale water or any residual film from previous uses can impart off-flavors to your ice. When this ice melts into your drink, it can spoil the flavor of your beverage.
Regular cleaning eliminates these taste-interfering elements.
Beyond taste, hygiene is paramount. Water reservoirs can develop biofilm, a slippery layer of microorganisms. This biofilm can contain various types of bacteria.
By using simple cleaning agents like vinegar and soap, you effectively remove these harmful contaminants, ensuring your ice is as pure as possible.
What You'll Need for the Job
Before you dive into cleaning, it’s wise to gather all your supplies. Having everything on hand makes the process smoother and less of a hassle. Most of these items are probably already in your kitchen or cleaning cabinet.
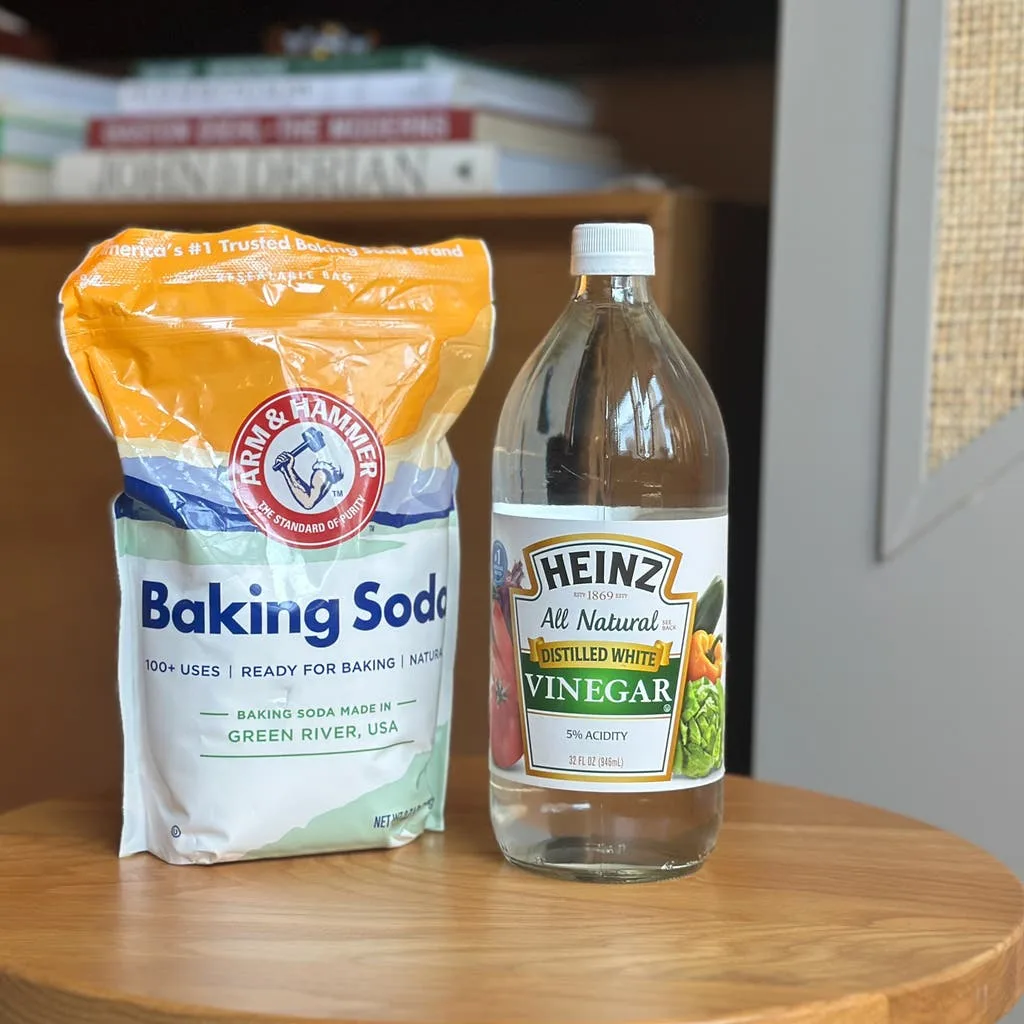
Image source: Bing (Web (fair-use with source credit))
This isn't a complicated job that requires specialized tools. You'll be using basic household items that are effective at cleaning and sanitizing without damaging the plastic components of your ice maker.
Gathering Your Cleaning Supplies
Here's a quick rundown of what you'll want to have ready. This list ensures you're prepared for all the necessary cleaning and rinsing steps involved in tackling your ice maker's water reservoir.
- Mild Dish Soap: Your everyday liquid dish soap is perfect for breaking down any light grime or residue.
- White Vinegar: This is a fantastic natural disinfectant and descaler, great for tackling mineral buildup and sanitizing.
- Soft Cloths or Sponges: Opt for non-abrasive materials to avoid scratching the reservoir's plastic surfaces. Microfiber cloths work well.
- Old Toothbrush: An old toothbrush is invaluable for reaching into corners and crevices that cloths can't access.
- Clean Water: You'll need this for rinsing the reservoir thoroughly after cleaning.
Step-by-Step Guide to Cleaning the Reservoir
This guide is designed to be a clear, actionable workflow. Follow these steps carefully to ensure your ice maker's water reservoir is properly cleaned and ready to make pristine ice.
1. Prep: Unplug and Empty Everything
This initial step is all about safety and preparing the ice maker for cleaning. You can't effectively clean a reservoir that's full of water or still connected to power. Make sure you have a clear workspace and that the unit is stable.
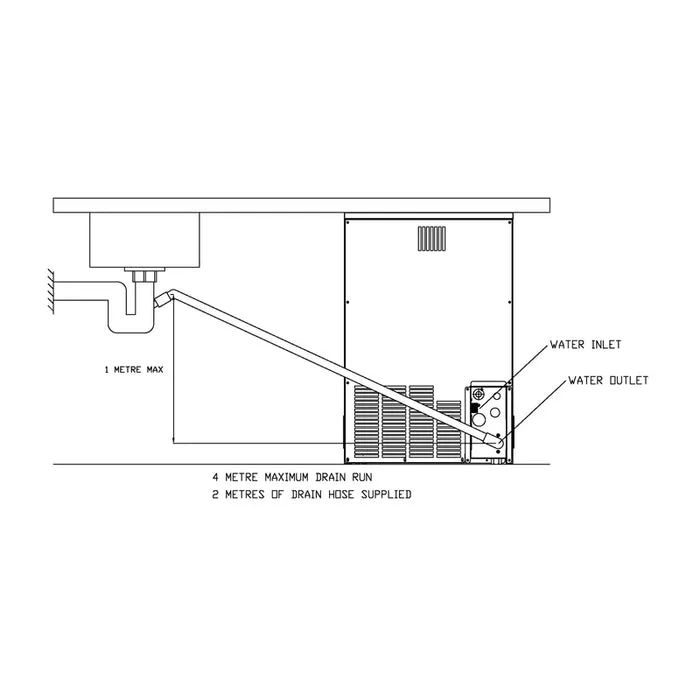
Image source: Bing (Web (fair-use with source credit))
- Unplug the Ice Maker: First and foremost, disconnect the ice maker from its power source. This is a critical safety measure to prevent any electrical accidents.
- Remove All Existing Ice: If your ice bin is full, empty it into a separate container or cooler. You don't want that ice to melt and create a mess during the cleaning process.
- Drain the Reservoir: Most ice makers have a way to drain the water from the reservoir. For portable units, this might involve tipping it carefully over a sink. For built-in models, check your manual for a specific drain plug or procedure. You want to remove as much standing water as possible before proceeding.
2. Basic Wash: Soap and Water Scrub
Now that the reservoir is prepped and emptied, it’s time for a good scrub with mild soap. This phase tackles general dirt and any loose debris that might be clinging to the inside surfaces.
- Remove the Reservoir (If Possible): Many ice maker water reservoirs are designed to be removed. Consult your ice maker's manual to see if yours detaches. If it does, carefully take it to your sink for easier cleaning.
- Apply Soap and Warm Water: Put a few drops of mild dish soap into the reservoir. Fill it partially with warm water.
- Scrub Inside Surfaces: Use your soft cloth or sponge to thoroughly scrub the inside walls, bottom, and any other accessible areas of the reservoir. Pay attention to any visible buildup or discoloration. Use the old toothbrush to get into any tight spots or corners.
- Rinse Initially: Empty the soapy water and give the reservoir a quick rinse with clean water to remove the majority of the soap residue.
3. Deep Clean (Optional): The Vinegar Treatment
If you notice mineral deposits (often chalky white spots) or if you want an extra layer of sanitization, this vinegar treatment is highly effective. White vinegar is a natural disinfectant that also helps break down scale.
- Prepare the Vinegar Solution: Fill the reservoir about halfway with undiluted white vinegar. Then, top it off with cool water to create a 50/50 vinegar-water mixture. This dilution is strong enough for cleaning but won't leave an overwhelming scent.
- Allow for Soaking: Let the vinegar solution sit inside the reservoir for at least 30 minutes. For more stubborn mineral buildup or for deeper sanitization, you can let it soak for up to an hour. During this time, the vinegar works to loosen grime and kill bacteria.
- Second Scrub: After soaking, give the reservoir another good scrub with your cloth or sponge and toothbrush. The vinegar should have made it easier to remove any lingering residue or scale.
4. Thorough Rinsing: Banishing All Traces
This is a critical step. You absolutely do not want any lingering taste or smell of soap or vinegar in your ice. Multiple rinses are key to ensuring a pure, clean result.
- Empty the Vinegar Solution: Discard the vinegar-water mixture.
- Rinse Repeatedly: Fill the reservoir with fresh, cool water and swish it around vigorously. Empty it out completely. Repeat this rinsing process at least three to four times.
- Smell Test: After rinsing, take a good sniff inside the reservoir. If you can still detect any hint of vinegar or soap, perform another round of rinsing. Your ice should have no detectable odor from the cleaning agents.
5. Drying: The Crucial Final Step
Moisture is the enemy when it comes to preventing mold and mildew regrowth. Ensuring the reservoir is completely dry before reassembly is just as important as the cleaning itself.
- Air Dry: The best method is to allow the reservoir to air dry completely. Place it upside down on a clean towel or a drying rack in a well-ventilated area. This can take several hours, depending on humidity.
- Pat Dry (If Needed): If you're in a hurry or if air drying is difficult, you can gently pat the inside of the reservoir dry with a clean, lint-free cloth. Make sure to get into all the nooks and crannies. Avoid leaving any dampness behind.
How Often Should You Clean It?
The frequency of cleaning your ice maker's water reservoir depends on a few factors. It’s not a one-size-fits-all answer, but generally, a good rule of thumb keeps things fresh. Pay attention to how you use the machine and your home's water quality.
Factors Affecting Cleaning Frequency
- Usage: If you use your ice maker daily, making several batches of ice, it’s going to need more frequent attention than a unit used only occasionally. Aggregate user feedback suggests daily users should aim for a clean monthly.
- Water Quality: Homes with hard water, which contains high mineral content, may see faster buildup of scale. In these areas, checking the reservoir monthly and cleaning as needed is advisable.
- Environmental Factors: Warmer, more humid conditions can encourage microbial growth more quickly.
- Manufacturer Recommendations: Always consult your specific ice maker's manual. Manufacturer specifications often provide ideal cleaning schedules, which are tailored to the unit's design. For instance, some suggest a deep clean every three months if water quality is moderate.
Common Mistakes to Avoid When Cleaning
Even with simple tasks, it’s easy to make mistakes that can either reduce the effectiveness of your cleaning or, worse, damage the ice maker. Being aware of these common pitfalls can save you time and prevent future problems with your appliance.
Sneaky Spots Where Grime Hides
When you're cleaning, it's easy to overlook certain areas if you're not careful. These overlooked spots can quickly become problem areas where mold or mineral deposits start to accumulate again.
- Forgetting the Lid: If your reservoir has a lid, don't forget to clean that too! It's often touched and can harbor germs. Ensure it's scrubbed and dried thoroughly.
- Incomplete Rinsing: As mentioned, leaving behind soap or vinegar residue is a big no-no. Multiple thorough rinses are essential to prevent off-flavors in your ice.
- Not Drying Fully: Reassembling a damp reservoir is an invitation for mold and mildew. Always ensure the reservoir is completely dry, inside and out, before putting it back.
- Using Abrasive Cleaners: Harsh chemicals or abrasive scrubbers can scratch the plastic interior of the reservoir. Scratches create tiny crevices where bacteria can hide and are difficult to remove. Stick to mild soap and vinegar.
- Ignoring the Exterior: While the focus is the reservoir, don't forget to wipe down the exterior of the ice maker, especially around the water fill area, to prevent external contaminants from entering.
Frequently Asked Questions
How long does it take to clean the reservoir?
Cleaning typically takes about 30 to 60 minutes, not including the air-drying time for the reservoir itself. The actual scrubbing and rinsing are quite quick.
Can I use bleach to clean the reservoir?
It's generally not recommended to use bleach. While it's a strong disinfectant, it can be difficult to rinse completely from plastic and may leave a residual odor or taste. Mild soap and vinegar are safer and effective alternatives.
My ice maker smells musty, what should I do?
A musty smell often indicates mold or mildew growth. This means a thorough cleaning, including the vinegar treatment, is needed. Ensure you also clean any accessible ice storage bin components and check that the reservoir is completely dry after cleaning.
Is it okay to use a dishwasher to clean the reservoir?
Some reservoirs might be dishwasher-safe, but always check your ice maker's manual first. High heat from a dishwasher could warp or damage certain plastic components. Hand washing with mild soap is the safest method for most.