How to Clean Silicone Utensils
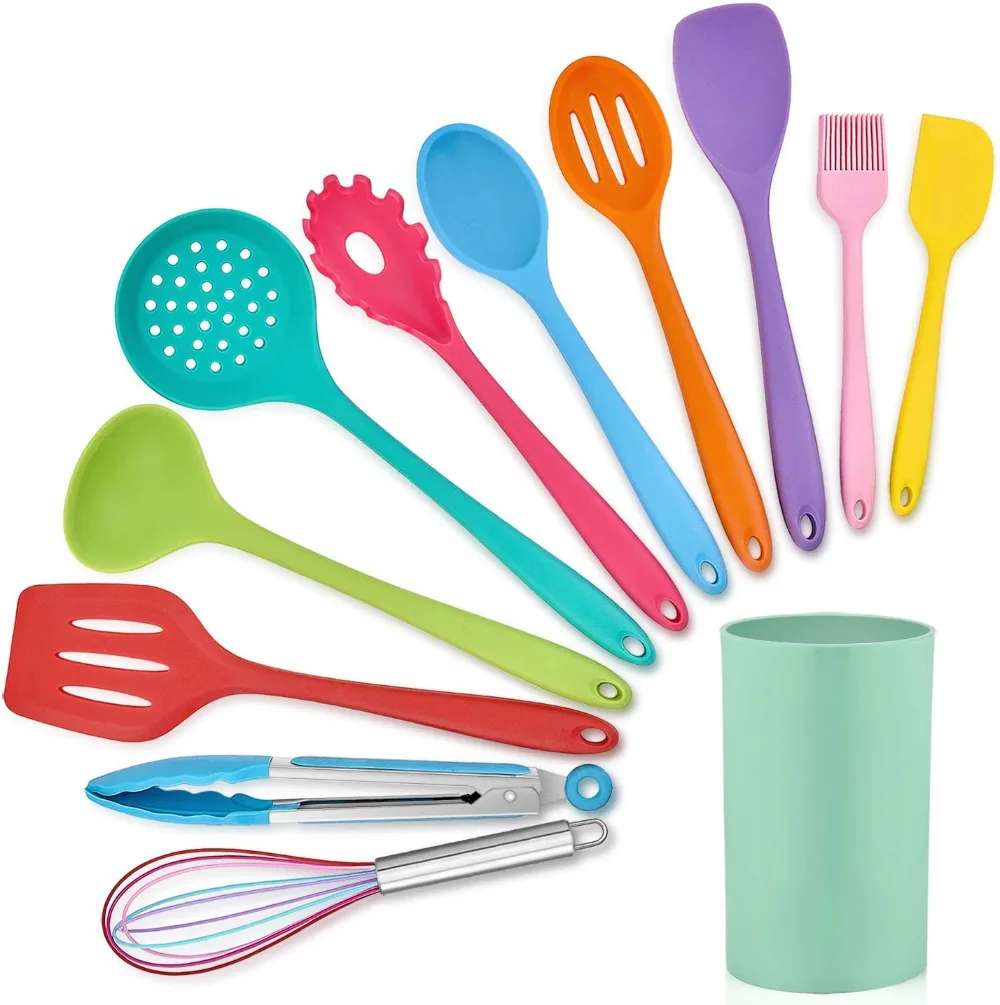
When you're whipping up a meal and reach for your favorite silicone spatula or baking mat, the last thing you want is to find it stained or smelling like last night's garlic. Figuring out how to clean silicone utensils properly can save you a lot of hassle and keep your kitchen tools looking and smelling fresh. Silicone is fantastic for cooking because it's heat-resistant and non-stick, often rated for temperatures up to 450°F (230°C), but it can still pick up colors and odors.
These versatile kitchen tools are a staple for a reason, but they do require a bit of know-how to maintain. Fortunately, most cleaning tasks are quite straightforward, and with a few common household items, you can tackle even the most persistent marks. We've gathered the most effective methods, backed by common practices and manufacturer guidance, to keep your silicone gear in top shape.
Quick Answer
To clean silicone utensils, wash them with hot, soapy water and a non-abrasive sponge. For tougher stains or odors, soak them in a mixture of baking soda and water, or a dilute vinegar solution. Rinse thoroughly and air dry completely to prevent any lingering smells or residue.
Dealing with Stubborn Stains on Silicone Utensils
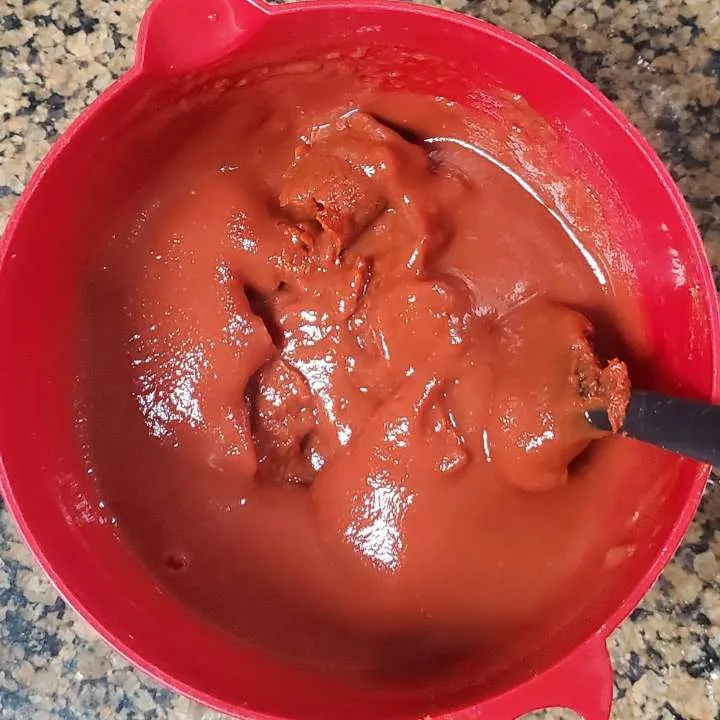
Silicone is great, but certain ingredients love to leave their mark. Tomato sauce, turmeric, and even some dark berries can transfer their vibrant colors onto your once-pristine silicone spatulas or baking mats. This happens because silicone, while non-porous in theory, can develop microscopic imperfections over time that trap pigments.
If you're facing a stubborn stain, don't despair. The key is often a bit of patience and the right approach. Here’s a breakdown of what works:
- Immediate Action: If a stain is fresh, wash the utensil right away with hot, soapy water. This is your best defense against color transfer.
- Baking Soda Paste: For set-in stains, a paste of baking soda and water is your secret weapon.
- Mix about 1/4 cup of baking soda with just enough water to form a thick paste.
- Apply the paste generously to the stained area.
- Let it sit for at least 30 minutes, or even a few hours for very tough stains.
- Gently scrub with a non-abrasive sponge or soft brush.
- Rinse thoroughly with hot water.
- Lemon Juice: The natural acidity in lemon juice can also help lift stains. You can rub a lemon half directly on the stain or use bottled lemon juice. Let it sit for about an hour before scrubbing and rinsing.
- Vinegar Soak: A dilute vinegar solution can work wonders for general discoloration. Mix equal parts white vinegar and hot water and let the silicone item soak for an hour or two.
If a stain persists after trying these methods, it's usually a sign the pigment has bonded deeply. While it might not be fully removable, the utensil is still perfectly safe to use for cooking.
Tackling Lingering Odors in Silicone
Silicone can sometimes hold onto strong food smells, especially from ingredients like garlic, onions, or certain spices. This is a common frustration, as these odors can transfer to other foods. Fortunately, there are several effective ways to banish them.
Vinegar Soak for Odor Removal
White vinegar is a fantastic natural deodorizer. Its acidity helps to break down odor-causing compounds.
- Prepare the Soak: Mix equal parts white vinegar and hot water in a sink or large bowl. Ensure there's enough liquid to fully submerge the smelly silicone utensils.
- Soak Time: Let the utensils soak for at least one to two hours. For very persistent odors, you can leave them submerged overnight.
- Wash and Rinse: After soaking, wash the items thoroughly with your regular dish soap and hot water. Rinse them very well to ensure no vinegar smell remains.
- Air Dry: Always air dry silicone completely. Trapped moisture can sometimes lead to new odors.
Lemon Juice Method
Similar to vinegar, the citric acid in lemon juice can neutralize odors. This method is often preferred for a more pleasant scent.
- Juice it: Cut a fresh lemon in half and rub the cut side directly onto the silicone surfaces that smell. Alternatively, squeeze the juice from one or two lemons into a bowl with a little hot water.
- Let it Sit: Allow the lemon juice to work its magic for about 30 minutes to an hour.
- Scrub and Rinse: Gently scrub with a soft brush or sponge, then rinse everything thoroughly with hot water.
If a strong odor still lingers, you might need to repeat the process or try a baking soda treatment, as described for stain removal.
The Go-To Hand Wash Method
For daily cleaning and light use, hand washing is usually the most effective and gentle way to care for your silicone utensils. This method is quick, efficient, and helps maintain the integrity of the silicone material. It's also the recommended approach by most manufacturers for everyday care.
Manufacturer specifications often suggest that consistent hand washing extends the life of silicone cookware and bakeware. It's a good habit to get into immediately after cooking or baking.
Quick Daily Cleaning
When you’re done using your spatula to stir a sauce or your whisk to blend batter, a quick wash is all that’s typically needed.
- Rinse First: Immediately rinse the utensil under hot running water to remove any loose food particles.
- Apply Soap: Apply a drop of mild dish soap directly to the utensil or to a damp, soft sponge or cloth.
- Scrub Gently: Wash all surfaces, paying attention to any nooks or crannies. Use a soft sponge or a dedicated silicone cleaning brush. Avoid abrasive scrubbers or steel wool, as these can scratch the surface.
- Rinse Thoroughly: Rinse well under hot water, making sure all soap residue is gone.
Deeper Cleaning for Greasy Buildup
Sometimes, cooking with oily foods or frying can leave a greasy film on silicone. This requires a slightly more robust cleaning approach.
- Hot Water and Degreaser: Use the hottest water you can safely handle. Add a good quality dish soap known for its degreasing properties.
- Soak Briefly: If the grease is particularly stubborn, let the utensil soak in the hot, soapy water for 10, 15 minutes.
- Scrub Well: Use your soft sponge or brush to thoroughly scrub away the greasy film. You might need to apply a bit more pressure than usual, but still be gentle to avoid scratching.
- Rinse and Inspect: Rinse under hot water and inspect the utensil. If any greasy spots remain, repeat the scrubbing process.
After washing, it's crucial to let your silicone utensils air dry completely on a drying rack. This prevents moisture from being trapped, which can lead to unpleasant odors over time.
When to Use Your Dishwasher (and How)
Many silicone utensils are advertised as "dishwasher safe," and for the most part, this is true. Dishwashers can offer a convenient and thorough cleaning, especially for items that are heavily soiled or greasy. However, it's not always the best option for every silicone item or every situation.
Aggregate user feedback indicates that while dishwashers are convenient, prolonged exposure to high heat and harsh detergents can potentially degrade the silicone over time, especially in older or lower-quality items. Always check the manufacturer's care instructions for specific guidance.
If you choose to use your dishwasher:
- Placement is Key: Place silicone items securely in the dishwasher rack, preferably on the top rack. This keeps them away from the heating element and prevents them from being jostled around too much.
- Avoid Overcrowding: Don't pack the dishwasher too tightly. Ensure water and detergent can reach all surfaces of the silicone items.
- Use Gentle Detergent: Opt for a milder dishwasher detergent if possible. Harsh chemicals can sometimes leave a residue or affect the silicone's finish.
- Check for "Dishwasher Safe" Labels: Always look for the dishwasher-safe symbol on the product packaging or the item itself. If it's not explicitly stated, it’s safer to stick to hand washing.
- Consider Drying: While dishwashers dry, sometimes silicone items can still retain a bit of moisture. It’s still a good idea to give them a final air dry or a quick wipe with a clean towel to ensure they are completely dry before storage.
For delicate or brightly colored silicone items, hand washing remains the safest bet to preserve their appearance and longevity. Think of the dishwasher as a powerful tool for tough jobs, but not necessarily the everyday solution.
Pre-Treating and Scrubbing Tough Spots
Even with regular washing, some messes just cling. Think of that thick, sticky caramel that got a little too close to the edges of your baking pan, or the stubborn residue from melted cheese on a spatula. For these tougher challenges, a little pre-treatment and focused scrubbing can make all the difference.
These methods leverage simple household ingredients to break down what soap alone can't manage.
Baking Soda Paste Power
Baking soda is a mild abrasive and a natural deodorizer, making it perfect for tackling dried-on food and subtle odors. Its gentle grit can lift away stuck-on bits without scratching the silicone surface, a crucial point for maintaining the tool's integrity.
- Mix the Paste: Combine about a quarter cup of baking soda with just enough water to create a thick, spreadable paste. You want it to hold its shape and not be too runny.
- Apply Generously: Spread the paste directly onto the stained or sticky areas. Ensure the entire affected surface is covered.
- Let it Work: Allow the paste to sit for at least 30 minutes. For really baked-on messes or persistent discoloration, you can leave it on for a few hours, or even overnight. The longer it sits, the more it can break down the residue.
- Gentle Scrubbing: Use a soft, damp sponge or a non-abrasive cleaning brush to gently scrub the area. Work in small, circular motions. The baking soda should help lift the grime.
- Rinse Completely: Once you've scrubbed, rinse the utensil thoroughly under hot running water. Make sure all traces of the baking soda paste are gone.
This method is particularly effective for cleaning out the little grooves of spatulas or the edges of baking mats.
Non-Abrasive Scrubbing Techniques
When scrubbing, the tool you use is just as important as the cleaning agent. Harsh scrubbers can damage silicone, leading to premature wear and tear.
- Soft Sponges: A standard kitchen sponge with a soft side is usually sufficient for most daily cleaning and for working with baking soda paste.
- Nylon Brushes: A soft-bristled nylon brush, like those used for delicate dishes or even a soft toothbrush, can get into tight spots and crevices effectively without causing damage.
- Microfiber Cloths: For light residue or a final buff after cleaning, a clean microfiber cloth can be very useful. It’s gentle and absorbent.
What to Avoid:
- Steel Wool: Never use steel wool or any metal scouring pad. They are too aggressive and will scratch silicone.
- Abrasive Scrub Pads: Avoid the green, scratchy side of most kitchen sponges. While they can tackle tough grime on other surfaces, they're too harsh for silicone.
- Harsh Chemicals: Bleach or abrasive cleaners can degrade silicone over time. Stick to milder, food-safe options.
By choosing the right scrubbing tool and employing a gentle approach, you can effectively remove stubborn spots and keep your silicone utensils in great condition.
Mistakes That Can Ruin Your Silicone Utensils
While silicone is generally durable, there are a few common mistakes that can shorten the lifespan of your utensils or even make them unusable. Understanding these pitfalls can help you keep your kitchen tools in great shape for years to come. Avoiding these errors is key to maintaining the non-stick qualities and structural integrity of your silicone gear.
- Using Abrasive Scrubbers: As mentioned, steel wool or the rough side of sponges can scratch silicone. These scratches not only look bad but can create tiny nooks where food particles and odors can get trapped, making them harder to clean in the future.
- High Heat for Extended Periods (Without Food): While silicone is heat-resistant for cooking, exposing empty silicone bakeware to high oven temperatures for long stretches can degrade the material. Always ensure there's food or liquid present when using silicone in the oven at high heat.
- Sharp Utensils: Avoid using sharp knives or metal spatulas directly on silicone mats or bowls. Even if the silicone is tough, sharp edges can create nicks and cuts that compromise its surface.
- Ignoring Odors: Letting strong odors linger can be a mistake, as they can transfer to delicate foods like baked goods or dairy. Addressing smells promptly with methods like vinegar or baking soda is crucial.
- Harsh Dishwasher Detergents: Over time, the strong chemicals in some dishwashing detergents can dull the finish of silicone or contribute to a slightly sticky feel. If your dishwasher detergent seems particularly harsh, consider using a gentler option or sticking to hand washing.
Caring for Silicone for the Long Haul
Maintaining your silicone utensils isn't complicated, but a little consistent care goes a long way. The goal is to preserve their non-stick qualities, prevent staining and odor absorption, and ensure they remain food-safe and functional. Think of it as routine maintenance for your most-used kitchen companions.
Regular attention prevents bigger problems down the line. For instance, properly drying your utensils after washing is as important as the washing itself for preventing moisture-related odors.
Here's a quick rundown for long-term care:
- Wash Promptly: Don't let food residues sit on silicone for extended periods. A quick rinse and wash after use is best.
- Air Dry Thoroughly: Always ensure silicone items are completely dry before storing them. This is critical for preventing mildew and residual smells.
- Store Appropriately: Store silicone utensils in a clean, dry place. Avoid storing them in a way that might cause them to be crushed or deformed, which can lead to damage.
- Occasional Deep Clean: Plan for an occasional deep clean using the baking soda paste or vinegar soak, especially if you notice any faint odors or slight discoloration. This proactive approach helps maintain their pristine condition.
- Check Manufacturer Guidelines: Always refer to the specific care instructions provided by the manufacturer of your silicone products, as some materials or designs may have unique requirements.
By integrating these simple practices into your kitchen routine, you can ensure your silicone spatulas, mats, and bowls remain reliable tools for all your culinary adventures. It’s about treating your tools well so they can perform their best for you.
Frequently Asked Questions About Silicone Utensil Cleaning
What is the best way to get turmeric stains out of silicone?
Turmeric is notorious for its vibrant staining power. For these stubborn marks, first try a paste of baking soda and water, letting it sit for several hours before scrubbing gently. If the stain persists, a soak in a dilute bleach solution (about 1 tablespoon bleach per liter of water) for an hour can sometimes work, but always rinse extremely thoroughly afterward and ensure the utensil is food-grade.
Can I use boiling water to clean silicone?
Yes, boiling water can be very effective for sanitizing and cleaning silicone utensils, especially for tackling odors or ensuring thorough cleanliness. You can submerge utensils in boiling water for a few minutes or pour boiling water over them. Always use caution to avoid burns and allow the items to cool before handling.
My silicone spatula smells like garlic even after washing, what can I do?
Strong odors like garlic can sometimes be absorbed by silicone. The most effective methods are usually a soak in white vinegar (equal parts vinegar and hot water for at least an hour) or a baking soda paste treatment. After the soak or paste application, wash thoroughly with dish soap and hot water, and always air dry completely.
Is it safe to use silicone in the microwave?
Generally, yes, food-grade silicone is microwave-safe. However, it’s always best to check the manufacturer's instructions for your specific item. Some silicone products might not be intended for microwave use, or may have limitations on the duration or power level.