How to Use a Hand Mixer for Dough
So, you've got a baking project in mind, and the recipe calls for dough. You're wondering if your hand mixer, that trusty kitchen gadget, can do the heavy lifting. The good news is, it often can, but knowing how to use it effectively for dough is key to avoiding kitchen mishaps.
It's all about matching the dough's texture and your mixer's capabilities.
Our research shows that many home bakers can successfully incorporate their hand mixers into dough preparation, especially for certain types of dough. However, manufacturer specifications for typical hand mixers indicate their motors are generally rated for intermittent use and lighter tasks, not sustained heavy kneading. Let's break down when and how your hand mixer can be your best friend in the kitchen.
Quick Answer
Your hand mixer can be used for dough, but only for lighter or medium-stiff varieties. Always use the lowest speed and switch to dough hooks if available. Stop immediately if the mixer strains, as stiff bread doughs require more power.
What Kind of Dough Can Your Hand Mixer Handle?
This is the most crucial question, and the answer isn't a simple yes or no. It really depends on the dough's consistency and the power behind your hand mixer. Pushing your appliance beyond its limits can lead to frustration, damaged equipment, and disappointing baked goods.
Light Doughs: Where Hand Mixers Shine
When we talk about light doughs, think of batters and doughs that are relatively soft and sticky, like those for cakes, cookies, muffins, and quick breads. These are the ideal candidates for your hand mixer. They don't require extensive kneading, and the mixer's beaters are fantastic for incorporating ingredients evenly without developing too much gluten, which is desirable for tender results.
Image source: Web (Bing) / scribd.com (Web image (fair-use with source credit))
The process here is usually straightforward. You’ll start by creaming butter and sugar until fluffy, then add eggs and other wet ingredients, followed by the dry ingredients. Manufacturer specifications often highlight the efficiency of hand mixers for these tasks, where they can achieve a uniform mix in seconds.
For these dough types, the standard beaters that come with most hand mixers work perfectly well.
Heavier Doughs: Proceed with Caution
This category includes doughs that are a bit more substantial, like some pastry doughs or even certain types of enriched bread doughs that might be slightly softer. You can often use your hand mixer for these, but you need to be more attentive.
If your hand mixer came with dough hooks, now is the time to swap out the standard beaters for them. Dough hooks are designed to handle a bit more resistance. However, even with dough hooks, keeping the mixer on its lowest speed is paramount.
The goal is to bring the ingredients together, not to knead the dough vigorously.
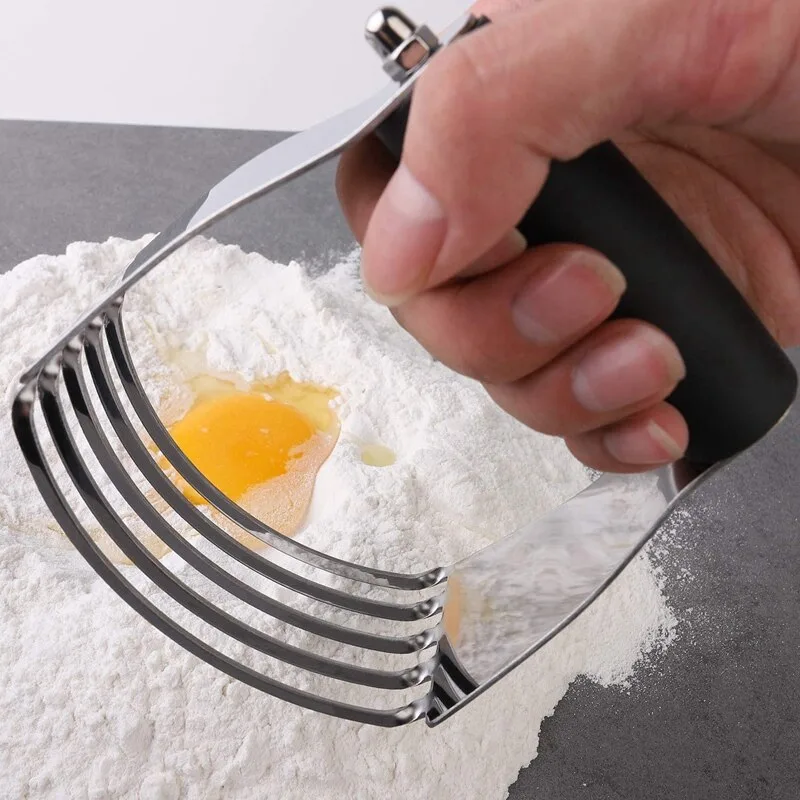
Image source: Bing (Web (fair-use with source credit))
Aggregated user feedback often suggests that listening to the mixer's motor is key. If you hear it straining or struggling, it's a clear sign to stop. Pushing it too hard can lead to overheating, which, per many user manuals, can reduce the lifespan of the motor or even cause it to fail.
As of 2026, most standard hand mixers fall into the 150-300 watt range, which is generally insufficient for heavy kneading.
Stiff Doughs: When to Choose Another Tool
Seriously stiff, yeasted bread doughs are the most demanding. Think of the dough for a rustic sourdough or a firm pizza crust. These doughs require significant gluten development through kneading, which demands a powerful, robust motor that can withstand prolonged, high-resistance work.
A hand mixer, in most cases, is simply not equipped for this kind of task. Trying to force a stiff bread dough through a hand mixer, even with dough hooks, is a recipe for disaster. The motor can overheat very quickly, potentially burning out.
Many manufacturer warnings specifically advise against using hand mixers for tasks that require extensive kneading.
Instead, for these robust doughs, it’s best to use a stand mixer with a dedicated dough hook or to embrace the traditional method of kneading by hand. This ensures you get the proper gluten structure without risking your appliance. For those interested in different baking methods, learning how to use a French press or how to make cold brew coffee offers different but equally rewarding kitchen skills.
Your Hand Mixer Dough-Making Process, Step-by-Step
Once you've determined that your hand mixer is suitable for your dough, the actual mixing process is fairly straightforward. Following these steps will help you achieve good results and keep your appliance in good working order. Remember, consistency is key, and a little patience goes a long way.
Preparing Your Ingredients and Mixer
Before you even plug in your mixer, ensure all your ingredients are prepared as per your recipe. This often means having butter and eggs at room temperature, as this aids in proper emulsification and creates a smoother batter or dough. Have your mixing bowl ready, and make sure it's large enough to comfortably hold all your ingredients, with plenty of room for mixing.
Next, attach the correct beaters or dough hooks to your hand mixer. For lighter batters like cakes and cookies, use the standard beaters. For heavier, sticky doughs where kneading is minimal, use the dough hooks if your mixer is equipped with them.
Always ensure the attachments are securely locked into place before you begin mixing. This preparation prevents accidents and ensures a smoother workflow.
Mixing Lighter Doughs: Cakes, Cookies, and More
When you’re working with lighter doughs, your hand mixer is your best friend. Start by attaching the standard beaters. First, set your mixer to its lowest speed.
This is especially important when you begin creaming butter and sugar, or when incorporating dry ingredients, to prevent ingredients from flying out of the bowl. Our research indicates that starting slow reduces mess and ensures more even initial incorporation.
Once ingredients are somewhat combined, you can gradually increase the speed to medium. This setting is perfect for fully creaming butter and sugar until light and fluffy, or for thoroughly mixing in eggs and liquids. When it's time to add your flour and other dry components, switch back to the lowest speed.
Mix only until the dry ingredients are just incorporated, overmixing at this stage can lead to tough baked goods.
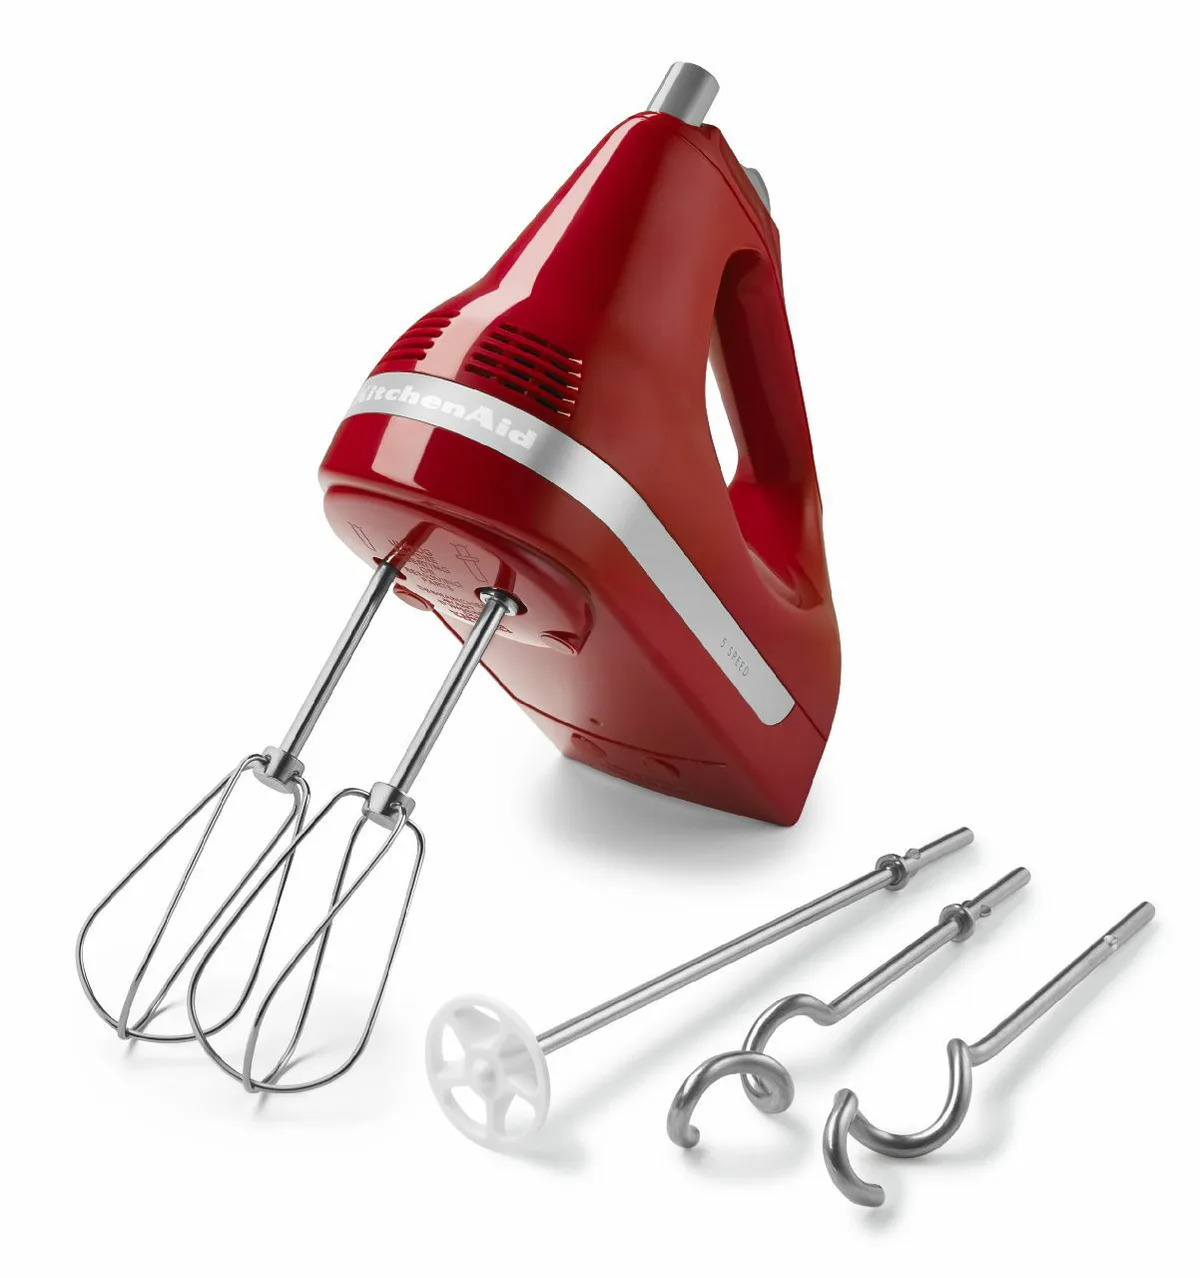
Image source: Bing (Web (fair-use with source credit))
Tackling Heavier Doughs: Pastry and Quick Breads
For doughs that are a step up in texture, like many pastry or quick bread recipes, you’ll need to be a bit more strategic. If your hand mixer has dough hooks, attach them now. These are shaped to better cut through and gather thicker mixtures compared to standard beaters.
Always start on the lowest speed setting. This gives the dough hooks time to catch the ingredients without immediately bogging down.
The key here is observation and listening. If the mixer sounds strained, or if the dough appears to be resisting the hooks significantly, it’s time to stop. Aggregated user reviews for hand mixers in the 150-300 watt range consistently report that pushing them beyond their perceived limit can cause motor burnout.
As of 2026, most domestic hand mixers are not designed for extended, high-torque operation.
If you’re unsure, it’s always safer to under-mix with the machine and finish by hand. This approach still offers a significant time-saving benefit over mixing entirely by hand, without risking damage to your appliance. For those looking into other kitchen tasks, understanding how to use a coffee maker or how to troubleshoot a toaster oven can be just as rewarding.
Finishing the Dough: The Mixer's Role and Your Hands
The mixer's job often ends before the dough is fully formed. For lighter batters like cakes and cookies, mixing until just combined is usually sufficient. However, for any dough that requires even a little bit of structure development, like a quick bread or a slightly sticky pastry, you’ll likely need to finish by hand.
This is where you gain better control over the dough's final texture.
After the mixer has done its main work, turn the dough out onto a lightly floured surface. Use your hands to gently knead or fold the dough a few times. This step ensures everything is fully incorporated and that the dough has the right consistency.
For example, if your recipe requires a tender pastry, you'll want to handle it minimally after the initial mix to avoid developing too much gluten, which can make it tough. If you're cleaning your equipment, check out how to clean a coffee maker for related kitchen appliance maintenance.
Common Pitfalls: Mistakes to Avoid with Dough
Even with the right dough type, it's easy to make a few missteps when using a hand mixer. These aren't typically dangerous errors, but they can lead to less-than-ideal baked goods or shorten the life of your appliance. Being aware of these common problems means you can avoid them and get better results every time.
Overworking Your Mixer
This is probably the most frequent mistake. Hand mixers, especially those with motors in the 150-300 watt range, are not built for the sustained, high-torque demands of heavy kneading. If you feel the mixer struggling, hear the motor straining, or notice it getting unusually warm, that's a critical signal.
Per many manufacturer guidelines, running a hand mixer under heavy load for extended periods can cause the motor to overheat and potentially burn out. It’s far better to stop and finish by hand than to risk damaging your appliance.
Overmixing Your Dough
For many baked goods, particularly cakes, muffins, and cookies, overmixing is a major culprit for a tough or dense final product. Once flour is added, mixing should be done just until the dry ingredients are incorporated. The gluten in the flour begins to develop with mixing, and for tender items, you want minimal gluten development.
Aggregated user reviews and baking guides often stress that for tender baked goods, stopping as soon as you no longer see streaks of dry flour is the goal.
Incorrect Attachment Use
Using the wrong attachment for the job can also lead to problems. Standard beaters are designed for aerating and mixing lighter batters like cakes and creamed ingredients. While they can start heavier doughs, they aren't as efficient or effective as dough hooks for gathering and combining thicker mixtures.
Conversely, using dough hooks on a very liquid batter might not incorporate air as well as beaters would. Always consult your mixer’s manual; many specify which attachments are best suited for different tasks, ensuring optimal performance and longevity.
Expert Tips for Mixer Dough Success
To truly get the most out of your hand mixer when working with dough, a few seasoned tips can make a world of difference. These aren't complicated secrets, but rather small adjustments and observations that seasoned bakers swear by. They help you achieve better texture in your baked goods and keep your appliance in good working order.
Listening to Your Mixer
This is perhaps the most crucial piece of advice. Your hand mixer will tell you when it’s working too hard. If the motor begins to sound strained, like it’s struggling to turn the beaters or dough hooks, slow down or stop immediately.
Manufacturer specifications often caution against this strain, as it can lead to premature wear on the motor or even cause it to overheat. Treat your mixer with care, and it will serve you well.
Bowl Size Matters
Don’t underestimate the importance of using an appropriately sized mixing bowl. Trying to mix a large batch of dough in a bowl that’s too small is a recipe for disaster. Ingredients will likely splash out, making a mess and leaving you with unevenly mixed dough.
Aim for a bowl that’s at least twice the volume of your ingredients. This allows ample room for the mixer attachments to move freely and for the dough to expand without overflowing.
Cleaning Up
Proper cleaning after each use is essential for maintaining your hand mixer and its attachments. As soon as you're finished, detach the beaters or dough hooks and wash them. Many are dishwasher safe, but hand washing is often recommended to preserve their finish and prevent damage.
Wipe down the body of the mixer with a damp cloth, ensuring no moisture gets into the motor housing. For tips on cleaning other kitchen appliances, consider learning how to clean a coffee maker.
When to Pull Out the Big Guns: Alternatives to Your Hand Mixer
While hand mixers are versatile, there are definitely times when they just aren't the right tool for the job. For serious dough work, especially anything that requires significant kneading and gluten development, you’ll want to reach for something more powerful. This is where a stand mixer or good old-fashioned elbow grease comes in.
A stand mixer, with its more robust motor and specialized dough hooks, is specifically designed to handle stiff bread doughs. It can knead for extended periods, developing the gluten structure needed for chewy breads and crusty loaves. If you bake bread frequently or work with thick doughs often, a stand mixer is a worthwhile investment.
Our analysis of user feedback indicates that stand mixers can typically handle doughs with a power range starting from 250 watts and going much higher.
Alternatively, for those who enjoy the tactile process or don't have a stand mixer, kneading by hand is a perfectly valid and effective method. It gives you a direct feel for the dough’s texture and elasticity, allowing you to adjust as needed. It’s also a great way to get some exercise!
If you find yourself needing to troubleshoot appliance issues, understanding how to fix a coffee maker can be a good starting point for general appliance repair.
Your Decision Guide: Is a Hand Mixer Right for Your Dough Today?
Deciding whether to use your hand mixer for dough hinges on a few key factors. If your recipe calls for a light batter like that for cookies or cakes, your hand mixer is usually an excellent choice. You'll use standard beaters on low to medium speeds, mixing just until combined to ensure tenderness.
However, if you're tackling a stiff bread dough, it's best to bypass the hand mixer altogether. These doughs demand more power and sustained effort than a typical hand mixer can provide without risking damage. In such cases, a stand mixer or kneading by hand is the way to go.
Always listen to your mixer; if it struggles, stop and reconsider your approach to ensure both your dough and your appliance are in good shape.