How To Use A Trailer Wiring Tester: Easy Step-By-Step Guide
A trailer wiring tester quickly finds bad lights, weak grounds, and faulty trailer connections.
If you have ever plugged in a trailer and found one light dead, dim, or flashing strangely, you already know how frustrating wiring issues can be. A trailer wiring tester takes the guesswork out of the job and helps you check the tow vehicle and trailer plug with confidence. I have used one on everything from small utility trailers to larger setups, and the biggest lesson is simple: test first, troubleshoot second, and save yourself a lot of time.
What a Trailer Wiring Tester Does
A trailer wiring tester is a small diagnostic tool that checks whether your trailer plug and tow vehicle connector are sending power to the right pins. It can help you confirm that the turn signals, brake lights, tail lights, running lights, and sometimes electric brake circuits are working as they should.
Think of it like a flashlight for your wiring system. Instead of guessing which wire failed, the tester shows you where the problem starts. That matters because many trailer light problems are not caused by broken bulbs at all. They often come from corrosion, loose grounds, damaged plugs, or a wiring mix-up at the connector.

Why You Should Use a Trailer Wiring Tester
Using a trailer wiring tester is one of the fastest ways to diagnose lighting issues before a trip. It can help you avoid safety problems, traffic stops, and last-minute repairs on the road.
Here are the biggest benefits:
- Saves time by narrowing down the problem fast
- Helps prevent unsafe towing conditions
- Reduces trial-and-error repairs
- Confirms whether the tow vehicle or trailer is at fault
- Helps catch corrosion and weak connections early
From my own experience, the best time to use a trailer wiring tester is before the trailer leaves the driveway. I once spent nearly an hour chasing a “bad trailer light” that turned out to be a rusty ground inside the plug. A tester would have pointed me there in minutes.
Types of Trailer Wiring Testers
Not every trailer wiring tester works the same way. Some are simple and basic, while others are more advanced and show more detail.
Basic plug-in testers
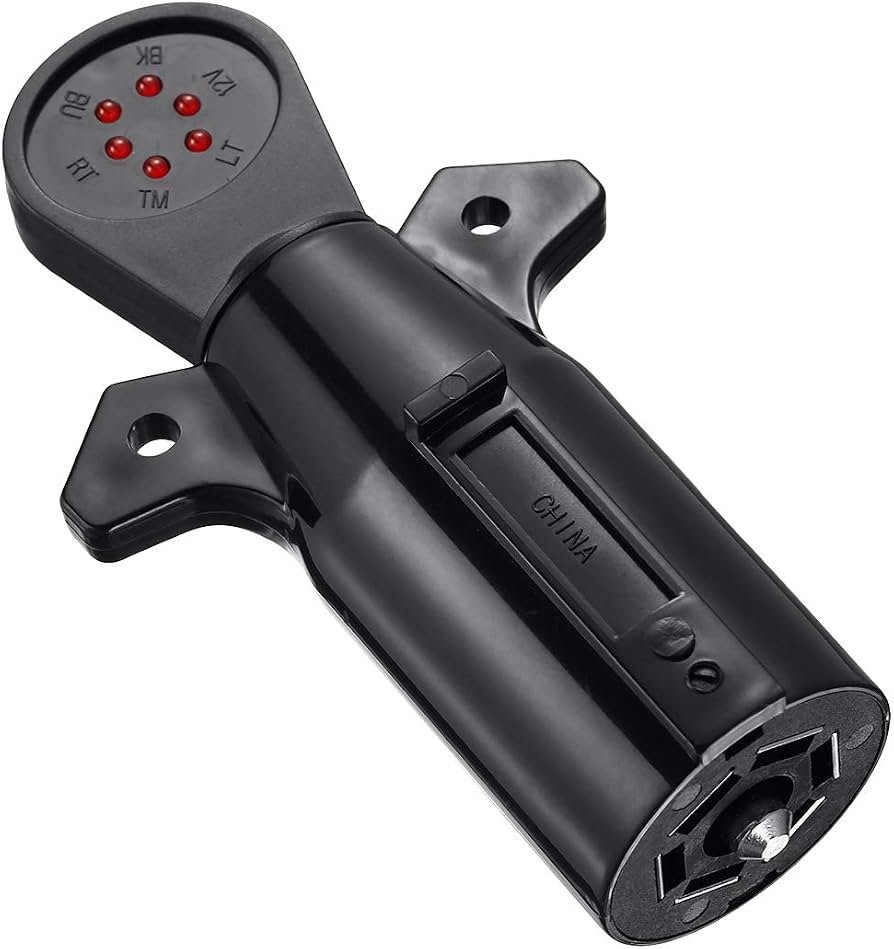
These connect directly to the tow vehicle’s trailer socket and use lights to show which circuits are live. They are simple, affordable, and great for quick checks.
Trailer-side testers
These are used on the trailer wiring harness to test the trailer plug, lights, and ground side. They help you isolate whether the trailer itself has the issue.
Multi-function digital testers
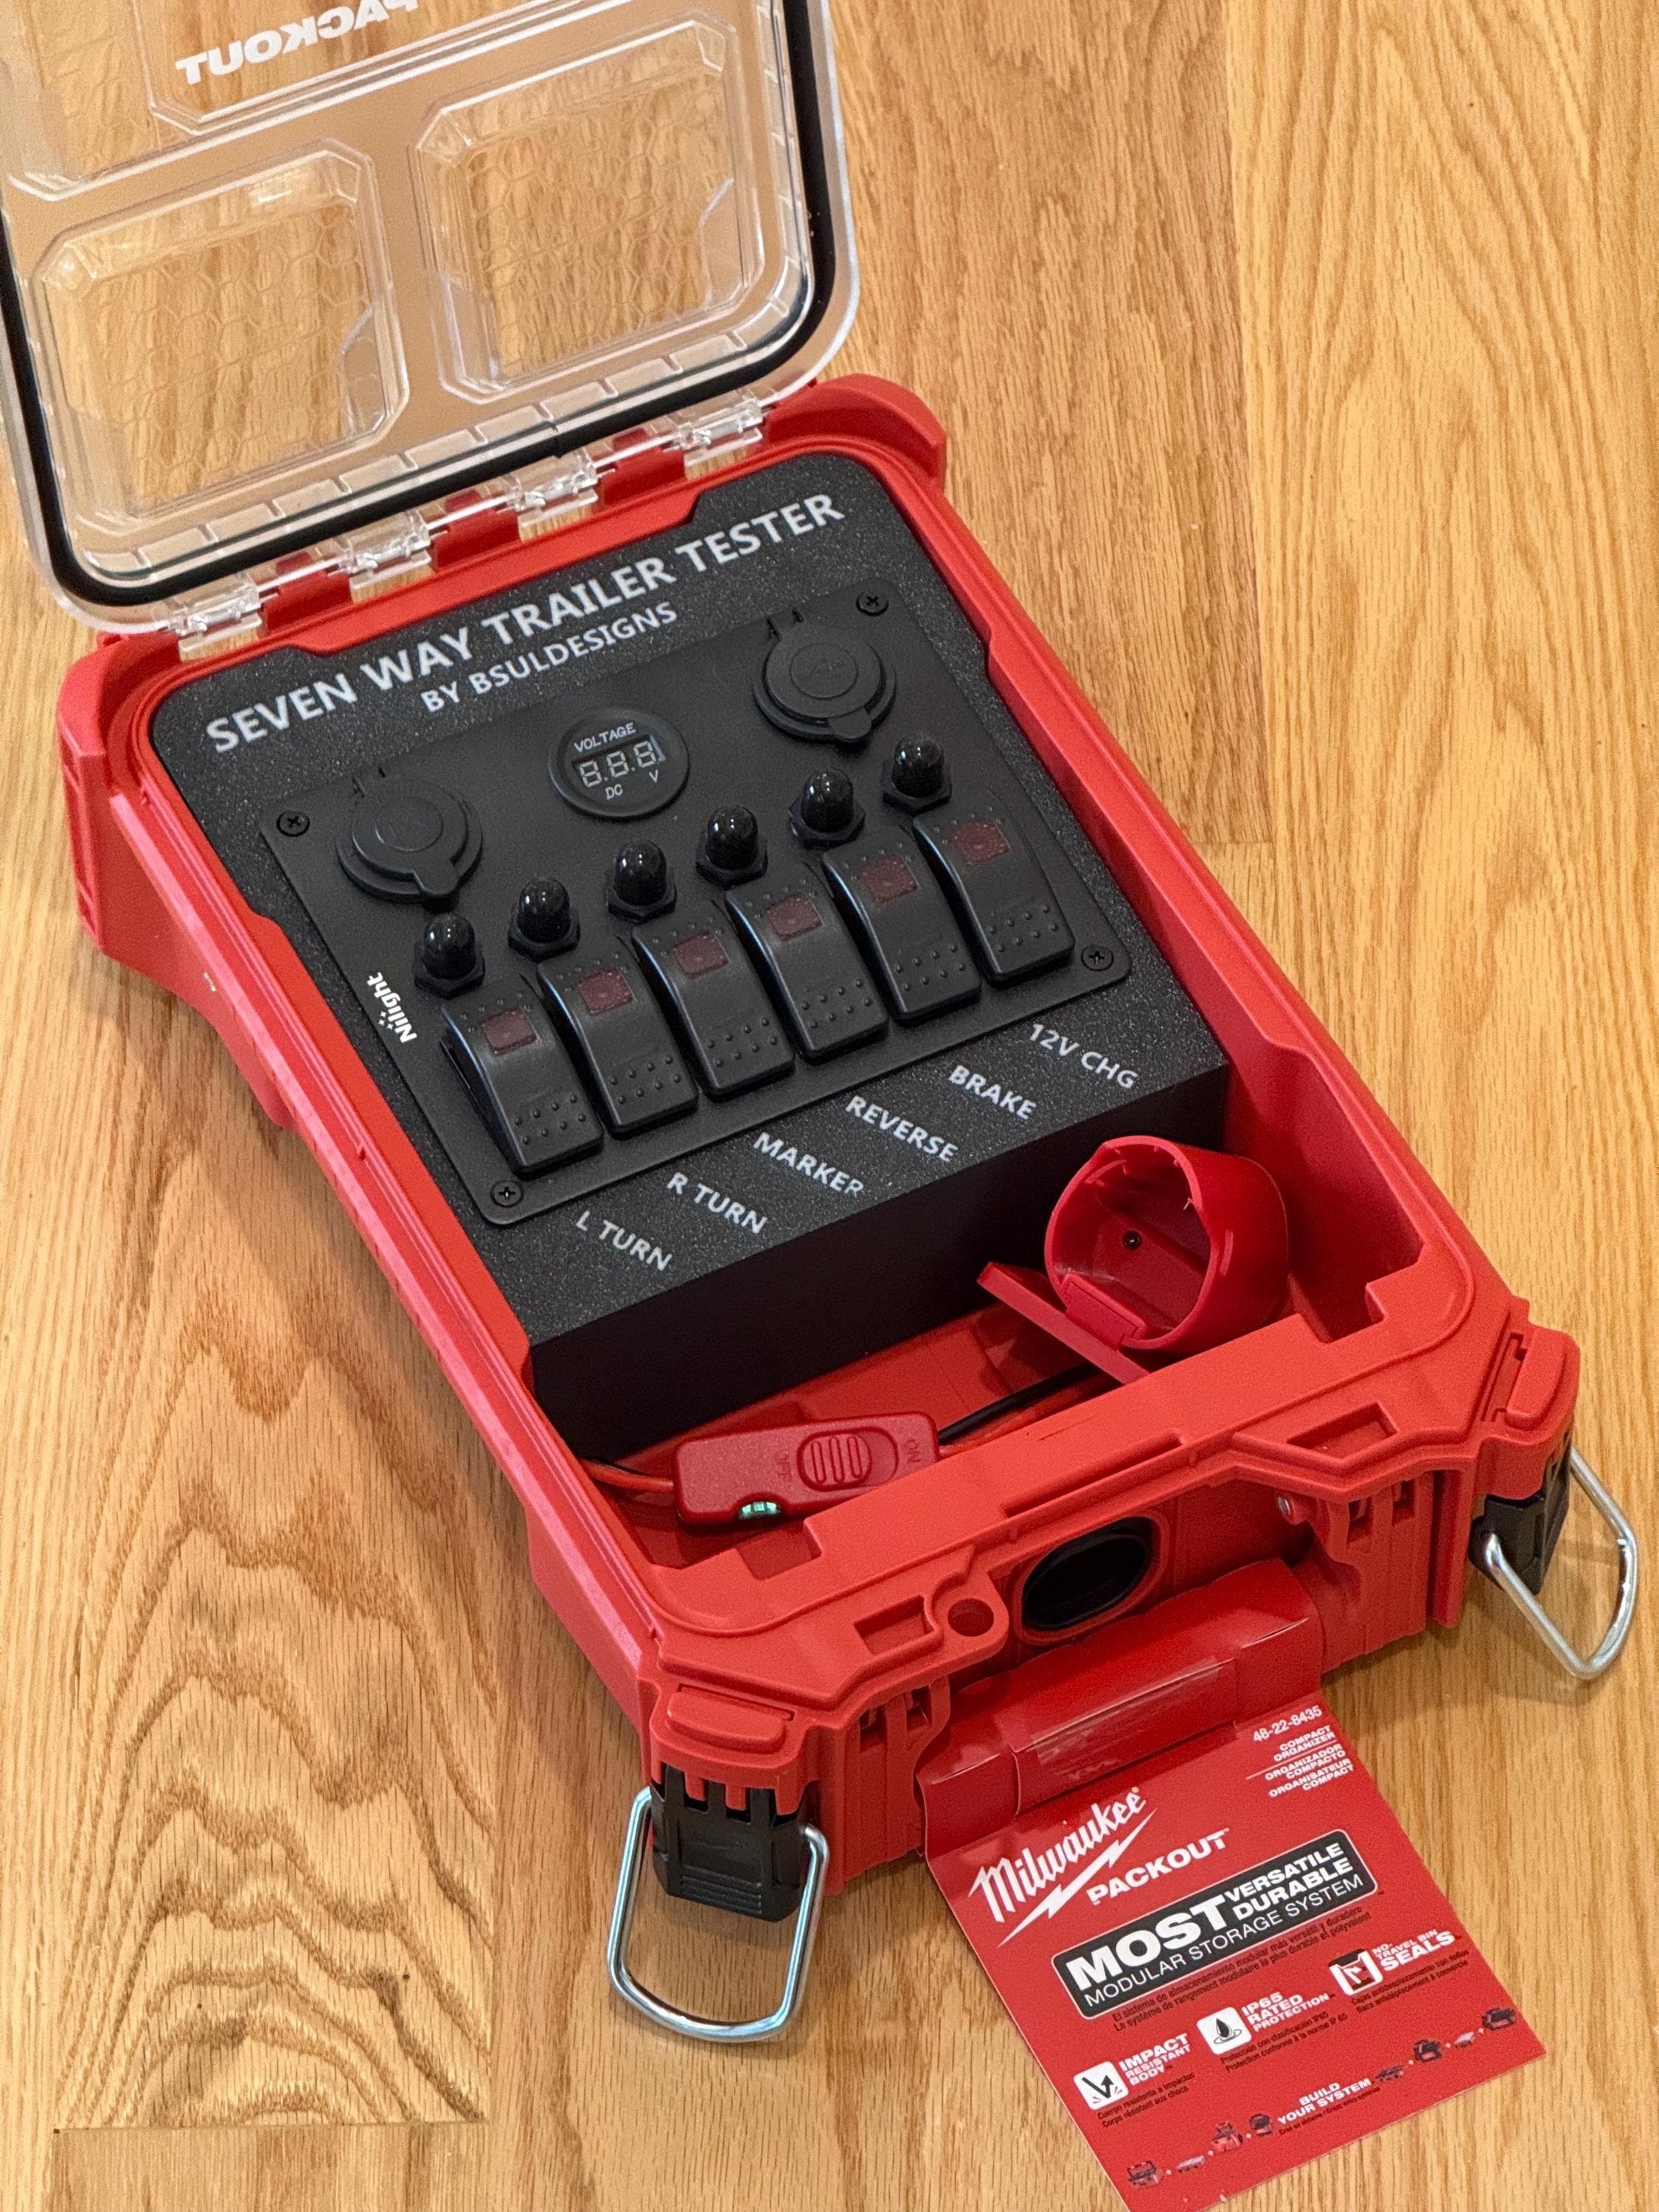
These show voltage readings and can sometimes identify more exact circuit problems. They are useful for people who work on trailers often or want more precise results.
Adapter-style testers
Some testers are built like an adapter between the vehicle and trailer. They let you test the full connection path while the trailer is plugged in.
If you tow often, a trailer wiring tester with clear indicator lights is usually enough. If you troubleshoot for work, a digital model gives you more detail.

How to Use a Trailer Wiring Tester
Using a trailer wiring tester is simple once you know the steps. The goal is to check each circuit one by one and compare the result to what should happen.
1. Park safely and turn everything off
Start with the vehicle on level ground. Put it in park, set the brake, and make sure the trailer is connected securely.
If you are testing the tow vehicle connector, switch off the engine unless the tester instructions say otherwise. This keeps the process safer and easier to control.
2. Inspect the plug first
Before plugging in the tester, look for obvious damage. Check for bent pins, corrosion, dirt, broken plastic, or water inside the connector.
This matters because a dirty plug can create a false problem. Sometimes the wiring is fine, but the connection is so corroded that power cannot pass through cleanly.
3. Plug in the trailer wiring tester
Connect the tester to the 4-pin, 5-pin, 6-pin, or 7-pin socket, depending on your setup. Make sure it fits snugly and does not wobble.
A loose fit can make the tester show flickering or weak signals. That can lead you to think a wire is bad when the real issue is just a poor connection.
4. Test each function
Activate each light circuit one at a time from the tow vehicle. Check the tester’s indicator lights or meter readings against the expected result.
Typical circuits include:
- Left turn signal
- Right turn signal
- Tail lights
- Brake lights
- Reverse lights
- Electric brake power
- 12-volt auxiliary power
If one circuit does not light up, that pin may be dead, the fuse may be blown, or there may be a wiring fault upstream.
5. Compare the readings with the wiring chart
Trailer plugs are wired by standard pin functions, but the connector type matters. Always compare the tester result with the correct wiring layout for your connector.
For example, a 7-way blade connector will have different pin assignments than a 4-way flat plug. If the tester lights the wrong circuit, the issue may be a miswire rather than a dead wire.
6. Test the trailer side too
If the tow vehicle side checks out, move to the trailer. Plug the tester into the trailer harness or test the trailer lights directly if your tool supports it.
This step helps you figure out where the fault is hiding. If the vehicle sends power correctly but the trailer lights do not work, the trailer wiring, ground, or light assembly is likely the problem.
7. Check the ground
Ground problems cause a huge share of trailer lighting failures. Even when power is present, a bad ground can make lights dim, weak, or completely dead.
Look for:
- Rust at the grounding point
- Loose bolts
- Broken white ground wires
- Paint or dirt between metal contact points
In real life, I treat the ground like the foundation of a house. If it is weak, everything above it acts strange.

Step-by-Step Troubleshooting With a Trailer Wiring Tester
If the tester shows a problem, do not panic. Follow a simple process to find the cause.
If one light is out
Check the bulb first if the trailer uses replaceable bulbs. Then inspect the socket, wire, and ground.
If multiple lights are out
Look for a blown fuse, bad ground, damaged harness, or connector corrosion. When several lights fail at once, the issue is often shared by the whole circuit.
If lights flicker
Flickering often means a loose plug, weak ground, or broken wire strand inside the insulation. Wiggle the connector gently while testing to see if the reading changes.
If the tester shows no signal at all
Confirm the tow vehicle fuse, trailer adapter, and vehicle wiring. Sometimes the tow package is not active, especially on newer vehicles that need a factory-installed tow module or software setup.
If the right pin seems wrong
Double-check the connector type and wiring pattern. A bad adapter or mismatched plug can send you down the wrong path.
Common Mistakes to Avoid
When people first use a trailer wiring tester, they often make a few easy mistakes. I have seen these over and over, and most are simple to fix.
- Skipping the visual inspection before testing
- Testing with a loose plug
- Ignoring corrosion on the connector pins
- Forgetting to check the ground
- Assuming the trailer is bad when the vehicle fuse is blown
- Using the wrong wiring chart for the connector type
One of the most common errors is blaming the trailer too soon. In my experience, the tow vehicle side is just as likely to be the problem, especially after rain, winter salt, or long periods of storage.
Trailer Wiring Tester Tips for Better Results
A few small habits can make your testing much more accurate.
- Clean the connector before every major trip
- Use dielectric grease if recommended for your setup
- Keep spare fuses in the tow vehicle
- Test with the trailer fully connected and secured
- Recheck lights after driving a short distance
- Replace cracked plugs before they fail completely
It also helps to test the system after any repair. That way you know the fix actually worked instead of hoping the lights stay on.
When a Trailer Wiring Tester Is Not Enough
A trailer wiring tester is very useful, but it does not solve every problem. Some faults need deeper electrical diagnosis.
You may need more tools if:
- The wiring is damaged inside the frame
- The issue is inside a tow vehicle module
- There is intermittent power loss only while driving
- The trailer has multiple splices or old repairs
- The brake controller needs calibration
In those cases, a multimeter, wiring diagram, or professional inspection may be the next step. A tester gives you the first clue, but not always the full story.
Safety and Maintenance Best Practices
Trailer wiring problems are not just annoying. They can affect road safety and make your trailer less visible to other drivers.
To stay safe:
- Test lights before every trip
- Replace burned-out bulbs quickly
- Keep plugs off the ground when parked
- Store connector caps on unused sockets
- Inspect wiring after wet weather or rough roads
Regular testing is a lot like checking tire pressure. It only takes a minute, but it can prevent a much bigger problem later.
Frequently Asked Questions of How to use a trailer wiring tester
How do I know if my trailer wiring tester is working?
Most testers have indicator lights or a display that should react when you activate each circuit. If nothing changes, check the tester connection, the vehicle fuse, and the plug fit first.
Can a trailer wiring tester find a bad ground?
Yes, in many cases it can point to a ground issue when a circuit shows weak, flickering, or no power. A bad ground is one of the most common reasons trailer lights fail.
Do I need a tester for a 4-pin and a 7-pin connector?
Yes, but the tester must match the connector type or use the right adapter. A 4-pin and a 7-pin system do not share the same wiring layout.
Why do my trailer lights work sometimes and not others?
That usually means you have a loose connection, corrosion, or a broken wire that moves with vibration. Testing while gently moving the plug can help reveal an intermittent fault.
Is a trailer wiring tester better than a multimeter?
A tester is faster and easier for quick checks, while a multimeter gives more exact voltage readings. Many people use both, depending on how deep the problem is.
Conclusion
Learning how to use a trailer wiring tester is one of the easiest ways to keep your trailer lights reliable and your trips safer. Once you know how to check each circuit, inspect the plug, and confirm the ground, the whole process becomes much less stressful.
The real payoff is confidence. You are no longer guessing in the driveway or hoping the lights will behave on the road. Start testing before your next tow, keep your connectors clean, and fix small wiring issues before they turn into bigger ones.
If this guide helped you, keep exploring practical trailer maintenance tips and share your own wiring tricks in the comments.