How to Use a Slow Cooker Timer
You've got a slow cooker, a recipe, and a busy day. The timer is supposed to make life easier, but it's often the most confusing part of the appliance. So let's walk through how to use a slow cooker timer without coming home to overcooked stew or raw chicken.
Here's the short version: set the cook time, not the start time. This guide covers every type of slow cooker, including manual dial models, built-in digital timers, and external plug-in timers. We also follow USDA food safety guidelines, so you can leave the house at 8 AM and come back to a hot, safe meal as of 2026.
Quick Answer
Set the cook time on most digital slow cookers. Choose Low or High heat first. Then set how many hours you want it to cook.
The cooker counts down and switches to Keep Warm automatically.
For a manual slow cooker, use a plug-in outlet timer. Set it to turn the power ON at the right time. The slow cooker's own thermostat handles the rest.
Wait, You Mean the Timer Doesn't Just Cook It?
That's the first thing people get wrong. A slow cooker timer only controls when the heating element runs. It doesn't think about your recipe.
It doesn't know when your pork shoulder is perfectly tender.
The actual setup depends on which type of slow cooker you own. There are three main styles, and each behaves differently.
Manual dial slow cookers. These are the classic Crock-Pot™ models. A simple knob lets you choose Low, High, or Warm. There's no screen, no countdown, and no automatic shutoff.
The cooker runs until you turn it off or unplug it. If you want timing help, you need a plug-in outlet timer.
Programmable digital slow cookers. These have a control panel and a countdown display. You pick a heat level, set a cook time, and the unit tracks the hours. Many models switch to Keep Warm when the countdown hits zero.
Smart slow cookers. These connect to your phone over Wi-Fi or Bluetooth. You can adjust timers, change temperatures, and check progress remotely. The timing logic is the same, but the controls are more flexible.
Actually, there are two very different things hiding behind the word "timer." A built-in cooker timer lives in the appliance. A plug-in appliance timer sits between your wall outlet and the slow cooker. Understanding the difference prevents most mistakes.
| Feature | Built-In Timer | Plug-In Outlet Timer |
|---|---|---|
| Where it lives | On the slow cooker | Between the wall and the slow cooker |
| Heat control | Works with the appliance | Only cuts power |
| Best for | Programmable digital models | Manual dial slow cookers |
| Delay start | Some models, with food safety caution | Set the ON time, not the OFF time |
| Programming | Digital buttons or dials | Rotating dials or digital buttons |
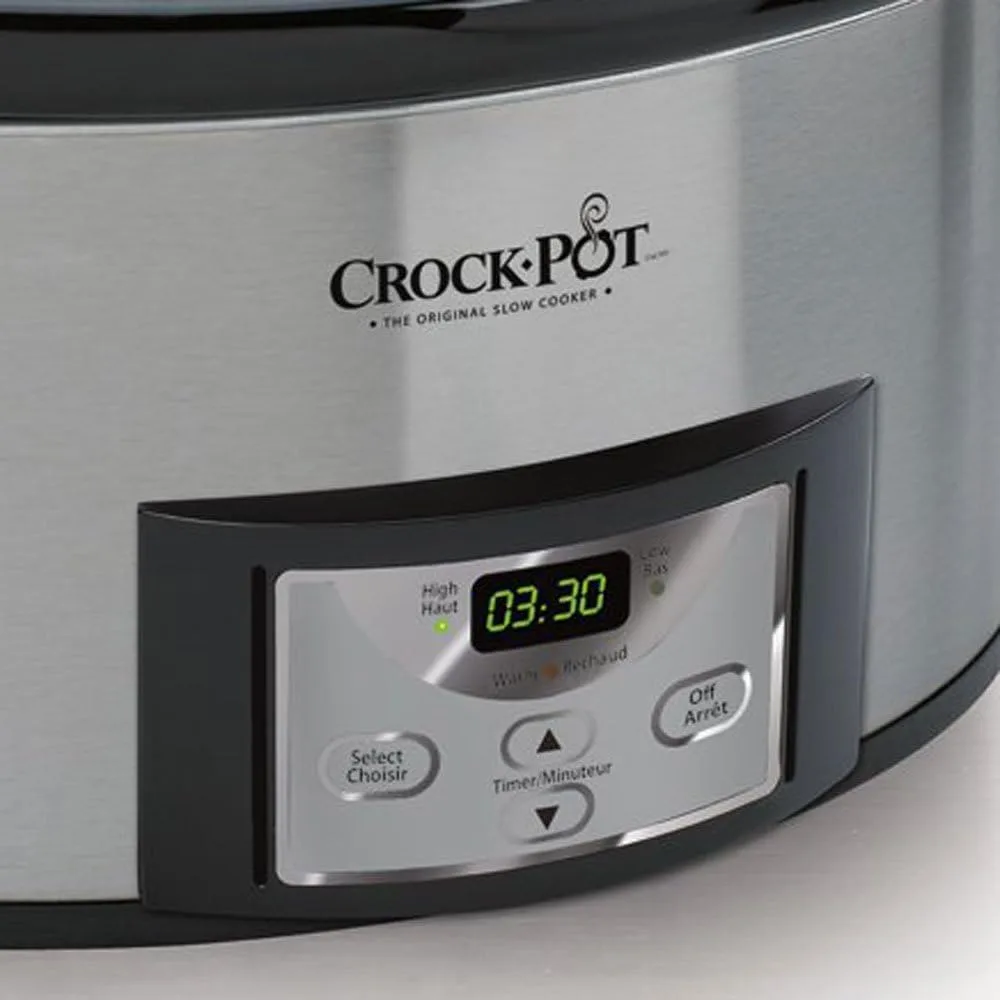
Image source: Bing (Web (fair-use with source credit))
How to Set the Timer on a Built-In Model
This is the most common scenario, and it's simpler than people expect. You're not telling the slow cooker when to start. You're telling it how long to run.
Step 1: Load the slow cooker. Put dense vegetables like potatoes and carrots at the bottom. Place meat on top. Pour in your broth or sauce.
The bottom gets the hottest area, so it's meant for the toughest ingredients.
Step 2: Pick the heat level first. Most programmable models make you choose Low or High before you can enter a time. A simple conversion: 1 hour on High equals roughly 2 hours on Low. An 8-hour recipe on Low takes about 4 hours on High.
Step 3: Set the cook time, not the start time. Use the + and, buttons on the control panel. If your recipe says 6 to 8 hours on Low, choose any number in that range. The countdown starts immediately.
Step 4: Know what happens when it ends. Some slow cookers beep and switch to Keep Warm automatically. Others shut off completely. Check your manual.
Crock-Pot™ models usually shift to Warm. Ninja models typically do too. If yours shuts off, plan to be home when it finishes.
Here's the work-backward formula: if you want soup at 6 PM and it needs 8 hours on Low, start it by 10 AM. No complicated math. Just subtract the cook time from your target serving time.
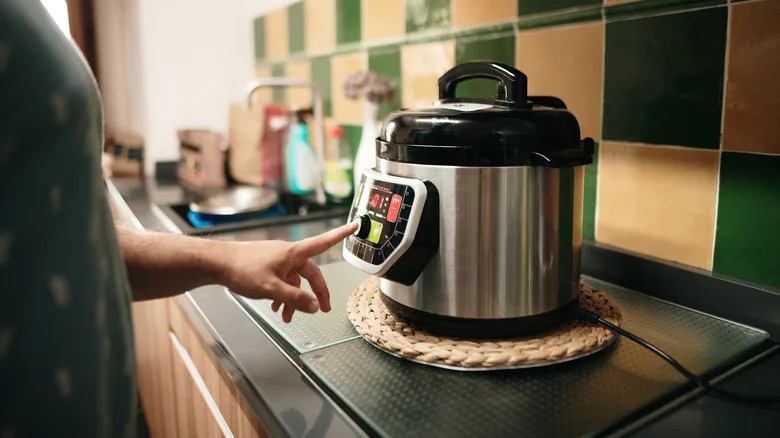
Image source: Bing (Web (fair-use with source credit))
Manufacturer specifications indicate that "Low" temperatures vary by brand. One cooker's Low setting may run hotter than another's. That's why testing a new recipe on a weekend is wise.
You'll learn how your specific model behaves before you trust it on a workday.
How to Use a Plug-In Outlet Timer with a Manual Slow Cooker
Owning a manual slow cooker doesn't mean you're stuck without timing options. A plug-in outlet timer costs between $8 and $20. It transforms a basic slow cooker into a programmable one.
What to look for in a plug-in timer. Get one rated for at least 15 amps. That handles any standard slow cooker safely. Mechanical timers with rotating dials are simple.
Digital timers allow more control, like daily repeat settings. Either one works fine.
Step 1: Plug the timer into the wall. Make sure it's fully seated. Then plug your slow cooker into the timer.
Step 2: Set the timer to the ON time. This is the exact opposite of what most people expect. You're not setting when the slow cooker stops. You're setting when it starts.
Here's an example. You want dinner ready at 6 PM. Your recipe needs 8 hours on Low.
Set the timer to turn ON at 10 AM. The slow cooker heats from 10 AM to 6 PM. The manual dial stays on Low the whole time.
When the timer cuts power at 6 PM, the cooker stops heating.
The food-safety rule you must not skip. Never let raw meat sit in the slow cooker for hours before the timer turns it on. Raw chicken, beef, or pork sitting at room temperature enters the danger zone between 40°F and 140°F. Bacteria multiply fast in that range.
The USDA warns against cooking this way. If you're using raw ingredients, start the cooker immediately or keep the filled insert in the refrigerator until you're ready to go.
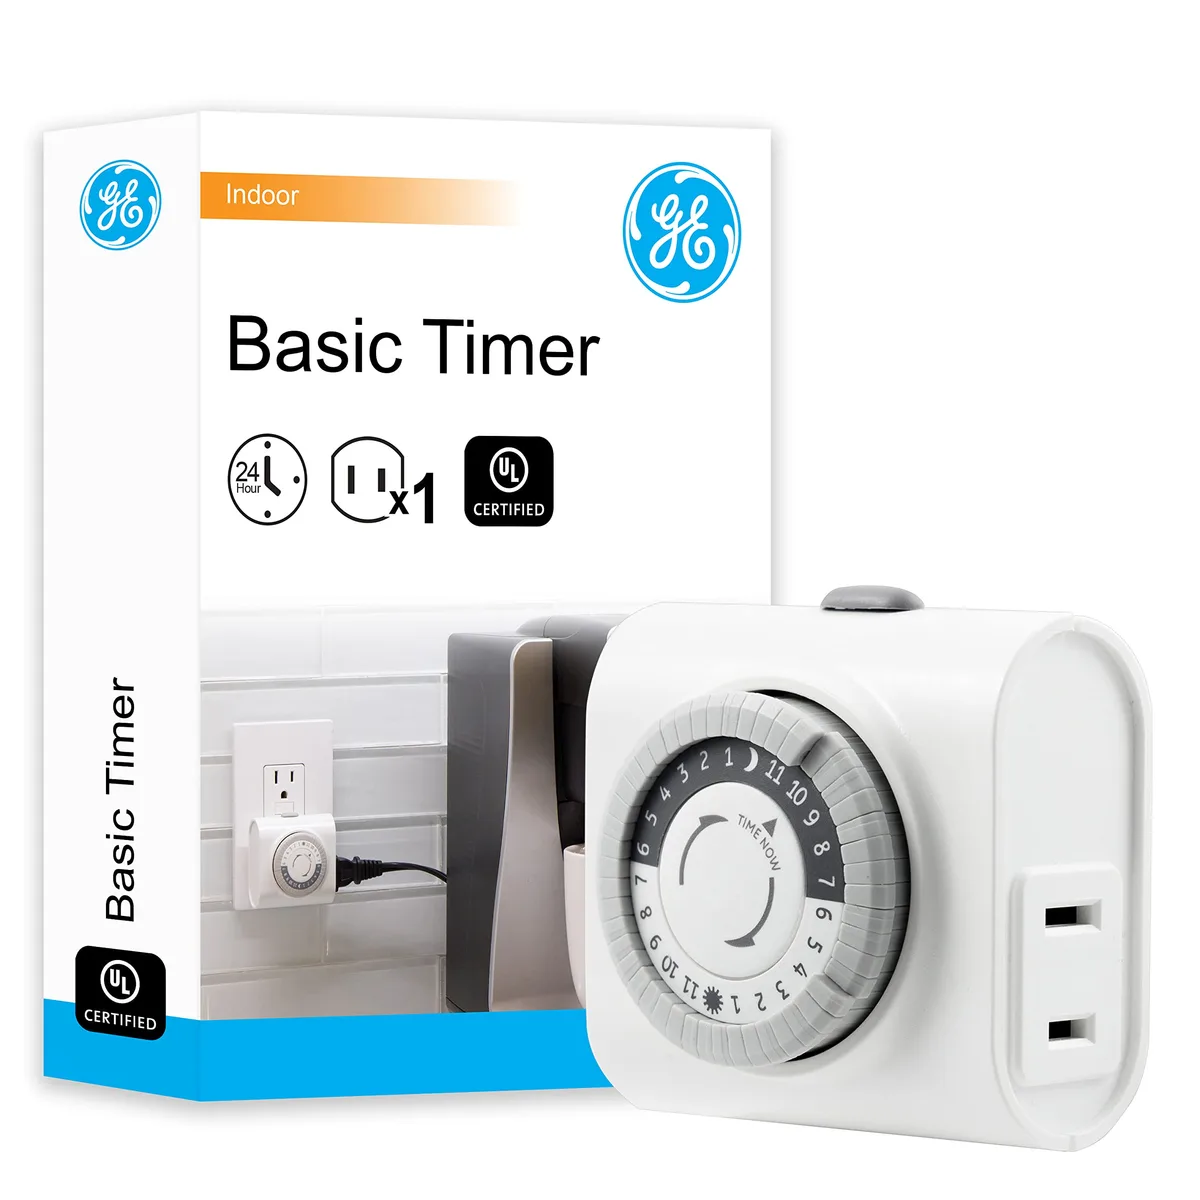
Image source: Bing (Web (fair-use with source credit))
One more tip: manual slow cookers don't switch to Keep Warm when a plug-in timer cuts power. The unit simply stops heating. If dinner gets delayed, you can turn the dial to Warm manually and let it hold until you're ready.
The Smart Way to Use the Timer for (Most) Recipes
Not every recipe belongs in a slow cooker for 8 hours. Some foods get better. Some get ruined.
The timer just makes the mistake repeatable.
Use the Low-and-slow conversion. A recipe that says "Low for 6 to 8 hours" can often cook on High for 3 to 4 hours. That works for stews, chilis, and braised meats. But the texture won't be identical.
Low heat breaks down collagen more thoroughly, which makes meat more tender.
Foods that love a long timer. Pork shoulder, chuck roast, brisket, soups, stews, chili, dried beans, and steel-cut oats. These are forgiving. They taste better after several hours of gentle heat.
Foods that do not love a long timer. Lean chicken breasts, fish, pasta, dairy-heavy dishes, and most delicate vegetables. Chicken breasts dry out. Fish falls apart.
Pasta turns to mush. Cream and yogurt can curdle.
| Great for Long Timers | Add Near the End |
|---|---|
| Pork shoulder | Chicken breasts |
| Chuck roast | Fish and shrimp |
| Dried beans | Pasta or rice |
| Root vegetables | Fresh greens |
| Soups and stews | Dairy products |
If your recipe includes delicate ingredients, add them toward the end. The timer stays set for the full cook time. You just open the lid, stir in the delicate items in the last hour, and close it back up.
Keep Warm is not a cooking mode. It holds food above 140°F, which is the safe serving temperature. It won't finish a raw roast. It won't thicken a thin soup.
It simply keeps cooked food warm and safe. Plan on Keep Warm lasting 2 to 4 hours. After that, quality starts to slip.
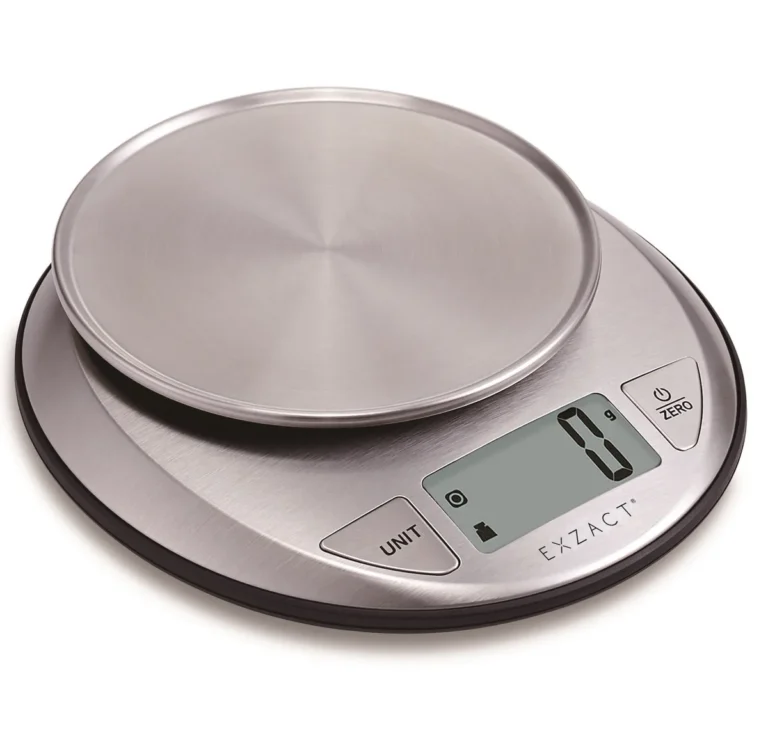
Consistent results also come from consistent measuring. If you normally scoop flour or estimate meat portions, a scale removes the guesswork. You can weigh your ingredients in seconds.
If a recipe calls for multiple dry items, set the bowl to zero between additions. For baking, getting the flour amount right is critical.
Even the best timer can't fix sloppy measuring. Precise portions make a real difference in soups and stews. If you cook by weight, you'll get more consistent results.
Use a reliable kitchen scale before the slow cooker even turns on, and you'll notice how much more predictable the final dish tastes.
What Not to Do: Food Safety Risks and Common Timer Mistakes
A timer is a convenience, but it can also create hazards if you use it the wrong way. Here are the errors that show up most often.
Don't delay-start with raw meat. This is the biggest risk. A delay-start feature lets you set the cooker to turn on hours later. If raw meat sits in the pot at room temperature, bacteria multiply while you wait.
The United States Department of Agriculture FSIS explicitly warns against leaving raw ingredients out. Start cooking immediately, or refrigerate the filled insert separately.
Don't set the timer and forget the heat level. Cooking a lean pork loin on High for 8 hours will give you dry, stringy meat. The timer performed perfectly. The recipe didn't.
Match the heat setting to the cut of meat.
Don't assume Keep Warm finishes cooking. It doesn't. Keep Warm only holds temperature. If your chicken needs another 45 minutes, switch back to High or Low and cook it properly.
Don't ignore internal temperatures. The timer indicates elapsed time, not doneness. Use an instant-read thermometer to check that food is safe.
| Protein | Safe Minimum Internal Temperature |
|---|---|
| Poultry (chicken, turkey) | 165°F |
| Ground meats (beef, pork, lamb) | 160°F |
| Beef, pork, veal, lamb roasts | 145°F |
Don't forget about power blips. A brief outage can reset a digital timer. The slow cooker shuts off, the display goes blank, and you come home to raw food. A plug-in timer with a battery backup can help, but it's not guaranteed.
If you're worried, use a smart plug that sends an alert to your phone.
Don't open the lid constantly. Each time you lift it, heat escapes. That adds significant time to your cook. Trust the timer and keep the lid sealed until the last possible moment.
Frequently Asked Questions
Do I set my slow cooker to the time I want it to start or stop?
Set the cook time, not the start time. On a digital model, you enter the number of hours you want it to cook. The cooker starts right away and counts down.
To have dinner ready at 6 PM, subtract the cook time from 6 PM to find your start time.
Can I leave my slow cooker on while I'm out of the house?
Yes, if you follow basic food safety rules. Start with fully thawed ingredients. Use the correct heat setting.
Make sure the cooker switches to Keep Warm when the timer ends. Verify your model has a functioning Keep Warm feature before you rely on it.
Can I put frozen meat in a slow cooker with a timer?
No. Frozen meat takes too long to reach a safe temperature in a slow cooker, especially on Low. It can sit in the danger zone for hours while the center thaws.
Thaw meat in the refrigerator first, then start the cooker right away.
Why did my slow cooker switch to Keep Warm before dinner was ready?
That's the planned behavior. The countdown timer reached zero, so the cooker shifted to Warm mode. To avoid this, set a longer cook time.
If the recipe says 6 to 8 hours, choose 8 hours when you need the maximum time.
How long can food stay on Keep Warm safely?
Most manufacturers recommend 2 to 4 hours on Keep Warm. The food stays above 140°F during that window, which prevents bacterial growth. After four hours, texture and flavor degrade.
It's still safe if the temperature stays above 140°F, but it won't taste great.
Quick Picks: Where to Go From Here
- You're gone 9 hours but the recipe needs 6. Use the built-in timer plus Keep Warm. Set it for 6 hours and let Warm hold dinner.
- You have a manual slow cooker and want dinner ready at 6 PM. Use a plug-in timer, set the ON time for 10 AM, and leave the dial on Low.
- You want to walk in to a hot meal, not a dried-out one. Choose the shortest safe cook time allowed in the recipe. Longer isn't always better.
- You're meal-prepping for the week. Set the timer for overnight cooking, then refrigerate the finished food in the morning.
The timer is a tool, not a brain. Pair it with the right heat setting, the correct ingredient choices, and honest internal-temperature checks. Do that, and it becomes one of the most dependable parts of your kitchen routine.