How to Use a Programmable Coffee Maker
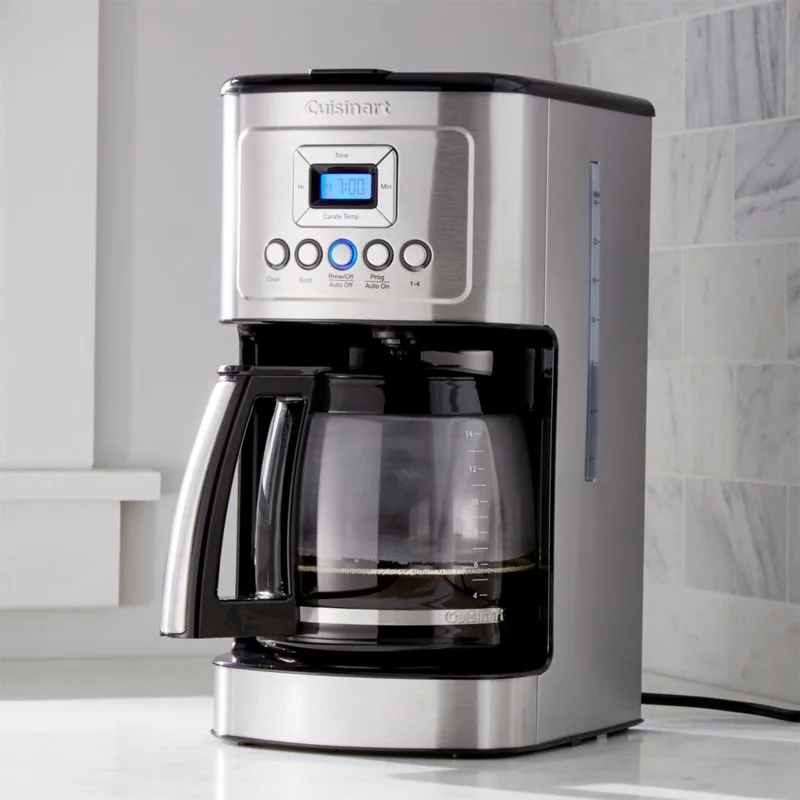
Image source: Bing (Web (fair-use with source credit))
Wake Up to Perfect Coffee: Your Programmable Coffee Maker Workflow
Tired of fumbling with your coffee maker in the groggy early morning hours? Learning how to use a programmable coffee maker effectively means you can set it the night before and wake up to the comforting aroma of freshly brewed coffee. It’s a small luxury that makes a big difference to your day.
Our research shows that many users find programmable coffee makers a bit intimidating at first, especially with all the buttons and settings. However, most models follow a straightforward setup process, often centering around a timer that can be set up to 24 hours in advance. Manufacturer specifications typically confirm a standard brew time ranging from 8 to 12 minutes.
Quick Answer: Programming Your Coffee Maker in 3 Steps
To use your programmable coffee maker, fill the water reservoir with fresh, cold water. Add your preferred coffee grounds to the filter basket. Finally, set the clock and program your desired brew time using the timer function, usually by pressing "Program" and then adjusting the hour and minute.
How Your Programmable Coffee Maker Works: The Core Concepts
At its heart, a programmable coffee maker is designed for convenience, automating the brewing process so your coffee is ready when you are. The core components include a water reservoir, a heating element, a filter basket for coffee grounds, and a carafe to collect the brewed coffee. The "programmable" aspect comes from a built-in timer, allowing you to schedule brewing to start at a specific time, often up to 24 hours in advance.
Many models also feature a brew-pause function, which lets you sneak a cup mid-brew without making a mess, and an auto-shutoff feature that turns off the warming plate after a set period, enhancing safety and saving energy.
Setting Up Your Programmable Coffee Maker for Success
Getting your programmable coffee maker ready for its first (or next) brew is straightforward. It’s about ensuring you have the right ingredients and the machine is properly prepared. This setup process is crucial for both taste and function.
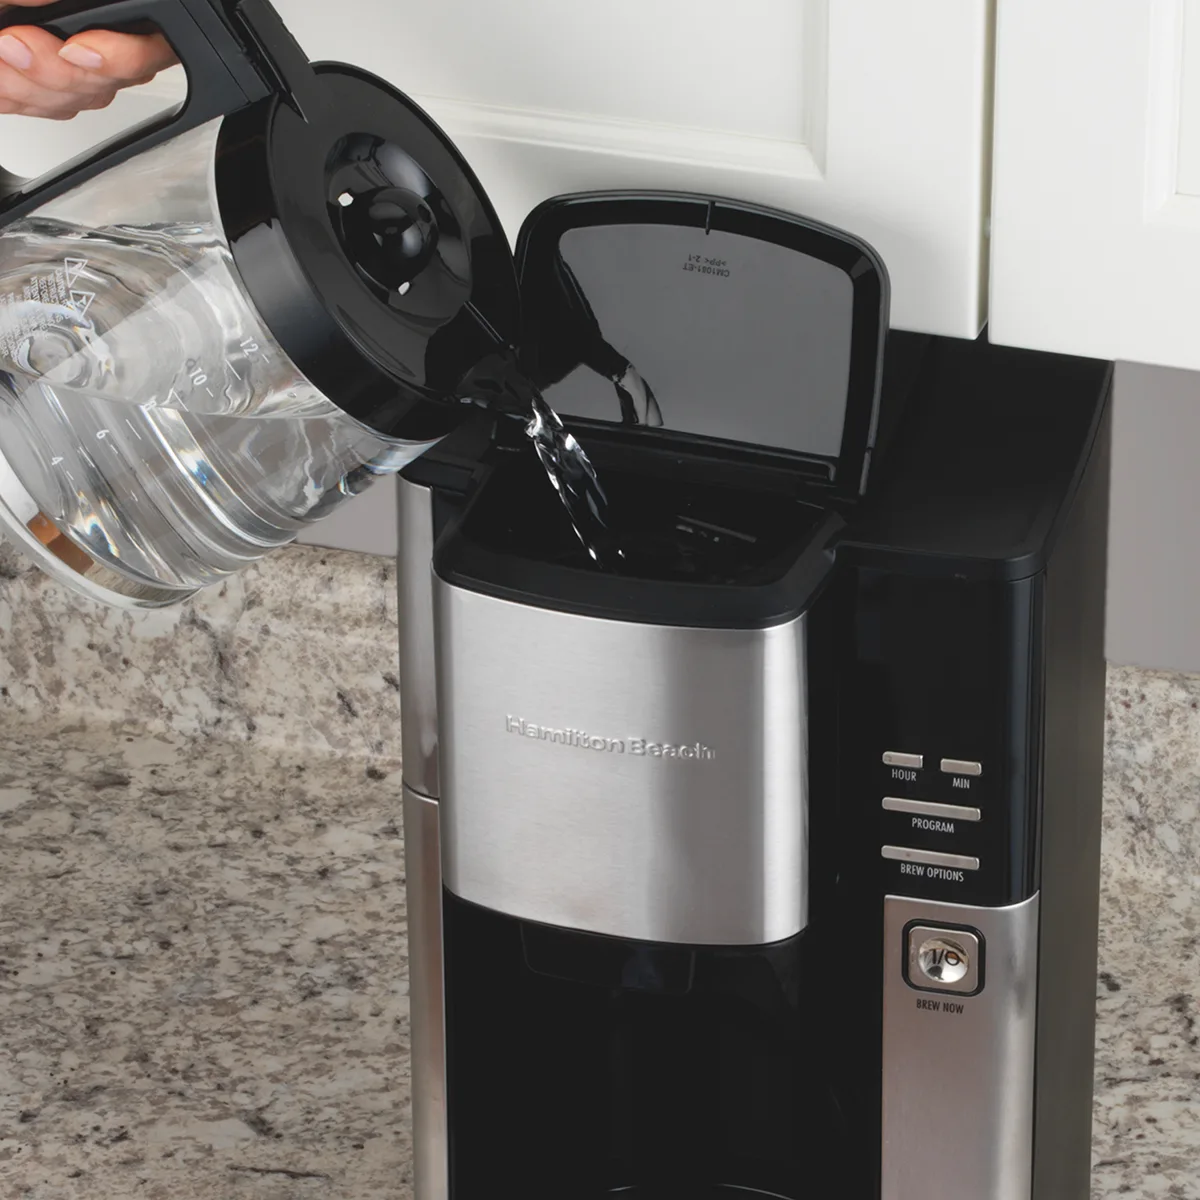
Image source: Bing (Web (fair-use with source credit))
Step 1: Fill the Water Reservoir
Start by filling the water reservoir with fresh, cold water. Use filtered water if your tap water has a strong taste, as this directly impacts the final flavor of your coffee. Most reservoirs have clear markings indicating the number of cups or ounces, so be sure to fill it to the desired level for your brew.
Overfilling can lead to overflow during brewing, while underfilling might result in a weaker cup.
Step 2: Add Coffee Grounds
Next, place a coffee filter into the removable filter basket. If your machine uses a permanent filter, ensure it's clean and properly seated. Add your preferred coffee grounds to the filter.
A common starting point is one to two tablespoons of medium-grind coffee per 6 ounces of water, but you can adjust this based on your taste. Ensure the grounds are evenly distributed for a balanced extraction.
Step 3: Program Your Brew Time
This is where the "programmable" magic happens. First, set the coffee maker's clock to the current time. You’ll typically press and hold a "Clock" or "Set Time" button, then use hour and minute buttons to adjust.
Once the clock is set, press the "Program" or "Auto Brew" button. Then, use the hour and minute buttons again to set the exact time you want your coffee to start brewing. Many machines will indicate they are in program mode with a light or icon.
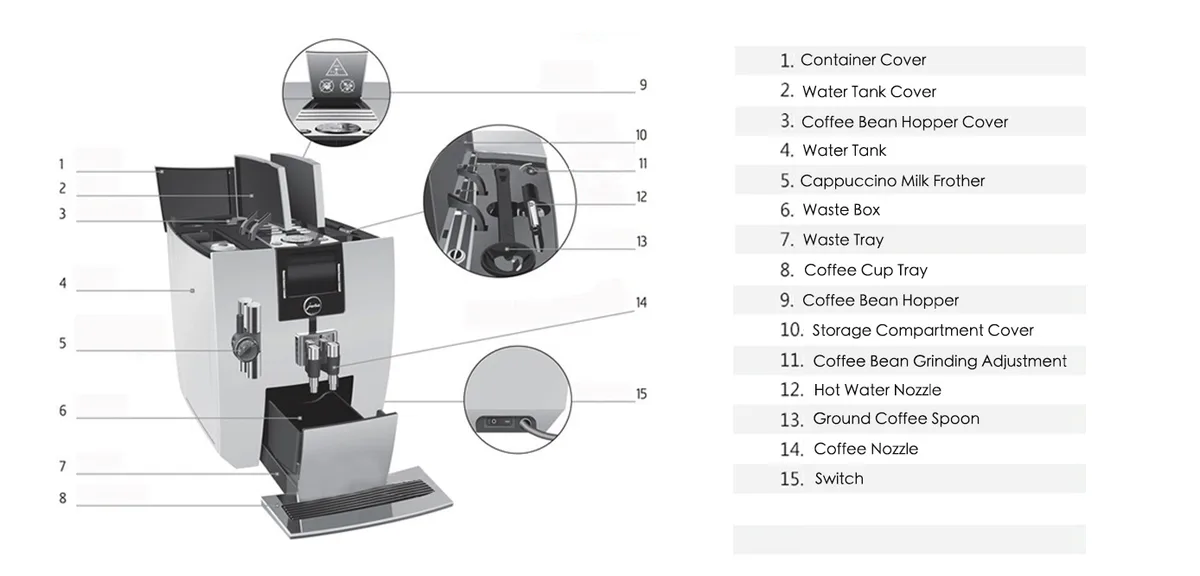
Image source: Bing (Web (fair-use with source credit))
Mastering Your Coffee Maker's Features: Beyond the Basic Brew
Your programmable coffee maker is more than just a timer; it often comes with features designed to fine-tune your coffee experience. Understanding the brew strength and volume controls can elevate your morning cup from standard to exceptional. Brew strength settings, commonly found on models from brands like Cuisinart and Mr.
Coffee, usually offer options like "Regular" or "Bold." Selecting "Bold" often means the water flow is slowed down, allowing for a longer contact time with the coffee grounds. This deeper saturation extracts more flavor compounds, resulting in a richer, more robust taste.
The brew volume setting is equally practical. It allows you to specify how much coffee you want to brew, ensuring you don't end up with a full carafe when you only need a single cup. This is particularly useful for households with varying coffee consumption.
This feature helps conserve coffee grounds and water if you're just making a small batch.
What Exactly is "Delay Brew" and How Does Auto-Shutoff Work?
The "delay brew" function is the cornerstone of programmable coffee makers. It allows you to set a specific time for your coffee to begin brewing, typically up to 24 hours in advance. This means you can load your coffee maker with water and grounds before you go to bed and wake up to a fresh pot.
Think of it as setting an alarm for your caffeine fix.
The auto-shutoff feature is primarily a safety and energy-saving measure. Once brewing is complete, the warming plate beneath the carafe usually stays hot for a set period, commonly between 1 to 4 hours, depending on the model. After this duration, the warming plate automatically turns off.
This prevents coffee from burning and reduces the risk of fire hazards, while also conserving electricity. Always consult your appliance's manual for the precise auto-shutoff duration and how to adjust it if your model allows.
Common Programmable Coffee Maker Mistakes to Sidestep
Even with a straightforward device, a few common missteps can lead to less-than-ideal coffee or a machine that doesn't perform as expected. Avoiding these simple errors ensures you get the best out of your programmable coffee maker every time.
- Incorrect Water Measurement: Filling the reservoir too high can cause overflow during brewing, creating a mess. Too little water results in a weak brew. Always use the carafe markings or reservoir indicators as your guide.
- Forgetting to Set the Clock: If the clock isn't set to the correct time, your programmed brew time will be off, and your coffee won't be ready when you expect it.
- Using Stale Coffee Grounds: Coffee loses its flavor and aroma quickly after grinding. For the freshest taste, grind your beans just before brewing, or ensure your pre-ground coffee is stored in an airtight container.
- Not Cleaning Regularly: Coffee oils build up over time, affecting taste and potentially clogging the machine. A quick daily rinse and a weekly deeper clean are essential for optimal performance.
When to Clean: Keeping Your Machine Brewing Its Best
Regular cleaning is vital for both the taste of your coffee and the longevity of your programmable coffee maker. Coffee oils can accumulate in the filter basket, carafe, and internal components, leading to bitter flavors and potential clogs. Manufacturer specifications, such as those found on Ninja Coffee Bar's support pages, typically recommend daily rinsing of the carafe and filter basket.
A more thorough cleaning, often referred to as descaling, should be done monthly, or more frequently if you have hard water. This process removes mineral deposits that can build up inside the machine. Most manufacturers suggest using a vinegar-water solution or a commercial descaling solution, running it through a full brew cycle, followed by several cycles of plain water to rinse away any residue.
Properly maintained machines, like a well-cared-for wooden cutting board, perform better and last longer.
FAQs About Programmable Coffee Makers
What’s the difference between a programmable and a non-programmable coffee maker?
A non-programmable coffee maker starts brewing as soon as you flip the switch. A programmable version includes a timer that allows you to set a future brew start time, typically up to 24 hours in advance, so your coffee is ready when you want it without manual intervention at that moment.
How do I set the clock on my programmable coffee maker?
Most programmable coffee makers have a dedicated "Clock" or "Set Time" button. You'll usually press and hold this button, then use separate "Hour" and "Minute" buttons to adjust the time until it displays the current time accurately.
Can I program my coffee maker to brew overnight?
Yes, that's precisely what the programmable feature is for. You can set the brew cycle to begin at a specific time, such as when you typically wake up, allowing you to have fresh coffee ready. Just ensure you've added water and coffee grounds beforehand.