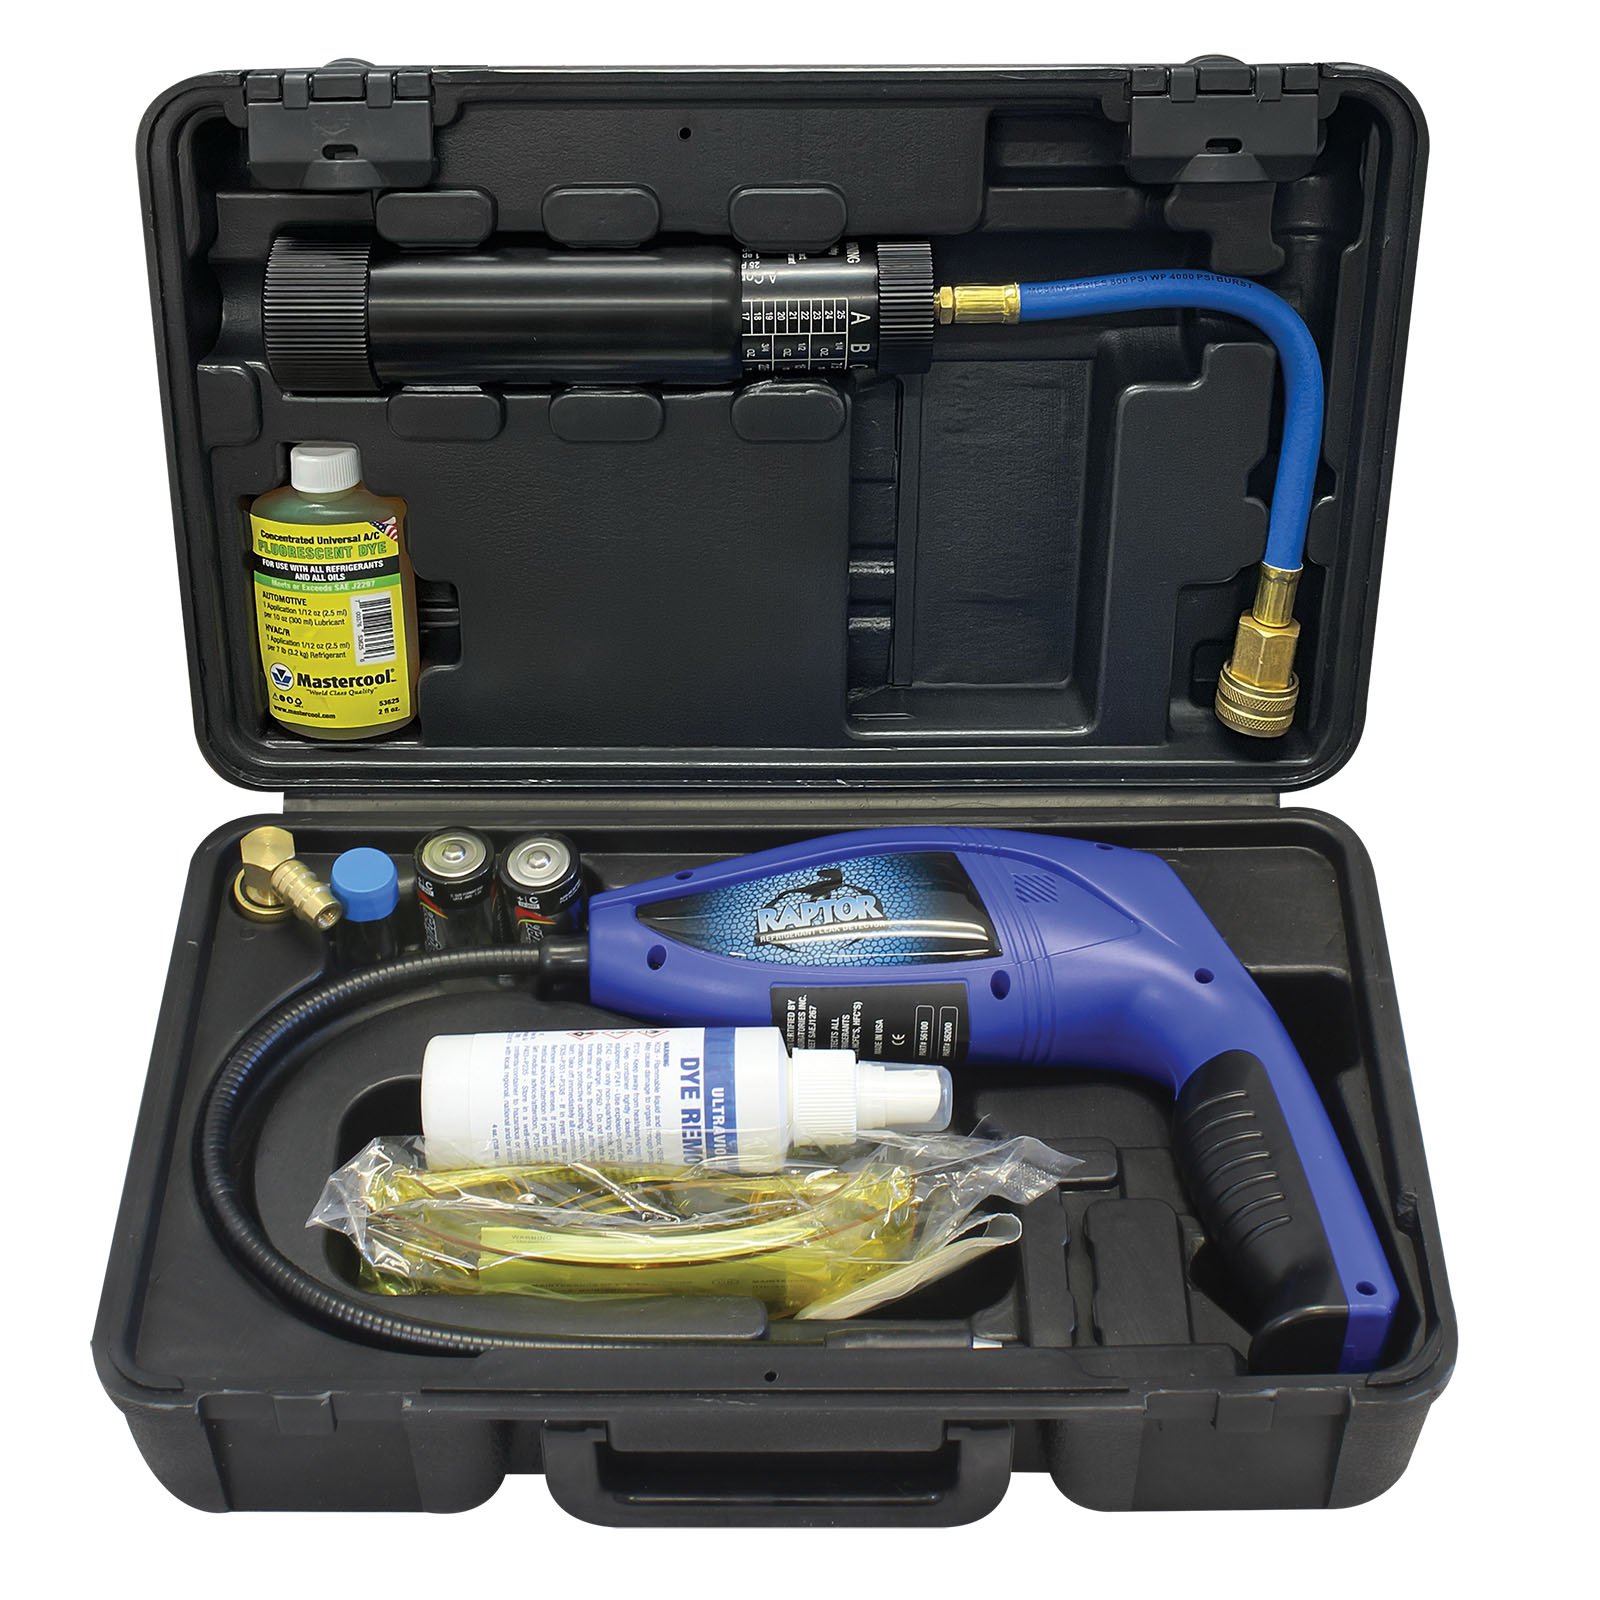
How To Use A Leak Detection Kit: Easy Step-By-Step Guide
A leak detection kit helps you find hidden leaks fast, before they waste water or cause damage.
If you have ever heard a drip behind a wall, spotted a damp spot under a sink, or watched your water bill climb for no clear reason, you already know how useful a leak detection kit can be. I have seen these kits save people from expensive repairs by catching small problems early, and in this guide I will walk you through exactly how to use a leak detection kit with confidence, care, and real-world know-how.
What a leak detection kit does
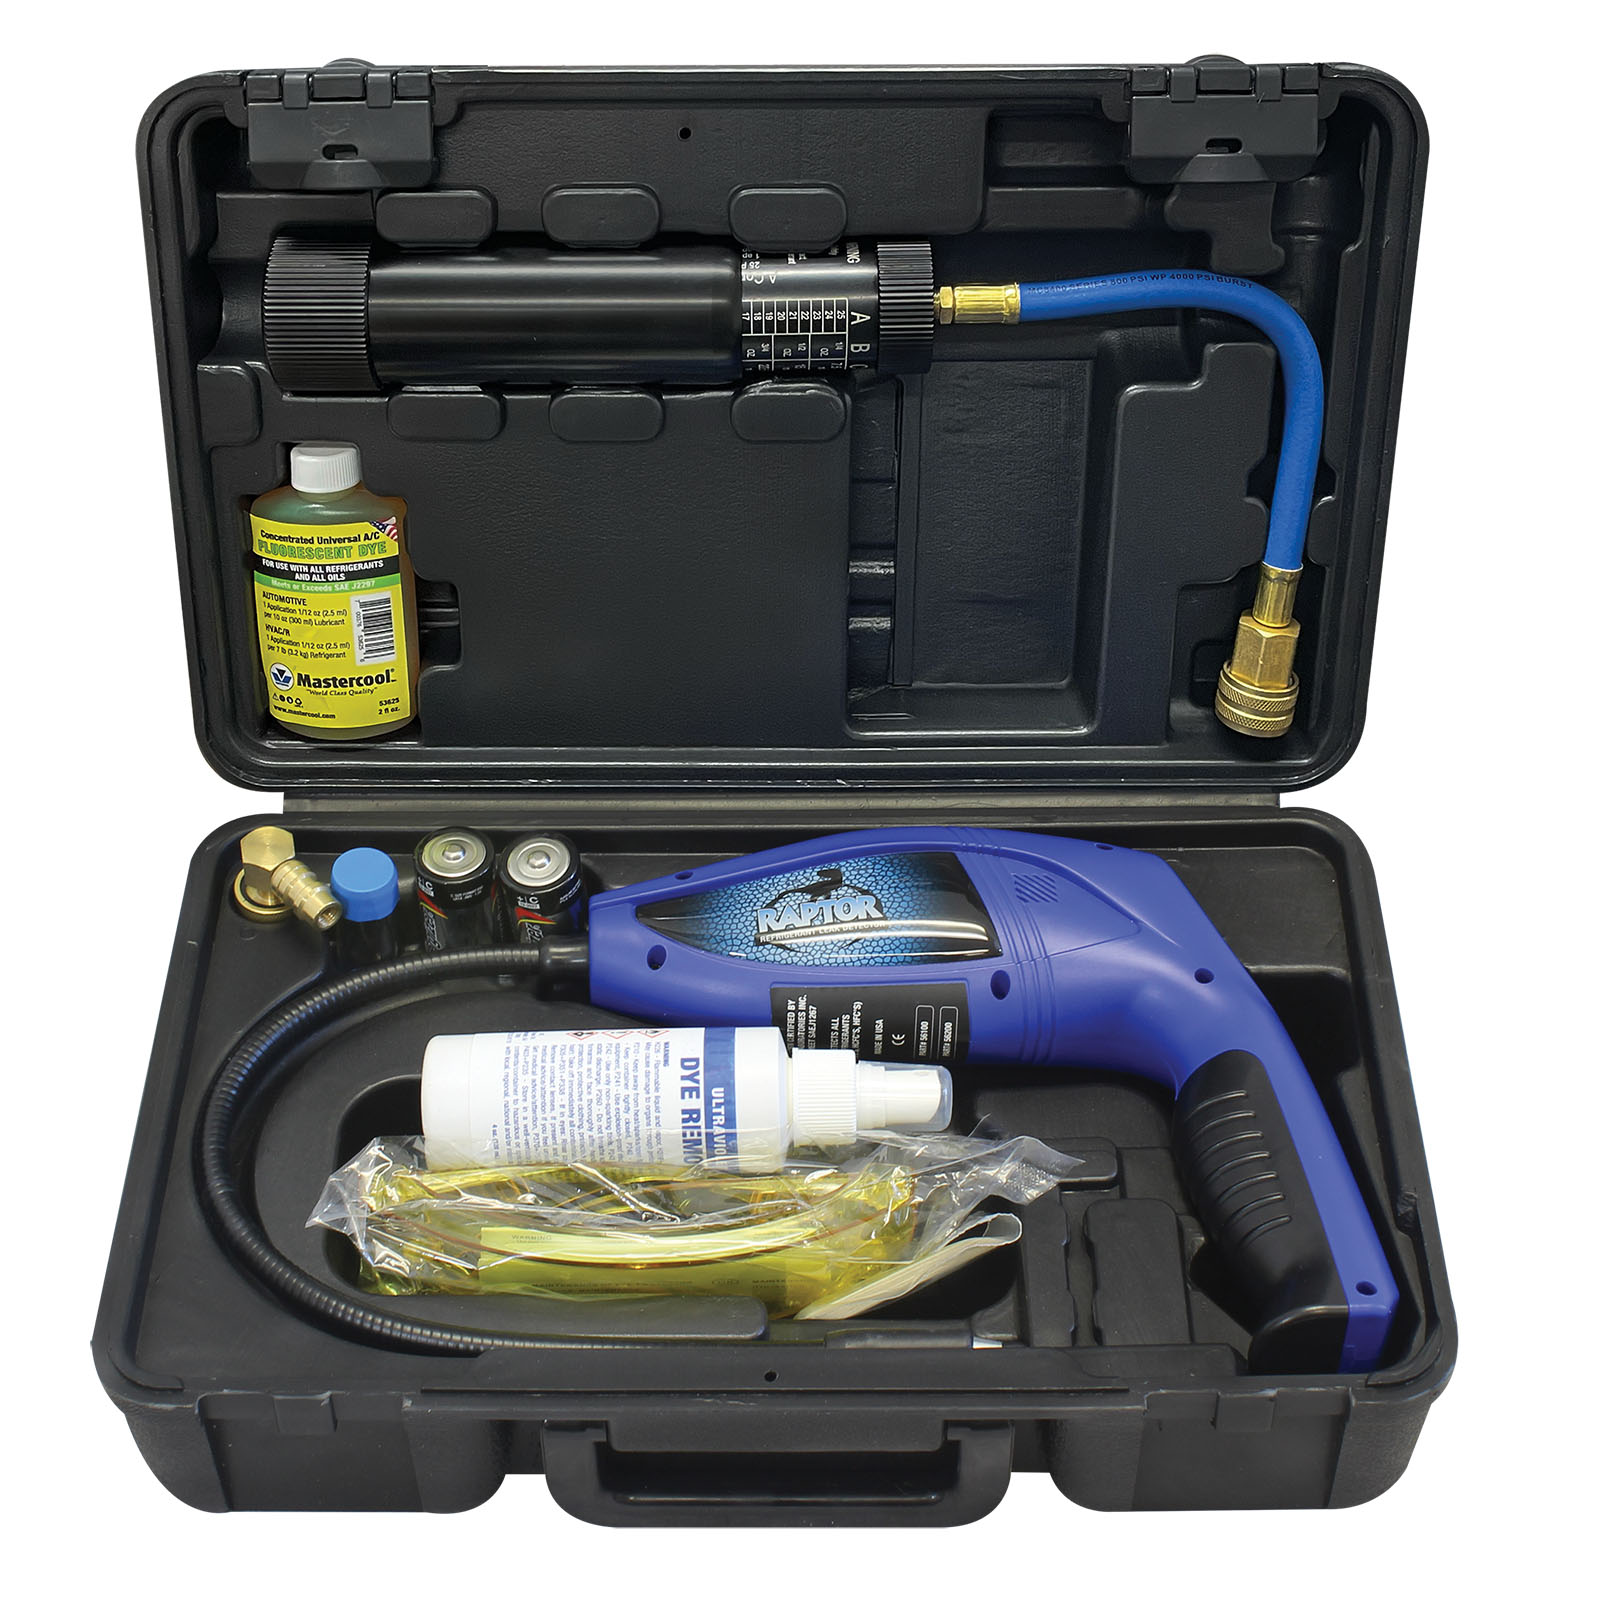
A leak detection kit is designed to help you locate moisture, water loss, or gas leaks that are not easy to see. Some kits use colored dye, test strips, listening tools, moisture sensors, or pressure gauges. Others are built for specific jobs, like plumbing lines, toilets, pool systems, HVAC units, or even roof leaks.
The main idea is simple. You introduce the test tool into the system, watch for signs of leakage, and then trace the source. That source could be a loose fitting, a worn seal, a cracked pipe, or a hidden gap in a system.
In my experience, the best results come when you treat the kit like a clue finder, not a magic wand. It points you in the right direction, but you still need to inspect carefully and think through the system step by step.
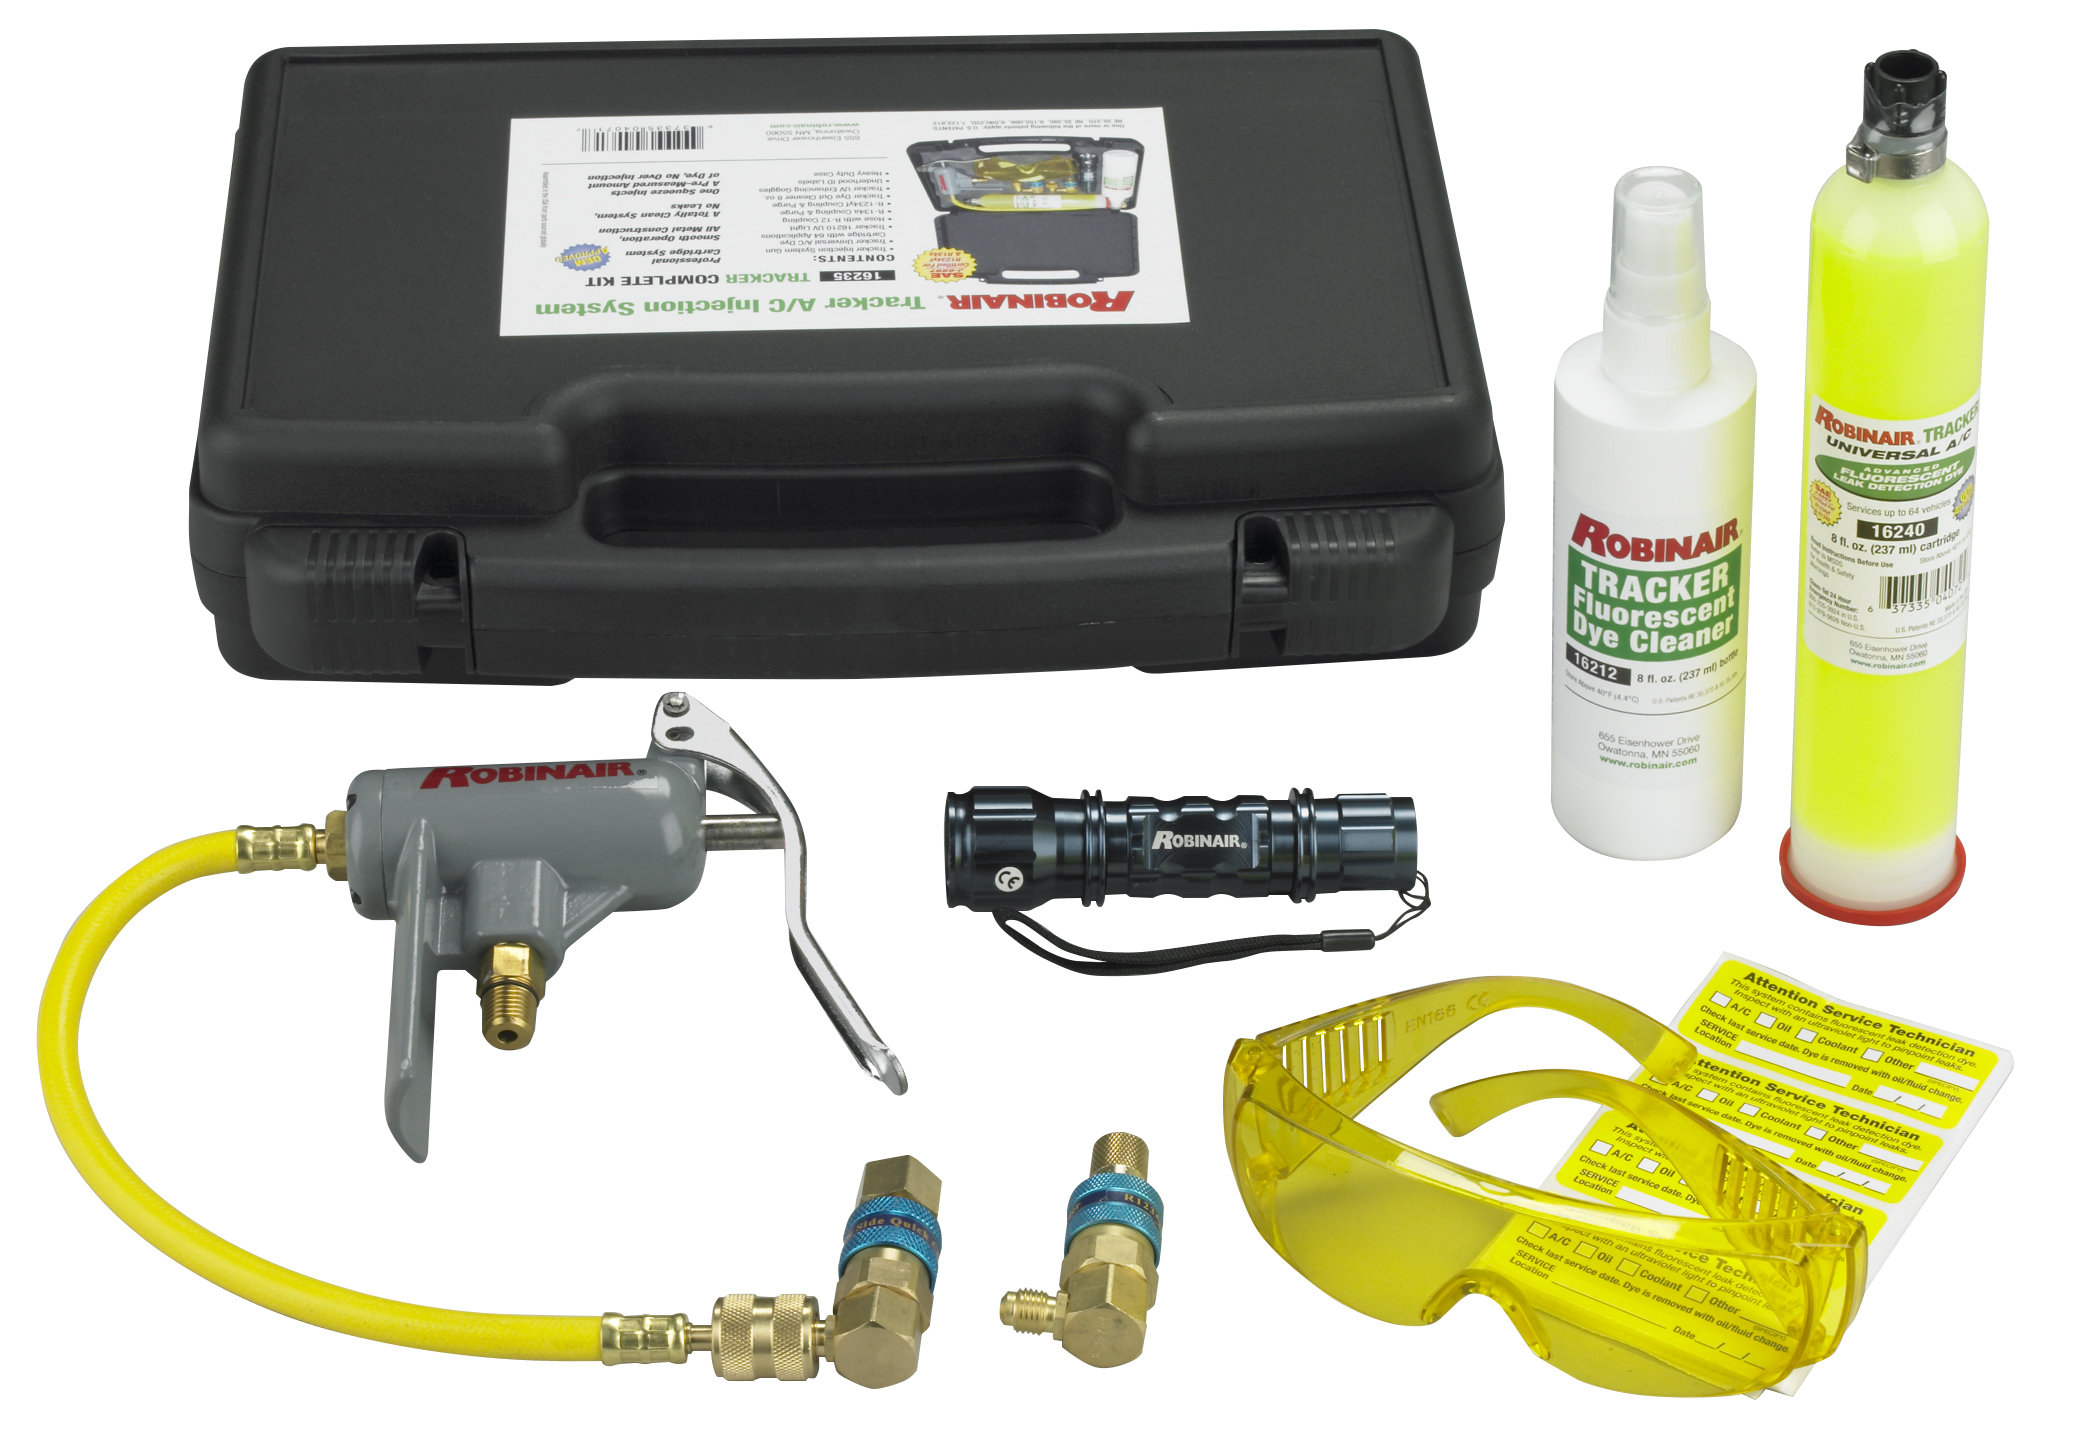
How to use a leak detection kit step by step
Using a leak detection kit is easier when you follow a clear process. The exact steps vary by kit type, but the basic method stays the same.
-
Read the instructions first
Every kit is a little different. Some are made for plumbing leaks, while others detect refrigerant, gas, or moisture. Start by checking what the kit is designed to detect so you do not use it in the wrong place. -
Turn off or isolate the system if needed
If you are checking a plumbing line, you may need to shut off water to part of the system. For a toilet leak test, you often stop using the toilet for a short period. For gas or refrigerant issues, follow the safety directions closely and do not force a test if the system is active and unsafe. -
Prepare the area
Dry the surface if the kit requires it. Remove clutter so you can inspect the area easily. I have found that a clean work area makes small leaks much easier to spot. -
Apply the test method
Use the kit as directed. That may mean adding dye to water, placing sensors around the area, applying soapy solution to joints, or using a pressure test gauge. Keep the steps steady and do not rush. -
Watch for signs of leakage
Look for color changes, bubbles, pressure drops, moisture readings, or unusual sounds. These signs often tell you where the leak is happening. Sometimes the leak is obvious, but many times it is subtle and slow. -
Trace the source carefully
A wet spot is not always the true source. Water can travel along pipes, beams, or floors before it shows up. Follow the trail backward until you find the origin. -
Confirm the leak
Repeat the test if needed. A second check helps rule out false positives and gives you more confidence in the result. -
Fix the issue or call a pro
If it is a minor problem, like a loose connection or worn seal, you may be able to repair it. If it involves a buried pipe, gas line, or major appliance issue, call a licensed technician.
A good leak detection kit works best when you stay patient. Think of it like detective work. The truth is usually there, but it may take a few careful steps to uncover it.
Choosing the right leak detection kit
Not all leak detection kits are built for the same job. Choosing the right one makes the test safer, easier, and much more accurate.
Here are the most common types:
- Water leak detection kits: These are used for plumbing, sinks, toilets, walls, ceilings, and floors.
- Toilet leak kits: These often use dye tablets or liquid dye to see if water is escaping from the tank to the bowl.
- Gas leak detection kits: These usually include a solution that bubbles when gas escapes, or a sensor that detects gas.
- Refrigerant leak kits: These are used for HVAC systems and may involve electronic sensors or UV dye.
- Moisture detection kits: These use sensors or meters to spot hidden dampness in building materials.
When I help someone choose a kit, I usually tell them to start with the leak they actually suspect. A homeowner checking a toilet needs a different tool than someone testing a central AC system. That simple match can save time and prevent frustration.
Common signs you may need a leak detection kit
You do not always need to see water or hear a hiss to know there is a leak. Some of the early warning signs are small and easy to miss.
Watch for these clues:
- An unexplained increase in your water bill
- Damp smells, musty odors, or mildew
- Water stains on walls, ceilings, or floors
- Peeling paint or bubbling wallpaper
- Low water pressure
- Sounds of running water when nothing is on
- Wet spots near appliances, sinks, or toilets
- Uneven floors or soft spots in flooring
- Frequent cycling in HVAC systems
- Dead patches in a lawn with underground irrigation leaks
These signs do not always mean a serious leak, but they do mean it is time to investigate. A leak detection kit gives you a more direct way to confirm what is going on instead of guessing.
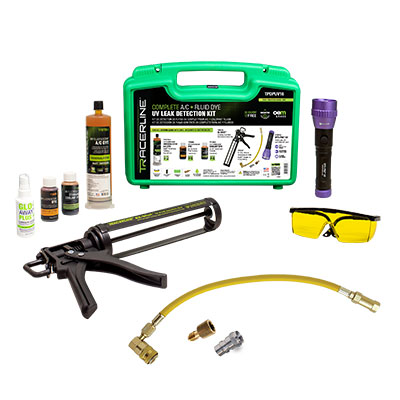
Best practices for accurate results
A leak detection kit only works well if you use it the right way. Small mistakes can lead to false results or missed leaks.
Keep these tips in mind:
- Follow the kit instructions exactly
- Test in a quiet, stable environment when possible
- Make sure the area is clean and dry if the method requires it
- Do not overload the test with too much dye, liquid, or spray
- Wait long enough for slow leaks to show up
- Test more than one spot if the system is large
- Double check any reading or signal before calling it a leak
One lesson I learned early is that impatience ruins a lot of leak tests. I once rushed through a toilet dye test and almost blamed the wrong part. When I repeated it slowly, the real issue showed up right away: a worn flapper seal. Slow testing often gives the best answer.
Safety tips before and during testing
Safety matters just as much as accuracy. Some leak detection kits are very simple, but others involve systems that can be risky if handled the wrong way.
Use these safety habits:
- Wear gloves and eye protection if the kit recommends it
- Ventilate the area when working with chemicals or gas tests
- Keep electrical parts dry
- Shut off power before testing near outlets or appliances if needed
- Never test gas systems unless the kit is meant for that use
- Keep children and pets away from the area
- Follow local codes and manufacturer guidance
If you suspect a gas leak, leave the area and contact emergency services or your gas utility right away. A leak detection kit should never replace common sense or safety rules.
How to use a leak detection kit for common home problems
Different leaks need different approaches. Here are a few common examples.
Toilet leaks
A toilet leak kit often uses dye tablets or liquid dye. Place the dye in the tank, wait without flushing, and check whether colored water appears in the bowl.
If it does, water is slipping past the flapper or another tank seal. This is one of the easiest leaks to diagnose, and it can save a surprising amount of water over time.
Under-sink plumbing leaks
For under-sink leaks, dry the cabinet and run water through the faucet and drain. Use moisture sensors or inspection dye if your kit includes them.
Look at supply lines, drain joints, and shutoff valves. These are common trouble spots because they deal with constant use and small movements.
Wall or ceiling leaks
Use a moisture detection kit if you suspect hidden water behind surfaces. Start at the stained area, then check nearby plumbing lines, bathrooms, roofs, or appliances above the spot.
Remember that water often travels. The stain you see may be several feet away from the true source.
HVAC or refrigerant leaks
Only use a refrigerant leak detection kit on the type of system it is made for. Follow the product steps closely, because HVAC systems can be sensitive and should not be tested casually.
If the leak is confirmed, contact a licensed HVAC technician. Refrigerant handling is not a DIY job for most homeowners.
Benefits of using a leak detection kit
A leak detection kit offers more than just convenience. It can protect your home, save money, and reduce stress.
Some key benefits include:
- Early detection before a small issue becomes major damage
- Lower utility bills by stopping wasted water or gas
- Better repair planning because you know the leak location
- Less guesswork when diagnosing hidden problems
- Protection against mold, rot, or structural damage
- Faster action in emergencies
Industry groups and water conservation programs often note that even small household leaks can waste large amounts of water over time. That is why early testing is so valuable. It is like catching a tiny crack in a windshield before it spreads across the glass.
Limitations of leak detection kits
Leak detection kits are useful, but they are not perfect. Knowing their limits helps you use them wisely.
Here are a few limitations:
- Some kits only work for specific leak types
- Slow leaks may take time to appear
- False positives can happen if the area is dirty or wet for other reasons
- Hidden leaks may require professional tools to confirm
- Gas, refrigerant, and major plumbing leaks may need expert repair
I always remind readers that a kit gives evidence, not always a final diagnosis. If results are unclear, test again or bring in a professional. That extra step can save time and money in the long run.
When to call a professional
A leak detection kit is great for home troubleshooting, but some problems need expert help. Call a professional if:
- You suspect a gas leak
- You find mold or major water damage
- The leak is inside a wall, slab, or underground line
- Your HVAC system may have refrigerant loss
- The test results are confusing or inconsistent
- The repair involves plumbing you are not comfortable handling
A good rule is simple. If the leak is near safety systems, hidden structure, or expensive equipment, do not gamble. A licensed pro can confirm the source and repair it properly.
Frequently Asked Questions of How to use a leak detection kit
How long does it take to use a leak detection kit?
Most tests take anywhere from a few minutes to an hour, depending on the system and the type of leak. Slow leaks may need longer observation time to show clear results.
Can I use a leak detection kit on any leak?
No, you need the right kit for the job. A water leak kit will not work the same way as a gas or refrigerant leak kit, so always match the kit to the suspected problem.
Are leak detection kits accurate?
They can be very accurate when used correctly, but no kit is perfect. Clean surfaces, proper setup, and careful reading all improve the results.
Do I need to shut off water before using a leak detection kit?
Sometimes, yes. It depends on the type of test, but isolating the system often makes the leak easier to spot and helps prevent extra water loss.
What should I do if the kit shows a leak?
Confirm the result if possible, then decide whether it is a small fix or a job for a professional. If the leak is gas-related or appears to be causing major damage, get expert help right away.
Conclusion
Using a leak detection kit is one of the smartest ways to catch problems early, save money, and avoid bigger repairs later. When you choose the right kit, follow the steps carefully, and stay patient, you give yourself a real advantage in finding the source of the leak.
If you suspect a leak, do not wait for the damage to grow. Grab the right kit, test the problem area, and take action with confidence. If this guide helped you, explore more home maintenance tips or leave a comment with your own leak-finding experience.