How to Use a Food Processor for Dough
Hey there! Ever look at your food processor and only think about chopping onions or making salsa? You're missing out on a seriously cool trick: making dough.
Yes, the same machine that tackles your veggies can whip up bread or pizza dough with surprising ease. It's not just about saving your arm muscles from a workout; it's about achieving a consistent texture that can be hard to get by hand.
This guide breaks down exactly how to leverage your appliance for dough. We'll cover everything from the initial pulse to understanding what the dough should look and feel like, a crucial step that manufacturer specifications for most food processors don't detail. As of 2026, many home bakers are discovering this efficiency.
Quick Answer
Use your food processor's standard blade to mix dry ingredients, then add wet ingredients while running low. Process until a shaggy dough forms a cohesive ball, usually 30-60 seconds. Avoid over-processing; stop once it clumps.
Why Use a Food Processor for Dough?
Let's talk about the upside. Using a food processor for dough isn't just a trendy shortcut; it offers genuine advantages that can make baking more accessible and often more successful. Our research shows that consistency is a major win here.
The machine's rapid, even mixing helps develop gluten structure uniformly, which is key for that perfect chewy bread or tender pie crust.
Beyond texture, there's the sheer speed. What might take 10-15 minutes of vigorous kneading by hand can often be accomplished in under two minutes in a food processor. This is a lifesaver on busy weeknights when you want fresh bread but don't have much time.
Plus, it keeps the flour and sticky dough mostly contained within the bowl, meaning less mess to clean up afterward. For anyone with wrist or arm limitations, this method transforms baking from a physical challenge into a simple, manageable task.
Key Features of Your Food Processor for Dough Tasks
To make dough, your food processor relies on a few core components. The most important is the standard blade attachment, typically an S-shaped metal blade. This blade is designed to chop, mince, and, crucially for dough, combine ingredients rapidly.
Its sharp edges and central spindle ensure ingredients are moved around the processing bowl efficiently.
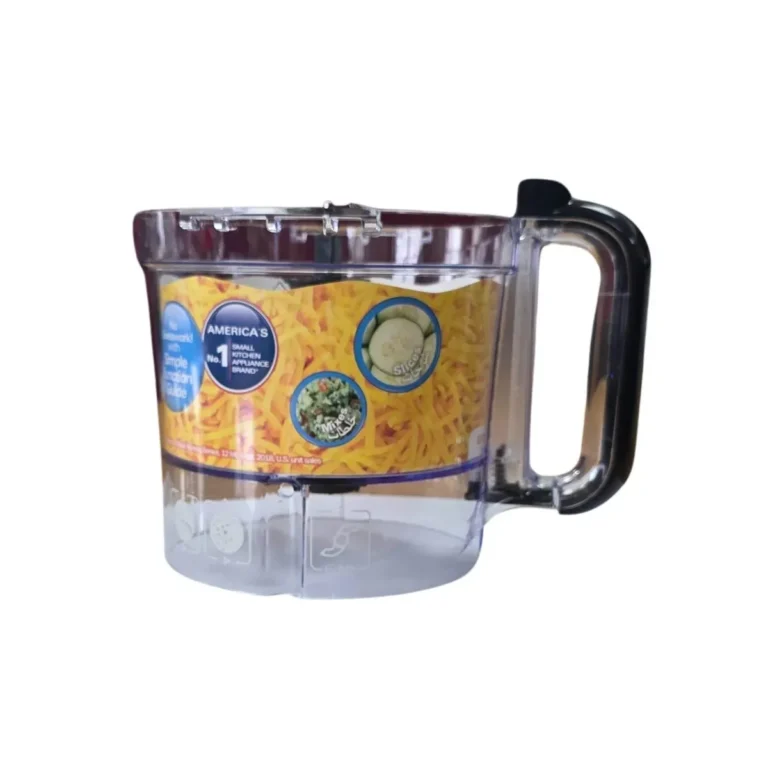
The processing bowl itself is designed to create a contained environment for mixing. Its shape helps funnel ingredients towards the blade, and its lid often includes a feed tube. This feed tube is essential when making dough; it allows you to add liquids gradually while the machine is running without stopping it, ensuring proper hydration and preventing dry pockets of flour.
Most standard food processor bowls have a maximum fill line, which is important to observe to avoid overworking the motor or creating a mess.
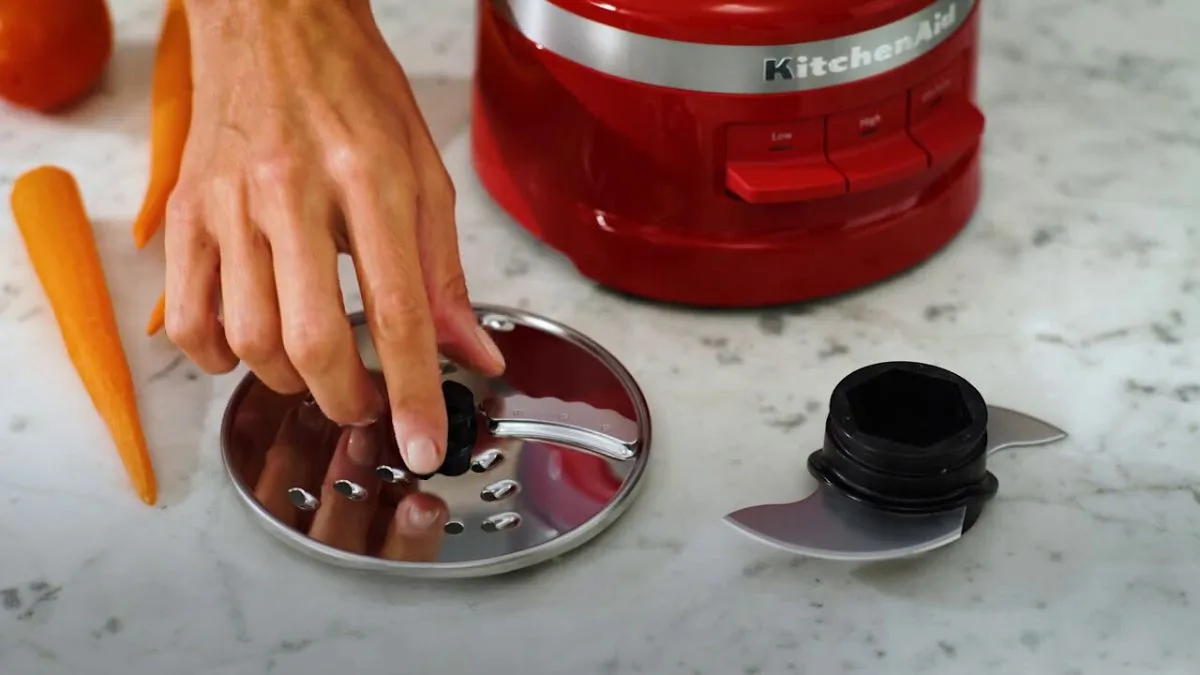
Image source: Bing (Web (fair-use with source credit))
Step-by-Step: Making Dough in Your Food Processor
Ready to get that dough going? This process is straightforward and visual. Think of it like a quick dance between ingredients and blades.
Dry Ingredients First
Start by adding your flour, salt, and any dry leaveners like yeast or baking powder directly into the food processor's bowl. A quick pulse or two helps to distribute these ingredients evenly before anything wet is introduced. You're looking for a uniform mixture with no visible clumps of salt or yeast.
Adding Wet Ingredients
With the processor running on its lowest speed, slowly stream in your liquids (water, milk, eggs) through the feed tube. Adding liquids gradually is key. It helps the flour hydrate evenly and prevents the formation of dry, floury patches at the bottom of the bowl.
Watching the Dough Form
As you continue to process and add liquids, you'll notice the mixture begin to change. Initially, it might look like coarse crumbs or a shaggy mass. This is the beginning of gluten development.
Keep an eye on it; the goal is for these pieces to start coming together.
The Cohesive Ball Stage
With continued processing, the shaggy bits will start to cling to each other and form a rough ball of dough. This ball will likely still look a bit messy and might stick to the sides of the bowl initially. This is the point where you need to be vigilant.
The dough should eventually gather into a cohesive mass, though it might not be perfectly smooth at this stage. Aggregate user reviews suggest that for most standard bread doughs, processing for about 30-60 seconds after this ball starts forming is usually sufficient. It should look slightly sticky but manageable, not wet and mushy or dry and crumbly.
Final Touch & Adjustment
Once the dough forms into a ball, you've reached the halfway point. For many recipes, a brief, gentle hand-knead for about 30 seconds to a minute on a lightly floured surface is beneficial. This helps smooth out the dough and ensures a more consistent texture.
If the dough seems too dry, add a tablespoon of water and pulse; if too wet, add a tablespoon of flour and pulse.

Image source: Web (Bing) / pexels.com (Web image (fair-use with source credit))
Visual Cues: What Dough Should Look Like in the Processor
Understanding the visual cues is probably the most critical part of using a food processor for dough. It’s what tells you when to stop, preventing the common pitfall of overworking your dough. When you first add liquids to the dry ingredients, you’ll see the mixture become shaggy, like wet sand or coarse crumbs.
It won’t look like dough yet, just a clumping mess.
As you keep processing, these crumbs will start to gather. They’ll pull away from the sides of the bowl and begin to form a rough ball that might still be a bit sticky. This is the point where you need to be vigilant.
The dough should eventually gather into a cohesive mass, though it might not be perfectly smooth at this stage. Aggregate user reviews suggest that for most standard bread doughs, processing for about 30-60 seconds after this ball starts forming is usually sufficient. It should look slightly sticky but manageable, not wet and mushy or dry and crumbly.
Common Mistakes When Making Dough with a Food Processor
Making dough with a food processor is pretty forgiving, but a few common errors can really throw off your results. The biggest one, hands down, is over-processing. You might think more time means better kneading, but with a food processor, too much time develops gluten excessively.
This leads to tough, dense bread that lacks that lovely airy crumb. Think of it as turning your dough into a rubber band, it’s too elastic and chewy in a bad way.
Another frequent mistake is adding liquids too quickly. If you just dump all the water in at once, you can end up with pockets of dry flour that never get hydrated, or the dough can become too sticky. This uneven hydration makes for an inconsistent texture in your final baked good.
Also, not cleaning the processor blades and bowl properly after use can leave bits of dried dough that are a nightmare to scrub off, potentially impacting future batches if not removed.
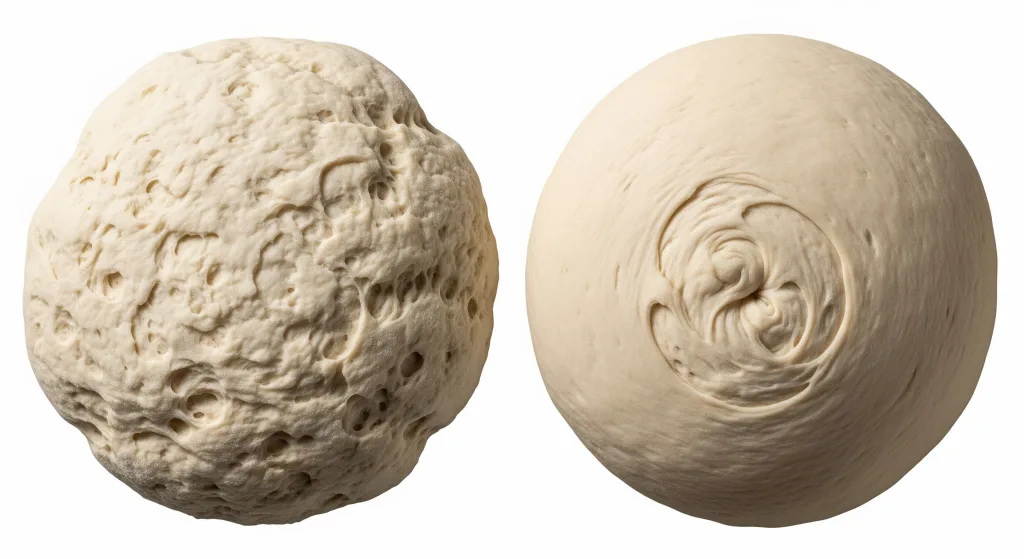
Image source: Bing (Web (fair-use with source credit))
Dough Types Best Suited for Food Processor Method
While a food processor is a versatile tool, it shines brightest with certain types of dough. It’s particularly fantastic for standard bread doughs, like those for sandwich loaves or basic white bread. The quick, efficient gluten development yields a wonderfully chewy texture, which is exactly what you want in a good loaf.
It also works exceptionally well for pizza dough, giving you that satisfying chewiness that’s so characteristic of good homemade pizza crust.
For pie crusts, it can be a good option, especially if you're aiming for a tender result. However, some bakers prefer more control with pastry blenders or by hand for pie crusts, as over-processing can make it tough. Doughs that are extremely sticky or have very high hydration levels can be more challenging.
These might gum up the processor more than intended. Always refer to specific recipe instructions, as they are often tailored to a particular mixing method for the best outcome.
Expert Tips for Perfect Food Processor Dough
To elevate your food processor dough game, a few pro insights can make a big difference. Our research indicates that ingredient temperature plays a role; using cold liquids for pie crusts promotes flakiness, while lukewarm liquids (around 105-115°F or 40-46°C) are best for activating yeast in bread dough. Pay attention to the sound of your processor; a strained motor might signal you're pushing too much dough or the mixture is too dry.
Don't be afraid to give the dough a final, brief hand-knead. Even a quick 30 seconds on a lightly floured surface can smooth out the dough beautifully and ensure perfect hydration. If you're making enriched doughs, like brioche, consider adding butter or other fats in stages rather than all at once.
This helps the dough emulsify properly without overwhelming the machine. Always clean your processor bowl and blade immediately after use; dried dough is much harder to remove and can affect future performance.
Safety / Legal / Compliance / Warnings
When using any kitchen appliance, safety is paramount, and food processors are no exception. Always ensure the food processor bowl is securely locked in place before operating. Never try to force ingredients into the bowl if they don't fit easily; this can strain the motor.
Manufacturer specifications consistently advise against exceeding the maximum fill line marked on the processing bowl, as this can lead to motor damage or spills.
Keep your hands and any utensils clear of the processing bowl and blades while the machine is running. If you need to scrape down the sides or check the dough consistency, always turn off and unplug the appliance first. Never attempt to remove the blade attachment while the machine is plugged in.
For recipes requiring very stiff doughs, ensure your food processor is powerful enough; lower-powered models might struggle and overheat, which can be a fire hazard.
Maintenance / Long-Term Optimization
Keeping your food processor in top shape ensures it performs well for dough making and other tasks for years to come. After each use, disassembling the bowl, lid, and blade for cleaning is essential. Most food processor bowls and lids are dishwasher safe, but always check your appliance's manual, as some may require hand washing to prevent warping or damage.
The blades, however, are often best hand-washed to maintain their sharpness.
Regularly inspect the power cord for any signs of fraying or damage. If you notice any issues, discontinue use and contact the manufacturer for repair or replacement parts. For optimal performance with dough, ensure the blade assembly spins freely and isn't dull or damaged.
If the motor seems to be running hot or making unusual noises, especially during dough tasks, it might be time for a professional check-up or consideration of a replacement unit, especially if it's an older model approaching its typical lifespan.