How to Make Dough in a Food Processor
Making dough in a food processor can cut your prep time dramatically, turning a potentially lengthy task into a quick one. It's especially handy for pastry and some bread recipes, bringing ingredients together with consistent, rapid action. This method helps achieve the right texture without much fuss.
Research indicates that modern food processors, especially those with blade attachments, can efficiently create doughs like pie crusts and biscuits in under a minute. They excel at quickly incorporating fats and liquids, a critical step for achieving flaky results. Let's dive into how you can leverage this kitchen tool effectively.
Quick Answer
Making dough in a food processor involves pulsing dry ingredients, then adding fat and liquid. Process until a shaggy or cohesive dough forms. Stop mixing as soon as the dough clumps.
Over-processing leads to tough dough.
Why Use a Food Processor for Dough?
You might wonder if a food processor is really necessary for making dough. The simple answer is: it's a massive time-saver, especially for tasks where you need to quickly cut fat into flour or just bring everything together. Think about making pie crust or biscuits; the goal is to create small pieces of butter distributed throughout the flour.
A food processor does this in seconds, far faster than you could by hand or even with a pastry blender. For yeast doughs, it can mix ingredients and begin developing gluten much faster than manual kneading. Manufacturer specifications often highlight the speed and efficiency of their machines for dough-related tasks, with many models capable of handling dough cycles in under two minutes.
What You'll Need
When you're ready to get started, you won't need a whole lot of specialized equipment beyond the processor itself. Having the right tools makes the process smooth and successful.
- Food Processor: This is your main tool. Make sure it's clean and that the standard S-shaped blade attachment is securely in place. Different models may have varying capacities, so be mindful of your processor's maximum fill line, especially for larger batches.
- Ingredients: Gather all the ingredients specified in your recipe. This typically includes flour, fat (like butter or shortening), liquid (water, milk, or eggs), and any leavening agents, salt, or sugar.
- Measuring Tools: Accurate measuring cups and spoons are essential for getting the ingredient ratios right, which is crucial for dough texture.
- Timer: While you'll rely heavily on visual cues, a timer can help keep you on track, especially for pulse counts or total processing times.
- Bowl: A separate bowl is useful for transferring the dough once it's formed, and for any subsequent steps like resting or proofing.
The Process: Step-by-Step
Here’s how to whip up dough using your food processor. It’s designed to be straightforward, relying on quick pulses and observation.
Dry Ingredients First
Start by adding your flour, salt, and any other dry ingredients (like sugar, if not using it for a yeast dough) directly into the food processor bowl with the blade attached. Pulse the mixture just a few times, about 5 to 10 quick pulses. This isn't about mixing deeply; it's just to ensure everything is evenly distributed before adding the wet ingredients.
This initial step prevents pockets of unmixed flour or salt in your final dough.
Add Your Fat (like Butter)
This is a critical stage for many doughs, especially pastry and biscuits. Add your cold, cubed fat (typically butter or shortening) to the bowl with the pulsed dry ingredients.
- Visual Cue: You're looking for a texture resembling coarse crumbs or small peas. This means the fat has been broken down into small pieces, which is essential for creating flaky layers in baked goods.
- Pulse Control: Use the pulse function in short bursts. It's better to pulse too little than too much at this stage. If you over-process, you’ll end up with a paste instead of distinct fat particles, which can result in a dense, tough dough.
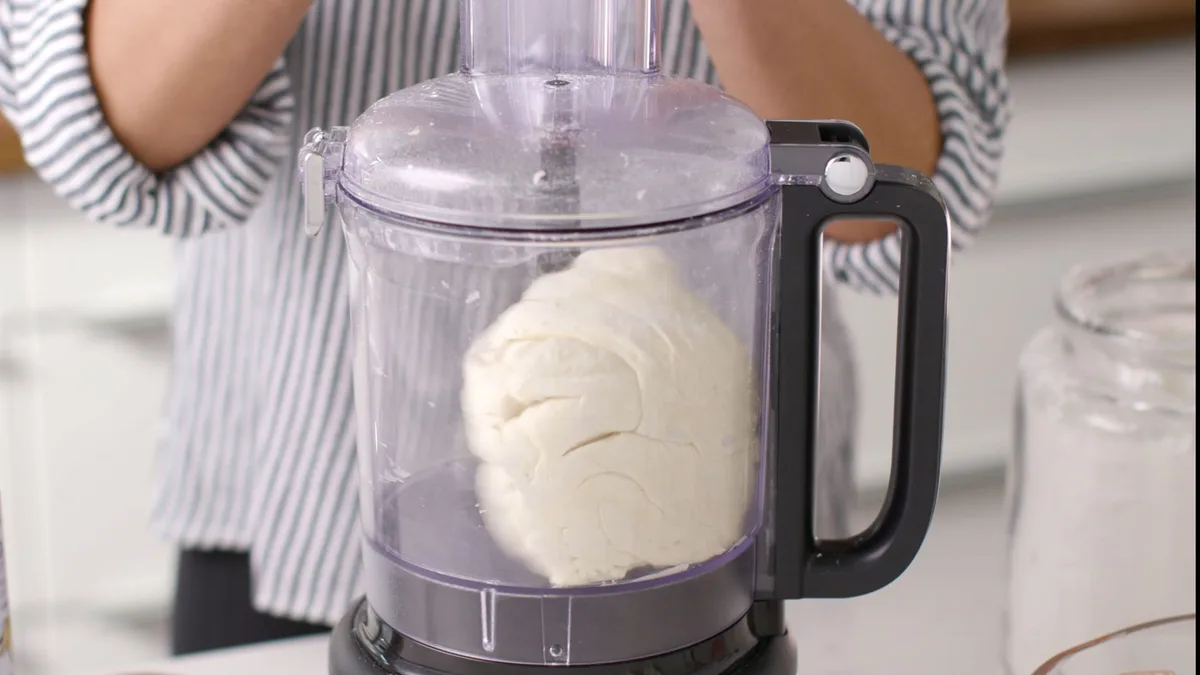
Image source: Bing (Web (fair-use with source credit))
Bring it Together (Liquid Time)
Now it's time to introduce the liquid. The type and amount of liquid will vary based on your recipe.
- For Pastry/Biscuits: Gradually add ice-cold water, a tablespoon at a time, pulsing the processor after each addition. You want to stop as soon as the dough begins to clump together and form a shaggy mass. You’ll see it start to gather around the blade or form larger clumps.
- For Yeast Doughs: If you're making bread dough, you might add activated yeast and other liquids at this point. Pulse until a cohesive, shaggy dough forms. Yeast doughs generally require a bit more processing time to develop gluten.
Check the Consistency
After adding the liquid and pulsing, you need to assess the dough. It should be coming together.
- Too Dry: If the mixture looks too crumbly and doesn't show signs of clumping, add another tiny splash of liquid, no more than a teaspoon at a time, and pulse briefly.
- Too Wet: If the dough seems overly wet or sticky, add a very small amount of flour, just a tablespoon at a time, and pulse a couple of times to incorporate.
When to Stop: Visual Cues are Your Friend
The most important part of making dough in a food processor is knowing when to stop. It's not about a specific time, but about the visual and textural cues your dough is giving you. Over-processing is a common pitfall that can lead to tough baked goods.
Pastry Dough Cues
For recipes like pie crusts, tarts, or biscuits, the goal is a dough that’s just barely combined. You want to see distinct flecks of butter remaining in the dough.
- Appearance: The dough should look shaggy, with some loose crumbs still visible, but it should also be starting to clump together when you squeeze a handful. It shouldn't be a smooth, uniform ball.
- Texture: When you press it, it should hold its shape loosely but not feel sticky or gummy. If you can easily see small pieces of butter, you're on the right track.
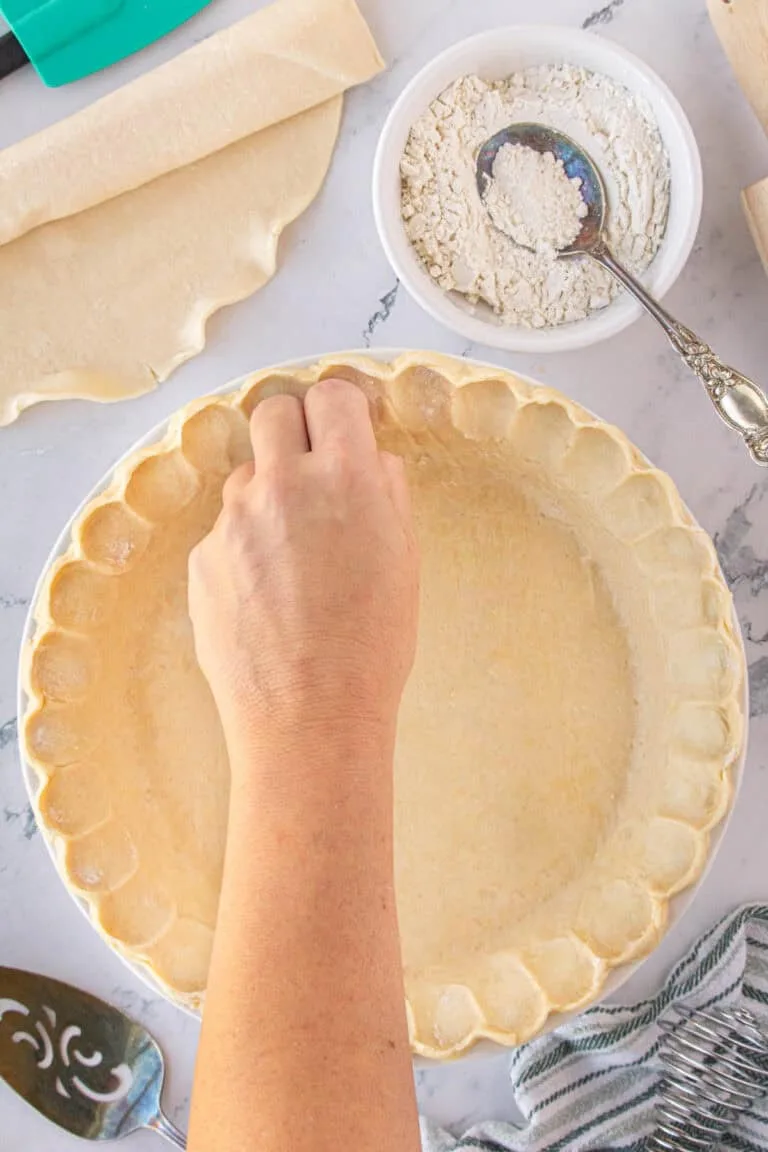
Image source: Bing (Web (fair-use with source credit))
Bread Dough Cues
Bread doughs require a bit more development, so you'll process them for longer than pastry doughs. The food processor helps initiate gluten development quickly.
- Appearance: The dough will typically form a ball that spins around the blade. It should look relatively smooth, and when you pull it away from the blade, it should stretch somewhat.
- Texture: A well-processed bread dough will feel slightly tacky but not overly sticky. When you gently poke it with a floured finger, the indentation should spring back slowly, indicating developed gluten. If it springs back immediately, it may need more processing. If it stays indented, you've likely over-processed it. Aggregate reviews of food processor dough cycles confirm that over-processing is the most frequent issue reported by home users.
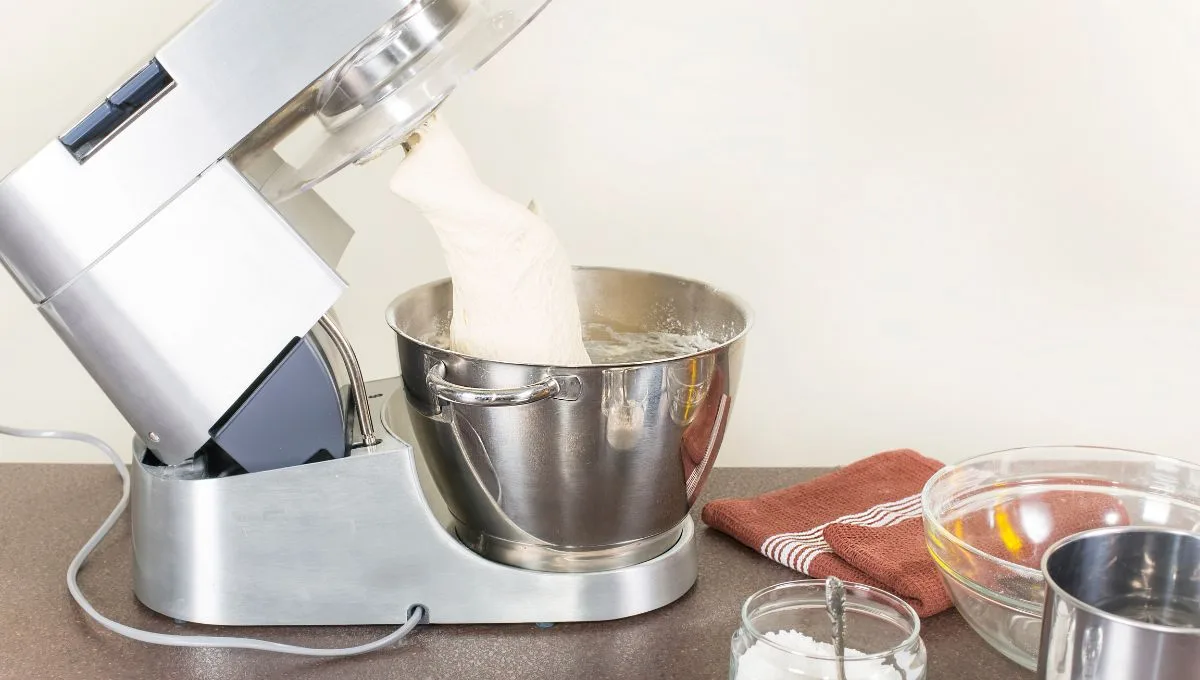
Image source: Bing (Web (fair-use with source credit))
What About Different Doughs?
The food processor is versatile, but its suitability depends on the dough type. For delicate pastries, it excels at cutting in cold fat, creating flaky layers quickly. Its speed is ideal for recipes where you want to minimize gluten development and keep ingredients cold.
For quick bread doughs or simple cookie doughs, it’s also a great tool. It efficiently combines dry and wet ingredients without the extensive kneading some recipes require. For instance, a reliable recipe for tender biscuits might involve as little as 10-15 pulses for the fat and then just a few more to bring the dough together.
However, for very wet doughs, like those for some artisanal breads, a stand mixer or hand-kneading might offer better control over the gluten structure.
The Upside and a Little Caution
Using a food processor for dough comes with clear advantages, but it's also wise to be aware of its limitations. Understanding these helps you decide when this method is your best bet.
Pros
- Speed: This is the primary advantage. Many doughs can be made in just a minute or two of processing time, significantly cutting down on preparation.
- Consistency: The rapid, even action of the blades ensures ingredients are mixed uniformly, leading to predictable results. This is especially helpful for uniform fat distribution in pastries.
- Less Mess: Most of the mixing happens within the sealed bowl, keeping flour dust and stray ingredients contained, which means less cleanup.
- Great for Pastry: Its ability to quickly cut cold butter into flour is unparalleled for creating flaky pie crusts and tender biscuits. If you're looking for a quick way to achieve a tender crumb, this method is hard to beat.
Cons
- Over-processing Risk: This is the biggest drawback. It's easy to go too far, especially with yeast doughs, which can overwork the gluten and make your baked goods tough or dense.
- Not for All Doughs: Very sticky or wet doughs might not process well, potentially gumming up the blade or overwhelming the motor. Doughs that require extensive, deliberate kneading might also be better suited to other methods.
- Size Limitations: Smaller food processors may not have the capacity to handle larger dough batches, potentially requiring you to split recipes. For instance, a 7-cup processor might struggle with a recipe calling for 4 cups of flour.
FAQs
How long does it take to make dough in a food processor?
Making dough in a food processor is very fast, often taking less than two minutes of active processing time. The exact duration depends on the recipe and your machine, but the goal is to stop once the dough just comes together.
Can I make bread dough in a food processor?
Yes, you can make many types of bread dough in a food processor. It's great for quickly combining ingredients and initiating gluten development. However, for doughs requiring extensive kneading, a stand mixer might offer more precise control over the gluten structure.
What kind of food processor is best for dough?
Most standard food processors with an S-shaped blade attachment can make dough. Look for a model with a strong motor and sufficient capacity for your typical batch sizes. Many processors offer specific dough blade attachments designed for this purpose.
How do I know if I’ve over-processed my dough?
Over-processed dough will often feel tough, sticky, and overly elastic. For pastries, this means it might become gummy rather than flaky. For bread, it can lead to a dense crumb.
If the dough looks like a smooth paste or feels very elastic and won't hold its shape, you've likely processed it too long.