How To Use A Clay Mitt: Easy Car Detailing Guide
A clay mitt removes bonded grime fast when used on a clean, wet surface with light pressure.
If you want smoother paint without spending all day claying by hand, learning how to use a clay mitt is one of the smartest detailing skills you can pick up. I’ve used clay mitts on daily drivers, well-kept garage cars, and neglected paint that felt gritty to the touch, and the difference is always obvious once the surface is clean and slick again.

What a clay mitt is and why it works
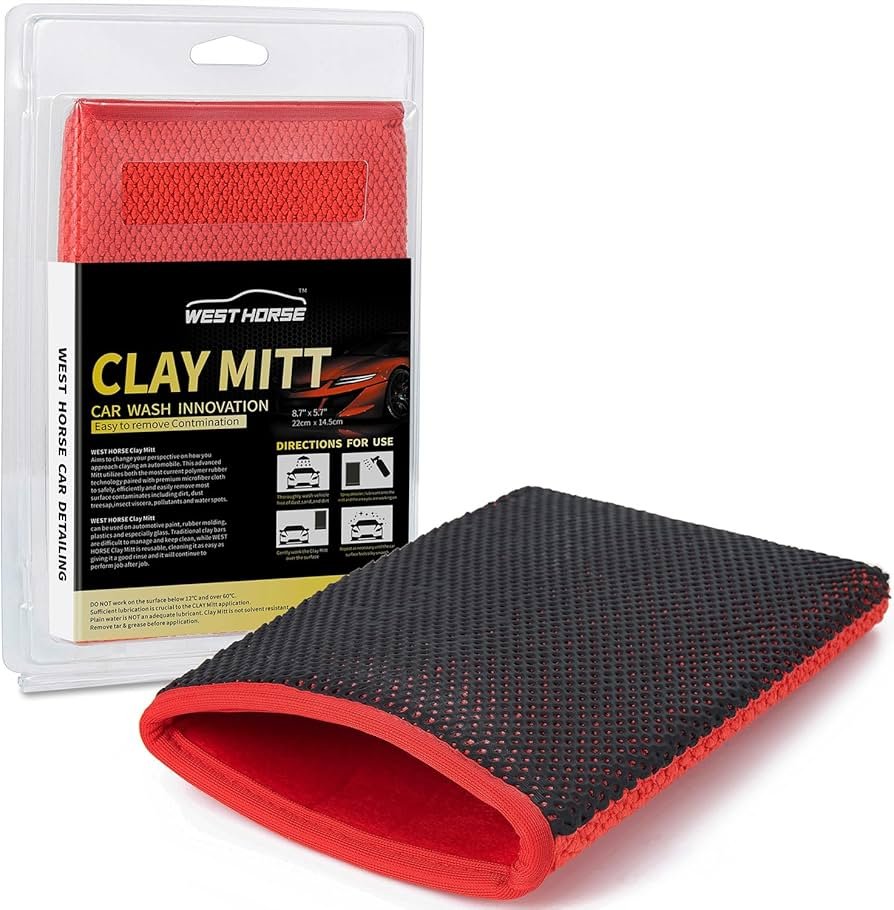
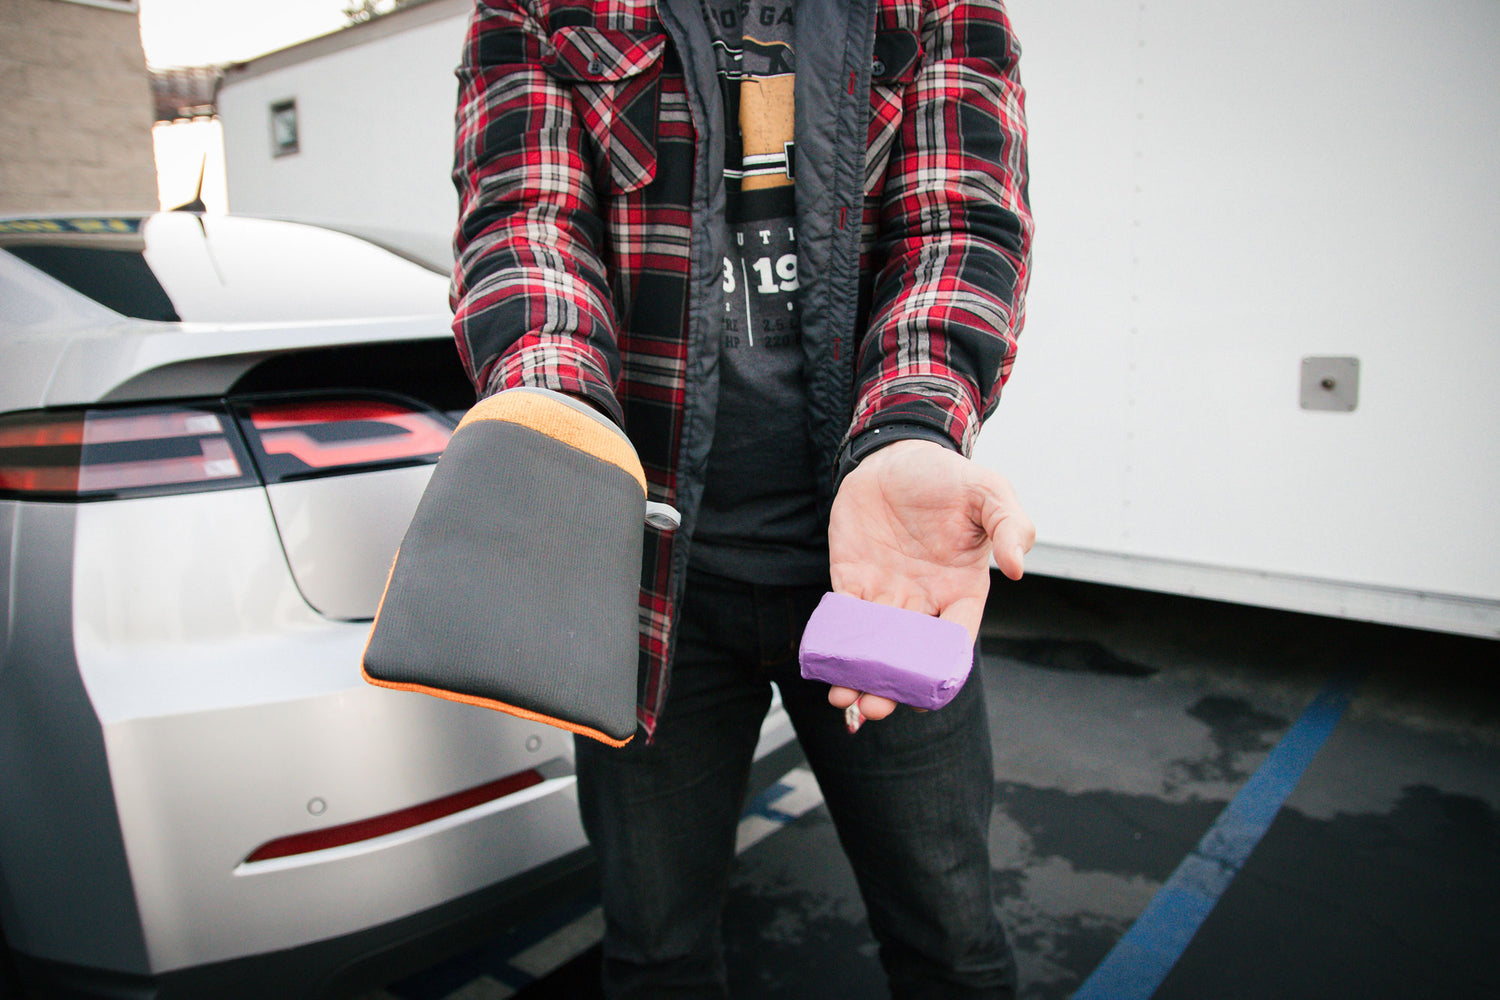
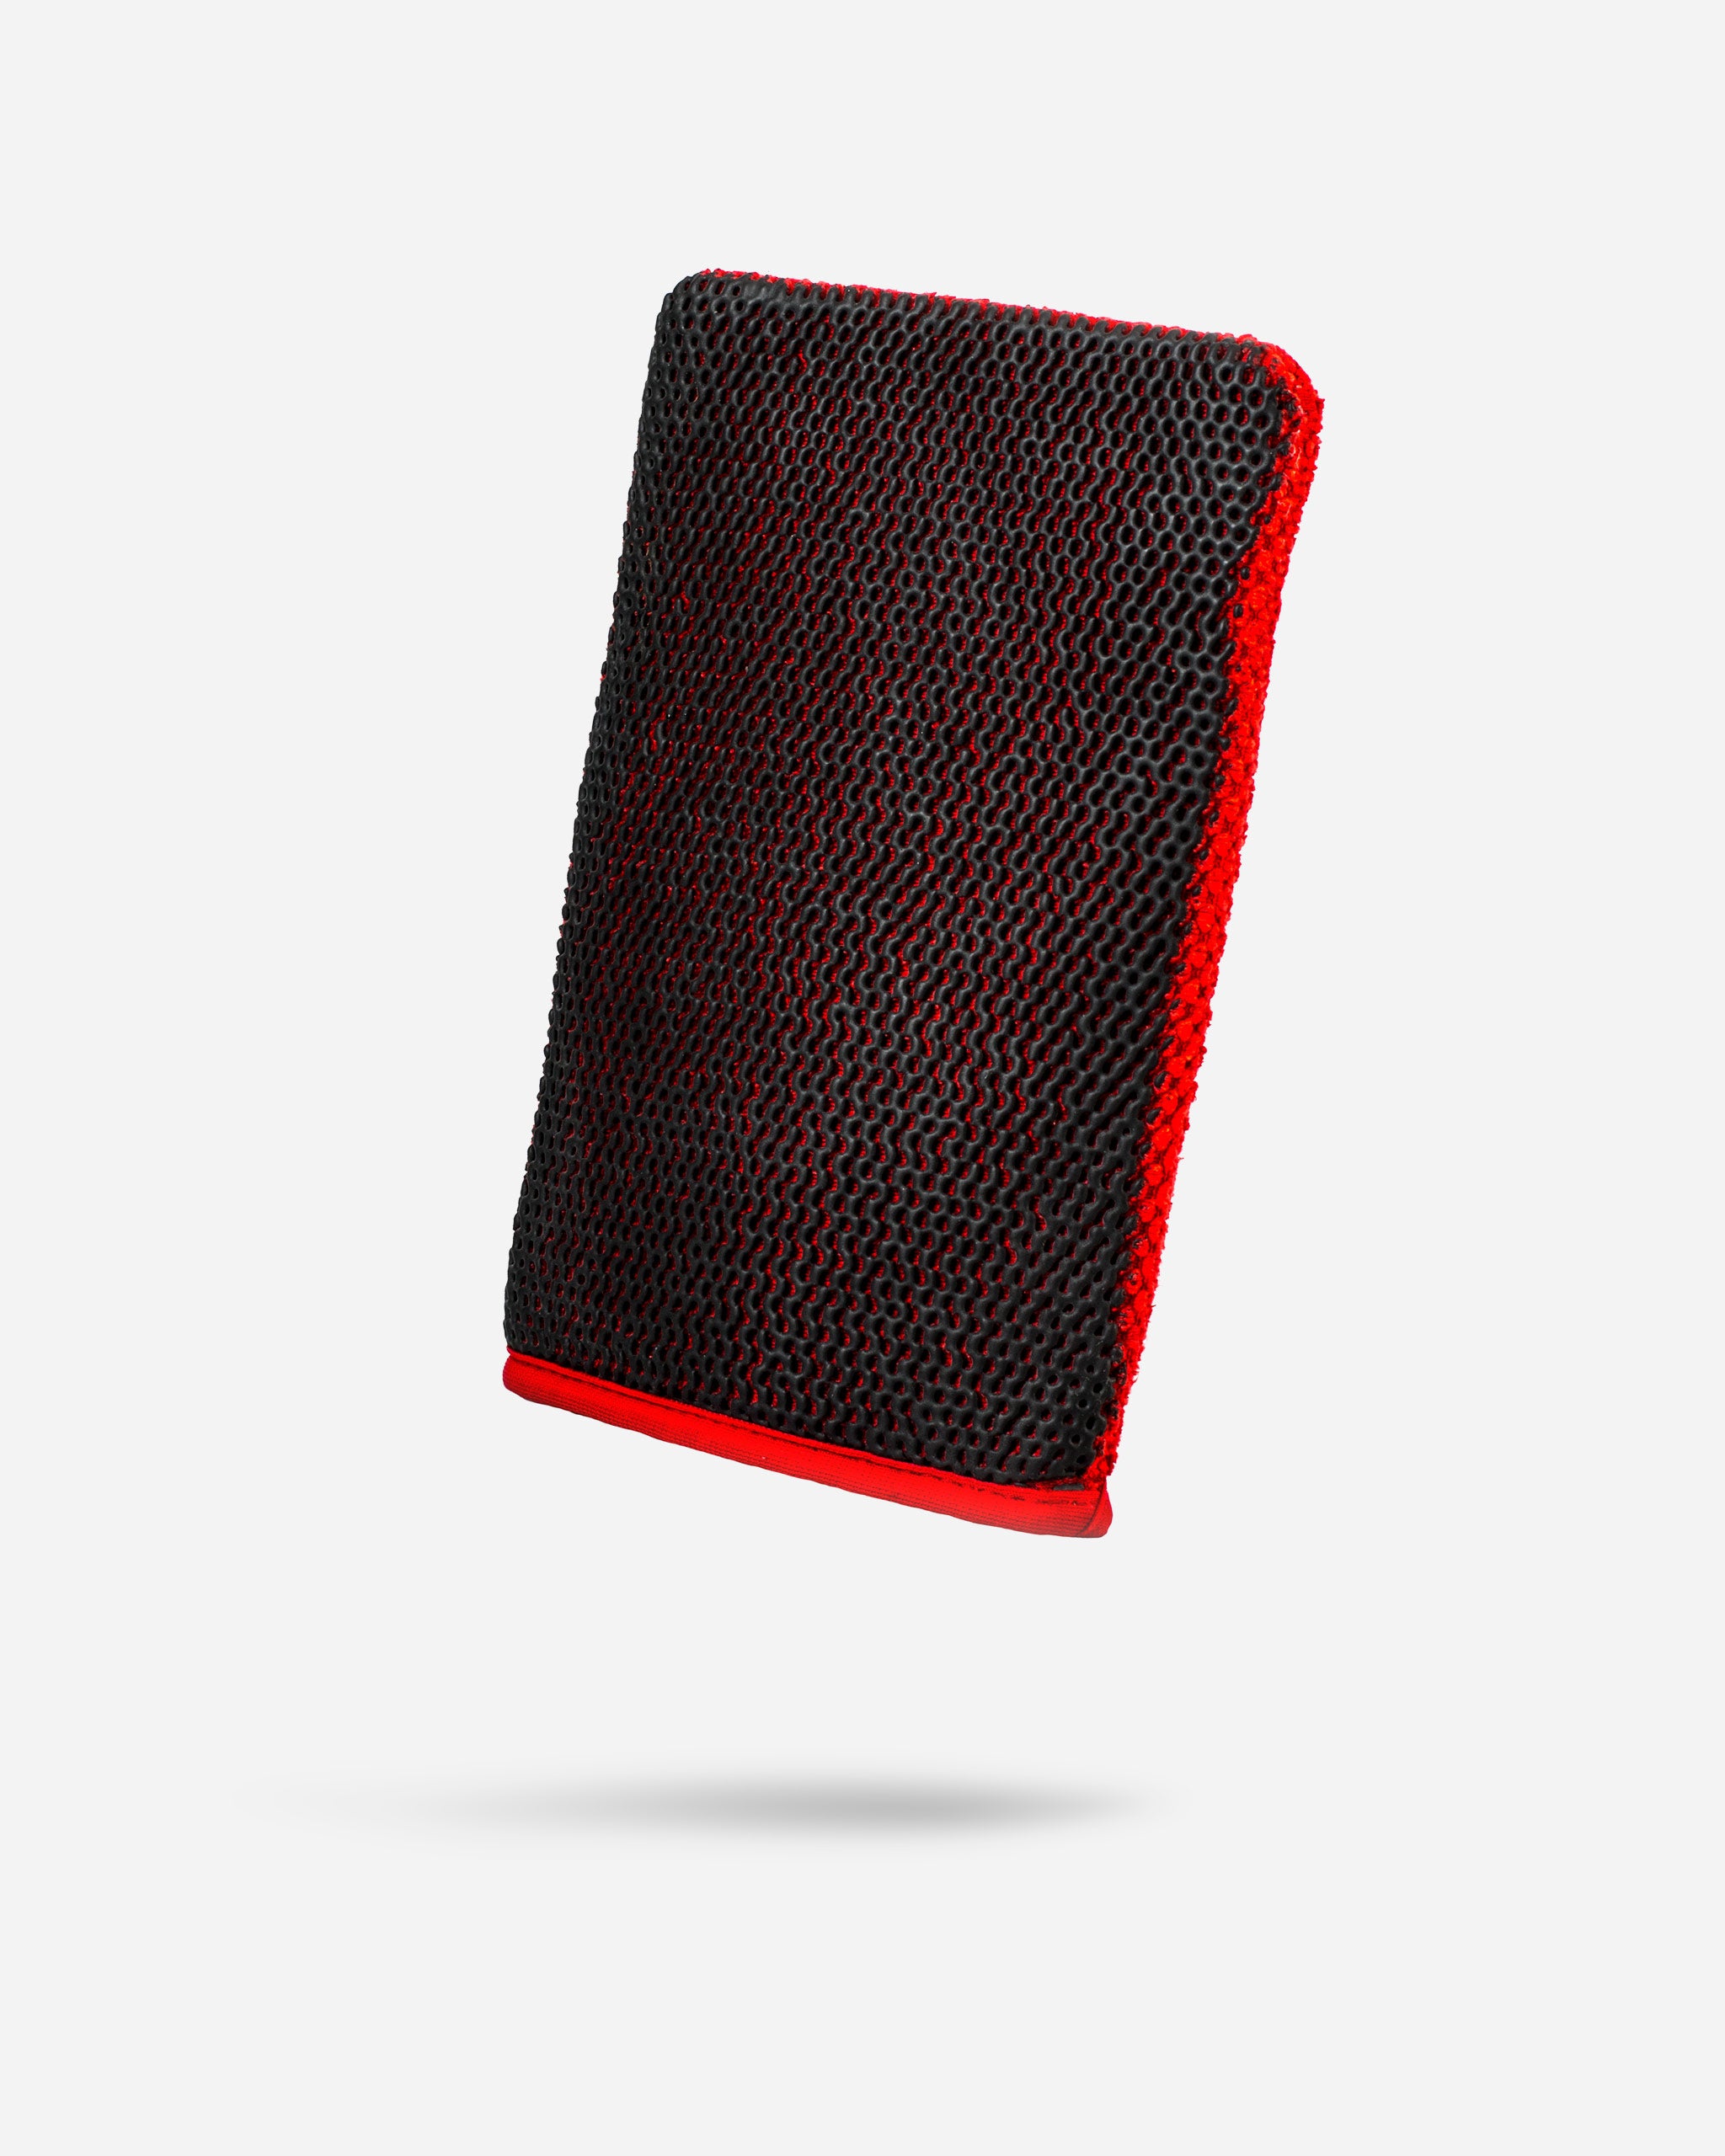
A clay mitt is a detailing tool with a polymer or synthetic surface that grabs bonded contamination from paint. It helps remove things a normal wash cannot, like road film, brake dust, rail dust, tree sap mist, and industrial fallout.
Think of it like a gentle texture sponge for your paint. Instead of digging into the surface, it glides across a lubricated panel and lifts tiny contaminants that sit on top of the clear coat.
Clay mitts are popular because they are faster and easier to handle than traditional clay bars. They also cover more area with less hand fatigue, which makes them a strong choice for regular maintenance.
How to use a clay mitt step by step
Using a clay mitt is simple, but the details matter. The goal is not to scrub the paint. The goal is to let the mitt do the work while you keep the surface well lubricated.
-
Wash the vehicle first
Start with a full hand wash to remove loose dirt and grit. A clay mitt is for bonded contamination, not heavy mud or sand, so skipping the wash can drag debris across the paint.
-
Pick a cool, shaded area
Work on cool panels out of direct sun. Heat dries lubricant too fast and makes the mitt less smooth on the paint.
-
Wet the panel well
Spray a clay lubricant, detailing spray, or a car soap mix approved for claying on one small section at a time. The surface should feel slick, not dry.
-
Glide the clay mitt lightly
Use very light pressure and move in straight lines. You should feel the mitt start smooth, then become more glide-like as the contamination is removed.
-
Check the mitt often
Rinse the mitt in clean water as you work. If you see dirt on the surface, stop and clean it before continuing so you do not scratch the paint.
-
Wipe the panel dry
After each section, wipe away leftover lubricant with a clean microfiber towel. Then inspect the paint by touch and under good light.
-
Repeat panel by panel
Move around the car one section at a time. Roof, hood, doors, and trunk usually need the most attention, especially on older vehicles or cars parked outdoors.
From experience, the biggest mistake people make is pressing too hard. If you feel like you need force, you are probably not using enough lubricant or you are working too large of a section.
 preparation before using a clay mitt”
style=”max-width: 100%; height: auto; border: 2px solid black; border-radius: 10px; display: block; margin: 0 auto;”
loading=”lazy”
/>
Best preparation before using a clay mitt
Good prep makes the whole job safer and easier. A clay mitt works best when the paint is already free of loose dirt, road salt, and heavy film.
Here is the prep routine I recommend:
- Wash thoroughly with a pH-balanced car shampoo
- Rinse well so no soap residue stays behind
- Dry lightly or leave the panel damp if your lubricant supports it
- Inspect the paint for heavy tar spots, sap, or bug stains
- Remove stubborn contaminants first if needed
If the car has visible tar or heavy fallout, deal with that before claying. A clay mitt can help, but it is not always the best first tool for extreme contamination.
Choosing the right lubricant
Lubrication is what keeps the clay mitt safe and smooth. Without it, the mitt can grab the paint and create marring.
You can use:
- A dedicated clay lubricant
- A high-slip detailing spray
- A diluted rinse-safe car soap mix, if the mitt maker allows it
The best lubricant is the one that stays slick long enough for the panel you are working on. I have found that a product with good glide makes the mitt feel almost like it is floating over the paint.
Avoid using plain water alone unless the product instructions specifically allow it. Water can help, but it usually does not give enough slip for the safest results.
How to know when the paint is clean
The easiest test is the touch test. After claying and wiping the panel, gently slide your hand inside a clean plastic sandwich bag over the paint. If the surface still feels rough, there is more contamination to remove.
A clean panel should feel smooth and almost glass-like. You may also notice better shine, easier drying, and less drag when wiping with a microfiber towel.
I still remember the first time I used a clay mitt on a dark sedan that looked clean but felt like fine sandpaper. After claying, the owner thought I had polished the car. Really, it was just the paint finally being free of bonded grime.
Mistakes to avoid when using a clay mitt
A clay mitt is easy to use, but a few mistakes can ruin the result.
- Using too much pressure can mar the paint
- Working on a dry panel can cause dragging
- Dropping the mitt can contaminate it
- Skipping the wash can trap grit under the mitt
- Using a dirty mitt on multiple panels can spread contamination
One lesson I learned early is that slower is safer. When I rushed on a black car, I left light haze that needed a quick polish afterward. Since then, I treat claying like a calm walk, not a race.
How often should you use a clay mitt
Most cars do not need a clay mitt every week. For many daily drivers, once or twice a year is enough. Cars parked outdoors, driven in harsh weather, or exposed to industrial areas may need it more often.
A simple rule:
- Light contamination: every 6 to 12 months
- Moderate contamination: every 4 to 6 months
- Heavy exposure: inspect as needed and clay only when the paint feels rough
Do not overdo it. Claying removes bonded debris, but repeated unnecessary claying can add wear over time, especially if the surface is not properly lubricated.
Benefits of using a clay mitt
A clay mitt gives you several real-world advantages.
- Faster than traditional clay bars
- Easier to grip and control
- Covers larger areas quickly
- Good for regular maintenance
- Helps restore a smoother finish
- Improves wax, sealant, or ceramic coating bonding
That last point matters a lot. Once the paint is clean, protection products usually spread more evenly and last better. It is like painting on a clean wall instead of one covered in dust.
Limits of a clay mitt
A clay mitt is useful, but it is not magic. It will not remove deep scratches, swirl marks, oxidation, or water spots that have etched into the clear coat.
It also has limits on very rough contamination. In some cases, a traditional clay bar, iron remover, tar remover, or paint correction step may still be needed.
This is why I always tell people to think of claying as surface cleanup, not paint repair. It prepares the finish for protection, but it does not fix defects.
When to use a clay mitt instead of a clay bar
Choose a clay mitt when you want speed, easy handling, and less mess. It is especially good for larger vehicles, routine detailing, and beginners who want a simpler tool.
A clay bar may still be better when:
- You need more precision on tight areas
- You are working on delicate spots
- The contamination is very light and localized
- You want a traditional method with more tactile feedback
For most owners, though, a clay mitt is the more practical everyday choice.
Aftercare: what to do after claying
Once the paint is clayed, protect it. Bare clean paint is more vulnerable to new contamination and water spotting.
Good next steps include:
- Applying a wax for short-term protection
- Using a paint sealant for longer durability
- Adding a ceramic spray coating for easier upkeep
- Wiping down the surface with a clean microfiber towel
This is the moment when the car really starts to pop. The finish feels smoother, reflections sharpen, and washing becomes easier later on.
Frequently Asked Questions of How to use a clay mitt
How do you use a clay mitt on a car?
Wash the car first, then spray one small panel with clay lubricant. Glide the clay mitt lightly over the wet surface until it feels smooth, then wipe the area dry with a microfiber towel.
Can a clay mitt scratch paint?
Yes, it can if you use too much pressure, work on a dirty surface, or let the mitt pick up grit. Used correctly with plenty of lubrication, a clay mitt is designed to be safe on most clear coats.
Do you need to wash a car after using a clay mitt?
No full wash is usually needed if the car was already washed before claying. You should wipe away residue and then apply protection, such as wax, sealant, or a ceramic spray.
How often should I replace a clay mitt?
Replace it when the surface becomes worn, damaged, or no longer cleans well. If the mitt is still in good shape and the material can be rinsed clean, it can often be used many times.
Can you use a clay mitt with just water?
Some products may allow it, but most work better with a proper lubricant. Water alone usually does not provide enough slip for the safest and smoothest results.
Conclusion
A clay mitt is one of the easiest ways to make paint feel smooth again without spending hours on the job. When you wash first, use plenty of lubricant, work in small sections, and stay gentle, the results can be impressive even on an older car.
If you remember one thing, make it this: let the mitt glide, do not force it. Take your time, protect the finish after claying, and you will get better results with less risk every time. If this guide helped, explore more car care tips and leave a comment with your own clay mitt experience.