How to Clean a Pour Over Coffee Maker
When it comes to brewing the perfect cup of pour-over coffee, cleanliness is absolutely key. Forgetting to clean your pour over coffee maker can quickly turn your delicious morning ritual into a bitter disappointment, all thanks to old coffee oils and mineral buildup. Proper maintenance not only ensures a superior taste but also extends the life of your brewing equipment.
Manufacturer specifications for most pour-over brewing devices, like the popular ceramic drippers and glass carafes, often highlight the importance of regular cleaning. A thorough rinse after each use, coupled with a deeper clean weekly, keeps things from getting grimy. Let's dive into how to keep your pour-over setup in top shape.
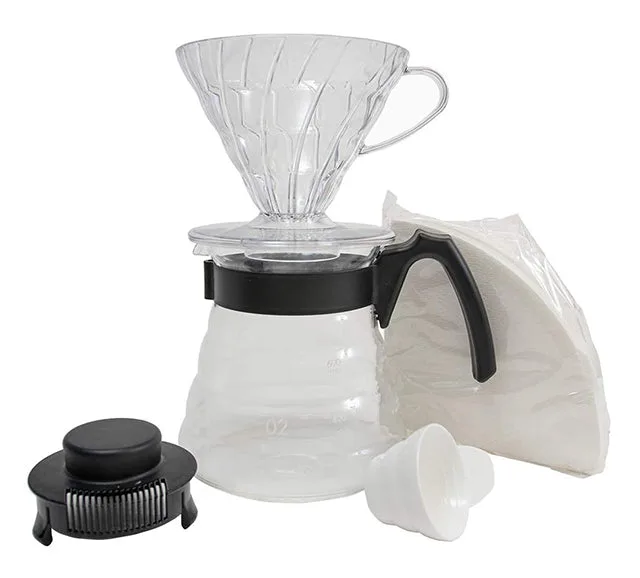
Image source: Bing (Web (fair-use with source credit))
Quick Answer
To clean a pour over coffee maker, rinse all parts immediately after brewing. Weekly, scrub the carafe and filter holder with soap and a soft brush. Monthly, descale by soaking in a food-grade solution like citric acid to remove mineral buildup.
Ensure all components are dried thoroughly to prevent mold.
Why Visuals Matter for a Sparkling Pour Over Brewer
When we talk about cleaning, it’s easy to just list steps. But with a pour-over coffee maker, what things look like at each stage is a huge clue to whether you’re doing it right. We’re talking about the subtle sheen of coffee oils on glass, the clear absence of dust in tiny crevices, or the pure, unobstructed flow through a clean filter holder.
Without seeing these visual cues, you might think something is clean when it’s actually harboring residue that’ll mess with your coffee’s taste. For instance, a cloudy film inside your carafe might look clean enough, but it's likely a sign that coffee oils are still clinging on. Understanding these visual indicators is as important as following the actual cleaning steps, ensuring a truly hygienic and delicious brew.
Your Pour Over Cleaning Toolkit: What You'll Need
To tackle this job effectively, you’ll need a few key items. Think of this as your go-to list for keeping your pour-over brewing setup pristine. Having the right tools makes the job quicker and more thorough, preventing any lingering coffee gunk from impacting future brews.
Here’s what’s generally recommended:
- Mild dish soap: Gentle enough for everyday use, but tough on coffee oils.
- Soft-bristled brush: A dedicated cleaning brush, often with a long handle, is essential for reaching into the depths of your coffee carafe and around the filter holder.
- Non-abrasive sponge or cloth: For wiping down the exterior and larger surfaces without scratching.
- Paper towels or a clean drying cloth: For getting everything completely dry.
- Food-grade descaling solution: This could be a specialized product or a simple solution like citric acid or white vinegar, depending on your preference and water hardness. For instance, a 1:1 solution of white vinegar and water is a common recommendation from manufacturers.
- Warm water: Your primary rinsing agent.

Image source: Bing (Web (fair-use with source credit))
Daily Rinser: Keeping Things Fresh After Every Brew
This is the most important habit you can build. Right after you’ve finished your coffee and enjoyed that last sip, give your pour-over brewer a quick rinse. Don’t let the coffee grounds sit in the filter holder, and definitely don't let that carafe sit with residual coffee in it.
This simple step prevents grounds from drying and sticking, and it washes away most of the fresh coffee oils before they have a chance to create a stubborn film.
Think of it as damage control. It takes maybe 30 seconds to a minute. Just run hot water through the filter holder, discard the used filter and grounds, and then give the carafe a quick swish.
If you’re using a ceramic or metal filter, give it a rinse too.
Visual Cues: What "Clean" Looks Like
After your daily rinse, the parts should look clear and free of any visible residue.
- Carafe: Should look clear, with no brownish film or cloudiness clinging to the inside walls.
- Filter Holder: Should be free of any stuck-on coffee grounds. You should be able to see through the holes where the coffee drips.
- Filter: If using a metal filter, it should look shiny and free of dark spots or clogs.
If you notice any of these things still present after a rinse, you might need to give it a little more attention with a brush.
Weekly Deep Dive: Tackling Coffee Oils and Residue
Once a week, it’s time to go a bit deeper than a simple rinse. This is where you really tackle those coffee oils that can build up over time, dulling your equipment and, more importantly, affecting the taste of your coffee. These oils are essentially what make coffee taste rich, but left unattended, they go rancid and impart bitter, stale flavors.
We're talking about a full wash-down for all the removable parts.
Disassemble your brewer as much as possible. For most pour-over systems, this means separating the filter holder from the carafe. Use warm water, a few drops of mild dish soap, and your soft-bristled brush to scrub the inside of the carafe.
Pay special attention to the neck and the base of the handle, where oils tend to accumulate. For the filter holder, a small brush can get into the nooks and crannies. Don't forget to wash the exterior too.
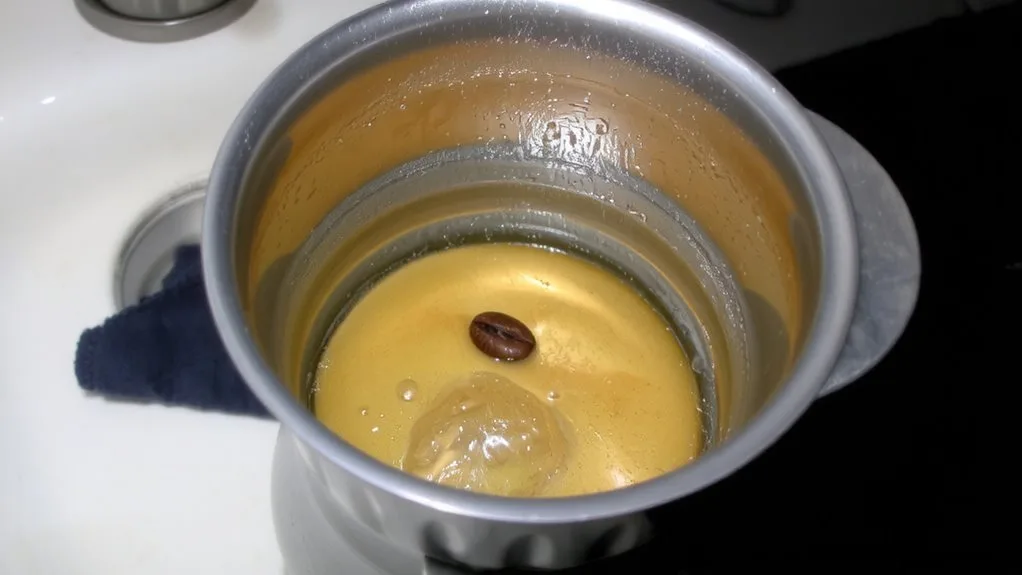
Image source: Bing (Web (fair-use with source credit))
Visual Cues: Identifying Buildup
During your weekly clean, look for these signs that indicate it’s time for a scrub:
- Oily Sheen: The inside of the carafe might have a faint, iridescent sheen when you hold it up to the light. This is the tell-tale sign of coffee oil residue.
- Dark Stains: Persistent dark brown stains on the glass or ceramic that a simple rinse doesn't remove are coffee oil deposits.
- Faint Odor: Sometimes, you might detect a slightly stale or "off" smell coming from the brewer, even after rinsing. This is often due to rancid coffee oils.
- Clogged Filter Holder: If grounds seem to stick more readily, or if the drainage holes look less clear than usual, it's time for a good scrub.
If you see any of these, grab your brush and soap.
Monthly Descaling: Battling Mineral Deposits from Water
Hard water is a sneaky culprit that can affect not only your coffee maker but also the taste of your coffee. Over time, minerals like calcium and magnesium from your tap water can deposit themselves inside your brewer, creating a chalky buildup. This mineral scale can clog tiny holes, affect water flow, and even impart a metallic or chalky taste to your brew.
Manufacturer specifications, such as those from Hario, often recommend descaling pour-over devices at least monthly if you have hard water.
To descale, you'll typically use a food-grade solution. A common and effective method is to use a 1:1 solution of white vinegar and water, or a dedicated food-grade citric acid solution. Fill your carafe with this solution, let it sit for about 30 minutes to an hour to dissolve the minerals, then scrub gently with your brush.
For really stubborn buildup in the filter holder, you might soak it in the solution as well.
After soaking and scrubbing, it’s crucial to rinse everything thoroughly. You don't want any vinegar or descaling solution left behind to taint your coffee. Run hot water through the entire system several times.
Visual Cues: Spotting Scale
Identifying mineral buildup before it becomes a major issue is key. Look for:
- White or Chalky Residue: This is the most obvious sign. You might see it inside the carafe, around the spout, or in the filter holder.
- Cloudiness: Instead of a clear carafe, you might notice a general cloudiness that doesn't wipe away easily.
- Slow Draining: If your coffee starts to drip noticeably slower than it used to, mineral deposits might be clogging the filter holder.
- Pitting or Stains: In extreme cases, mineral deposits can etch or stain certain materials.
If you spot any of these, it's definitely time to get descaling.
Expert Tips for a Spotless Brew Every Time
Beyond the daily rinse and weekly scrub, there are a few extra steps and habits that can really elevate your pour-over cleaning game. These are the little things that experienced baristas and home brewers swear by to keep their equipment in prime condition, ensuring consistently great coffee. One pro tip is to always air dry your components completely before reassembling or storing them.
Moisture is the enemy, encouraging mold and bacteria.
Consider the materials of your brewer. Glass carafes are prone to chipping if handled roughly, so be gentle. Ceramic can absorb odors if left to sit with strong-smelling liquids for too long, making that weekly wash even more critical.
For metal filters, ensure they are completely dry to prevent rust. Always check manufacturer guidance, as some high-end brewers might have specific care instructions; for example, some porcelain drippers might recommend against harsh scrubbing.
Here are a few more tips to keep in mind:
- Use dedicated tools: Avoid using the same sponge you use for dishes, as it might transfer food odors or residues. A separate brush and cloth for your coffee gear is best.
- Don't forget the spout: The spout of your carafe can be a hidden spot for residue. Use a smaller brush or even a straw cleaner to get into this area.
- Clean your kettle too: If you use a gooseneck kettle for your pour-over, descale it regularly following similar principles as your brewer. Mineral buildup in the kettle can also affect water taste and flow.
- Rinse filter papers: Before you put a paper filter in your dripper, give it a quick rinse with hot water. This removes any papery taste and preheats your brewing vessel.
Frequently Asked Questions About Pour Over Cleaning
How often should I really clean my pour-over coffee maker?
Our research indicates that a quick rinse after every single use is essential. Then, aim for a thorough wash with soap and water at least once a week. Descaling, which removes mineral buildup, should be done monthly, or more often if you have particularly hard water.
Can I just put my pour-over parts in the dishwasher?
Many glass carafes and some plastic filter holders are dishwasher-safe, but it's always best to check your manufacturer's instructions. High heat and harsh detergents can sometimes damage delicate materials like ceramic or metal finishes. Handwashing is generally recommended to preserve the brewer's integrity and prevent micro-scratches that can harbor bacteria.
What's the best way to remove stubborn coffee stains from my glass carafe?
For tough stains, try making a paste of baking soda and water. Apply it to the stained areas and let it sit for about 15-30 minutes before gently scrubbing with a soft sponge or cloth. Alternatively, a soak with a food-grade descaling solution, like the citric acid method mentioned earlier, can often lift these residues.
Ensure you rinse thoroughly afterward.
How do I know if my pour-over brewer needs descaling?
Signs that your brewer needs descaling include a chalky white residue appearing inside the carafe or filter holder, a cloudy appearance to the glass, or a noticeable slowing of your coffee's drip rate. If your tap water is particularly hard, you may need to descale more frequently than the recommended monthly schedule.
Is it okay to leave my pour-over brewer to air dry overnight?
Yes, leaving your pour-over brewer components to air dry completely is a great practice. Just make sure they are placed in a well-ventilated area where they won't collect dust. Ensuring all parts are fully dry before storing them away helps prevent mold and mildew growth, which can affect both hygiene and taste.