Why Is My Exercise Bike Pedal Making Noise
Why is my exercise bike pedal making noise? If you've been chasing a click, creak, or squeak that only shows up when you're pedaling, you're not alone. It's one of the most common complaints we hear from home cyclists, and the good news is that most causes are easy to fix yourself in under 15 minutes.
The noise usually comes from one of four places: a loose pedal, a worn bearing, a bent spindle, or a dirty cleat. As of 2026, the vast majority of exercise bikes use a standard 9/16" x 20 tpi pedal thread. That means the same troubleshooting logic applies to nearly every bike on the market.
Let's walk through it step by step so you can stop guessing and start riding quietly again.
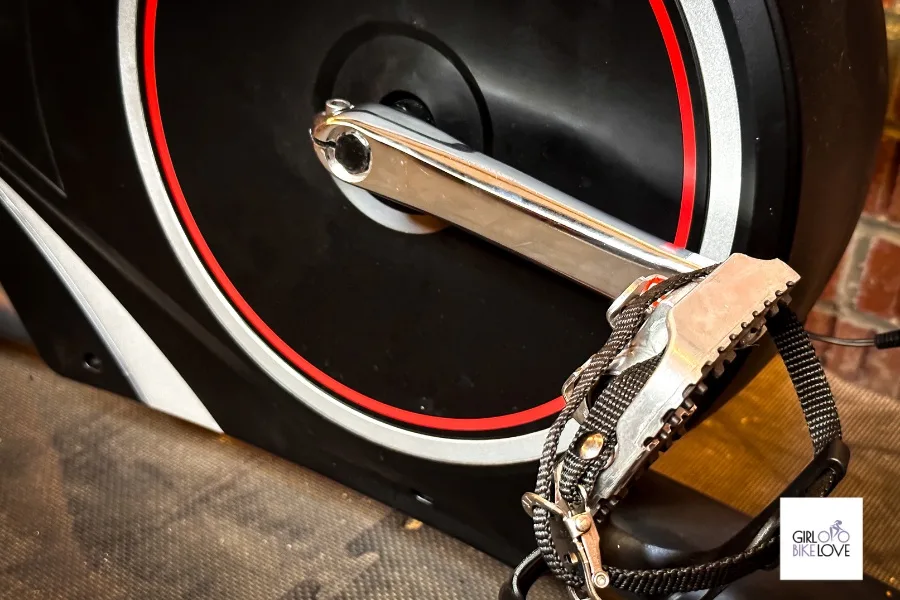
Image source: Bing (Web (fair-use with source credit))
Start Here: Isolate the Noise Before Touching a Wrench
The fastest way to find the source of the noise is to narrow down where it comes from. Listening carefully and testing the bike under different conditions can tell you almost everything you need to know before you pick up a tool.
Does the noise happen with every revolution?
- Once per pedal revolution: The noise is likely at the pedal, the crank arm, or the bottom bracket.
- Once every two revolutions: That points to the crank arm or bottom bracket, not the pedal itself.
- Only when you stand up or push hard: The noise is load-related. This often points to a loose crank arm or bottom bracket issue.
- Only when you pedal backward: The chainring or freewheel could be the culprit. On a spin bike, it's often a dry or dirty pedal bearing.
Does the noise change with cadence?
If the click speeds up when you pedal faster, it's tied to rotation. If it stays the same at any cadence, you might be dealing with a seat, handlebar, or frame issue instead. Don't assume it's the pedal just because that's where you hear it.
A quick visual check helps too. Look at the pedal where it meets the crank arm. Any visible gap, rust, or fresh metal shavings are red flags.
Wobble the pedal with your hand. If it moves side to side or up and down, you've found your problem.
While you're down there, give the whole bike a quick once-over. Dust and grime hide loose bolts. That same dust-and-grime routine that keeps a rowing machine rolling smoothly works here too.
Quick Answer
Your exercise bike pedal makes noise because something is loose, worn, or contaminated. The most common causes are a loose pedal, dry pedal bearings, or dirty cleats. Tighten the pedals first, then inspect the spindle and bottom bracket.
Most fixes take under 15 minutes and cost nothing.
The Pedal Noise Decision Tree: Where's the Click Coming From?
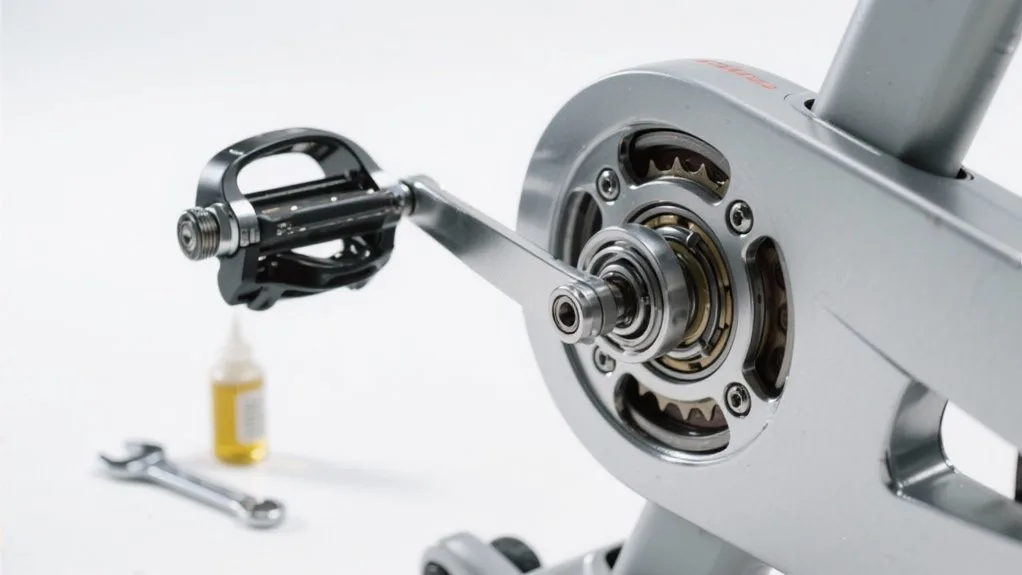
Image source: Bing (Web (fair-use with source credit))
Here's a simple decision framework to diagnose pedal noise on any stationary bike. Match your symptom to the branch below.
Click only when you push down on one side
The click happens when you apply force to the pedal stroke. Check the pedal-to-crank connection first. Nine times out of ten, the pedal has worked itself loose.
This is especially common on bikes that see heavy use or get moved between rooms. Tighten it with a 15mm pedal wrench and the noise usually disappears.
Clicking that happens constantly while pedaling
The noise is there even at low resistance. Suspect the pedal bearings or spindle. When bearings dry out, they grind.
When the spindle bends, it clicks with every rotation. Both issues require either a bearing rebuild or a full pedal replacement.
Clicking only when you wear cycling shoes
The noise disappears in sneakers but comes back with clip-in shoes. That's your cleats. The plate that locks into the pedal develops play over time.
A little grease on the contact points or a tension adjustment usually silences it.
Creaking that sounds deep, not sharp
A deep creak that feels like it comes from below you is often the bottom bracket. The noise travels up the frame and sounds like it's at the pedal when it's actually at the crank assembly. If you've tightened the pedals and checked the cleats, a bottom bracket inspection is next.
Use this table as a quick reference before disassembling anything:
| Symptom | Likely Cause | Fix Difficulty |
|---|---|---|
| Click when pushing down | Loose pedal | Easy |
| Grinding at any resistance | Worn pedal bearings | Moderate |
| Click only with cycling shoes | Cleat wear | Easy |
| Deep creak under load | Bottom bracket | Advanced |
How to Tighten a Loose Pedal the Right Way (Threads, Torque, and Direction)
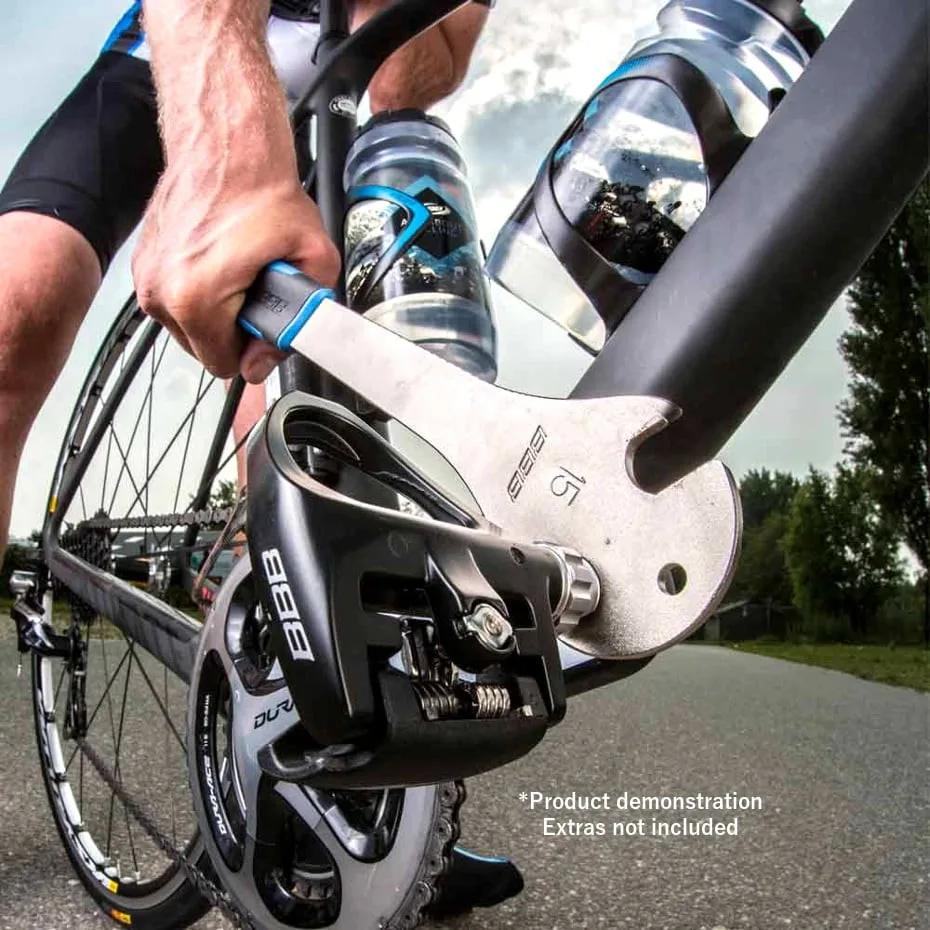
Image source: Bing (Web (fair-use with source credit))
If the decision tree points to a loose pedal, the fix is simple. But you have to do it correctly, or you risk damaging the crank arm threads.
Step 1: Find the right side
- Right pedal: Right-hand threads. Tighten clockwise.
- Left pedal: Left-hand threads. Tighten counterclockwise.
This is the most common mistake we see. The left pedal is reverse-threaded on purpose so it doesn't unscrew while you ride. If you try to tighten the left pedal like a normal bolt, you'll actually loosen it further.
Step 2: Use the correct tool
You need a 15mm pedal wrench or a 15mm socket on a torque wrench. A regular adjustable wrench can slip and round off the flats. If you use a socket, extensions help when the crank arm is in a tight position.
Step 3: Apply the right torque
Manufacturer specifications vary, but most exercise bikes call for 30 to 35 ft-lb of torque on the pedal spindle. That's firm enough to prevent movement without risking damage. If you don't have a torque wrench, tighten until the pedal is snug, then give it another quarter turn.
Step 4: Check for thread condition first
Before you crank down, inspect the threads on both the pedal spindle and the crank arm. If they're damaged or full of debris, clean them first with a wire brush. Applying a small amount of grease to the pedal threads helps future removal and prevents corrosion.
This is basic routine upkeep. The same regular maintenance that keeps a rower gliding smoothly will keep your pedals turning quietly for years.
If the pedal still feels loose after tightening, don't ride it. A loose pedal can strip the crank arm in a single hard session.
Worn Pedal Bearings or Bent Spindle: When to Rebuild vs. Replace
A pedal that clicks even when fully tightened usually has internal damage. The two usual suspects are the bearings that let the pedal spin freely and the spindle that connects it to the crank arm.
How to test for bearing wear
Grab the pedal body with one hand and hold the crank arm still with the other. Try to move the pedal side to side. A small amount of play, 1 to 2mm, is normal.
Anything more means the bearings are worn. Then spin the pedal slowly. It should turn smoothly without catching, grinding, or producing a gritty sound.
How to test for a bent spindle
If the pedal rocks unevenly as it spins, the spindle is likely bent. This usually happens after a hard impact or if the bike tips over. A bent spindle cannot be straightened safely.
It must be replaced.
Rebuild vs. replace
- Rebuild the bearings: Best if you have high-end pedals with sealed cartridge bearings. You'll need the right bearing size, grease, and a few small tools. Worth the effort only on expensive pedals.
- Replace the pedals: Best for most riders. Replacement pedals cost anywhere from $15 to $100 for quality options. Platform pedals are cheaper, while SPD-compatible options run a bit more.
Here's the cost picture:
| Option | Cost | Time | Tools Needed |
|---|---|---|---|
| Rebuild bearings | $10–$20 | 1–2 hours | Bearing extractor, grease |
| Replace with platform pedals | $15–$40 | 10 minutes | 15mm wrench |
| Replace with clipless pedals | $50–$200 | 10 minutes | 15mm wrench |
If your pedals are more than three years old and saw regular use, replacing them is usually the smarter call. The cost difference isn't huge, and brand-new pedals give you fresh bearings and better reliability. Catching a small issue before it becomes a bigger repair is the same reason we tell rowing owners to follow a maintenance schedule before something fails.
Clipless Pedals and Cleats: The Sneaky Creak You Might Be Missing
If you ride with cycling shoes, the noise might not be the pedal at all. The cleat on the bottom of your shoe is a moving part, and it wears out faster than most people expect.
The SPD vs. Look distinction
- SPD-style cleats are small, two-hole mounts that recess into the shoe. They're common on spin bikes and hybrid pedals.
- Look Delta cleats are larger, three-hole designs. They're standard on many stationary bikes, including popular home models.
Both systems have retention springs that hold the cleat. When those springs get dirty or dry, they make a clicking sound every time you shift weight on the pedal.
How to fix a cleat squeak
- Remove the shoes and inspect the cleat screws. Loose cleat screws are a top cause of noise that sounds like it's coming from the pedal.
- Clean the cleat surfaces. Dust, sweat, and grime build up on the metal contact points.
- Apply a light grease to the spring and contact areas. A small amount goes a long way.
- Adjust the pedal tension. Most pedals have a small screw that controls how tightly the cleat locks in. A loose setting creates play; a tighter setting often eliminates it.
Quick visual check
Look at the cleat's contact edges. If they look rounded, shiny, or worn flat on one side, it's time for a new pair. Cleats are cheaper than pedals, and replacing them fixes the noise most people misdiagnose as a pedal issue.
If you've cleaned everything and the noise still shows up only when clipped in, try riding in flat shoes for a day. That confirms the cleat system is the source, not the pedal internals.
Pedal Noise Mistakes to Avoid (Stop Wasting Time on the Wrong Fix)
Mistake #1: Tightening the left pedal clockwise. It's reverse-threaded. You'll strip it. Or worse, you'll crack the crank arm.
Mistake #2: Using an adjustable wrench. It slips and rounds off the flats. Once that happens, a pedal wrench won't grip properly anymore. You'll end up replacing the crank arm, not just the pedal.
Mistake #3: Blasting WD-40 everywhere. WD-40 is a solvent, not a lubricant. It washes out the grease inside the bearings. The noise gets worse a week later, and the bearings run dry.
Mistake #4: Misdiagnosing the bottom bracket as a pedal issue. A deep creak under heavy load usually comes from the crank assembly. Tightening the pedal won't fix it, and the real problem gets worse while you ride.
Mistake #5: Ignoring a grinding sound. That means metal-on-metal wear. Tiny metal particles are now inside the bearing. Ride long enough and you'll need a new crank arm instead of a cheap pedal.
Keep the contact points clean and you'll avoid most of these. Moving parts wear down on every machine, which is why a regular check of your whole home gym pays off.
Repair vs. Replace: Tools, Costs, and When to Call a Pro
Most pedal issues are simple to fix at home. But there's a clear line between DIY territory and professional work.
| Problem | DIY OK? | Typical Cost |
|---|---|---|
| Loose pedal | Yes | $0–$5 with a wrench |
| Worn pedal bearings | Only on high-end pedals | $10–$20 in parts |
| Bent spindle | No | $30–$80 for new pedals |
| Bottom bracket noise | Not usually | $50–$150 in shop labor |
Tools worth owning: a 15mm pedal wrench, a set of Allen keys, and a grease gun. That combo handles 90 percent of stationary bike repairs.
When should you call a pro? If you torque the pedal correctly, check the cleats, and the click still comes back, stop riding. It could be a cracked crank arm or a failing bottom bracket.
A bent spindle is also a safety hazard. The U.S. Consumer Product Safety Commission tracks recalls of exercise equipment for exactly this kind of failure.
Riding on a damaged part can ruin the frame and hurt you.
Budget bikes often have pressed-together bottom brackets that are tricky to service. A bike shop has the special tools to press out old bearings without harming the frame. Before you spend anything, confirm the bike is worth it.
If your bike cost a few hundred dollars and needs $150 in repairs, new pedals might buy you another year of quiet riding.
Frequently Asked Questions
Is it safe to ride if my pedal is clicking?
No. A clicking pedal can fail suddenly under load. Stop riding until you've checked the pedal, crank, and bottom bracket.
A loose pedal can damage the crank arm threads in a single hard ride.
Do I need to grease pedal threads every time?
Yes, but lightly. A thin layer of anti-seize compound or grease prevents corrosion and makes future removal easier. Avoid over-greasing.
Excess grease attracts dust and grit.
Why does my left pedal keep coming loose?
The left pedal has reverse threads. It tightens counterclockwise. If you keep tightening it clockwise, it will seat initially but loosen while you ride.
Always double-check the thread direction before applying force.
How often should I replace exercise bike pedals?
With moderate home use, pedals last 1 to 3 years. Heavy riders, high-intensity workouts, or sweaty riders will wear them out faster. Replace them when they show play, grind, or visible wear.
Putting a maintenance reminder on the calendar helps catch small problems before they become bigger ones.
Can I use WD-40 on noisy pedal bearings?
No. WD-40 is a solvent, not a lubricant. It evaporates and leaves the bearings drier than before.
Use a proper lithium or marine grease instead. A small amount applied directly to the bearing surface lasts far longer than any spray.




One Comment