How to Prevent Ice Maker Mold
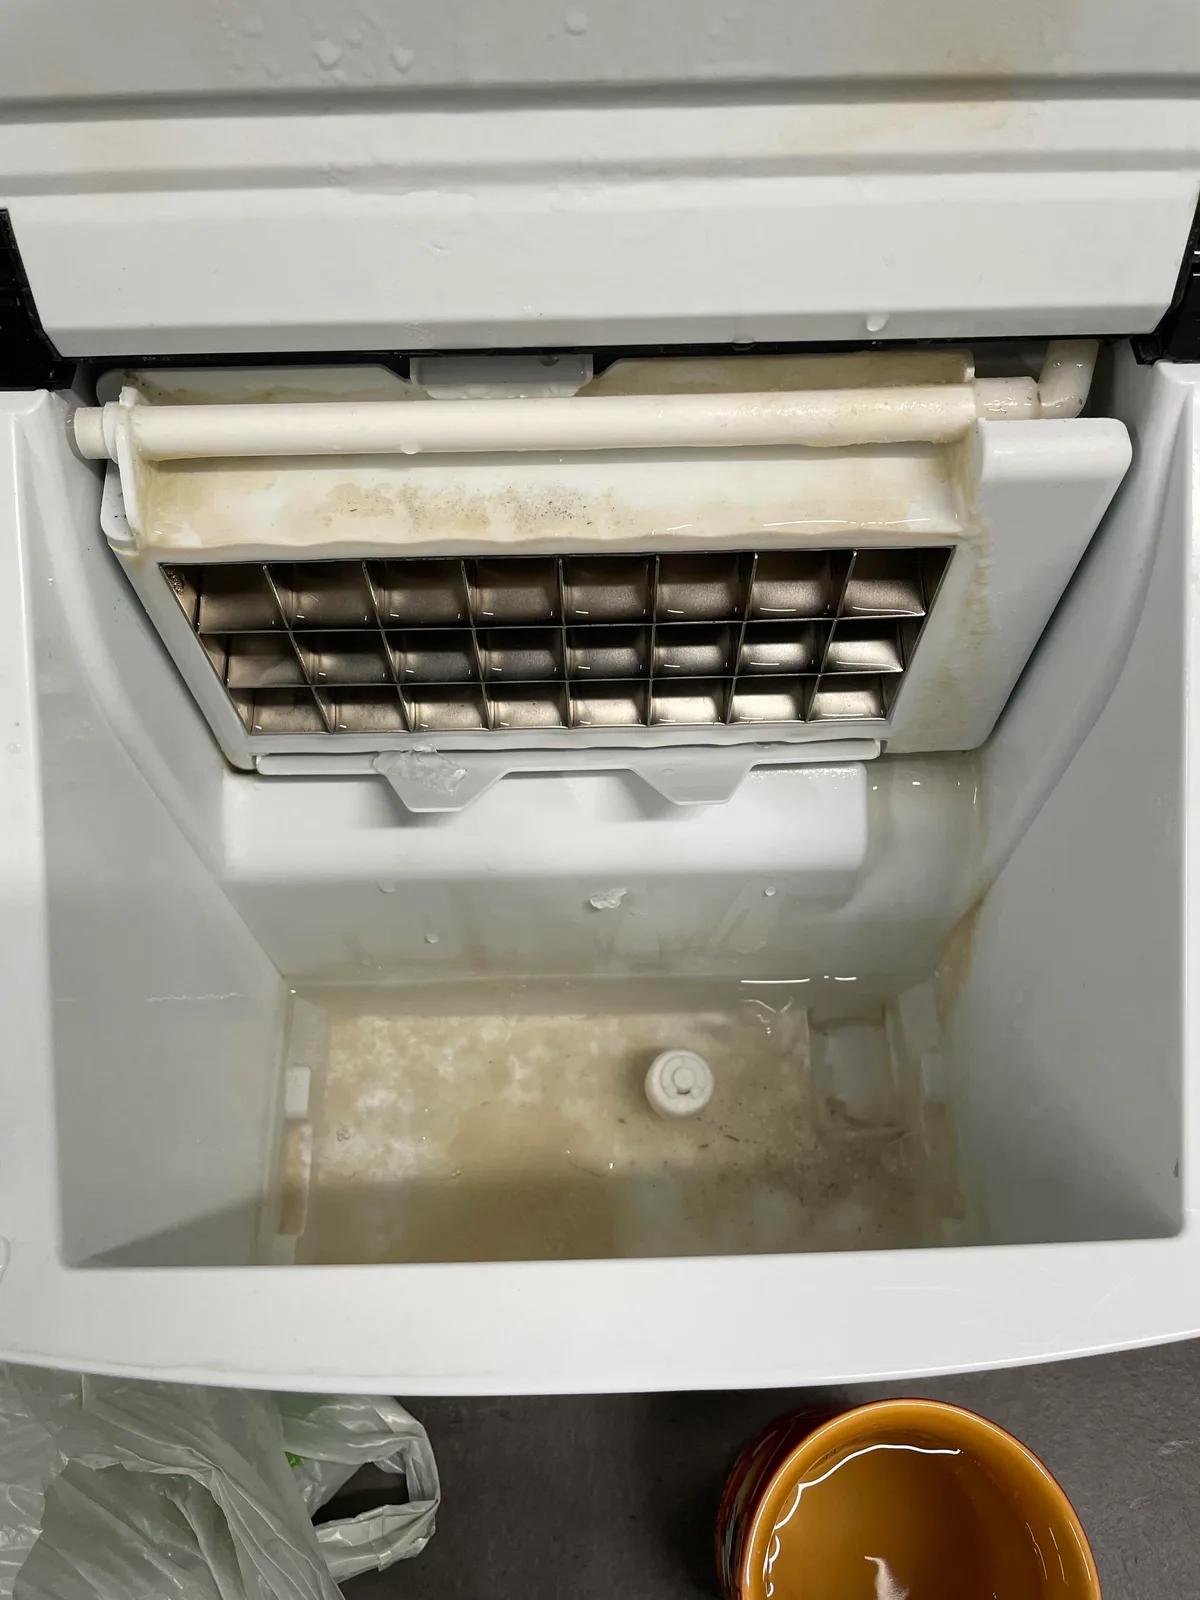
Image source: Bing (Web (fair-use with source credit))
Nobody wants to find fuzzy black stuff growing in their ice maker, especially when it's meant to be clean and refreshing. Understanding how to prevent ice maker mold is key to keeping your drinks pure and your appliance healthy. Left unchecked, mold can not only make your ice taste terrible but can also pose health risks.
Fortunately, tackling this problem doesn't require advanced cleaning skills or fancy gadgets. It's mostly about establishing a consistent routine and knowing what to look for. Per food safety guidelines, maintaining a clean ice maker involves simple steps that can be incorporated into your regular kitchen upkeep, ensuring you always have safe, great-tasting ice.
Quick Answer
To prevent ice maker mold, regularly clean the water reservoir and ice bin, ideally weekly. Use a vinegar-and-water solution for cleaning and rinse thoroughly. Replace water filters every six months, or as recommended by the manufacturer, to limit nutrient sources for mold.
The Sneaky Signs of Ice Maker Mold
Spotting mold before it becomes a major issue is all about knowing what to look for. Often, it doesn't announce itself with a booming "Beware!" Instead, it creeps in subtly. The first hint might be an off-odor in your kitchen that you can't quite place.
Then, you might notice your ice tasting… well, not quite right. It can develop a musty or stale flavor, which is a dead giveaway that something's growing. Visually, look for dark spots or a slimy film inside the ice bin, on the ice paddles, or in the water reservoir.
Aggregated user feedback suggests these are the most common initial indicators.

Image source: Bing (Web (fair-use with source credit))
Is That Smell Just "Old Ice"?
That slightly unpleasant, musty smell you might detect around your ice maker? It's rarely just "old ice." Ice itself doesn't really "age" or go stale in a way that creates odor; it's a frozen block of water. The smell is almost always a sign that something else is happening, and that something is likely microbial growth, like mold or mildew, thriving in the damp environment of your ice maker's components.
What Black Spots Really Mean
If you see dark spots, black specks, or even greenish fuzzy patches anywhere inside your ice maker, especially in the water reservoir or the ice bin, that's mold. These aren't just cosmetic blemishes; they indicate an active colony of mold or bacteria. Manufacturer specifications confirm that these growths feed on mineral deposits and organic matter left behind by water.
Addressing them promptly is crucial for hygiene.
Your Ice Maker Mold Prevention Workflow
Preventing ice maker mold isn't a one-time fix; it's a process. By following a consistent workflow, you can keep your ice maker clean and your ice tasting fresh. Think of it like routine maintenance for your car, a little effort regularly saves you from big problems later.
Step 1: Assess Your Ice Maker's Type and Usage
The first step in prevention is understanding your specific ice maker and how you use it. Are you using a built-in refrigerator ice maker, a standalone countertop unit, or perhaps a portable ice maker? This matters because access to components varies.
More importantly, consider your usage frequency. If you use a lot of ice daily, you'll need to clean more often than someone who uses it sparingly. For units that sit idle for long periods, proper shutdown and drying become even more critical to prevent mold before it starts.
Step 2: Set Up Your Cleaning Arsenal
Before you begin, gather your cleaning supplies. You won't need much, but having everything on hand makes the job smoother.
- White Vinegar: A fantastic, natural disinfectant and descaler.
- Mild Dish Soap: For general cleaning.
- Soft Cloths or Sponges: Non-abrasive ones are best to avoid scratching surfaces.
- Old Toothbrush or Small Brush: For getting into nooks and crannies.
- Clean Water: For rinsing.
- Optional: Diluted Bleach Solution (1 tsp bleach per quart of water): Use with extreme caution, only if manufacturer instructions permit, and ensure thorough rinsing. Vinegar is often sufficient and safer.
Step 3: The Daily Rinse Routine
This is the simplest but most impactful step for preventing mold. After you've used your ice maker for the day, or at the end of each day:
- Discard any leftover ice in the bin.
- Drain any standing water from the ice bin.
- Give the ice bin a quick rinse with fresh water.
- Wipe down the inside of the bin with a clean, dry cloth.
This simple act removes loose debris and excess moisture, making it much harder for mold to get a foothold. Aggregate user feedback suggests this daily habit significantly reduces the need for deep cleaning.
Step 4: The Weekly Deep Clean: Tackling the Mold
Once a week, it's time for a more thorough cleaning. This is where you'll address any potential mold growth and deep clean the removable parts.
- Empty and Remove: Turn off your ice maker and remove all ice from the bin. Take out any removable parts, like the ice bin, scoop, and any internal trays or filters.
- Wash Removable Parts: Wash these components in warm, soapy water. Rinse them thoroughly.
- Clean the Interior: Use a soft cloth or sponge dampened with a solution of equal parts white vinegar and water to wipe down the interior of the ice maker, including the walls, chute, and any accessible internal mechanisms. Pay special attention to corners and seams where moisture can collect.
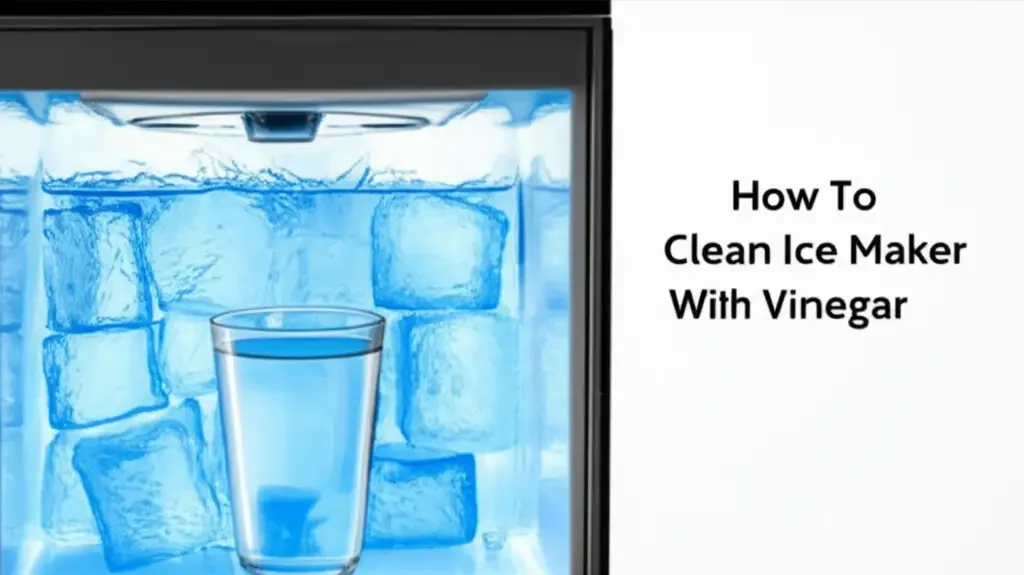
Image source: Bing (Web (fair-use with source credit))
Cleaning with Vinegar
For a more potent clean, create a cleaning solution. Our research indicates a 1:1 ratio of white vinegar to water is effective for most cleaning and descaling needs. You can also use a specialized ice maker cleaning solution if recommended by your manufacturer.
Apply this solution to a cloth and wipe down all interior surfaces. For stubborn spots, let the solution sit for a few minutes before wiping.
Rinsing and Drying Like a Pro
After cleaning with vinegar, it's critical to rinse everything thoroughly with clean water. Any residual vinegar smell or taste will transfer to your ice.
- Use a clean, damp cloth to wipe down all cleaned surfaces multiple times, ensuring all vinegar residue is gone.
- Allow all removable parts to air dry completely before reassembling. Placing them on a clean towel in a well-ventilated area is ideal.
- Wipe the interior of the ice maker dry with a clean, lint-free towel. Leaving any moisture behind defeats the purpose.
Step 5: Descaling for Hard Water Woes
If you have hard water in your area, mineral buildup (scale) is inevitable. This scale not only affects your ice maker's performance but also provides a surface for mold and bacteria to cling to. Manufacturer specifications often recommend descaling every 3-6 months, depending on water hardness.
To descale:
- Follow your ice maker's manual for specific descaling instructions, as this process can vary.
- Typically, you'll run a descaling solution (often vinegar-based or a commercial descaler) through the water system.
- This usually involves filling the water reservoir with the solution and running a few ice cycles.
- After the descaling cycle, drain the reservoir and run several cycles with fresh water to flush out any remaining descaling solution.
This process helps remove the mineral deposits that contribute to mold growth and keeps your ice maker running efficiently.
Step 6: Filter Finesse: Replacing Your Water Filter
Most modern ice makers, especially those plumbed directly into your water line, have a water filter. This filter is designed to remove impurities and improve the taste and clarity of your ice. However, a dirty or clogged filter can become a breeding ground for bacteria and mold.
Our research, along with manufacturer documentation, strongly recommends replacing your water filter regularly. For most units, this means every six months. Some high-usage units or those with very hard water might need more frequent replacement.
Check your ice maker's manual for the exact recommended interval and filter type. A fresh filter ensures your water is clean, limiting the nutrients available for mold.
Common Mold-Growing Mistakes to Sidestep
Even with the best intentions, it's easy to miss a crucial step when cleaning your ice maker, which can lead to mold issues. Many people overlook simple maintenance tasks, thinking their appliance is fine until a problem arises. Being aware of these common errors can help you avoid them.
Forgetting the Water Reservoir
The water reservoir is where fresh water sits before being turned into ice. This is prime real estate for mold and bacteria to grow because it's constantly moist and often has residual minerals. If you only clean the ice bin and skip thoroughly washing and sanitizing the water reservoir, you're leaving the primary source of mold unchecked.
Make sure to empty, wash, and dry this component every week as part of your deep clean.
Skipping Thorough Rinsing
After cleaning with vinegar or a cleaning solution, it's vital to rinse every surface thoroughly. If you don't rinse away all the cleaning residue, that vinegar smell or cleaning agent taste will transfer to your ice. This might seem like a minor inconvenience, but it directly impacts the quality and safety of the ice you're serving.
Always rinse multiple times with clean water until you're certain no cleaning agents remain.
Infrequent Filter Changes
Your ice maker's water filter is like the bouncer at a club, keeping out impurities. But like any filter, it has a lifespan. When it becomes saturated, it stops filtering effectively and can actually start harboring the very contaminants it's meant to remove.
Manufacturer recommendations for filter replacement, often around every six months, are there for a reason. Not changing it leads to poor ice quality and can contribute to mold growth.
Not Drying Components Properly
Moisture is mold's best friend. After washing and rinsing any removable parts of your ice maker, it's essential they are completely dry before you put them back. Even a little residual dampness can kickstart mold growth.
Always allow parts to air dry thoroughly on a clean towel or use a lint-free cloth to ensure they are bone dry. This is especially important for the ice bin and any internal trays or chutes.
When to Consider Professional Help
While most ice maker mold issues can be handled with regular cleaning and maintenance, there are times when you might need to call in the experts. If you've tried cleaning your ice maker multiple times and the mold keeps coming back, or if you suspect a deeper issue, it might be time to seek professional assistance.
Sometimes, mold can grow in parts of the ice maker that aren't easily accessible for manual cleaning, like within internal tubing or components. If your ice maker has a persistent foul odor that cleaning doesn't resolve, or if you notice a significant decline in ice production or unusual noises, these could indicate a problem beyond simple surface mold. A qualified appliance technician can diagnose and repair these more complex issues.
They have the tools and expertise to access all parts of the unit and ensure it's thoroughly cleaned and functioning correctly. It's also worth checking if your ice maker is still under warranty, as some repairs might be covered.
Quick Guide: Ice Maker Mold Prevention Checklist
To make sure you're staying on top of things, here's a handy checklist you can use. Keep it somewhere visible, like on your fridge, to remind you of the routine tasks.
- Daily:
- Discard old ice.
- Drain and wipe the ice bin dry.
- Weekly (Deep Clean):
- Empty and remove ice bin and scoop.
- Wash removable parts with mild soap and water.
- Wipe down the interior with a vinegar-and-water solution.
- Rinse all cleaned parts thoroughly with fresh water.
- Dry all components completely before reassembly.
- Every 3-6 Months (or as needed):
- Descale the ice maker if you have hard water. Follow manufacturer instructions.
- Every 6 Months (or as per manual):
- Replace the water filter.
Following this routine helps maintain clean ice and prolongs the life of your appliance.
Frequently Asked Questions About Ice Maker Mold
### How often should I clean my ice maker to prevent mold?
You should perform a quick daily rinse of the ice bin and a thorough weekly deep clean of the entire unit. Descaling and filter replacement are needed every few months, as indicated by your specific model and water quality.
### Is it safe to drink ice if I see a little mold?
No, it's not safe. Mold can produce toxins and allergens that can cause illness or allergic reactions. Even small amounts of mold should be a signal to clean the ice maker thoroughly.
### Can I use bleach to clean my ice maker?
Some manufacturers permit using a very dilute bleach solution (e.g., 1 teaspoon bleach per quart of water) for stubborn mold, but only if you rinse it extremely thoroughly afterward. Vinegar is generally a safer and effective alternative for most cleaning needs. Always check your ice maker's manual before using bleach.
### My ice maker smells, but I don't see any visible mold. What should I do?
A persistent odor usually indicates mold or bacteria growth, even if it's not visible. Perform the weekly deep clean with a vinegar solution, paying close attention to the water reservoir and internal tubing. If the smell remains after cleaning, consider descaling or replacing the water filter.
If it persists, professional service might be needed.
### How can I prevent mold if I don't use my ice maker often?
If your ice maker is used infrequently, it's even more crucial to prepare it for storage. Before storing, empty and thoroughly clean and dry all components, especially the water reservoir and ice bin. Consider leaving the ice maker unplugged and the door slightly ajar to allow air circulation and prevent moisture buildup.